Few rooms work as hard as your bathroom. It needs to fit a toilet, sink, shower, and storage into a space that’s often the smallest in the house. Get the layout wrong, and you’ll bump elbows every morning. Get it right, and even a tiny room feels open and easy to use.
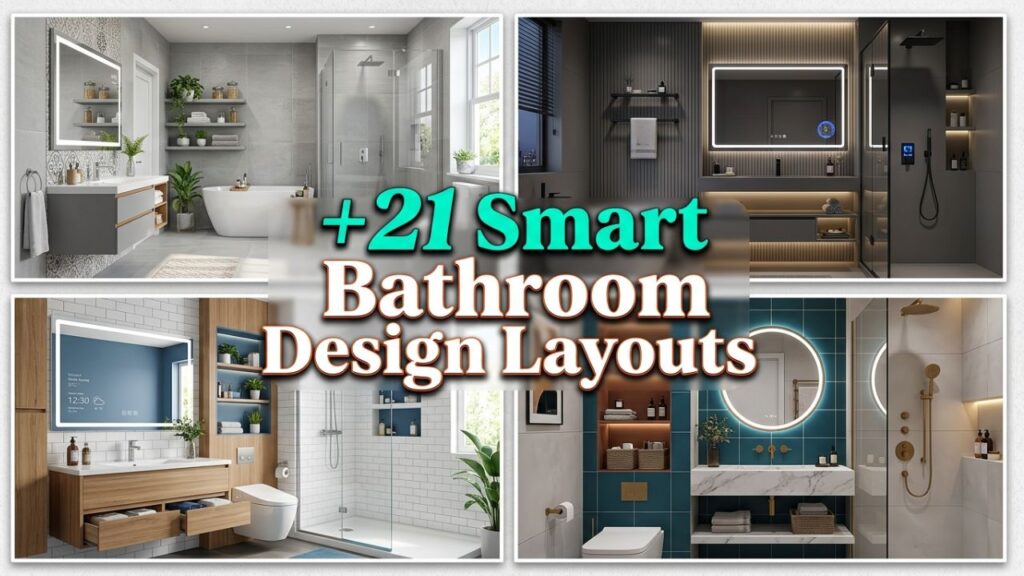
After years of helping people rethink cramped and awkward bathrooms, I’ve learned that good design starts with the floor plan, not the tile color. The right arrangement saves space, cuts plumbing costs, and makes daily routines smoother.
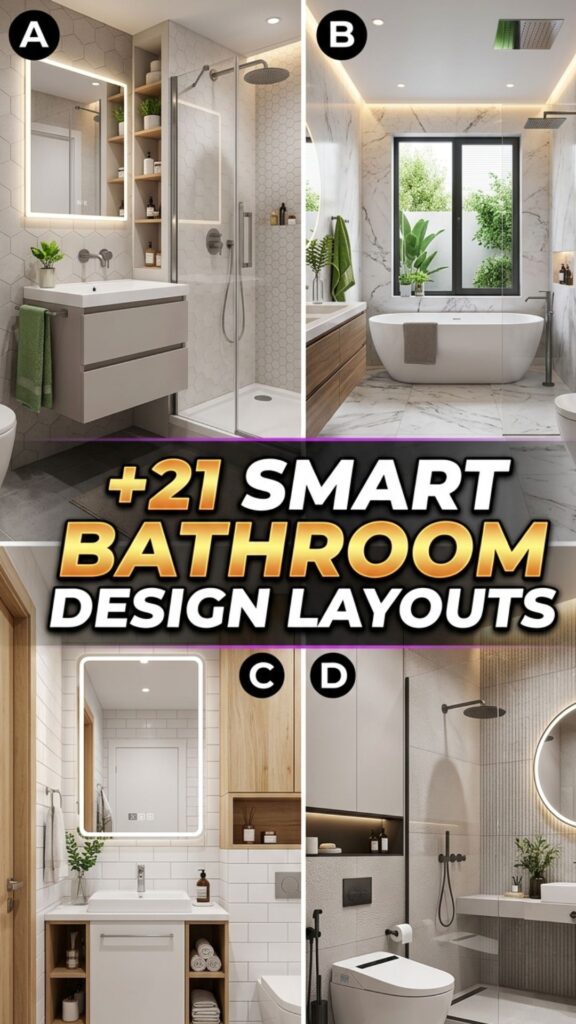
This guide walks you through 21 bathroom design layouts that actually work. You’ll learn how to plan for small spaces, shared bathrooms, and luxury suites, plus the clearance rules and clever tricks that pros rely on. Let’s find the layout that fits your home.
1. The Classic Three-in-a-Row Layout
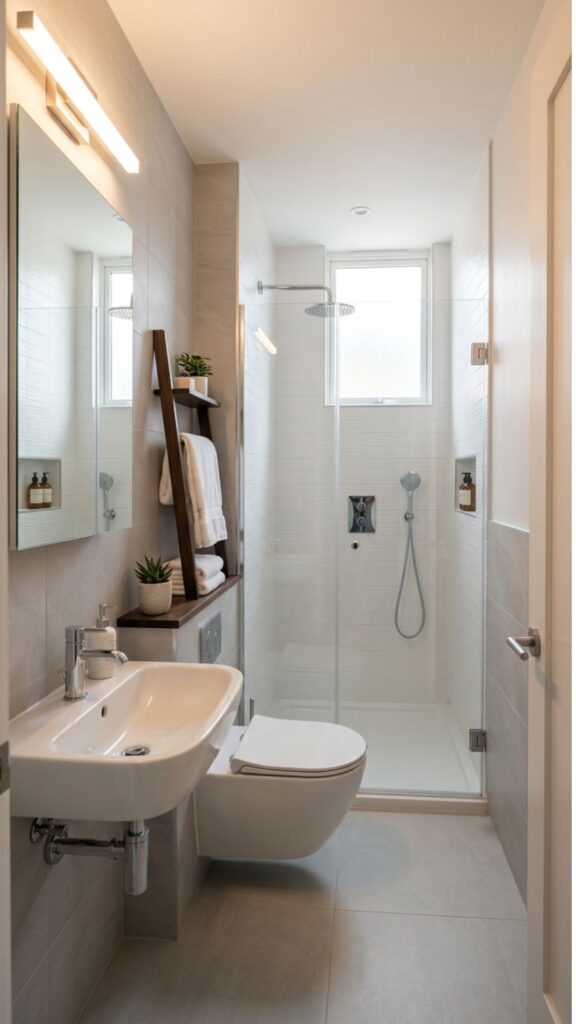
Lining up the toilet, sink, and shower along one wall is one of the most efficient setups around. All your plumbing runs through a single wall, which keeps installation simple and costs down. This works beautifully in long, narrow rooms where space is tight.
I’ve used this in homes built before 1950, where bathrooms were often skinny rectangles. Keep at least 30 inches of clear floor space in front of each fixture so nothing feels cramped. A wall-mounted sink can free up even more room near the door.
2. The Compact Powder Room
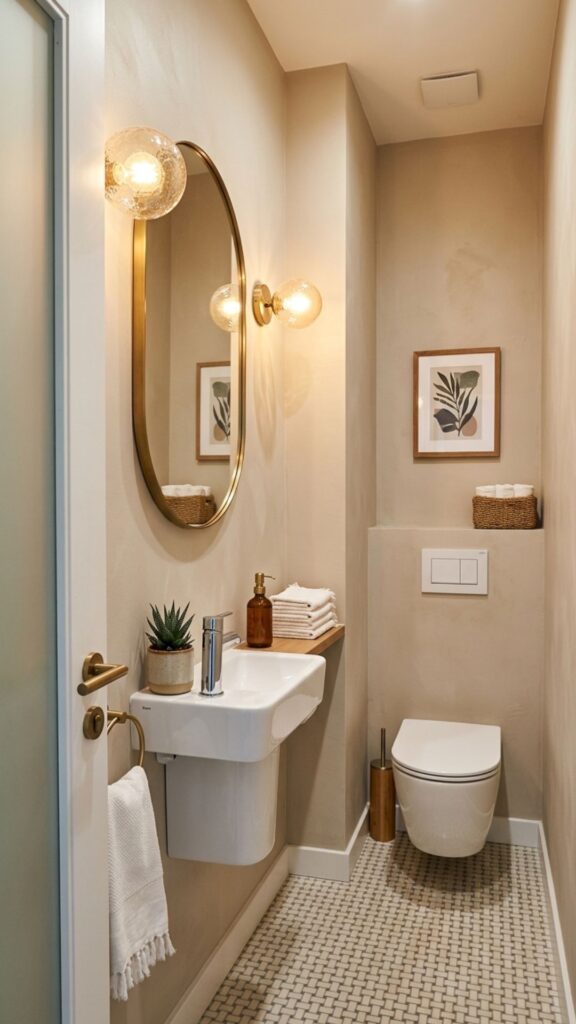
A powder room only needs a toilet and a sink, which makes it perfect for tucking under stairs or into a leftover corner. You can fit a functional half-bath into as little as 18 square feet. The goal is comfort without wasted inches.
Place the sink near the door and the toilet against the back wall. A corner sink or a slim console works wonders here. Add a mirror and good lighting to make the small space feel bigger than it is.
3. The Jack-and-Jill Shared Bathroom
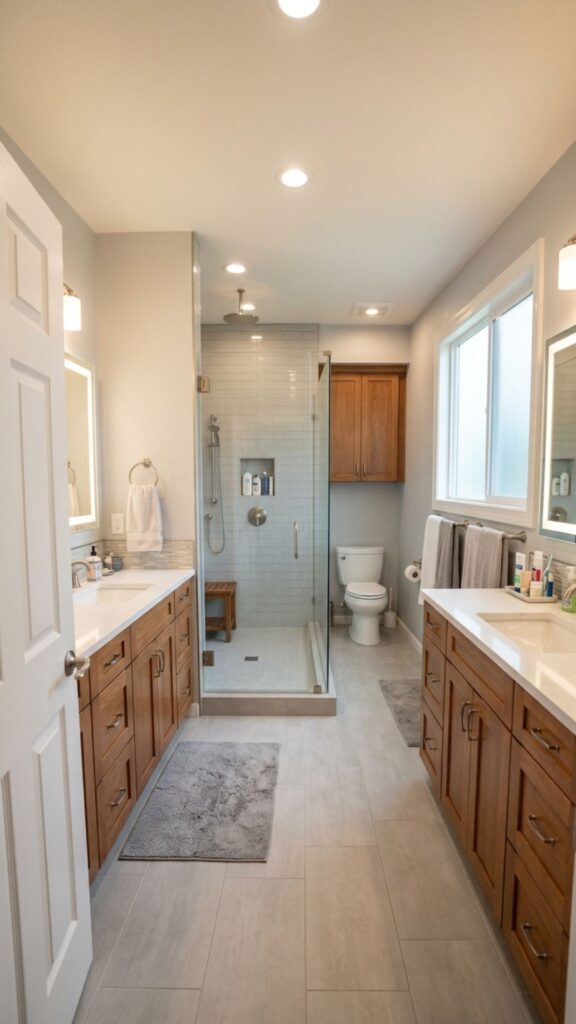
This layout connects two bedrooms to one bathroom through two separate doors. It’s a favorite in family homes where kids share a space but still need a bit of privacy. The trick is separating the wet areas from the sink zones.
Put two sinks near each door and place the toilet and shower in a central section with its own door. That way, one person can brush their teeth while another showers. Lockable doors on both sides keep the peace among siblings.
4. The Galley Bathroom
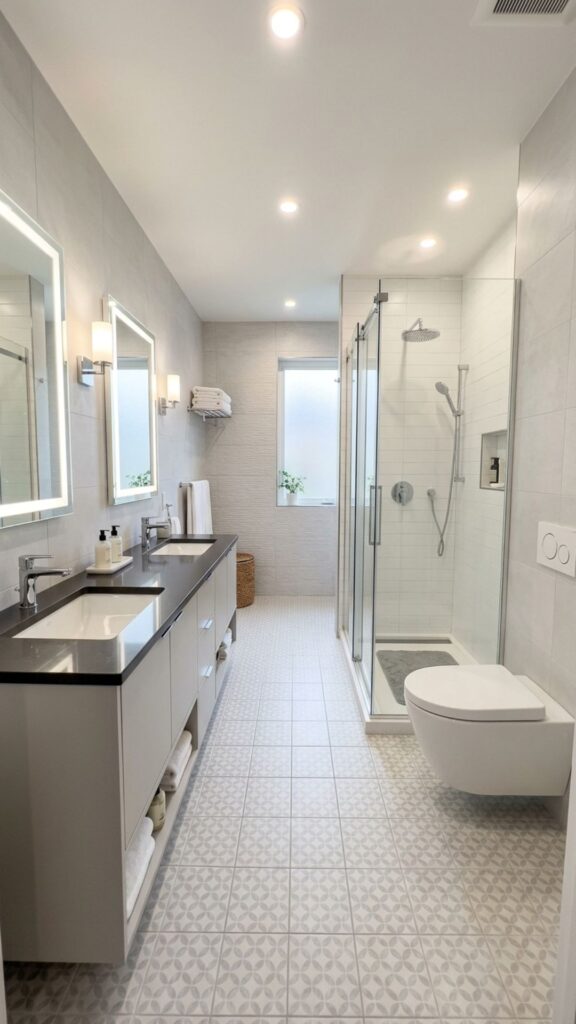
Borrowed from kitchen design, the galley puts fixtures on two facing walls with a walkway down the middle. It uses every inch and creates a clear path from one end to the other. This suits medium-sized rectangular rooms well.
Keep the central aisle at least 36 inches wide so two people can pass comfortably. Sinks and storage on one side, shower and toilet on the other, makes morning routines flow. It’s a smart pick for busy households.
5. The Wet Room
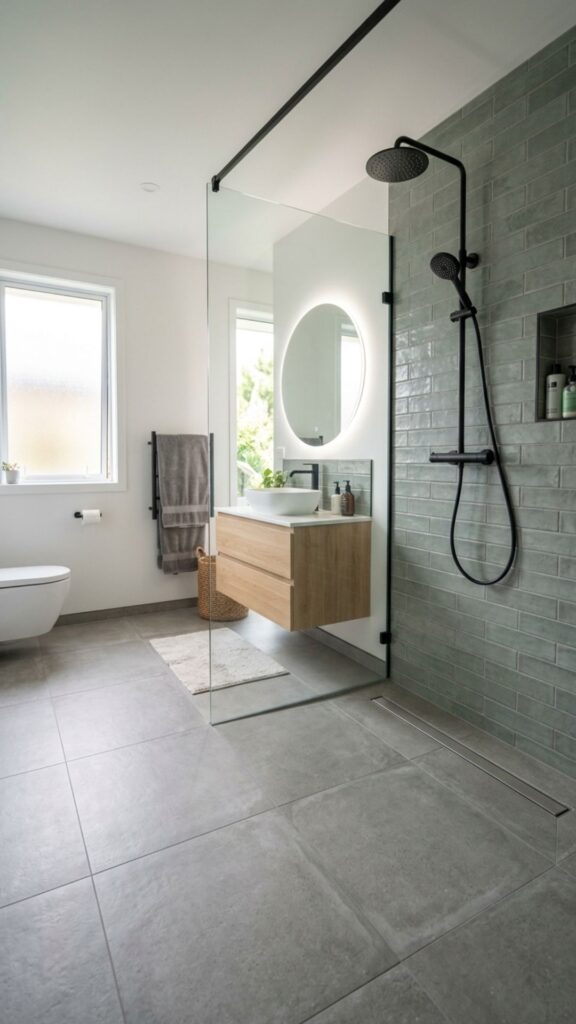
A wet room turns the entire space into a waterproof zone, with the shower open to the rest of the room. There’s no curb, no enclosure, just a sloped floor and a drain. This open feel makes small bathrooms look much larger.
You’ll need proper waterproofing, called tanking, and a slight floor slope toward the drain. I always recommend a glass screen to keep the toilet area dry. Wet rooms also score points for accessibility, since there’s no step to trip over.
6. The Corner Shower Layout
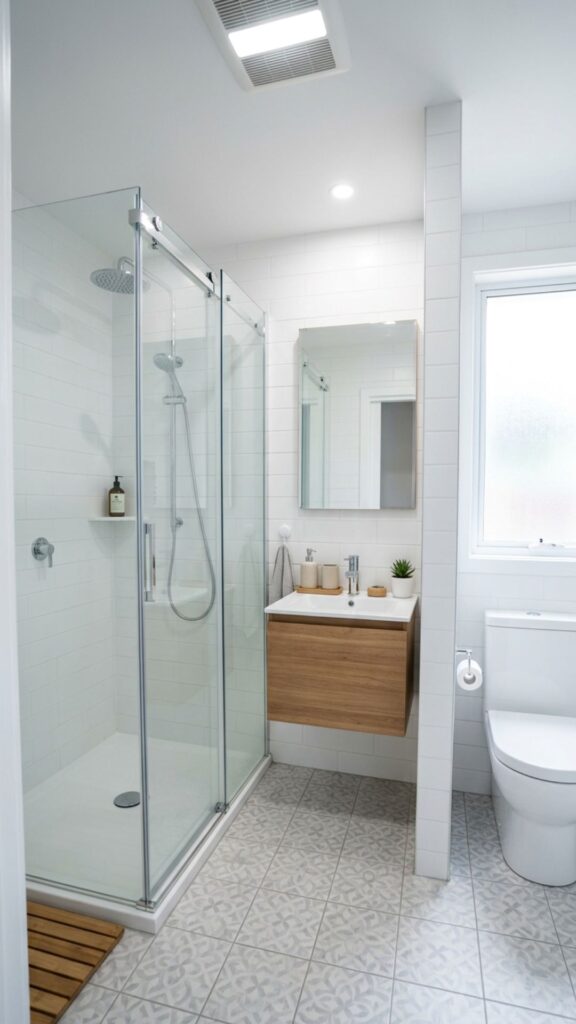
Tucking the shower into a corner frees up the rest of the room for other fixtures. A neo-angle or quadrant shower fits snugly where two walls meet. This is one of the best bathroom design layouts for small square rooms.
A corner unit leaves room for a full vanity and a separate toilet. Choose a sliding glass door to avoid swing space issues. Pair it with a pedestal sink on the opposite wall for a balanced, open feel.
7. The Five-Piece Master Bathroom
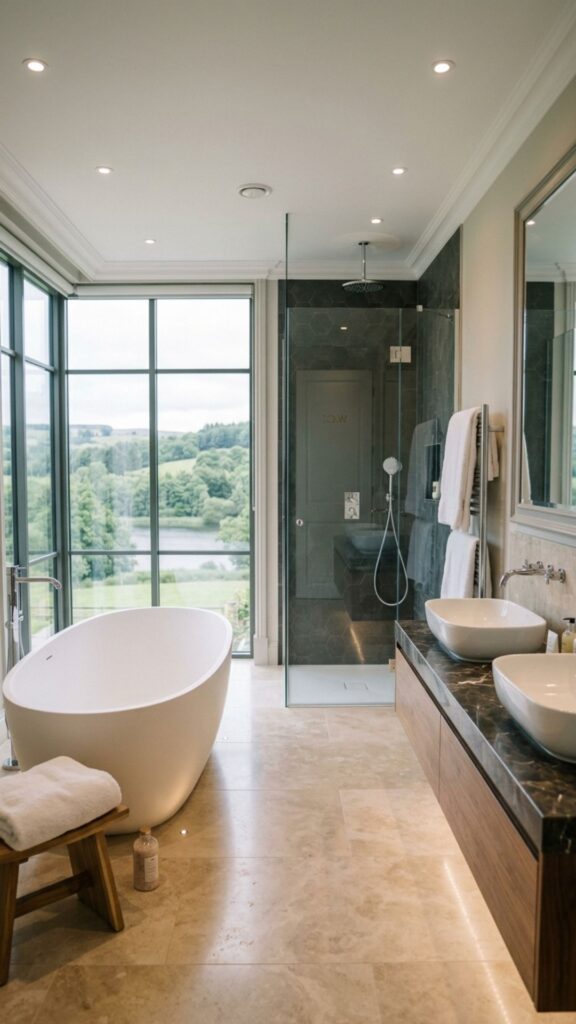
The classic luxury layout includes a toilet, two sinks, a separate shower, and a freestanding tub. It needs more square footage, usually 100 feet or more, but delivers a true retreat. Each zone gets its own dedicated space.
Position the double vanity along the longest wall and place the tub under a window for natural light. Keep the toilet in a private water closet for extra comfort. This setup is ideal when two people get ready at the same time.
8. The Water Closet Layout
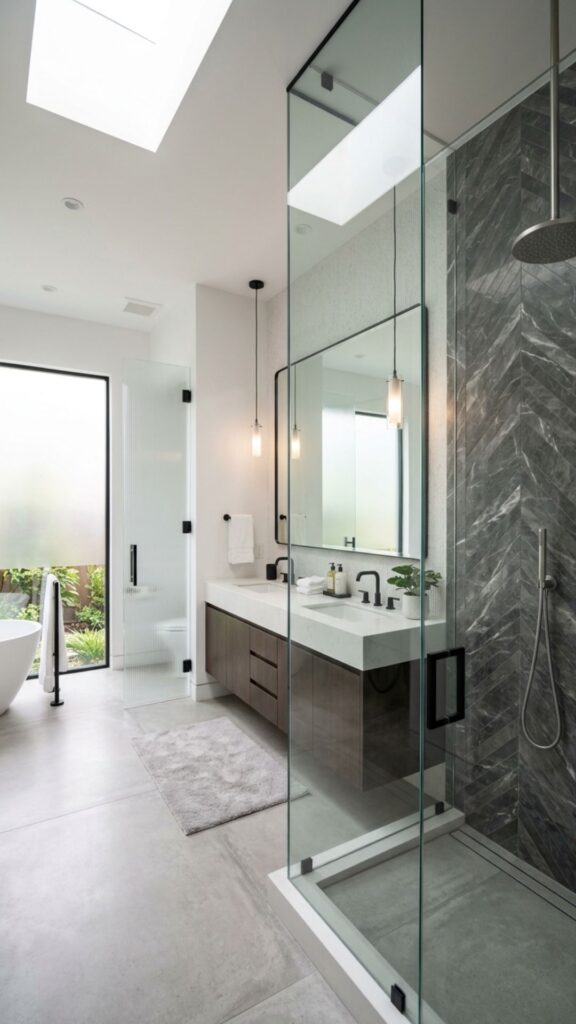
A water closet places the toilet in its own small, enclosed room within the bathroom. This adds privacy in shared or master baths. It’s a small touch that makes a big difference in daily comfort.
Aim for at least 30 inches of width and 60 inches of depth for the toilet enclosure. Add a small exhaust fan and a touch of lighting. Couples especially appreciate this layout because one person can use the toilet while the other showers.
9. The Floating Vanity Setup
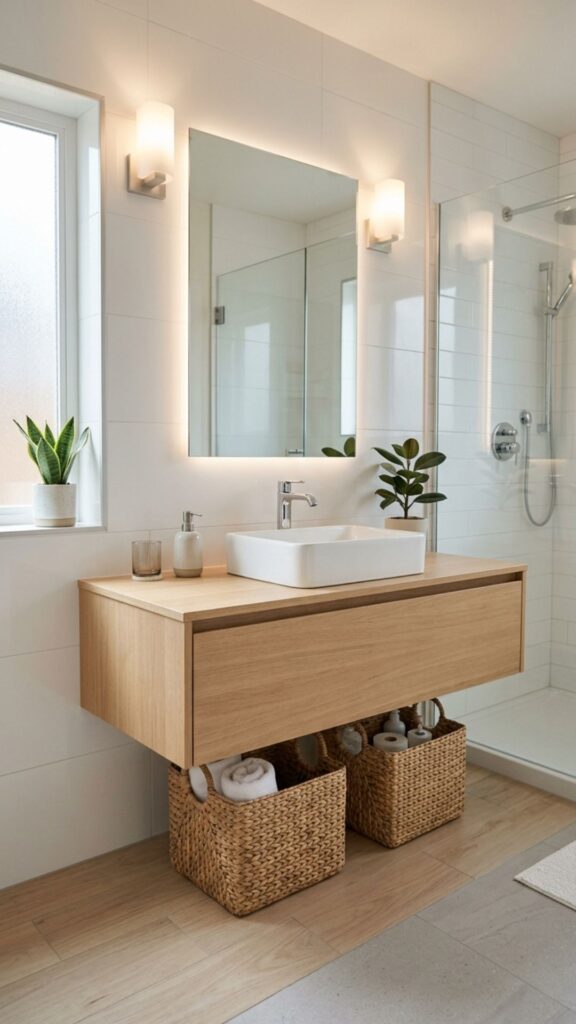
Mounting the vanity to the wall, rather than the floor, opens up the space underneath. Seeing more floor tricks the eye into thinking the room is larger. It also makes mopping a breeze.
This works in both modern and small bathrooms. Run the plumbing through the wall to keep the look clean. Tuck baskets underneath for towels, and you get storage without the bulky cabinet feel.
10. The Diagonal Corner Layout
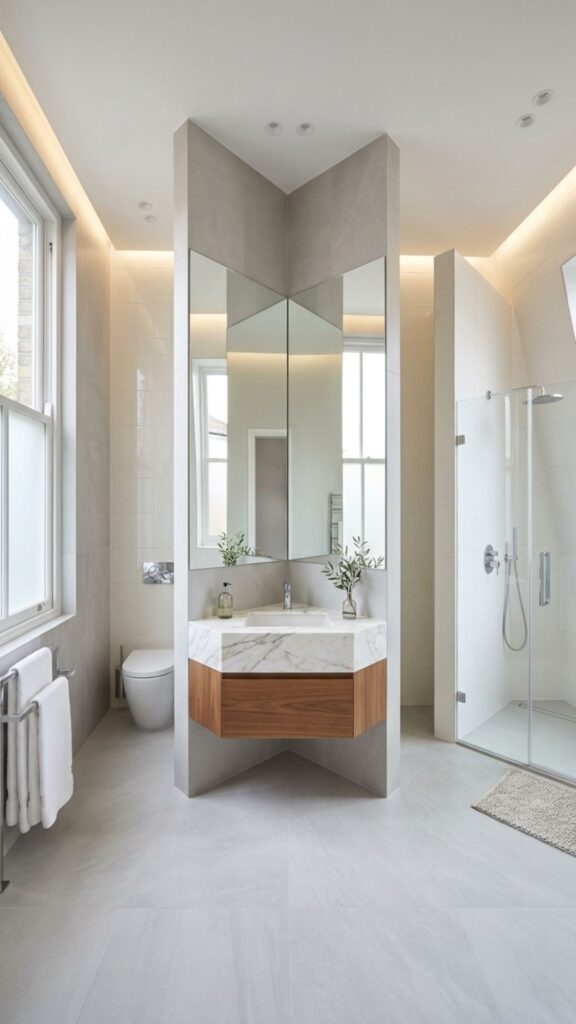
Placing fixtures at an angle in the corners can soften a boxy room and create unexpected flow. Corner toilets and angled vanities open up walking paths. This approach suits odd-shaped rooms that don’t fit standard plans.
I’ve used diagonal placement to work around awkward windows and sloped ceilings. It requires careful measuring, so sketch it on graph paper first. The payoff is a room that feels custom rather than forced.
11. The Open-Concept Ensuite
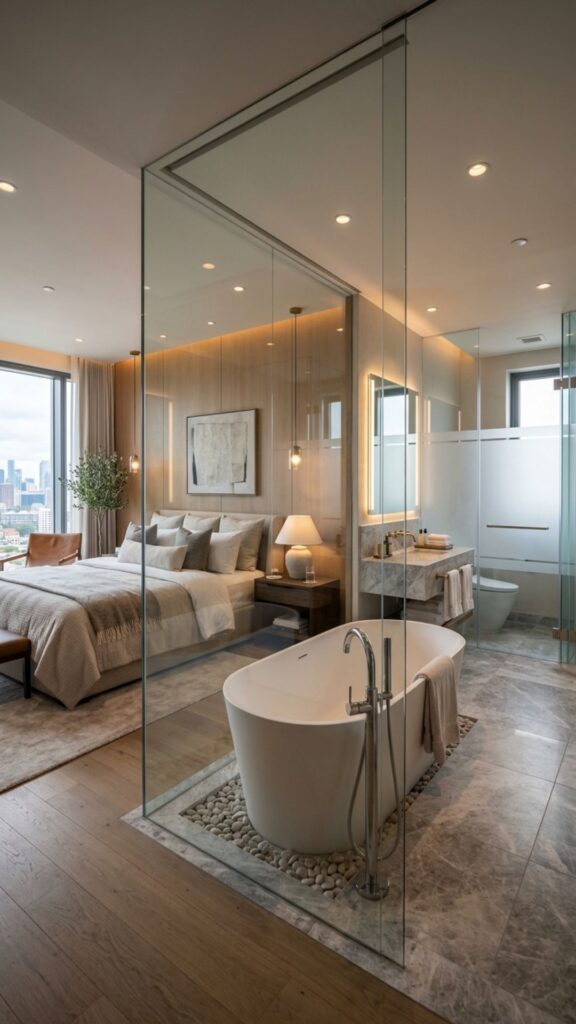
This design removes the wall between the bedroom and bathroom, or replaces it with glass. The result feels spacious and hotel-like. It works best in primary suites where privacy isn’t a concern.
Keep the toilet hidden behind a partition or in a water closet for modesty. A freestanding tub becomes a striking centerpiece. Just be sure to install a strong exhaust fan to manage humidity in the connected space.
12. The Back-to-Back Plumbing Layout
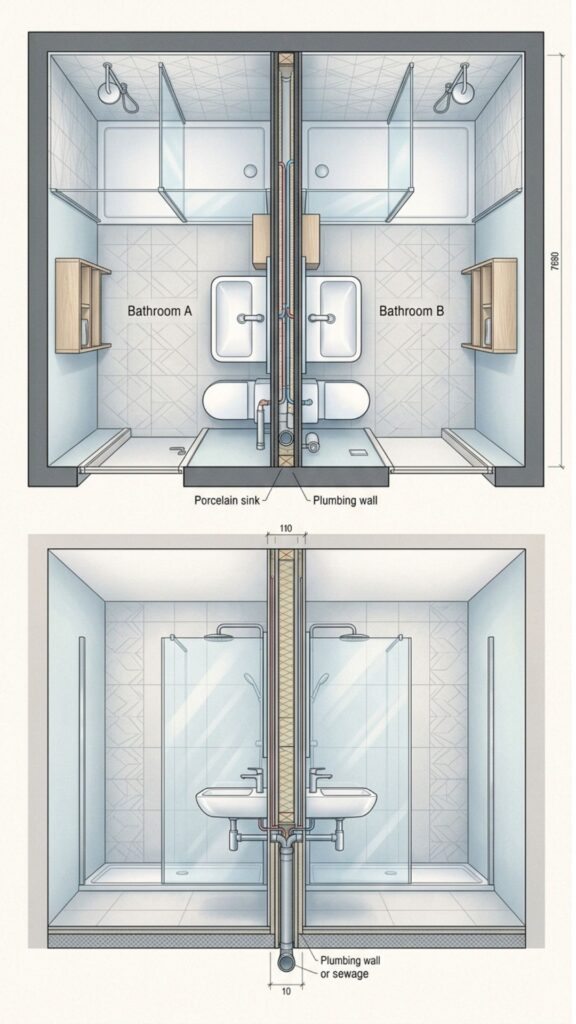
When two bathrooms share a wall, you can stack their plumbing back to back. This cuts pipe runs dramatically and lowers construction costs. It’s a smart move in new builds and major renovations.
Align the showers and sinks on either side of the shared wall. Builders love this because it saves materials and labor. If you’re planning a two-bathroom remodel, mention this idea to your contractor early.
13. The Tub-Shower Combo Layout
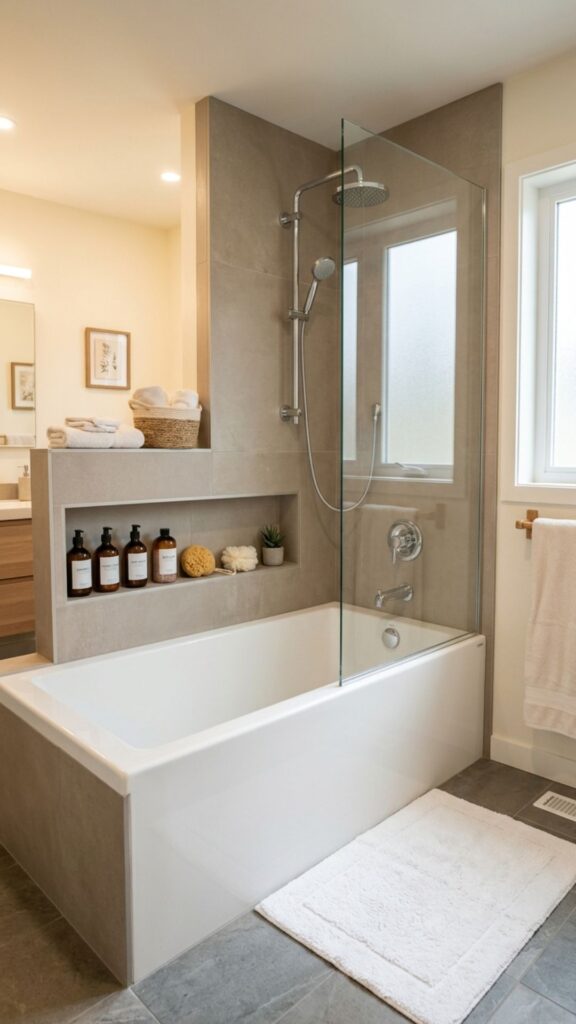
Combining the tub and shower into one unit saves serious space. You get the option to soak or rinse without dedicating room to two separate fixtures. This remains the go-to choice for family and guest bathrooms.
Install a glass screen instead of a curtain for a cleaner, more open look. A built-in niche keeps shampoo bottles off the tub edge. This layout proves you don’t need a huge room to enjoy a relaxing bath.
14. The L-Shaped Layout
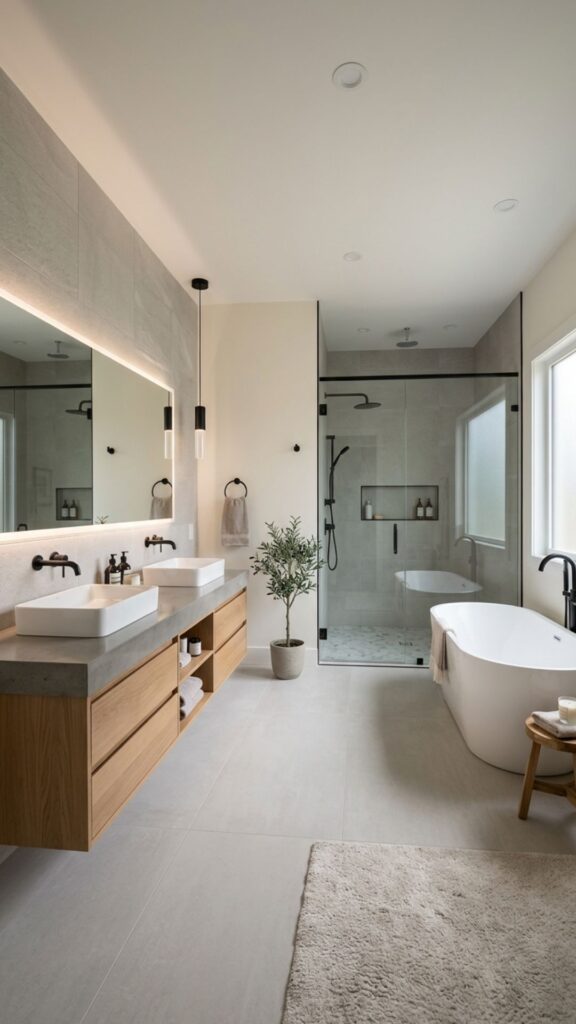
Arranging fixtures along two adjoining walls forms an L, leaving the center floor open. This creates natural separation between the vanity and the wet zone. It’s flexible enough for both small and mid-sized rooms.
Put the vanity on one wall and the shower or tub on the other. The open corner gives you room to move and even add a small bench. This is one of the most adaptable bathroom design layouts you can choose.
15. The Double Vanity Layout
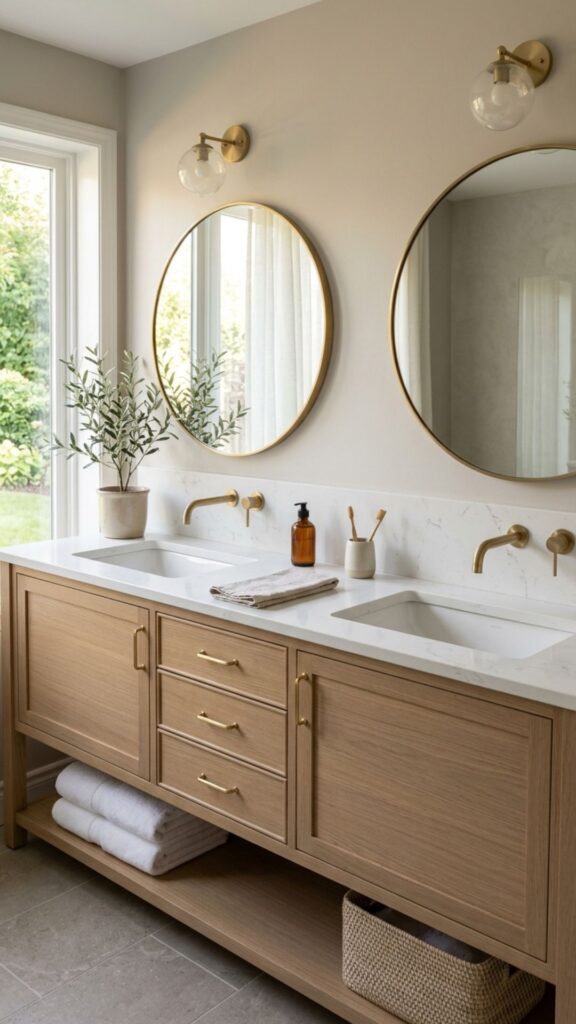
Two sinks side by side end the morning traffic jam in shared bathrooms. You’ll need at least 60 inches of counter width to fit them comfortably. This upgrade ranks high on most couples’ wish lists.
Center each sink with about 30 inches of personal space. Add drawers between the basins for shared storage. If width is tight, a trough sink with two faucets offers a sleek alternative.
16. The Half-Wall Divider Layout
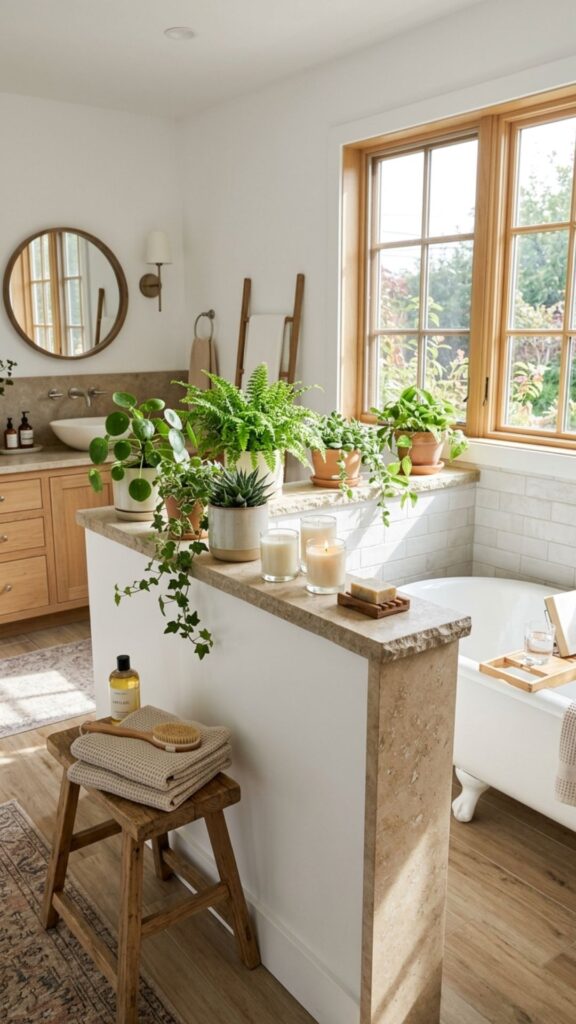
A half wall, or pony wall, separates zones without closing off the room. It often hides the toilet or backs a freestanding tub. You get definition and privacy while keeping light flowing freely.
Top the half wall with a wood or stone ledge for plants and candles. This adds warmth and a spot for small items. I find it strikes the perfect balance between open and private.
17. The Narrow Bathroom Solution
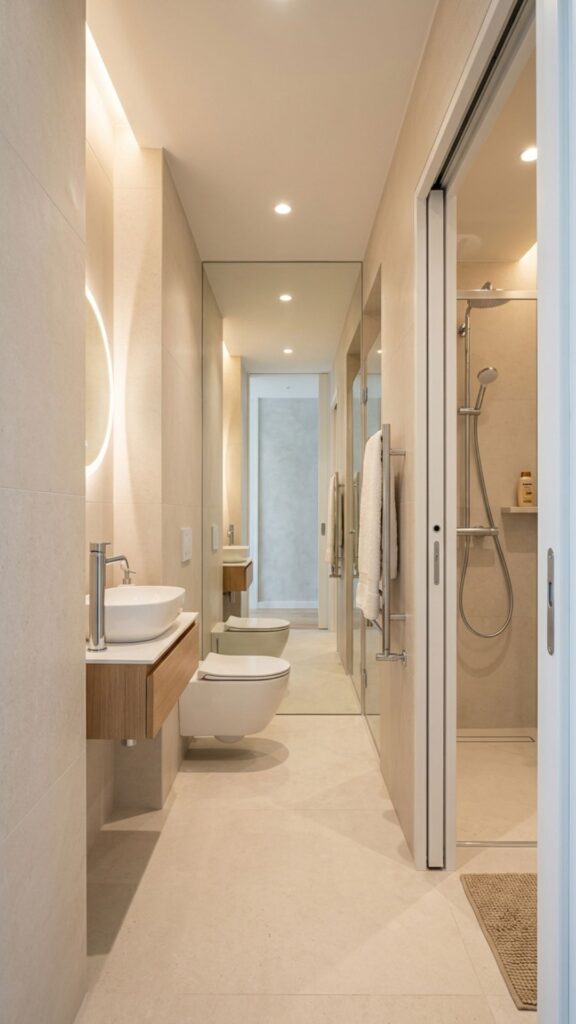
Long, skinny bathrooms challenge even seasoned designers. The key is keeping one side clear for movement. Stack fixtures along the longer wall and resist the urge to crowd both sides.
Use a sliding pocket door to save the space a swinging door would steal. A wall-hung toilet and a slim vanity keep the walkway open. Light colors and a large mirror at the far end stretch the room visually.
18. The Accessible Universal Design Layout
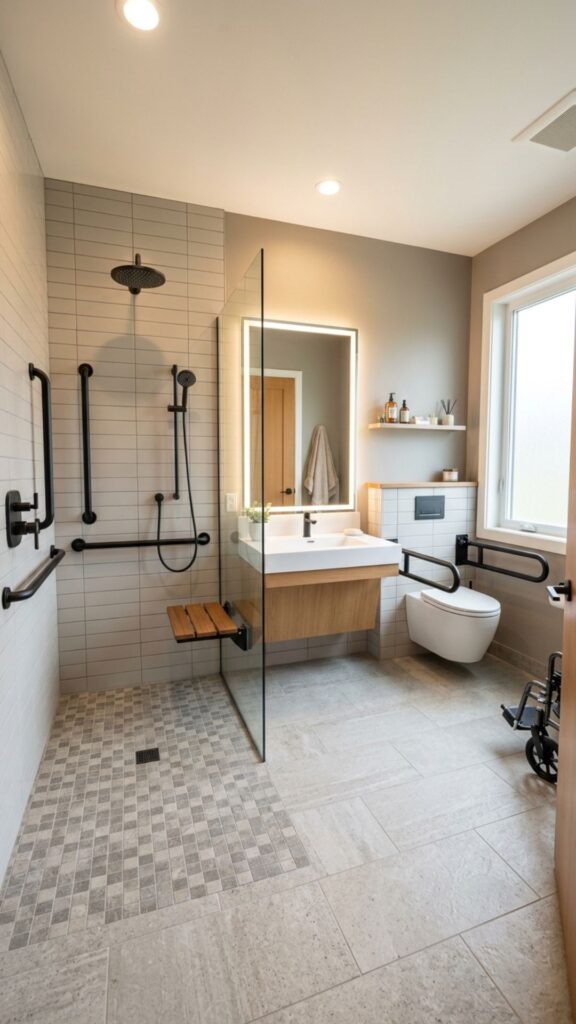
Designing for all ages and abilities means wider doorways, grab bars, and a curbless shower. Aim for a 60-inch turning circle so a wheelchair can move freely. These features help everyone, not just those with mobility needs.
Mount the sink at a comfortable height with open space below. Choose lever handles and a handheld showerhead. Planning for accessibility now means your home works for you for decades to come.
19. The Bathtub-Focused Spa Layout
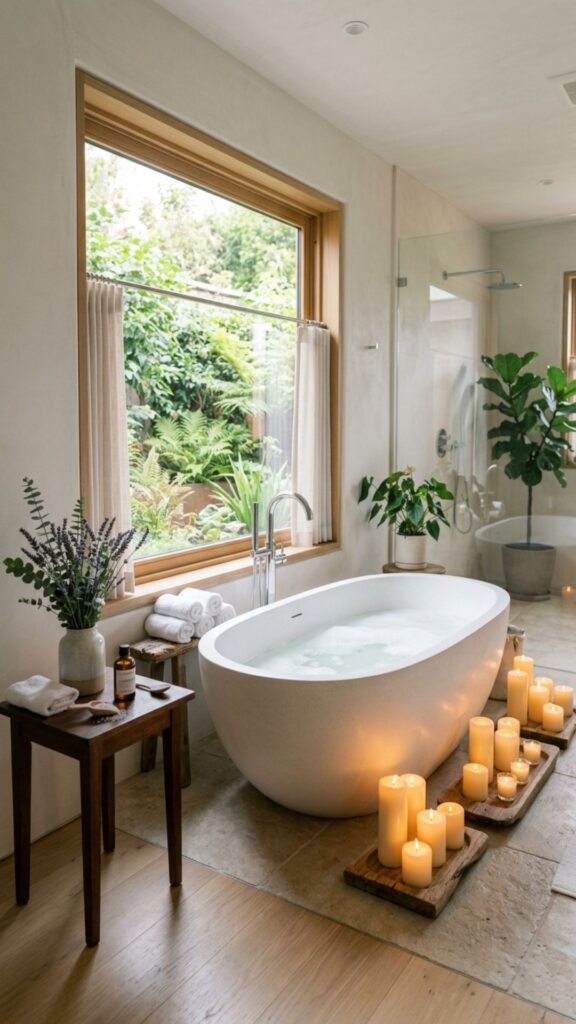
If a long soak is your idea of unwinding, build the room around the tub. A freestanding model under a window becomes the star of the space. The other fixtures arrange themselves around this focal point.
Add a small side table for a book and a candle, and you’ve got a private spa. Keep towels within arm’s reach on a heated rail. This layout turns an everyday room into a daily escape.
20. The Storage-Maximized Layout
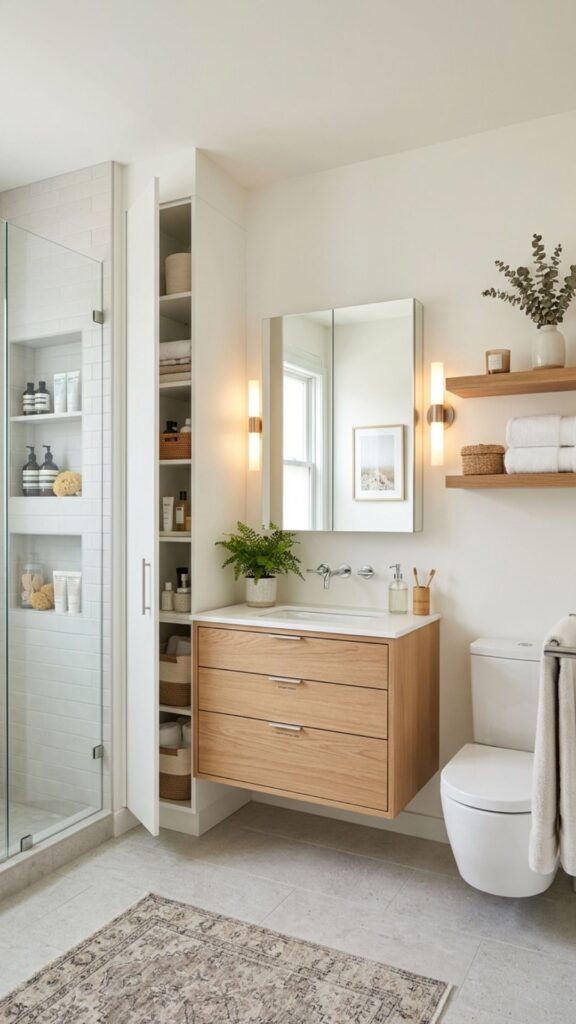
Clutter is the enemy of a calm bathroom. Building storage into the plan from the start keeps surfaces clear. Recessed niches, tall cabinets, and vanity drawers all pull their weight.
Use the space above the toilet for shelving and the wall depth for recessed cubbies. A mirrored medicine cabinet hides essentials in plain sight. Smart storage makes even a busy bathroom feel tidy and serene.
21. The Compact Three-Quarter Bath
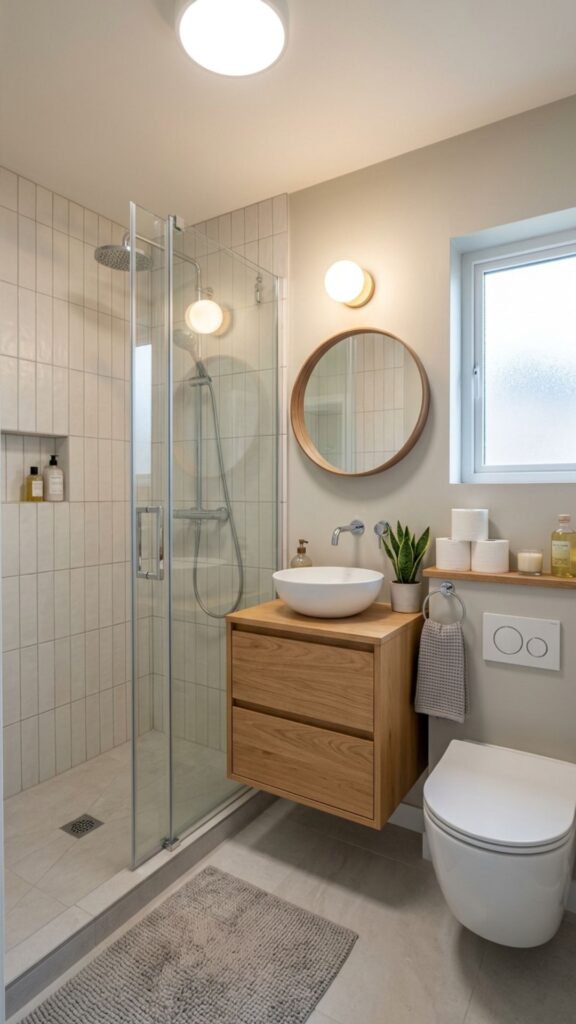
A three-quarter bath includes a toilet, sink, and shower, but skips the tub. This makes it a space-saving choice for guest rooms, basements, and additions. You get full functionality in a smaller footprint.
Fit it into roughly 35 to 40 square feet with a corner shower and a compact vanity. Skipping the tub frees up room for better movement. It’s a practical option that still feels complete.
Conclusion
The best bathroom starts with a layout that fits how you actually live. Whether you’re squeezing function into a powder room, sharing a Jack-and-Jill with the kids, or building a spa-worthy retreat, the right plan makes all the difference. Focus on smart plumbing placement, proper clearances, and built-in storage, and your space will work harder while feeling bigger.
Ready to put these ideas into action? Grab a tape measure, sketch your room on graph paper, and test two or three of these bathroom design layouts before you commit. When you’re ready to build, share your favorite plan with a trusted contractor or designer to bring it to life.
What is the most space-efficient bathroom layout?
The three-in-a-row layout is the most space-efficient option. It lines up the toilet, sink, and shower along one wall, which simplifies plumbing and fits well in narrow rooms. For very small spaces, a corner shower paired with a wall-mounted sink also saves significant floor area.
How much space do you need between bathroom fixtures?
Leave at least 30 inches of clear floor space in front of each fixture and a minimum 21-inch clearance in front of the toilet and sink. For comfortable movement, aim for a 36-inch-wide walkway. These clearances prevent crowding and meet most building code minimums.
What is the smallest bathroom layout that works?
A powder room with just a toilet and sink can fit in as little as 18 square feet. For a full shower, a three-quarter bath needs about 35 to 40 square feet. Use a corner shower, a slim vanity, and a pocket door to make the most of tight spaces.
Should the toilet be next to the shower or the sink?
Placing the toilet next to the shower keeps wet zones together and your sink area cleaner. Grouping plumbing also reduces pipe runs and installation costs. For added privacy, enclose the toilet in a separate water closet when space allows.
How do I make a small bathroom feel bigger?
Use a floating vanity, light colors, and a large mirror to open up the space. A curbless wet room or a glass shower screen removes visual barriers. Recessed storage and good lighting also help a small bathroom feel roomier and less cluttered.