Adding an island can change how your whole kitchen feels. Suddenly you’ve got extra counter space, a spot for morning coffee, and storage you didn’t know you needed. The catch? Custom islands cost a small fortune. That’s where IKEA comes in.
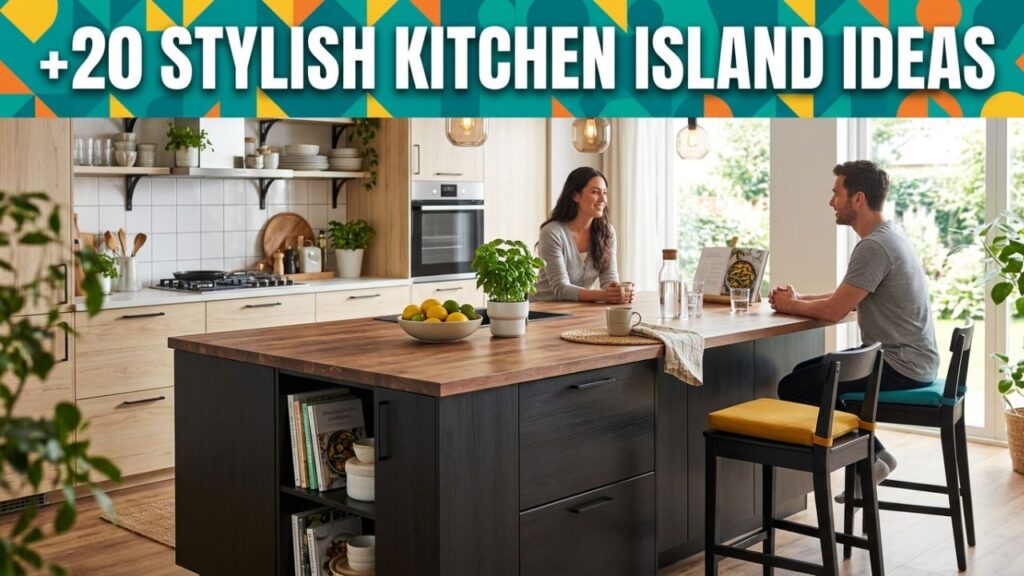
After building three islands over the years (two for my own homes, one for my sister’s tiny apartment), I’ve learned which IKEA pieces work best and where people usually go wrong. The good news is you don’t need to be a carpenter. Most of these ideas use ready-made cabinets, a countertop, and a weekend of patience.
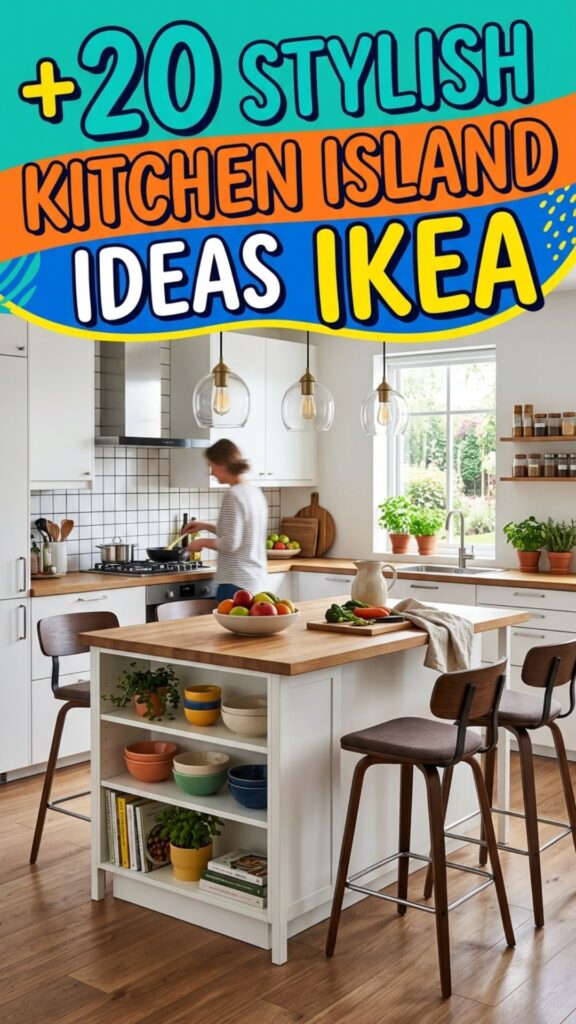
Below you’ll find 20 kitchen island ideas IKEA shoppers can actually pull off. You’ll learn which products to combine, how to save money, and how to match your island to your space and cooking habits.
1. Turn a KALLAX Shelf Into a Budget Island
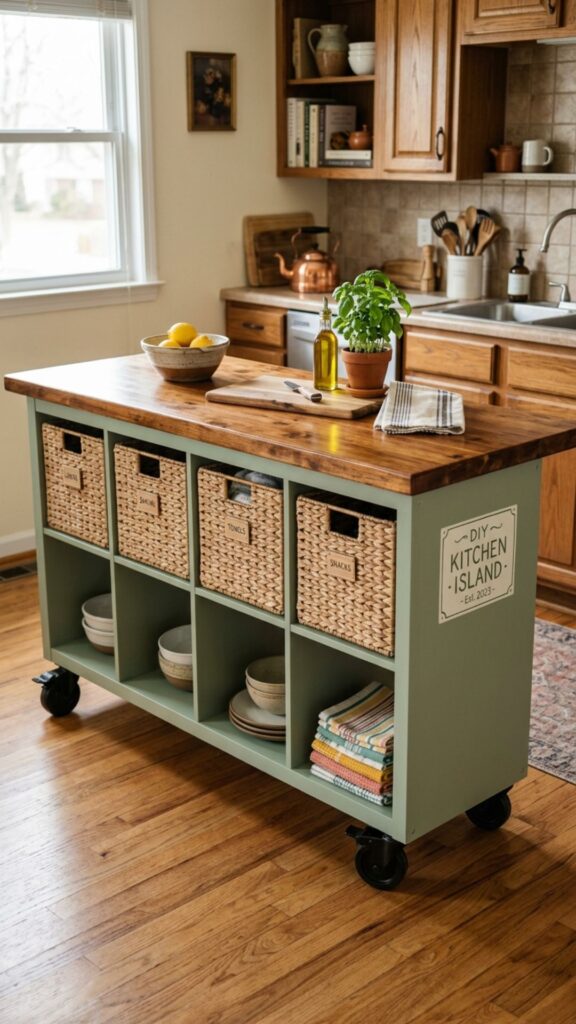
The KALLAX shelving unit is the easiest starting point for anyone new to island building. Lay it on its side or stand it upright, add a wooden top, and you’ve got open cubbies for cookbooks, baskets, and bowls. It costs a fraction of a full cabinet setup.
I’ve seen people paint the frame a deep navy and pop in fabric bins to hide clutter. Add caster wheels underneath, and the whole thing rolls wherever you need it. For a small kitchen, this is honestly the fastest win.
2. Combine Two SEKTION Base Cabinets for a Full-Size Island
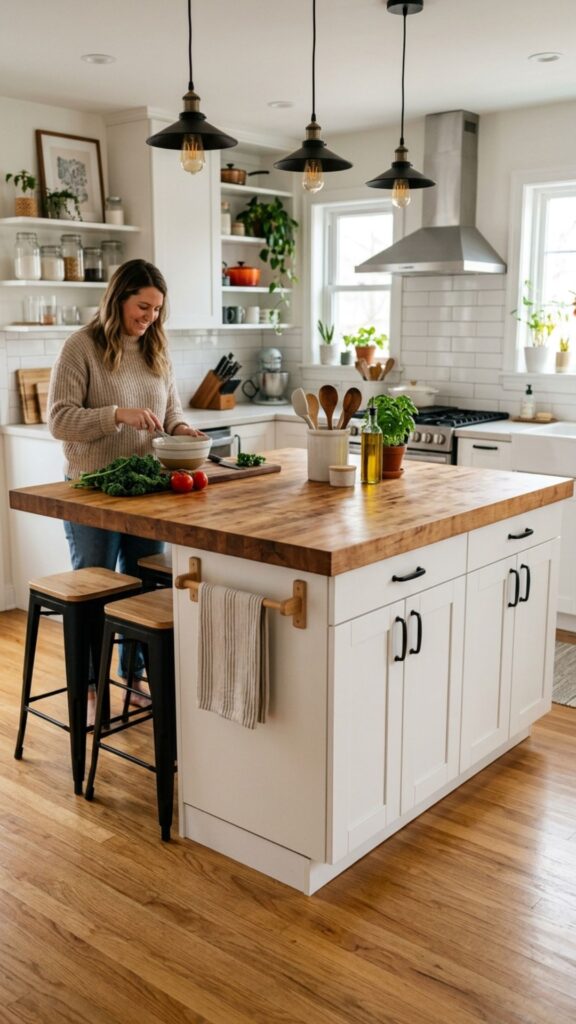
If you want something that looks built-in, pair two SEKTION base cabinets back to back. This gives you drawers on one side and doors on the other, so you cover both storage styles. Top it with a solid butcher block, and it reads like a proper piece of furniture.
The trick here is levelling. Uneven floors will make your doors misalign, so use the adjustable feet and a spirit level before you screw anything down. Take your time, and the result feels custom without the custom price tag.
3. Build a Breakfast Bar With an Overhang Countertop
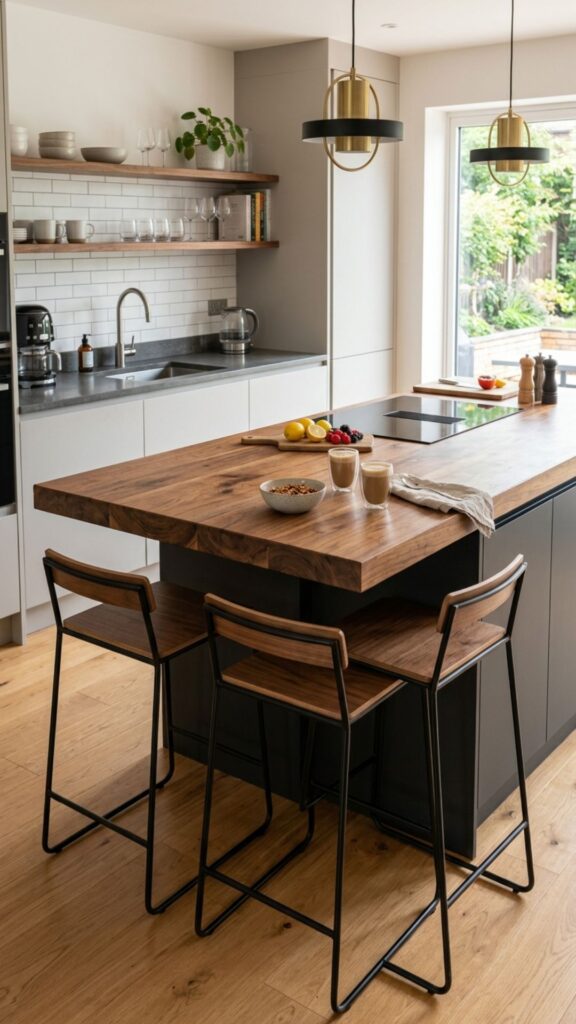
Everyone wants a spot to eat that isn’t the dining table. Extend your countertop about 12 inches past the cabinet base, and you’ve created room for stools underneath. The KARLBY worktop is a favorite because it comes in generous lengths and looks like real wood.
Support the overhang with brackets or corbels so it doesn’t sag over time. I skipped this once and regretted it within a month. Slide two bar stools underneath, and suddenly the island doubles as a casual dining spot.
4. Use a RÅSKOG Cart for Renters and Tiny Spaces
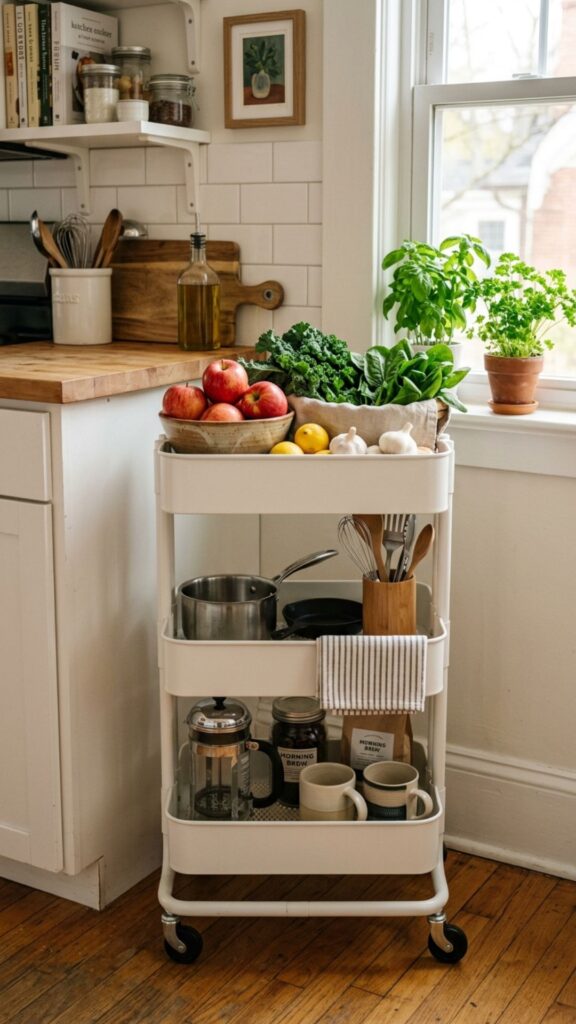
Not ready to commit? The RÅSKOG utility cart works as a mini island that moves with you. It’s perfect for renters who can’t drill into walls or floors. Three tiers hold produce, pans, or a coffee station.
Because it’s on wheels, you can push it against the wall when you need floor space and pull it out while cooking. It won’t replace a full island, but for a studio kitchen, it does the job for under fifty dollars.
5. Add a Wine Rack and Open Shelving Combo
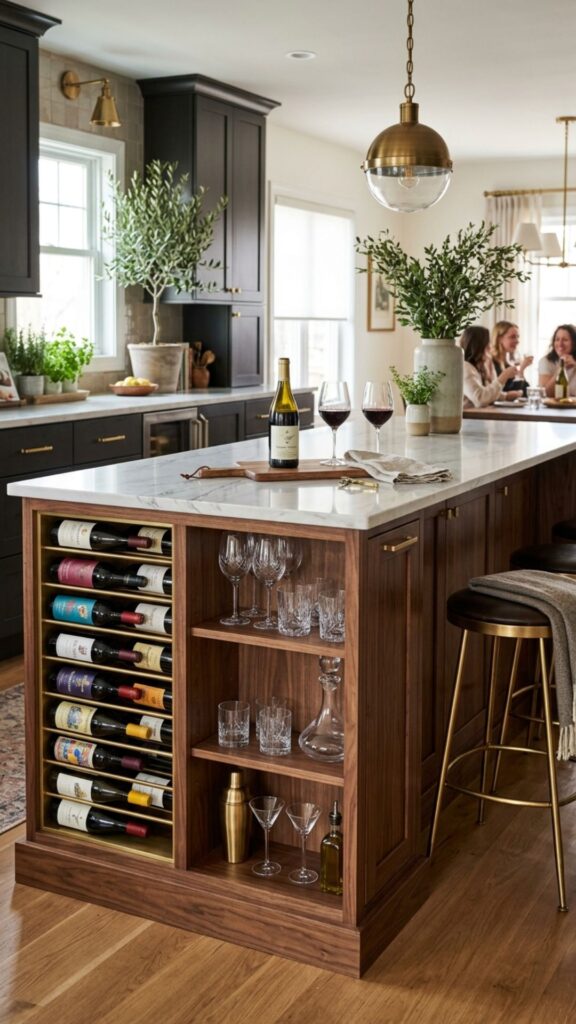
Wine lovers, this one’s for you. Mount a small wine rack on one end of your island and leave open shelving on the other. It keeps bottles handy and turns your island into a display piece for glassware.
Pair the VADHOLMA open island, which already includes a rack and shelf, or build your own using loose components. Just keep heavier items low so the whole thing stays stable. Guests always gravitate toward the wine end.
6. Install a Butcher Block Top for Serious Cooks
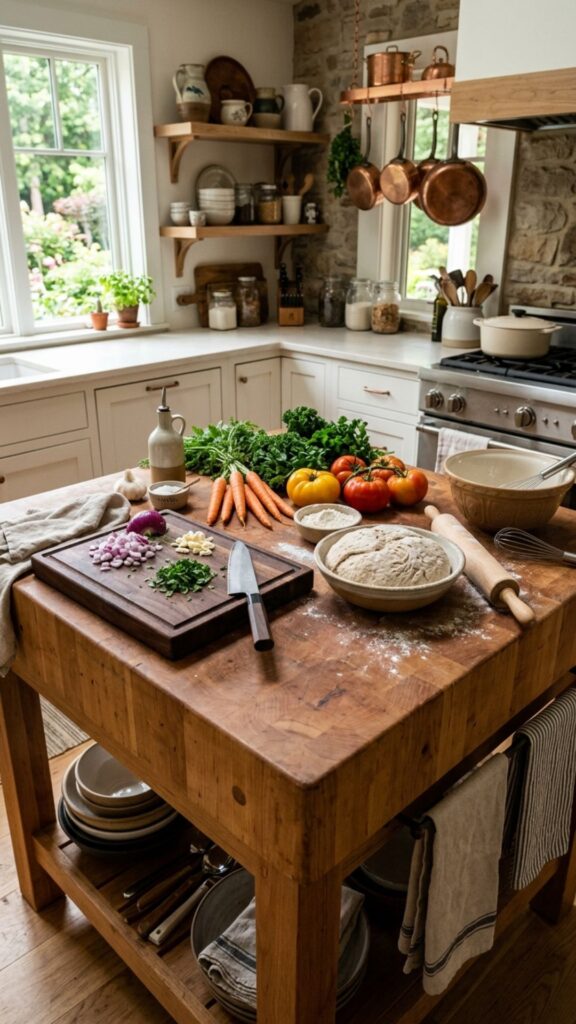
If you actually prep food on your island, a butcher block surface earns its keep. IKEA’s solid wood worktops handle chopping, kneading, and rolling far better than laminate. They also get better with age when you oil them.
Give the wood a coat of food-safe mineral oil every few weeks at first, then monthly. This stops drying and cracking. A well-kept butcher block can outlast the cabinets underneath it.
7. Create a Two-Tone Island for Contrast
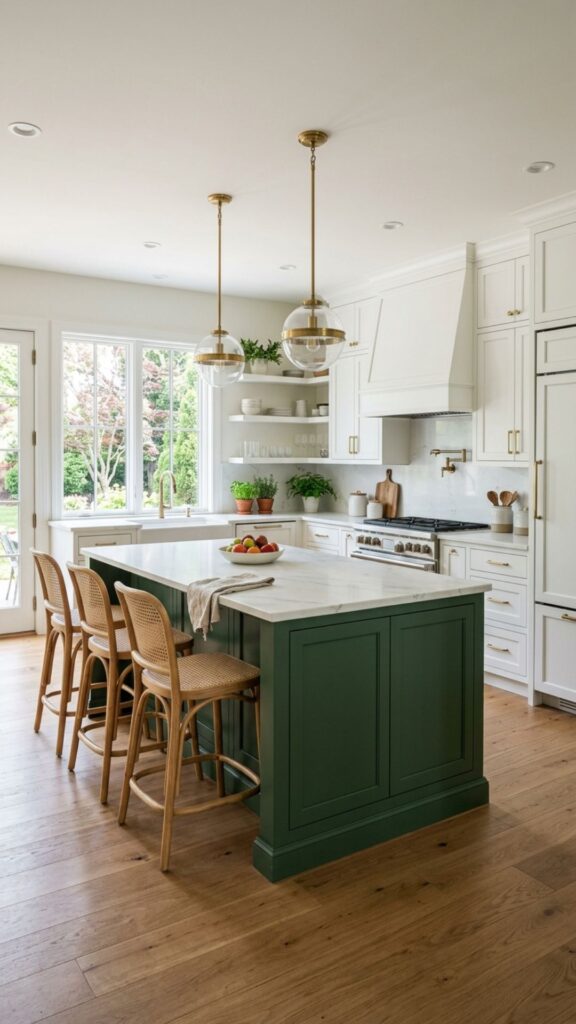
Matching your island to your existing cabinets is fine, but a contrasting color makes it a centerpiece. Try white perimeter cabinets with a charcoal or forest-green island. The BODBYN and VOXTORP door fronts come in shades that pull this off nicely.
Because the island sits in the middle of the room, a bold color grounds the whole space. Keep the countertop neutral so the color does the talking. This one small choice makes a kitchen look designed rather than assembled.
8. Fit Deep Drawers for Pots and Pans
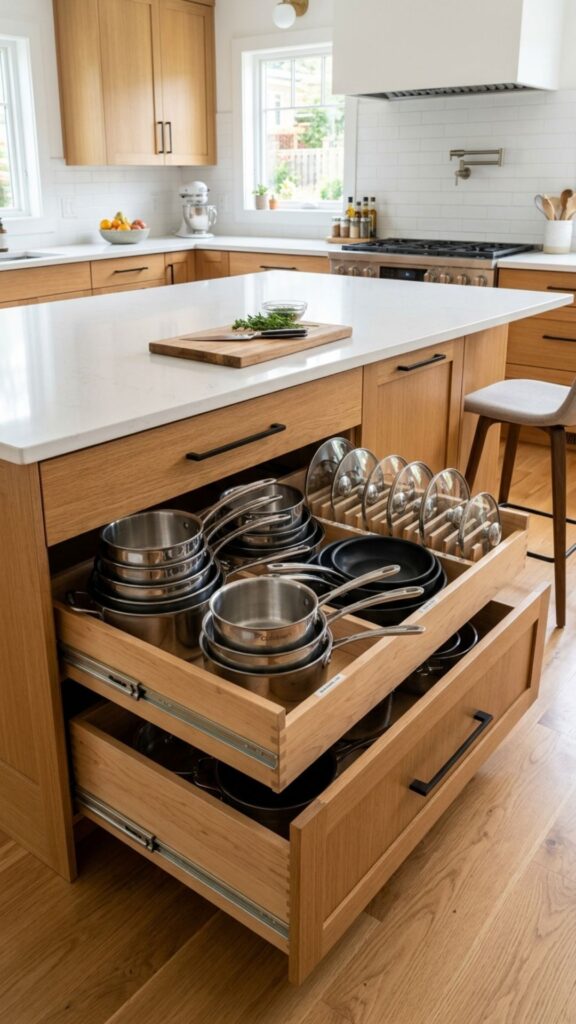
Cabinet doors hide clutter, but deep drawers actually make it usable. Nobody enjoys crawling into a low cabinet to find a lid. Swap standard shelves for MAXIMERA deep drawers, and your heavy cookware slides right out to meet you.
Add drawer dividers to keep lids upright and pans separated. I organized mine by size, and prep time genuinely dropped. It’s the kind of upgrade you don’t appreciate until you’ve lived without it.
9. Add a Built-In Sink for a Prep Station
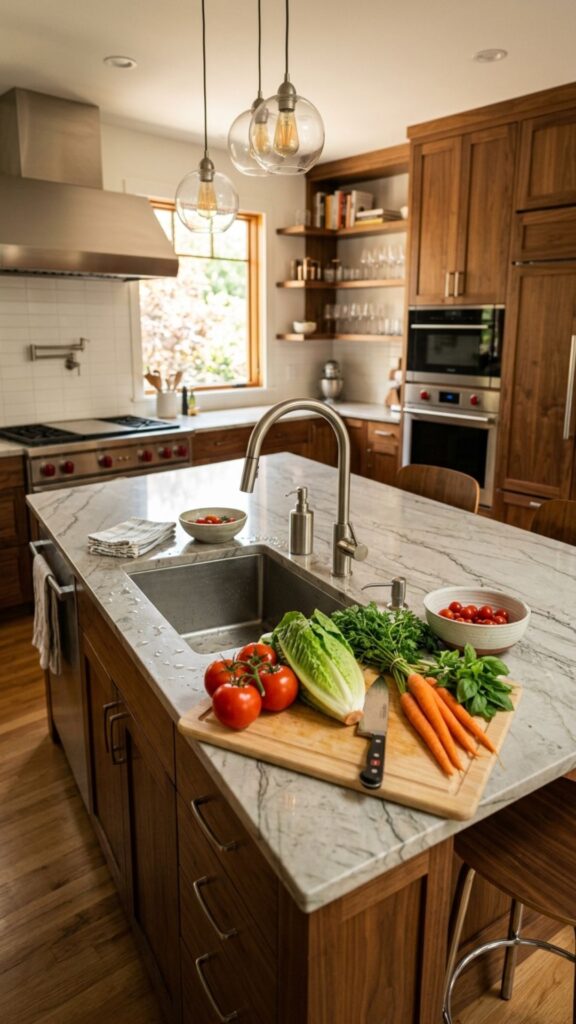
Running a sink to your island takes plumbing work, but the payoff is huge. A prep sink means you can rinse vegetables without crossing the kitchen. IKEA sinks fit standard SEKTION cabinets, so the cabinet side is straightforward.
Hire a plumber for the water lines unless you truly know what you’re doing. This is one area where DIY mistakes get expensive fast. Once it’s in, an island sink makes cooking feel far more fluid.
10. Use Peg Rails and Hooks for Hanging Storage
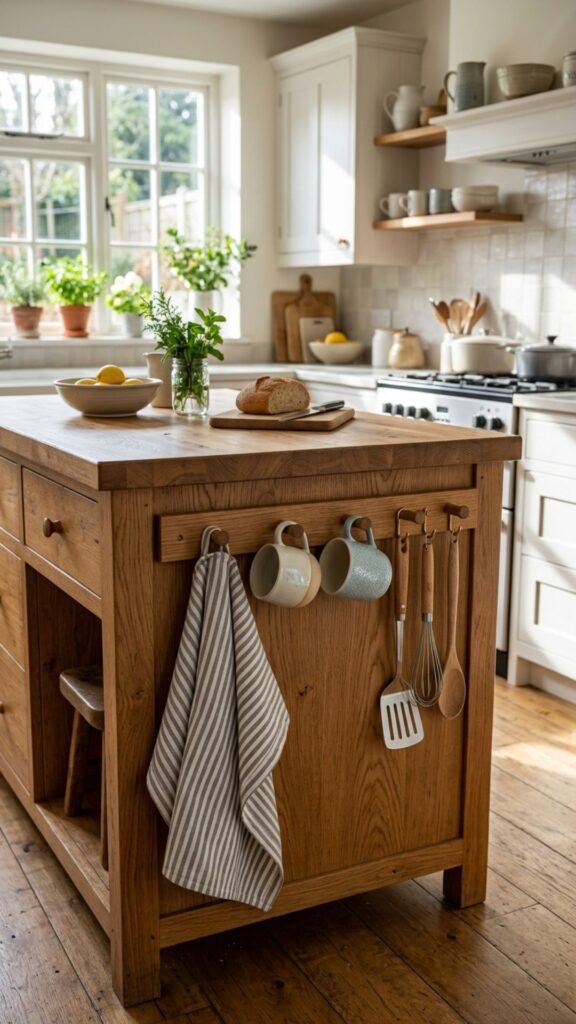
The sides of your island are prime real estate people forget. Attach a set of hooks or a peg rail to hang towels, mugs, or utensils. IKEA’s simple rail systems screw on in minutes.
This works especially well on the end that faces open space. It keeps everyday items within reach and adds a bit of character. For small kitchens, every hook counts.
11. Design a Rolling Island With Locking Casters
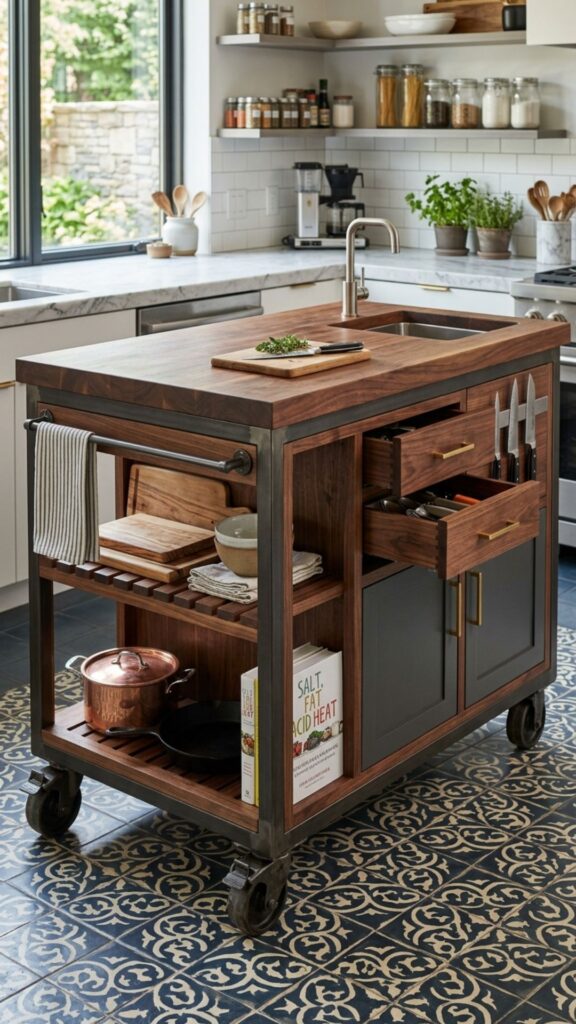
Flexibility matters in a busy kitchen. Add locking casters to any island base, and you gain a piece you can reposition for parties, cleaning, or extra prep room. Locking wheels keep it steady when you’re actually working.
Choose casters rated for the island’s weight, especially if you’ve loaded it with a stone top and full cabinets. Cheap wheels will fail under heavy loads. Get this right, and you’ve got the most versatile island in the house.
12. Incorporate a Wine Cooler or Mini Fridge
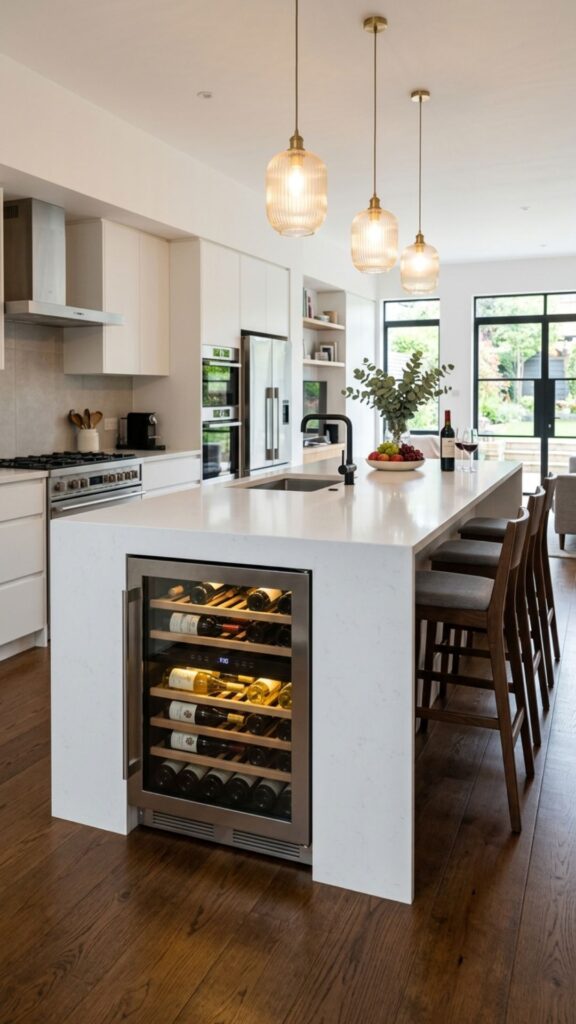
For entertainers, tucking a mini fridge or wine cooler into the island keeps drinks close. Leave an open cabinet bay sized to your appliance, and slide it in. This works with the SEKTION system since the openings are modular.
Make sure the appliance has proper ventilation room, or it’ll overheat. Check the manufacturer’s clearance specs before you build the cabinet around it. Done well, it’s a feature guests notice immediately.
13. Add Bar Stools for a Social Kitchen Hub
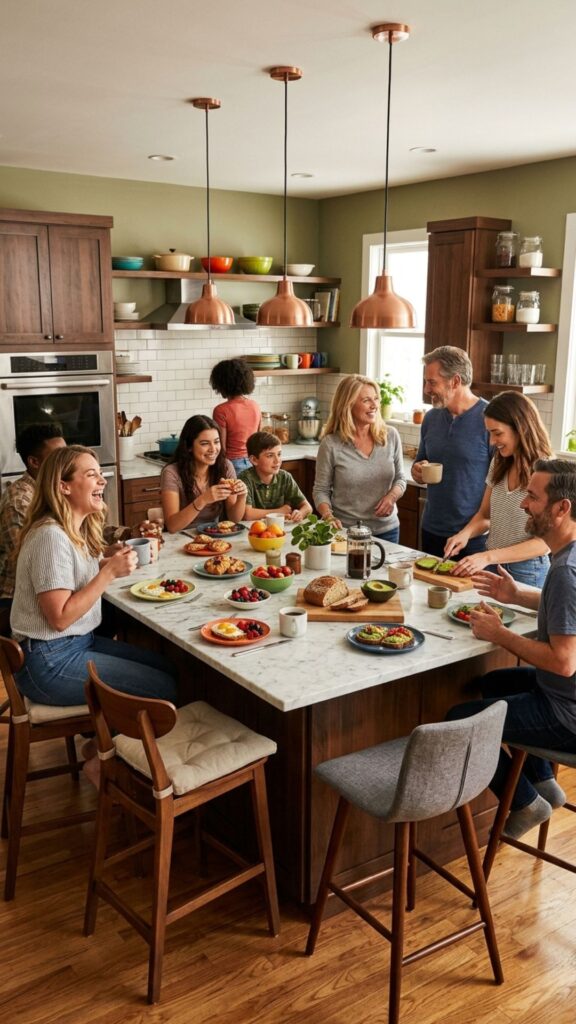
An island becomes the heart of the home when people can gather around it. Pair a countertop overhang with stools, and homework, snacks, and conversation all migrate there. IKEA’s stools range from simple stools to backed styles.
Measure the gap between seat and countertop; you want roughly 10 to 12 inches for comfortable legroom. Too tight, and knees hit the cabinet. Get the height right, and the island becomes the spot everyone lingers.
14. Use IVAR Units for a Rustic Farmhouse Look
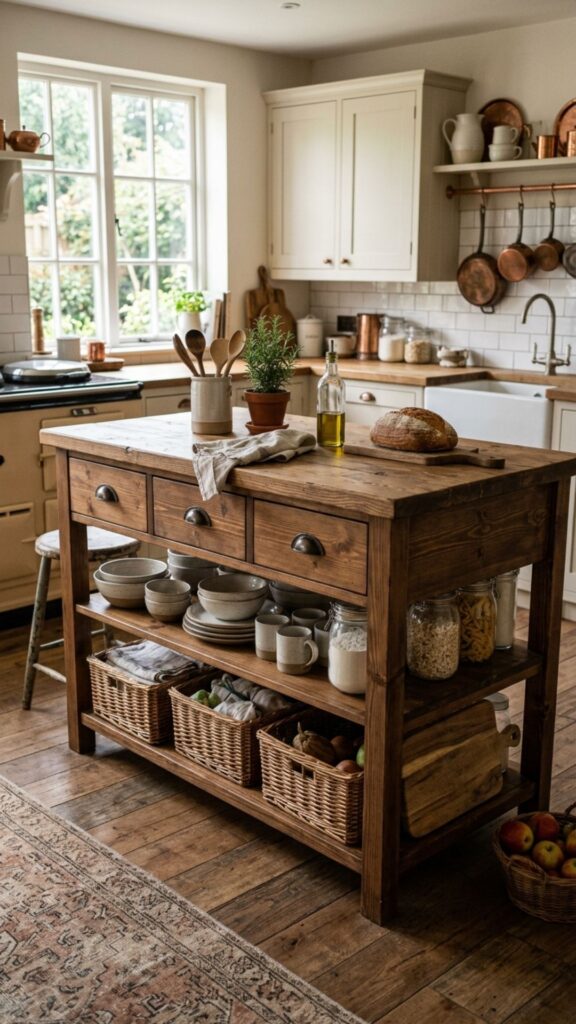
The IVAR pine system gives that warm, rustic feel without much cost. Stain or paint the raw wood to match a farmhouse kitchen, then top it with a plank surface. The natural grain looks great with vintage hardware.
Because IVAR is untreated, seal it well so spills don’t stain. A couple of coats of clear varnish protect the wood and keep it wipeable. This is a lovely option if polished modern isn’t your style.
15. Build a Compact Island for Small Kitchens
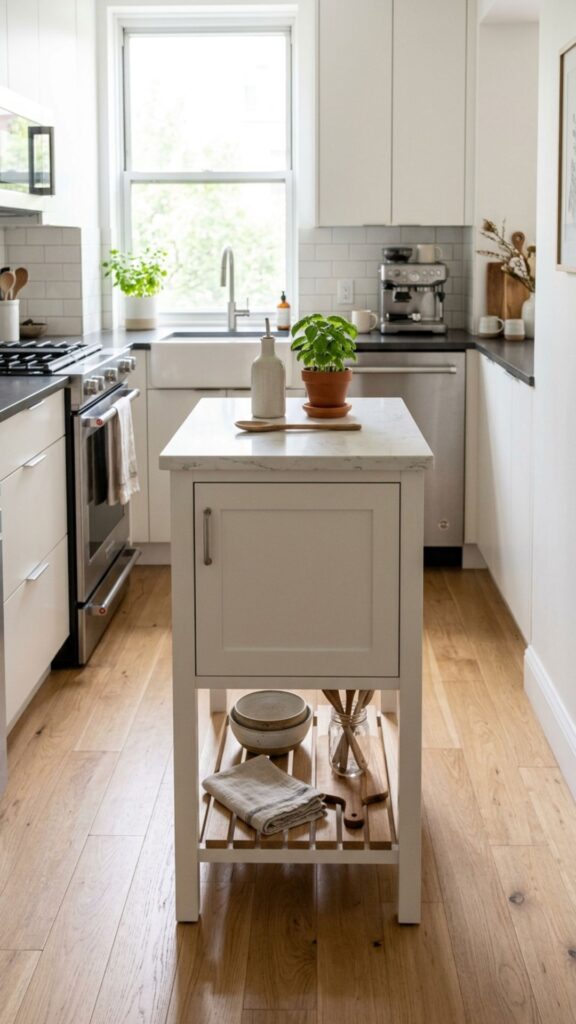
Small kitchens still deserve an island, just a scaled-down one. A single base cabinet, around 24 inches wide, gives you a bit of counter and storage without blocking traffic. Leave at least 36 inches of walkway around it.
Choose a light countertop and open shelving to keep the space feeling airy. Crowding a tiny kitchen with a bulky island backfires. Measure your clearances first, and even a galley kitchen can fit one.
16. Add a Waterfall Countertop for a Modern Edge
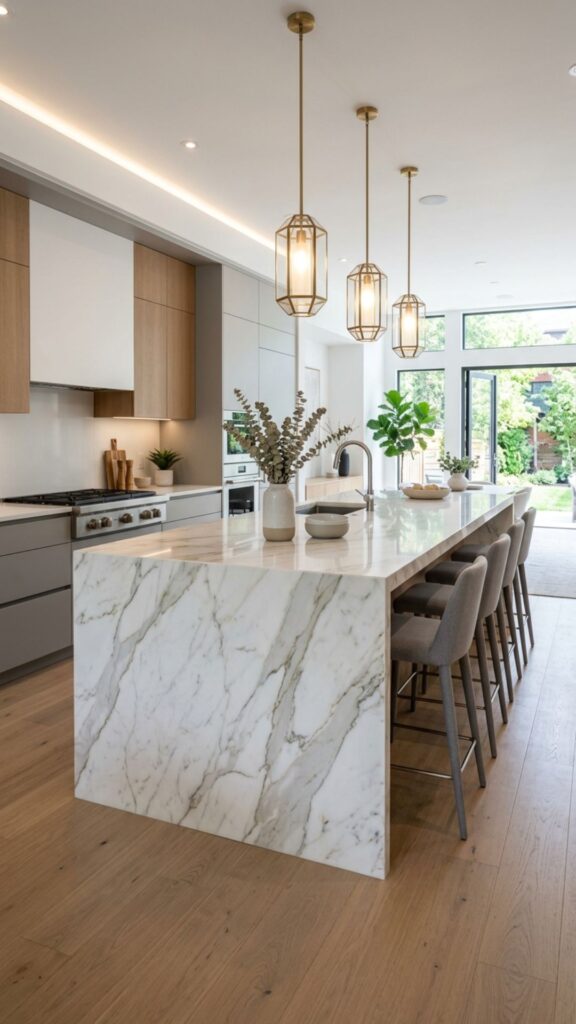
A waterfall edge, where the countertop runs down the sides to the floor, gives a sleek, high-end look. You can approximate this with matching worktop panels on the ends. It hides the cabinet sides and creates a clean, seamless block.
This finish suits minimalist and contemporary kitchens best. It takes precise cutting, so measure twice and cut once, or have the panels cut professionally. The result feels far more expensive than the parts cost.
17. Include Open Shelving for Everyday Dishes
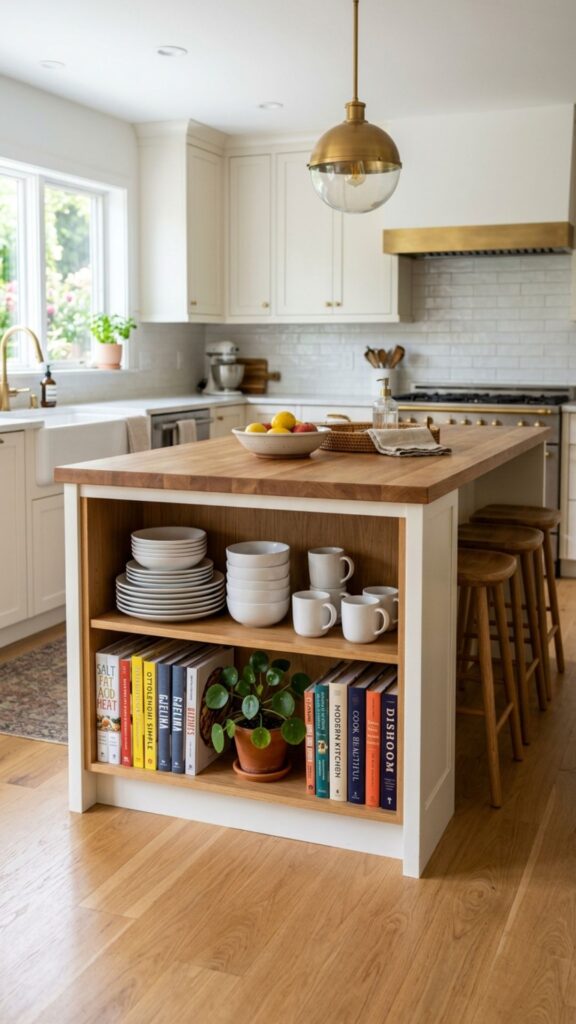
Open shelves on the island keep plates and bowls within arm’s reach. It’s practical for busy households and adds a display element. Stack matching dishware for a tidy, cohesive look.
The downside is dust and visible clutter, so this suits people who keep things neat. Style it with a plant or a stack of cookbooks. When done thoughtfully, open shelving warms up the whole kitchen.
18. Create a Baking Station With a Stone Top
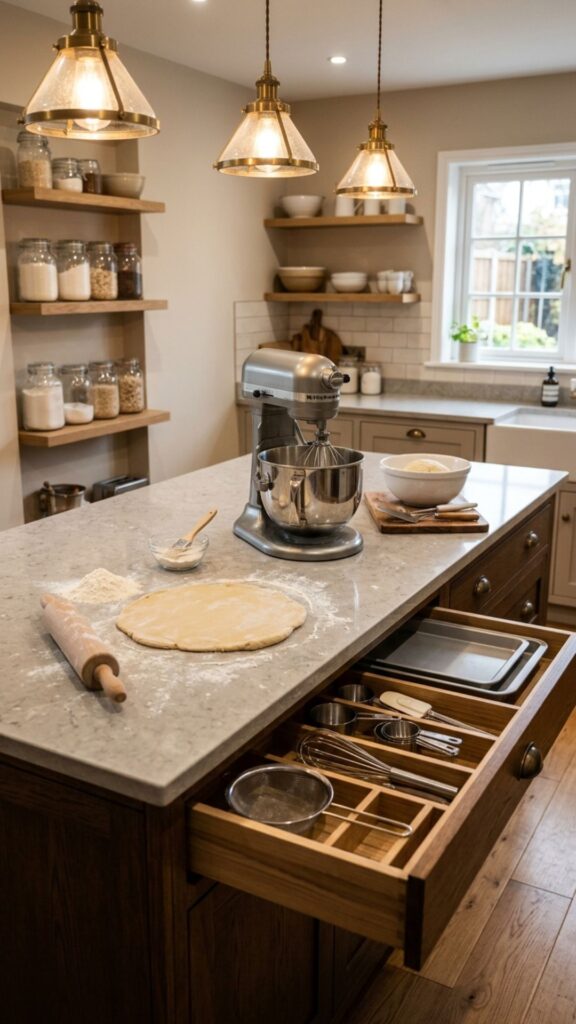
Bakers benefit from a cool, smooth surface for rolling dough. A stone or stone-look worktop stays cooler than wood and handles flour dust with a quick wipe. Pair it with a deep drawer for tins and trays underneath.
Keep your mixer and baking tools stored right there so everything’s in one zone. Grouping tasks by station cuts down on kitchen chaos. If you bake often, this dedicated setup pays off every weekend.
19. Match Hardware to Refresh the Whole Look
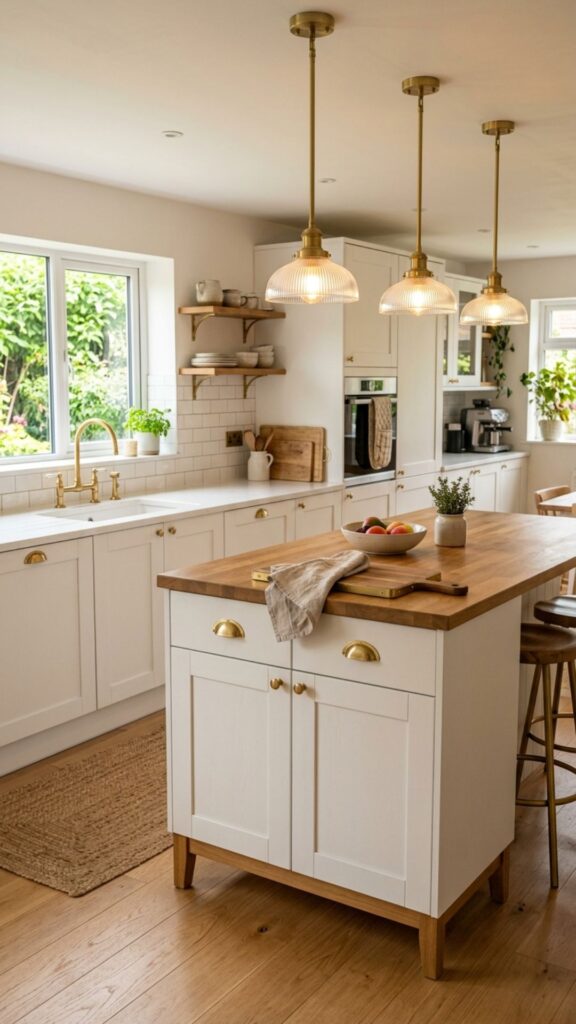
Small details finish the job. Swapping the standard knobs and handles for brass, matte black, or leather pulls instantly upgrades an IKEA island. Hardware is cheap to change and makes a big visual difference.
Pick a finish that ties into your faucet or light fixtures for a pulled-together feel. Mixing too many metals looks accidental. One consistent accent metal across the island reads intentional and polished.
20. Add Task Lighting Above Your Island
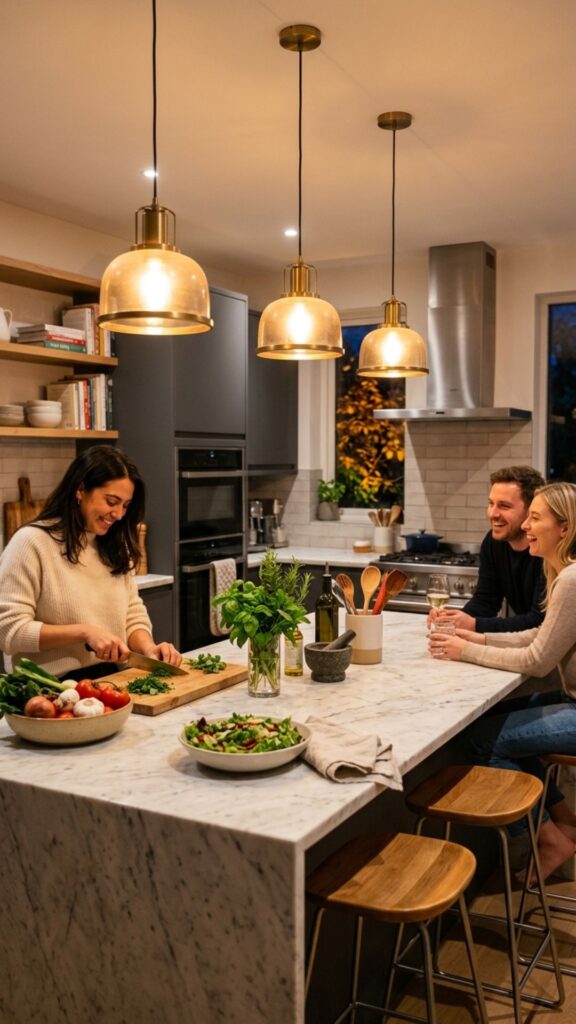
Good lighting turns an island from functional to inviting. Hang pendant lights or add under-shelf strip lighting to brighten your prep zone. IKEA’s pendant range covers everything from industrial to soft globe styles.
Center the lights over the island and hang them about 30 to 36 inches above the counter. Too high and they wash out; too low and they blind you. Proper lighting makes late-night cooking far more pleasant.
Bringing It All Together
Building an island doesn’t have to drain your budget or your weekend. Whether you start with a simple KALLAX shelf, a rolling RÅSKOG cart, or a full SEKTION setup with drawers and a sink, IKEA gives you the pieces to make it happen. The best island is the one that matches how you actually cook, eat, and live.
Pick one or two ideas from this list that fit your space and skill level, then measure your kitchen carefully before you buy. Head to your nearest IKEA or browse online to price out your build. Your dream island might be closer, and cheaper, than you think.
Can you build a kitchen island with IKEA cabinets?
Yes. Most IKEA islands use SEKTION base cabinets topped with a worktop like KARLBY or a butcher block. You bolt two cabinets together, level them with adjustable feet, and add a countertop. It’s a manageable weekend project for most DIYers.
How much does an IKEA kitchen island cost?
A basic IKEA island can cost as little as $150 to $300 using a KALLAX unit or single cabinet with a top. A larger island with multiple SEKTION cabinets, a solid worktop, and hardware typically runs $500 to $900, depending on your choices.
What size should a kitchen island be?
Leave at least 36 to 42 inches of clearance around your island so people can move freely. For small kitchens, a single 24-inch-wide cabinet works well. Larger kitchens can support islands 48 inches wide or more with seating.
Do IKEA islands come with wheels?
Some smaller options like the RÅSKOG cart come with wheels built in. For cabinet-based islands, you can add locking casters yourself. Choose casters rated for the island’s total weight to keep it stable during use.
Can you add a sink to an IKEA island?
Yes, but you’ll need plumbing work to run water and drainage lines to the island. The cabinet side is straightforward since IKEA sinks fit SEKTION units. Hire a licensed plumber for the water connections to avoid costly leaks.