That awkward corner in your kitchen doesn’t have to sit empty. With the right approach, it can become the hardest-working spot in the whole room. I’ve spent years helping homeowners rethink tricky layouts, and corners are almost always the biggest missed opportunity.
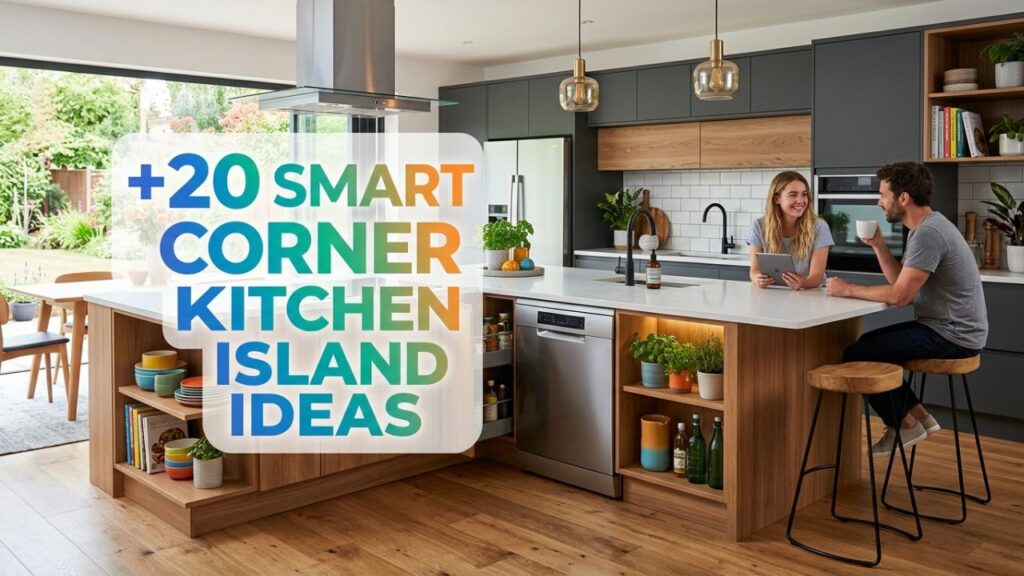
A well-placed island tucked into an angle can add prep space, storage, and seating without eating up your walking room.
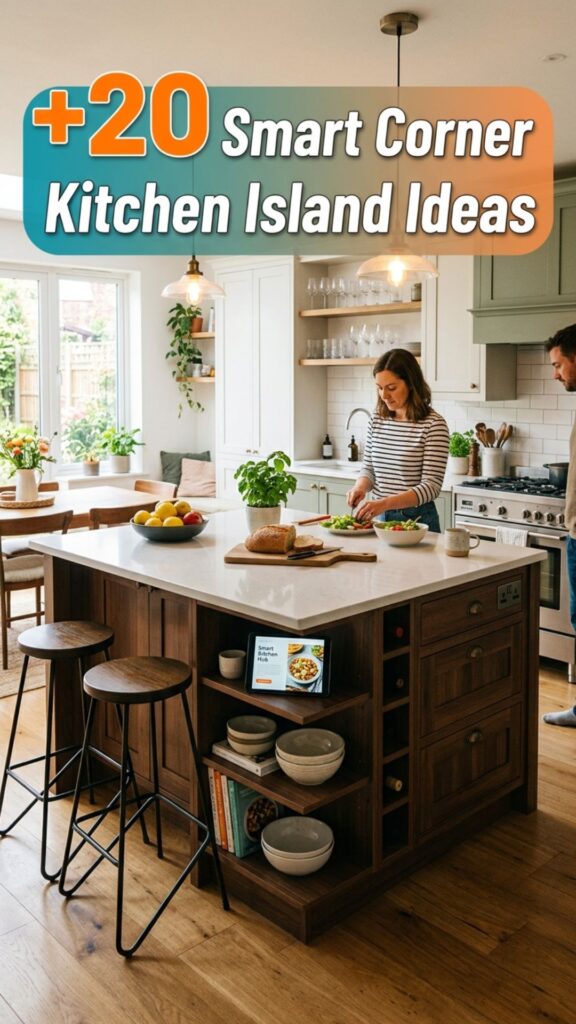
If you’ve been staring at a cramped or oddly shaped kitchen wondering what to do, you’re in the right place. Below you’ll find 20 practical corner kitchen island ideas, each with real-world details you can actually use. Whether you own a tiny apartment or a sprawling open-plan space, there’s something here to steal.
1. Go With an L-Shaped Corner Island
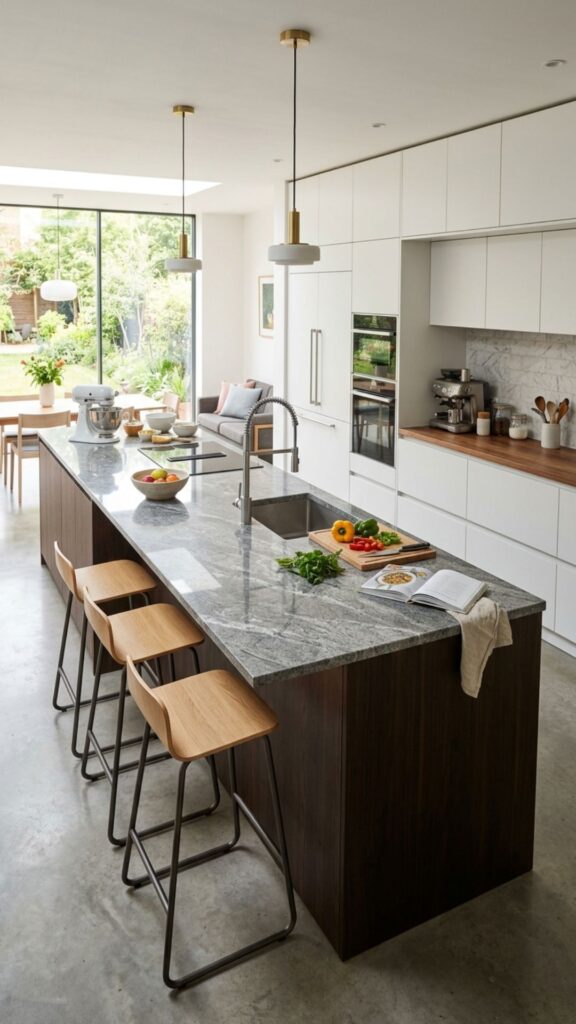
An L-shaped island hugs two walls and turns a dead corner into a functional hub. This shape gives you two distinct work zones—say, chopping on one leg and plating on the other—so more than one cook can move around without bumping elbows. It works beautifully in kitchens where the corner already has plumbing or electrical nearby.
For the best flow, keep at least 36 to 42 inches of clearance around the outer edges. I usually suggest putting the sink on one arm and leaving the other clear for prep. Add a couple of stools at the outer tip and you’ve suddenly got a breakfast nook too.
2. Add a Triangular Peninsula
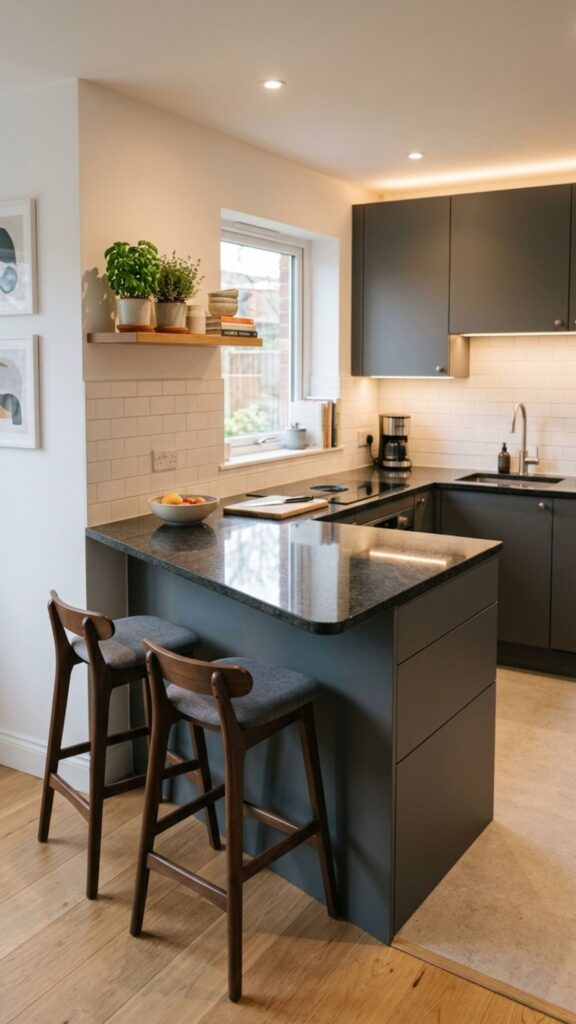
A triangular island fits snugly into a corner and softens the sharp lines of a boxy room. The angled front makes it easier to walk past, which matters a lot in narrow kitchens. It’s one of my favorite tricks for spaces where a full rectangle would block traffic.
Use the widest part of the triangle for a small cooktop or prep zone, then taper the counter toward the walkway. Cabinets underneath can follow the same angle, giving you deep storage in the back and shallow shelves up front. It feels custom without a sky-high price tag.
3. Build in a Corner Sink Station
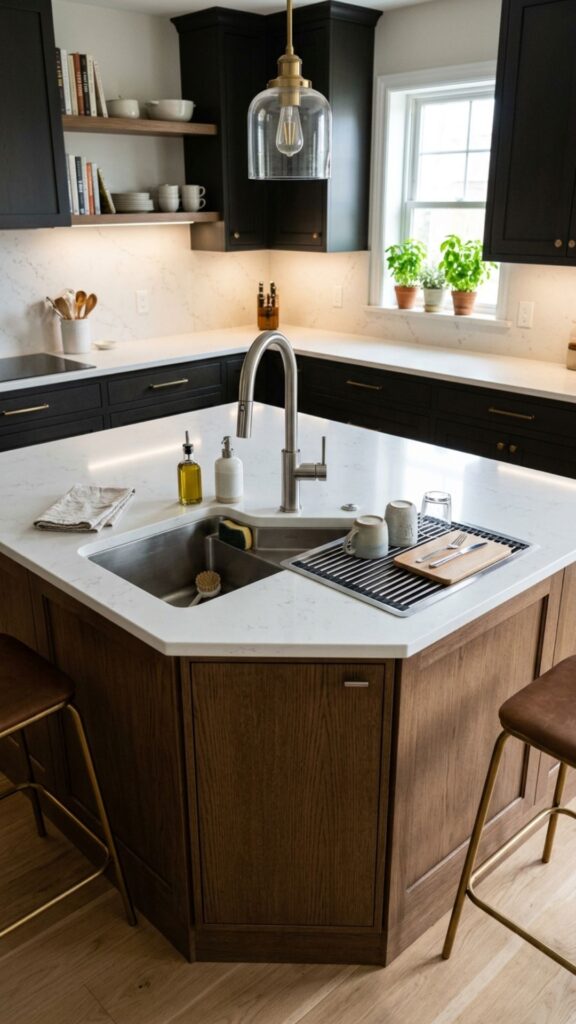
Placing your sink in the corner of the island frees up the flat runs of counter for prep and gadgets. This is a smart move if your existing plumbing sits along the corner walls, since you’ll save on rerouting costs. A single deep basin works better here than a double, as it fits the angle more cleanly.
Pair the sink with a pull-out trash bin and a slim drying rack tucked to one side. I’d also recommend a gooseneck faucet so you have room to wash big pots. The corner placement keeps splashes contained and leaves your main counters dry and usable.
4. Create a Two-Tier Corner Island
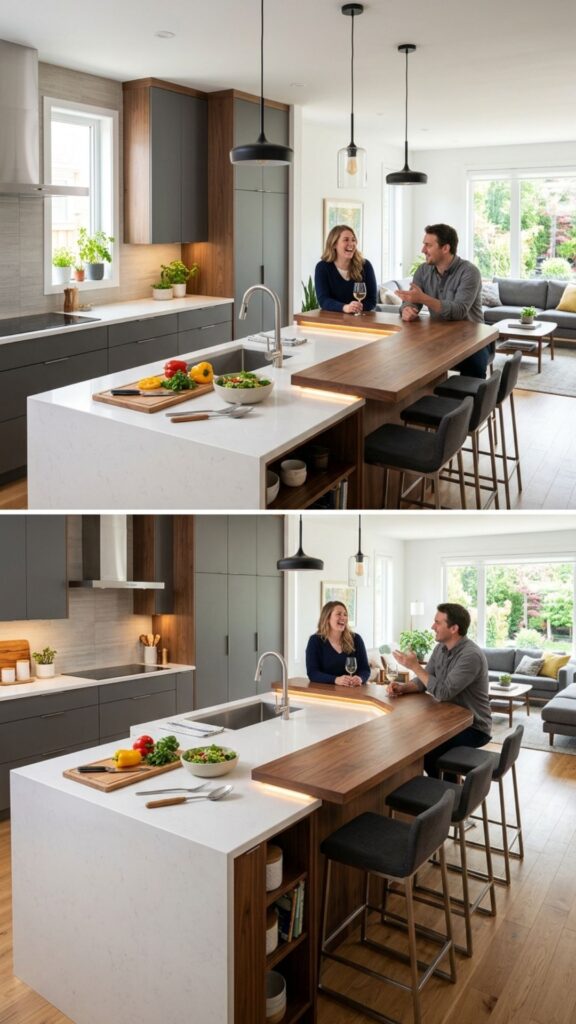
A two-tier design puts your cooking surface at standard height and raises a second level for dining. The higher tier hides messy prep from guests sitting on the other side—a detail people always thank me for later. It also creates a natural divide between the working kitchen and the social space.
The raised bar section works well along the corner’s outer edge, angled toward the room. Keep the lower prep surface facing your stove and fridge. This layout suits open-concept homes where the kitchen flows into a living area and you want things to look tidy.
5. Tuck in a Rolling Corner Cart
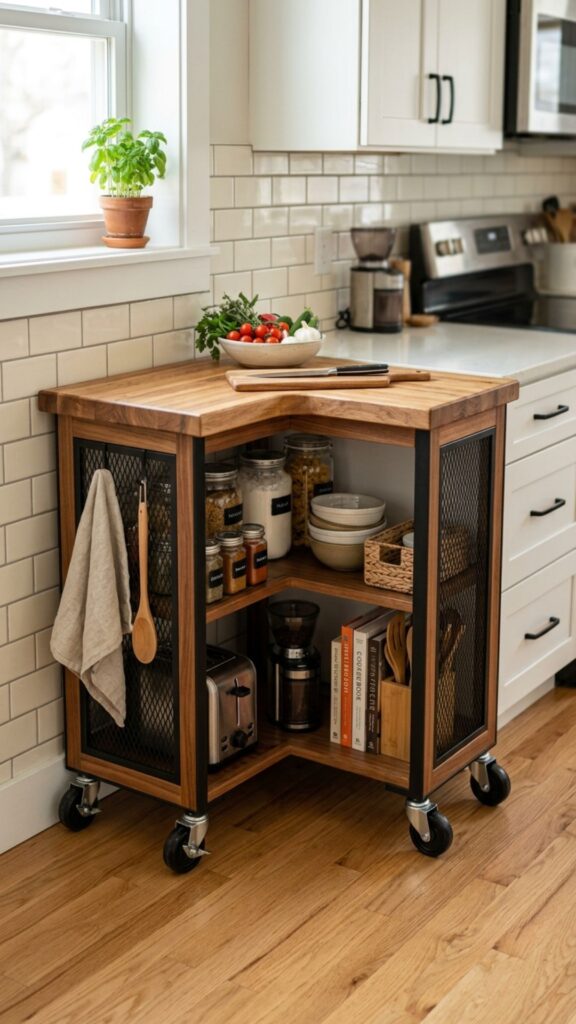
Not every kitchen can handle a fixed island, and that’s fine. A rolling cart parked in the corner gives you flexible prep space you can move whenever you need it. When guests arrive, roll it out as a drink station; when you’re done, tuck it back against the wall.
Look for a cart with locking wheels, a butcher-block top, and a lower shelf or two. I’ve seen renters transform useless corners this way without touching a single cabinet. It’s budget-friendly, and you take it with you when you move.
6. Maximize Storage With Corner Drawers
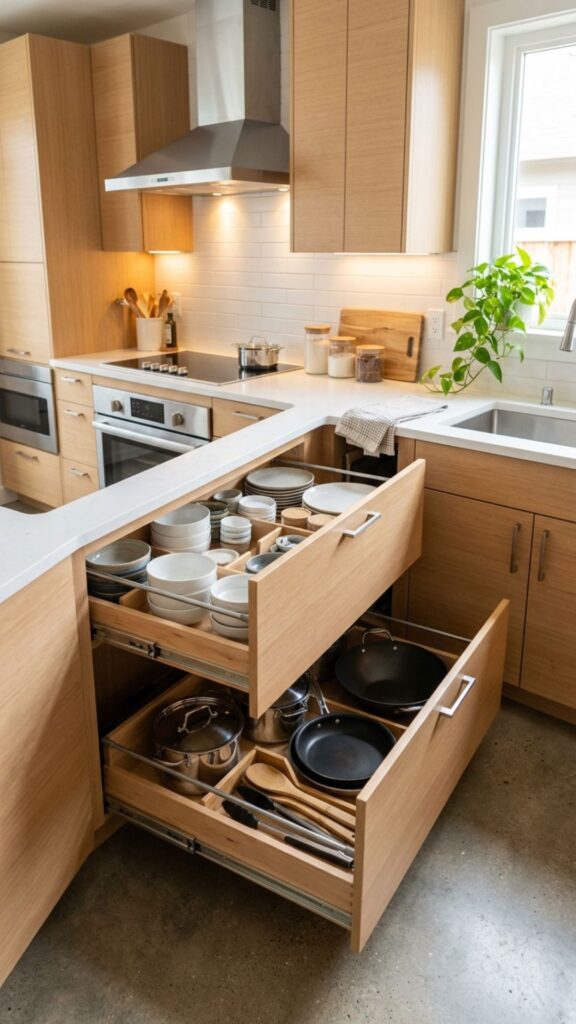
Deep corner cabinets often swallow your stuff into a black hole. Swapping them for angled or diagonal drawers solves that problem instantly. These pull straight out, so you can actually reach everything from spatulas to stockpots without crawling inside.
Inside the island, stack drawers by weight—heavy pans low, light tools up top. Add a peg system in one drawer to keep dishes from sliding around. This small upgrade makes a corner island feel twice as roomy, and it’s a change your back will appreciate.
7. Install a Corner Cooktop Island
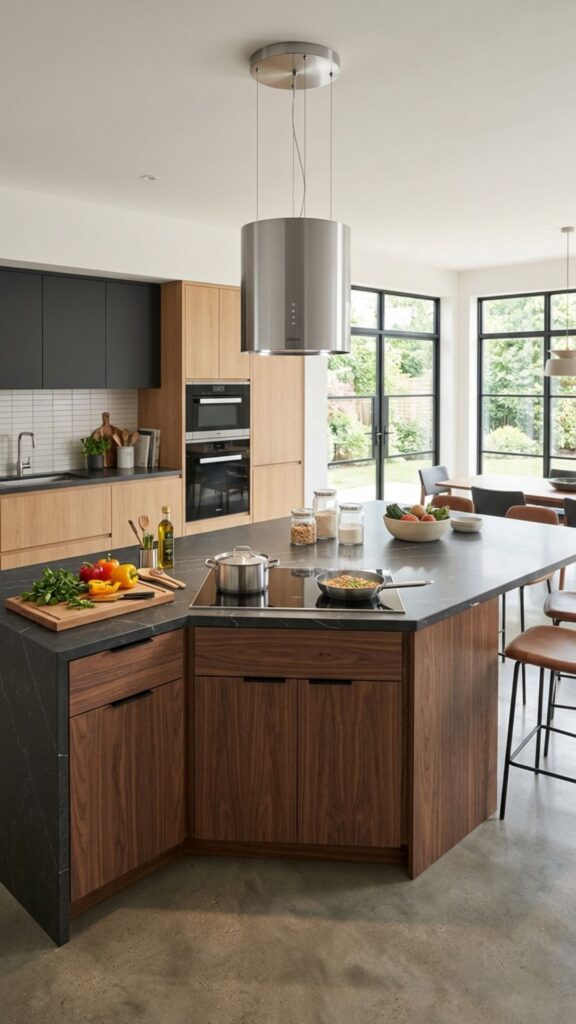
Moving the cooktop onto a corner island opens up your wall space for cabinets or a window. It also puts you facing the room while you cook, which is great for keeping an eye on kids or chatting with guests. Just be sure your ventilation plan can handle the new spot.
A downdraft vent or a ceiling-mounted hood keeps smoke under control. Leave heat-safe landing space on both sides of the burners—at least 12 inches each way. I always tell clients to keep the corner cooktop away from heavy traffic lanes so no one brushes against a hot pan.
8. Design a Compact Corner Prep Island
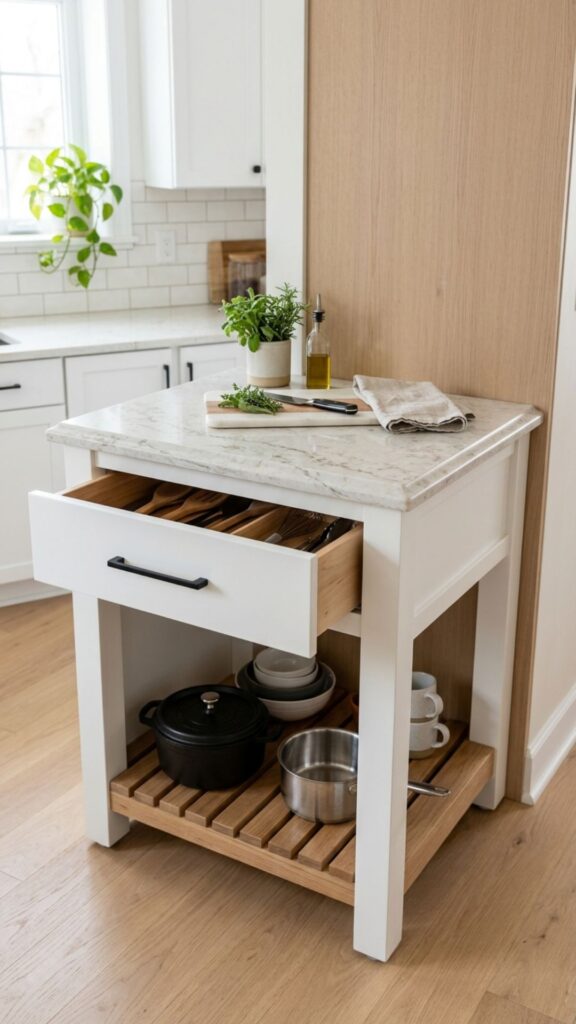
Small kitchens can still fit an island if you scale it right. A compact corner island as small as 24 by 36 inches gives you a solid prep surface without crowding the room. The trick is choosing a footprint that leaves clear walkways on the open sides.
Top it with a durable surface like quartz or butcher block, and add one deep drawer plus an open shelf below. This size works in galley kitchens and studios where every inch counts. It proves you don’t need a huge room to enjoy island convenience.
9. Add Corner Bar Seating
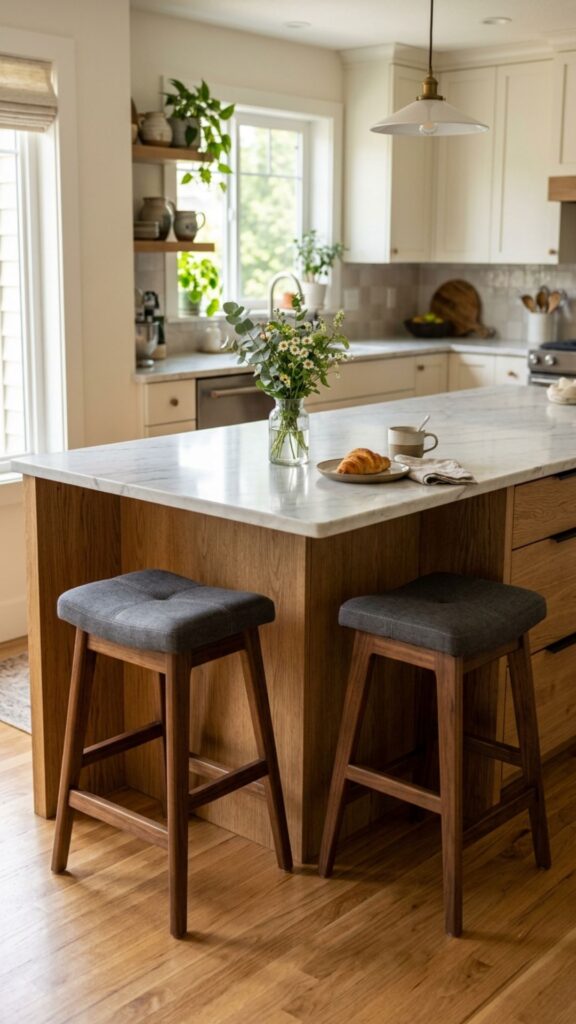
Wrapping seating around the corner of an island turns it into a gathering spot. Two or three stools placed along the angle create a cozy, conversational setup rather than a straight row. It’s perfect for quick breakfasts, homework, or a glass of wine while dinner simmers.
Allow about 24 inches of width per stool and a 12-inch overhang for legroom. Backless stools slide under neatly when not in use. I like pairing this with a slightly raised counter so the seating feels distinct from the work zone.
10. Blend a Corner Island With Open Shelving
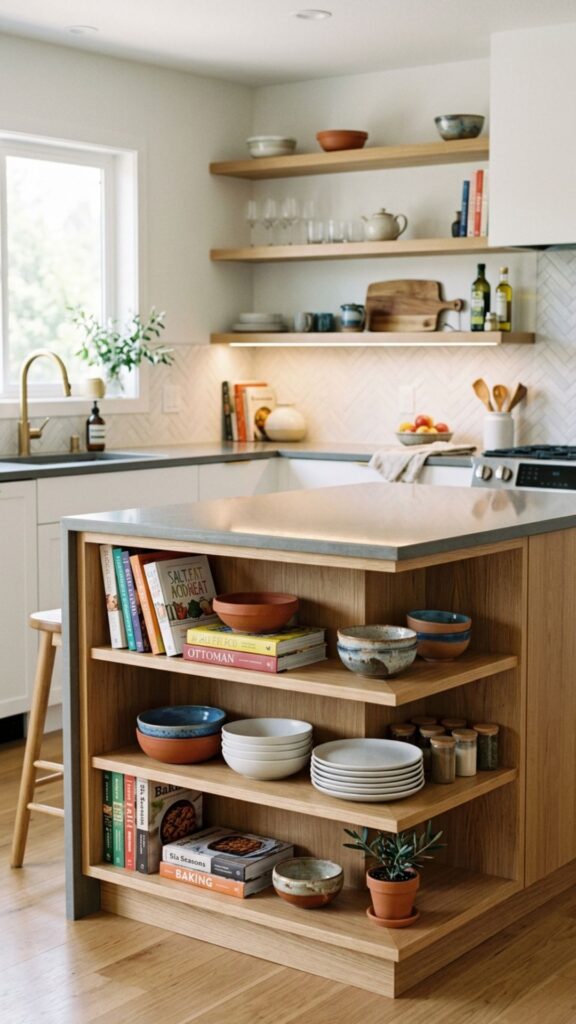
Open shelves on the exposed end of a corner island add display space and easy access. Use them for cookbooks, pretty bowls, or your everyday plates. This keeps frequently grabbed items within arm’s reach while breaking up the bulk of a big cabinet run.
Keep the styling simple—group items in odd numbers and leave some breathing room. Too much clutter makes a small kitchen feel busy. A single row of shelves on the corner works better than several crammed together, and it gives the whole piece a lighter, airier look.
11. Use a Curved Corner Island
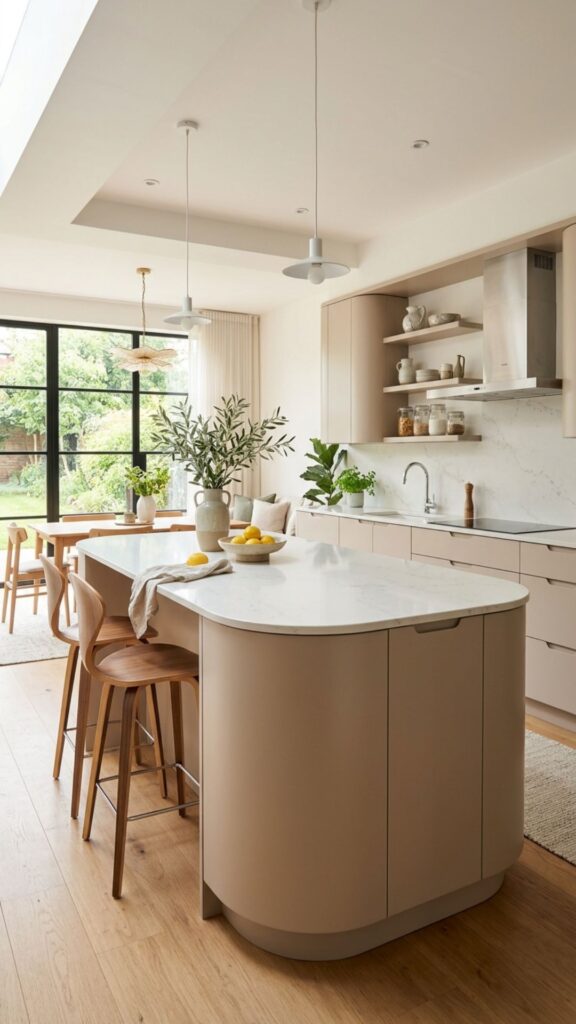
A curved or rounded island softens a corner and eliminates sharp edges that snag hips and clothing. It’s a smart choice for homes with small children or high foot traffic. The gentle sweep also guides people naturally around the space.
Curved islands do cost more because the counter and cabinetry are custom-cut. That said, the safety and flow benefits are real. I recommend this shape for open kitchens where the island sits in the path between rooms, since the smooth edge keeps everyone moving freely.
12. Incorporate a Corner Wine Zone
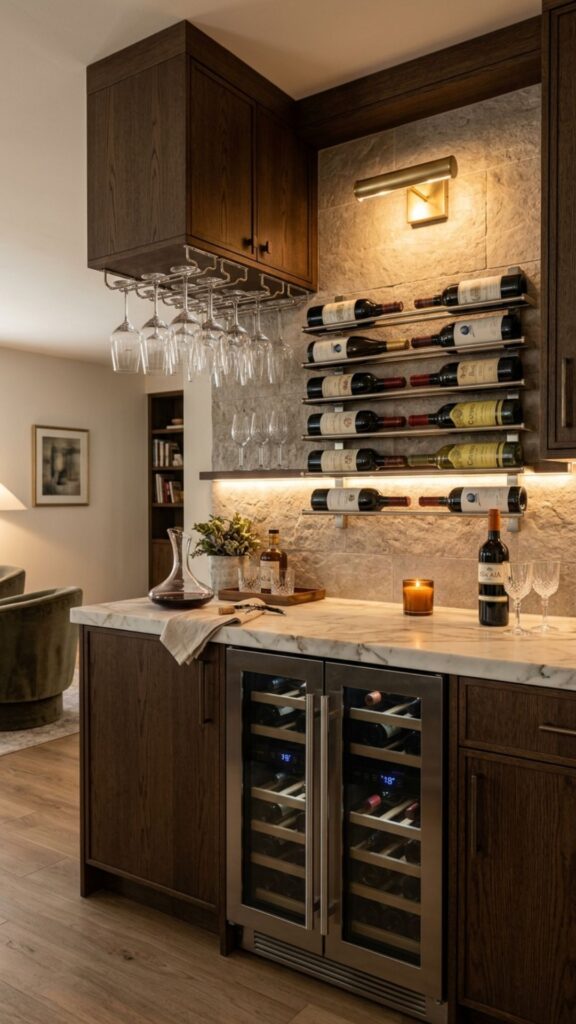
Turn part of your corner island into a dedicated wine and beverage nook. A built-in wine rack, a slim fridge, and a few hanging glass holders make entertaining effortless. Guests can serve themselves while you stay focused on the food.
Keep the wine fridge away from the oven and dishwasher, since heat shortens the life of your bottles. A stone countertop above the beverage zone doubles as a serving spot. This is a favorite feature among clients who love to host but hate crowded kitchens.
13. Choose a Waterfall Corner Island
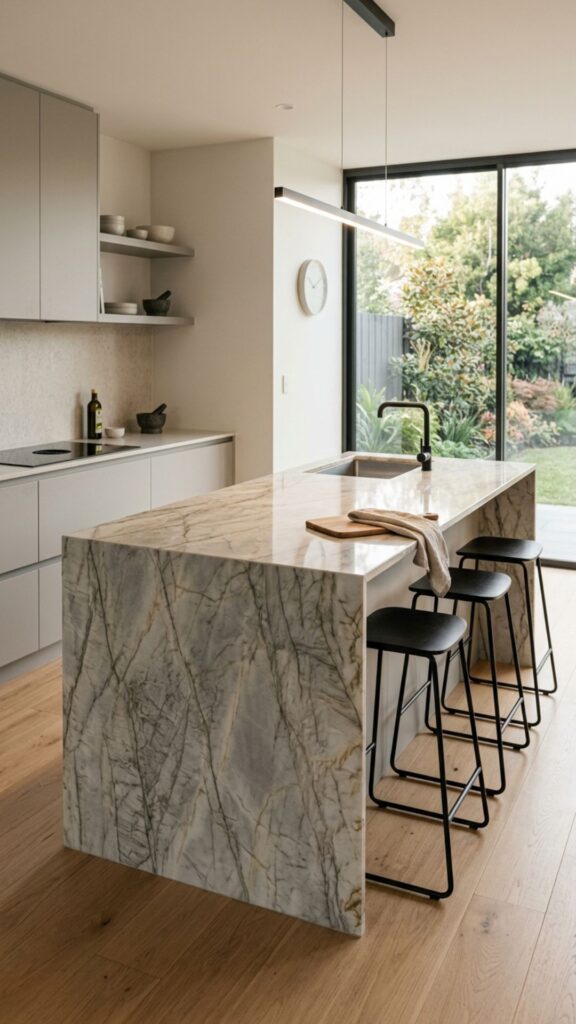
A waterfall edge, where the countertop material flows down the sides to the floor, gives a corner island a sleek, modern finish. It draws the eye and hides the cabinet edges for a seamless look. This design shines in contemporary kitchens with clean lines.
Because the stone continues down the sides, expect a higher material cost. But the payoff is a striking centerpiece that feels high-end. Pair a light stone with darker cabinets, or go bold with a dramatic veined marble that makes the corner the star of the room.
14. Fit a Corner Island With a Built-In Microwave
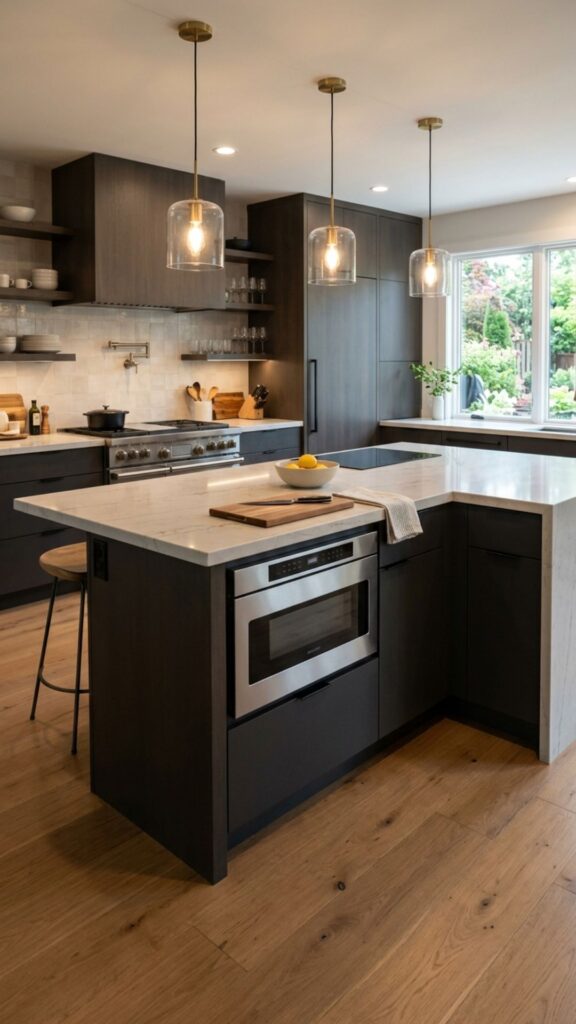
Freeing up counter space starts with getting appliances off the surface. Tucking a microwave into the corner island keeps it handy but out of sight. A drawer-style microwave slides open from the top and is easy for shorter household members to reach.
Place it away from the main prep zone so no one gets in the way during dinner rush. Leave ventilation clearance around the unit per the manufacturer’s guide. This small move clears your countertops and makes the whole kitchen feel more organized.
15. Add a Corner Herb Garden
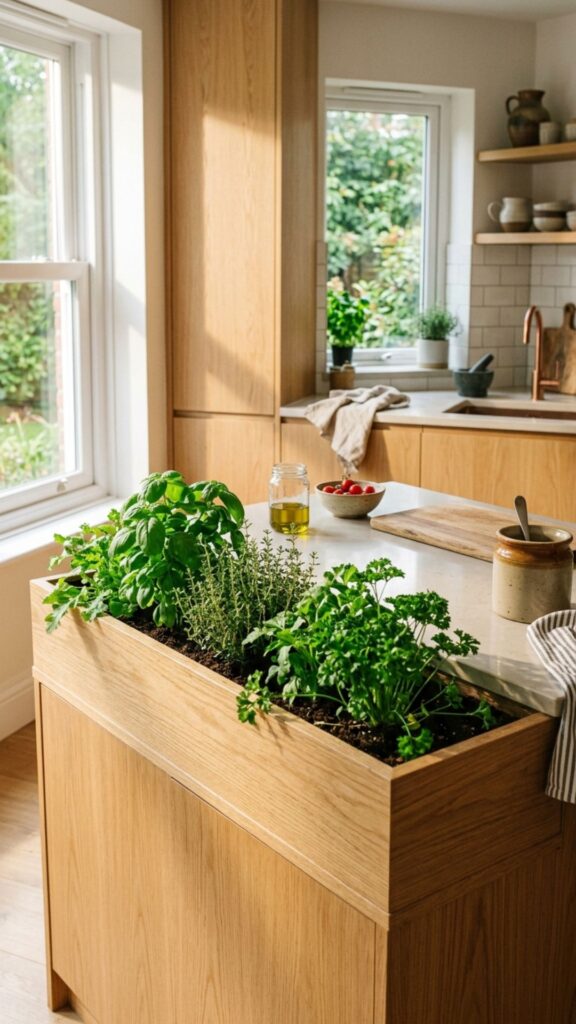
A sunny corner near a window is the perfect place for a built-in herb planter on your island. Fresh basil, thyme, and parsley within arm’s reach make cooking more fun and flavorful. A shallow trough set into the counter keeps things tidy and self-contained.
Choose herbs that thrive in your light conditions and water them lightly to avoid spills. If direct sun is limited, a small grow light works wonders. Clients love how this feature adds life and color to a spot that would otherwise sit empty.
16. Design a Double-Duty Corner Desk Island
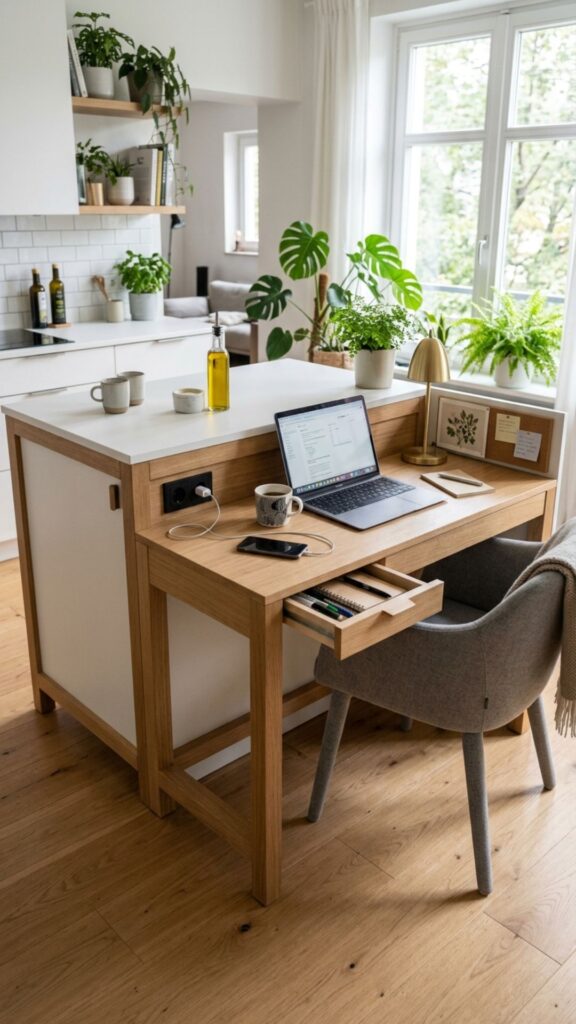
Working from home? Extend one arm of your corner island into a small desk nook. A section of lower counter at 30 inches high fits a chair and gives you a spot for a laptop or paying bills. It keeps your office needs in the kitchen without a separate room.
Add a drawer for supplies and a nearby outlet for charging. Tuck the chair in when you’re cooking so the space stays flexible. This hybrid setup is a lifesaver in apartments and smaller homes where square footage does double duty.
17. Install Corner Toe-Kick Lighting
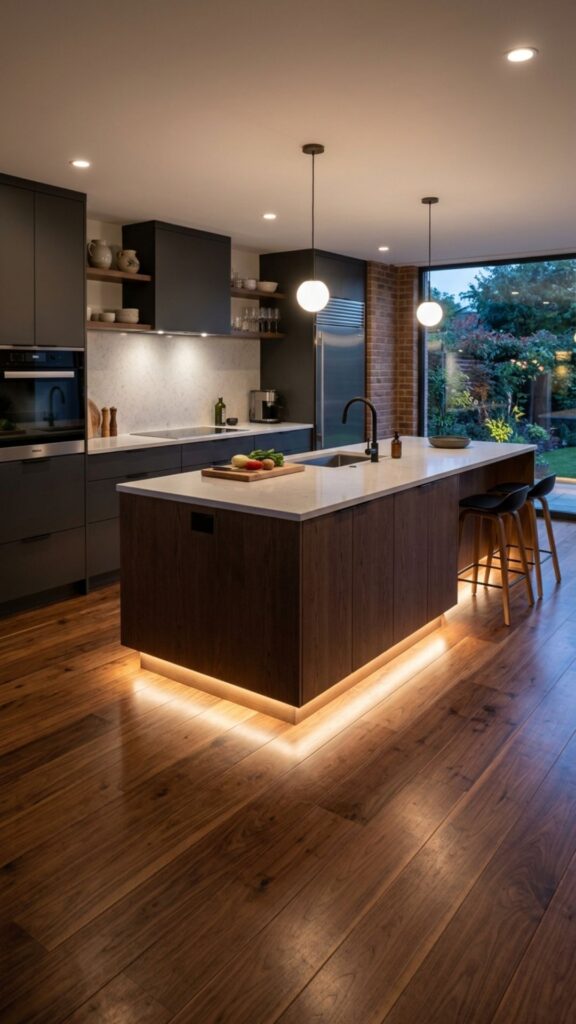
Lighting under the base of a corner island makes it appear to float and adds a warm glow at night. This soft light guides late-night trips to the fridge without a harsh overhead switch. It also highlights your flooring and makes the room feel bigger.
LED strip lights are affordable, energy-efficient, and easy to install along the toe-kick. Choose a warm white tone for a cozy feel. It’s a small touch that delivers big style, and it’s one of the easiest upgrades on this whole list.
18. Build a Corner Island With a Farmhouse Look
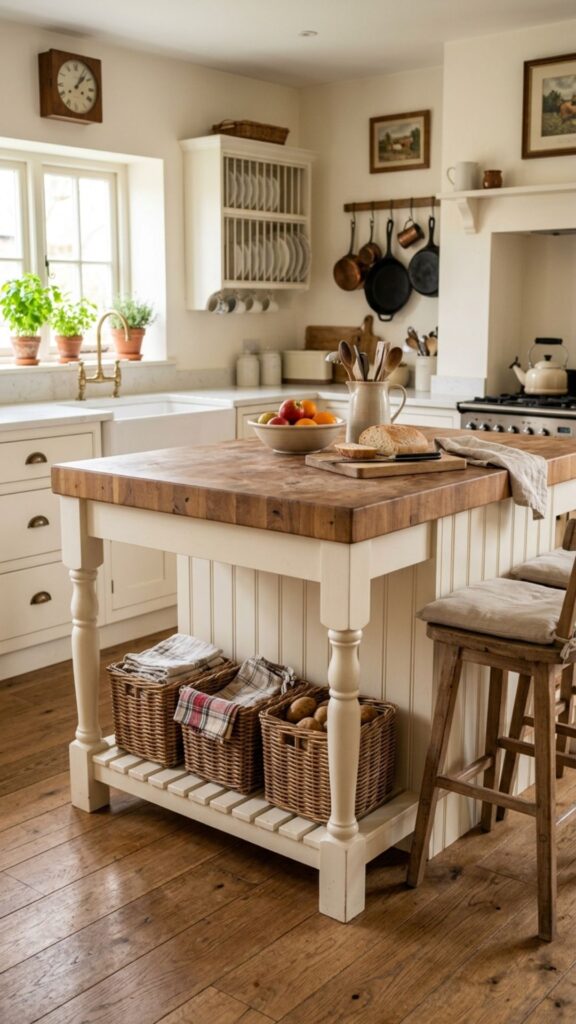
For a warm, welcoming kitchen, dress your corner island in farmhouse style. Think a butcher-block top, beadboard panels, and turned wooden legs. The natural materials bring texture and charm to a modern layout.
Paint the base a soft sage or classic white and top it with a few woven baskets for storage. This look pairs well with open shelving and vintage hardware. It’s proof that a practical corner island can also feel like the heart of a cozy home.
19. Use a Slim Corner Island for Narrow Kitchens
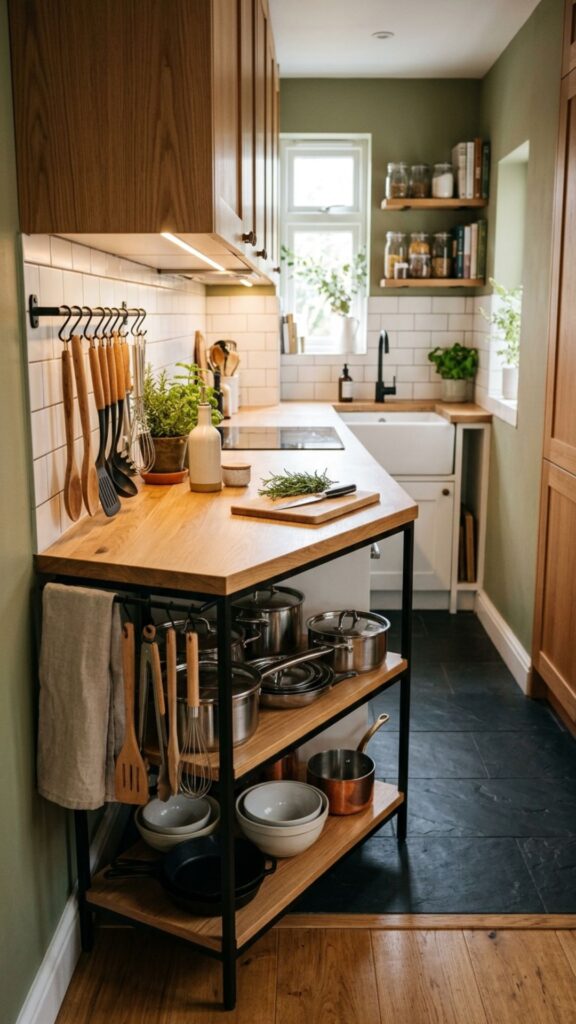
Narrow galley kitchens often seem too tight for any island. A slim, elongated piece tucked along a corner wall proves otherwise. At just 18 to 20 inches deep, it adds prep space without blocking the walkway.
Mount it on casters or keep it fixed against the corner, depending on your needs. Add a lower shelf for pots and a hanging rail for utensils. This solution shows that even the skinniest kitchens can gain a functional island with smart planning.
20. Create a Corner Island Coffee Bar

Dedicate a corner of your island to your morning ritual. A coffee bar with room for your machine, mugs, and beans keeps the mess in one tidy spot. Add a small drawer for pods and a shelf for syrups to complete the station.
Place it near an outlet and away from the sink splash zone. A backsplash tile behind the machine catches drips and wipes clean easily. Every coffee lover I’ve worked with says this feature quickly becomes their favorite part of the kitchen.
Bring Your Corner to Life
A corner doesn’t have to be wasted space. With the right island, it can boost your storage, add seating, and pull your whole kitchen together. Start by measuring your walkways and deciding what you need most—prep room, dining space, or extra storage—then pick the ideas that fit your life.
Ready to reclaim that empty corner? Sketch out your favorite ideas from this list, take your measurements, and talk to a local kitchen designer or contractor to make it real. Your dream corner island is closer than you think.
What is the ideal size for a corner kitchen island?
A corner island should measure at least 24 by 36 inches to be functional, with 36 to 42 inches of clearance on all open sides. This gives you enough prep space while keeping walkways comfortable and safe.
Can I add an island to a small corner kitchen?
Yes. Slim islands around 18 to 24 inches deep, rolling carts, and triangular designs all fit small kitchens. The key is leaving clear walking paths on the open sides so the room doesn’t feel cramped.
How much does a corner kitchen island cost?
Costs vary widely, from a few hundred dollars for a rolling cart to several thousand for a custom built-in with stone counters and plumbing. Curved and waterfall edges cost more because of custom cutting.
Should I put a sink or cooktop in my corner island?
It depends on your existing plumbing and ventilation. A corner sink works well if pipes are nearby, while a cooktop needs proper venting. Both free up your wall counters for extra prep space.
What shape island works best for a corner?
L-shaped and triangular islands fit corners best because they follow the walls naturally and improve traffic flow. Curved designs also work well for homes with children or busy walkways.