There’s something special about cooking outside. The smoke, the fresh air, the fact that you’re not stuck in a hot kitchen while everyone else relaxes on the patio. After building three outdoor cooking setups over the years, I’ve learned that the right grill station changes everything about how you use your backyard.
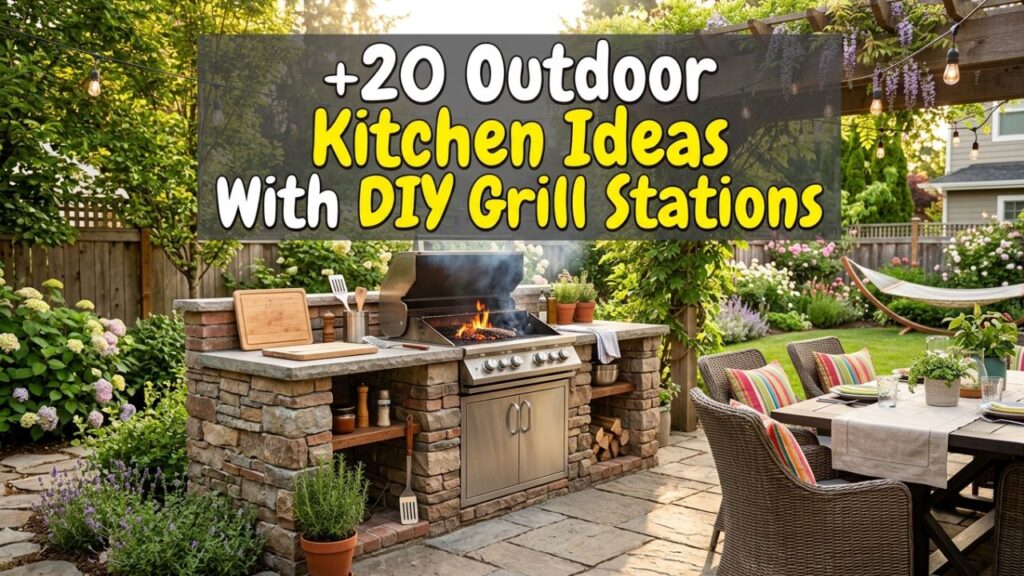
Whether you have a sprawling yard or a tiny concrete slab, you can build a functional cooking space that fits your life.
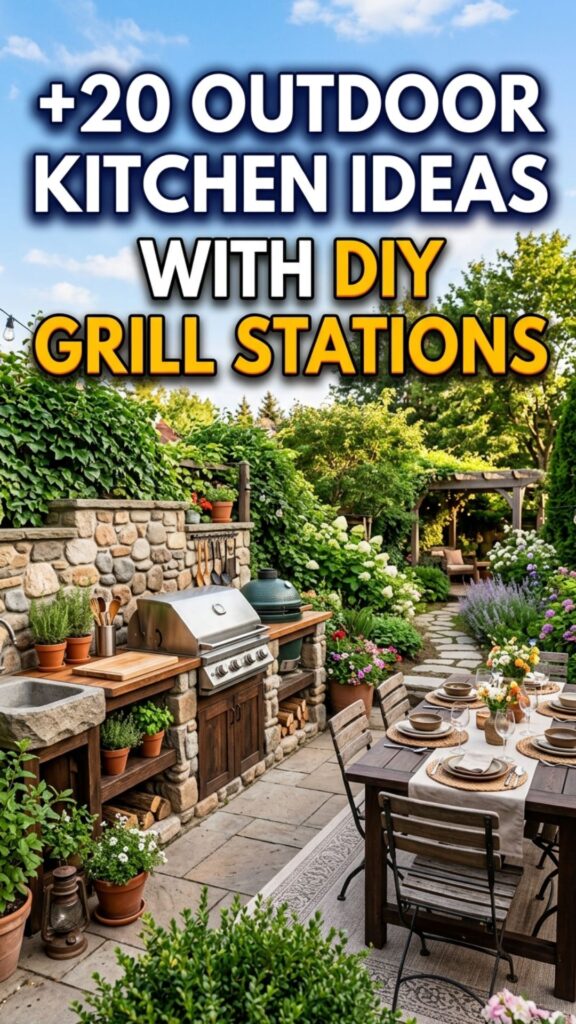
Below you’ll find 20 outdoor kitchen ideas with DIY grill station builds ranging from weekend projects to full-blown backyard transformations. Each one comes with practical details so you know exactly what you’re getting into before you pick up a single tool.
1. The Simple Cinder Block Grill Surround
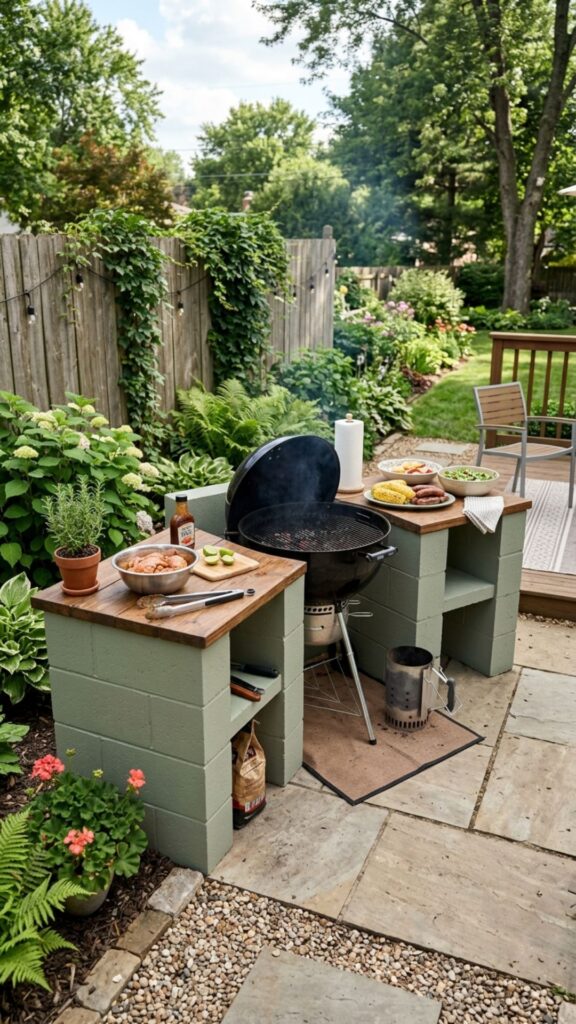
Cinder blocks are the workhorse of budget outdoor builds. You can stack them dry (no mortar) into a U-shape around your grill, adding a wood or paver top for prep space. A basic surround costs under $150 and takes an afternoon to assemble. It gives your grill a permanent home while adding counter space you didn’t have before.
The real beauty here is flexibility. If you decide to rearrange your patio next spring, you simply restack the blocks. I recommend sealing the blocks with a masonry sealer to keep moisture out and painting them to match your home’s exterior. This small step turns a rough industrial look into something that feels intentional.
2. Pallet Wood Grill Cart on Wheels
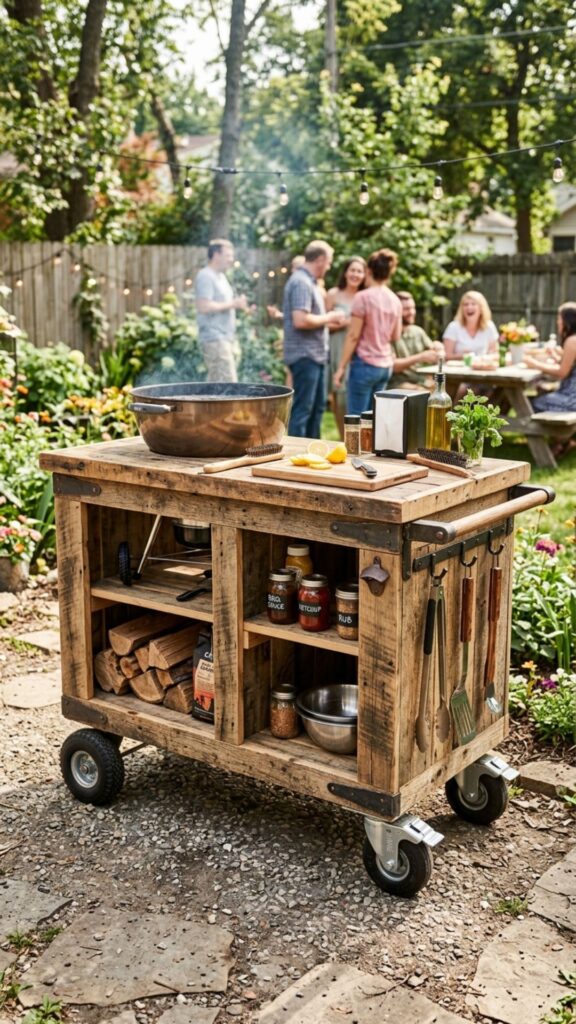
Reclaimed pallets make a fantastic rolling grill cart. Sand them down, add heavy-duty locking casters, and top the frame with a butcher block or stainless steel sheet for a heat-safe zone. Wheels let you chase the shade or roll the station into a shed when storms roll in.
Keep in mind that raw pallet wood needs treatment. Use only heat-stamped (HT) pallets, which are safe, and never chemically treated ones. Seal the wood with an outdoor-rated finish so it survives rain and sun. This project usually runs under $100 if you source pallets for free.
3. Concrete Countertop Cooking Station
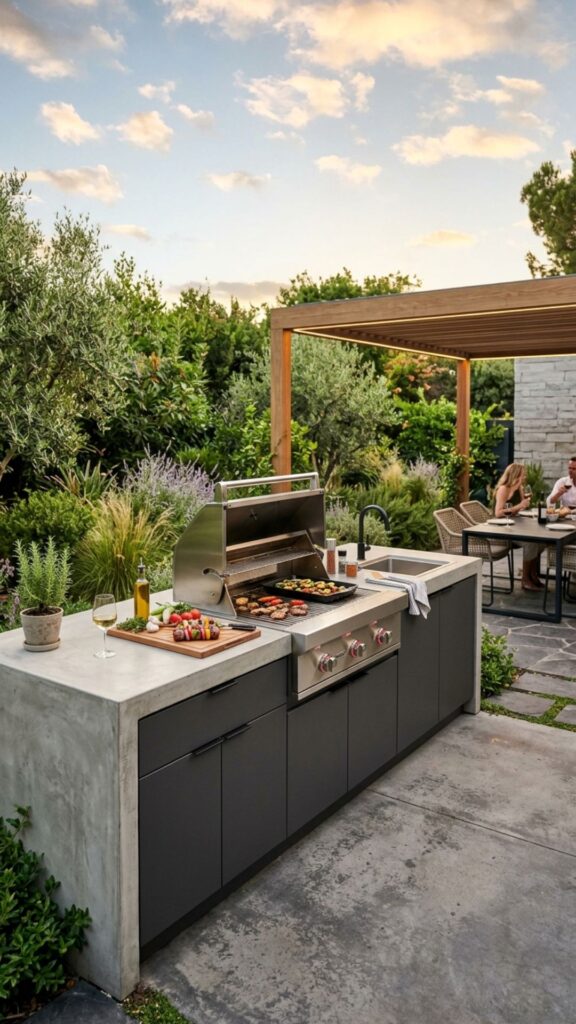
A poured concrete countertop delivers a modern, restaurant-grade look that handles heat like a champ. You build a wooden mold, pour in concrete mix, let it cure, then flip it onto your base cabinets. The finished slab feels indestructible and only gets better with age.
Concrete does require patience since curing takes several days. Seal it with a food-safe concrete sealer to prevent stains from marinades and grease. Many first-timers are surprised how affordable this is, roughly $3 to $5 per square foot in materials, compared to store-bought stone counters.
4. Brick-Built Permanent Grill Island
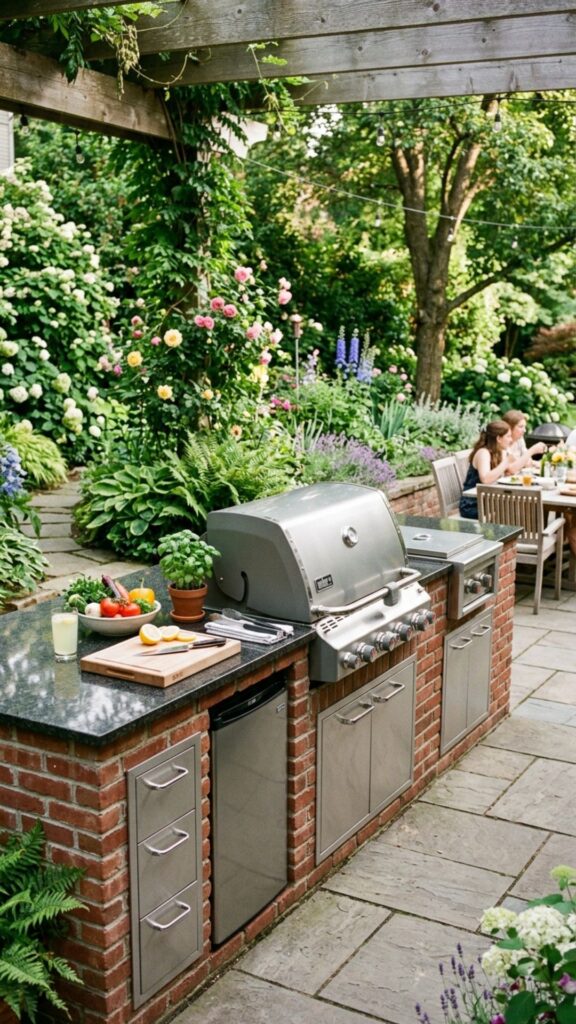
Brick construction is for those ready to commit. A mortared brick island creates a striking centerpiece that lasts decades and adds real value to your property. You can frame it around a built-in gas grill with side burners for a professional feel.
This build takes solid planning. Pour a level concrete footing first, then lay bricks in staggered courses for strength. If bricklaying feels intimidating, practice on a small planter box before tackling the full island. The payoff is a station that looks like it came from a high-end catalog.
5. Compact Balcony Grill Nook
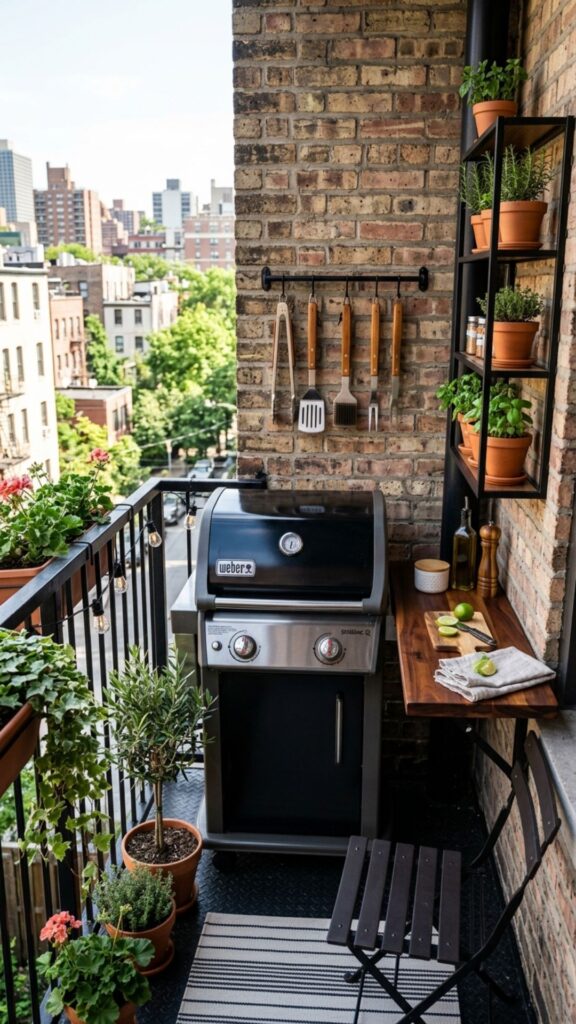
Small space? No problem. A narrow shelving unit with a heat-resistant top can turn a balcony corner into a working grill nook. Pair it with a compact electric or portable propane grill that won’t overwhelm the area.
Focus on vertical storage since floor space is precious. Hooks for tools, a magnetic strip for utensils, and a fold-down prep shelf keep everything within reach. Always check your building’s rules on open flames before installing anything permanent.
6. Rustic Log Cabin Grill Shelter
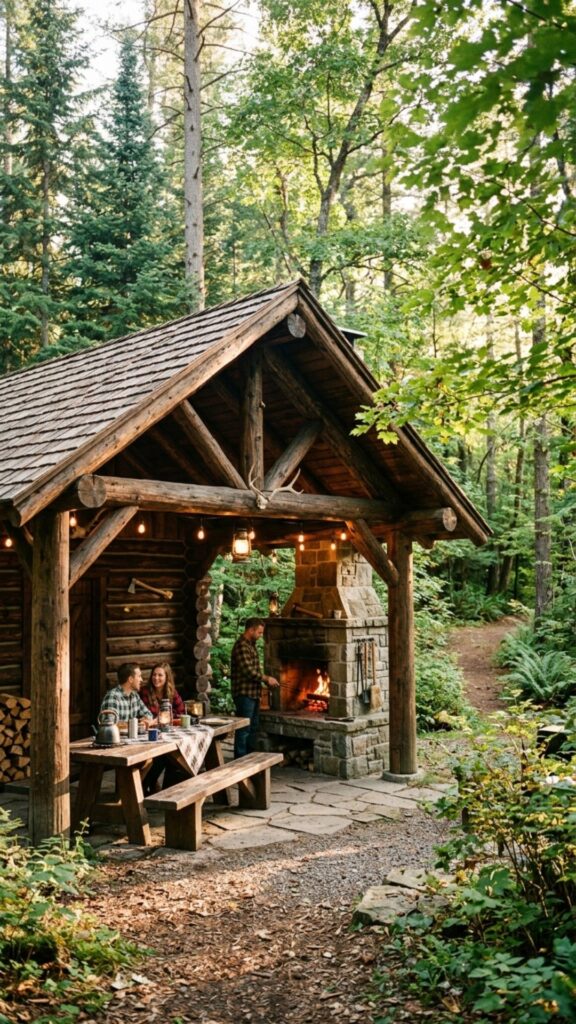
If you love that woodsy feel, build a timber-framed shelter over your grill using rough-cut logs or heavy timbers. A simple gable roof shields your cooking zone from rain and gives the whole setup a lodge-like charm.
Ventilation matters here. Keep the roof high enough to let smoke escape and never enclose a charcoal or gas grill in a tight space. A minimum clearance of several feet above the grill keeps things safe while still offering protection from the weather.
7. Repurposed Kitchen Cabinet Grill Base
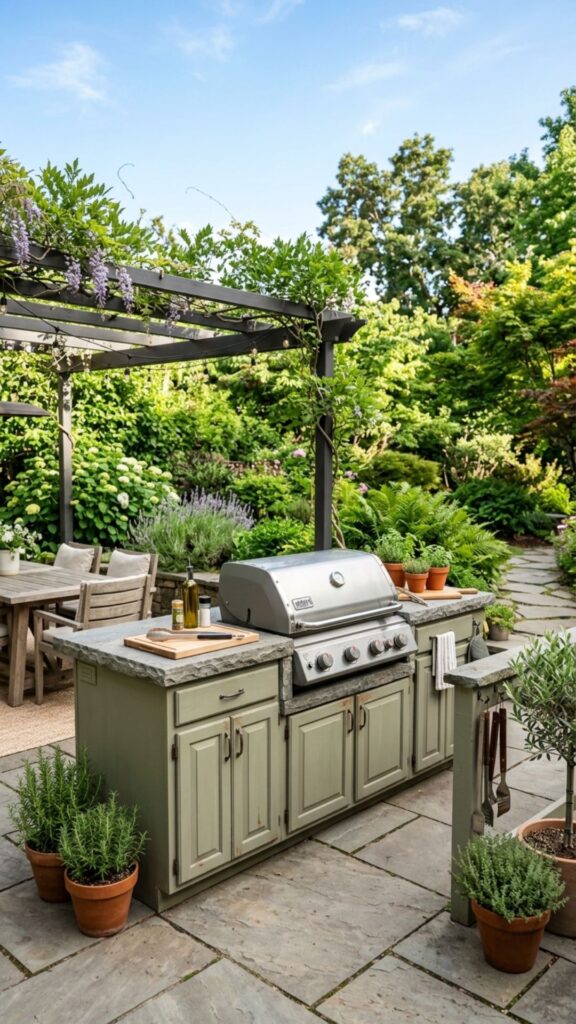
Old kitchen cabinets get a second life outdoors. Marine-grade paint and a stone or tile top transform them into a grill base with real storage underneath. This is one of the fastest ways to add drawers and shelves without building from scratch.
The trick is weatherproofing. Seal every seam, add rubber feet to lift cabinets off wet ground, and use rust-proof hardware. I’ve kept a set of repurposed cabinets going for four seasons this way, and they still work like the day I installed them.
8. Modern Metal Frame Grill Station
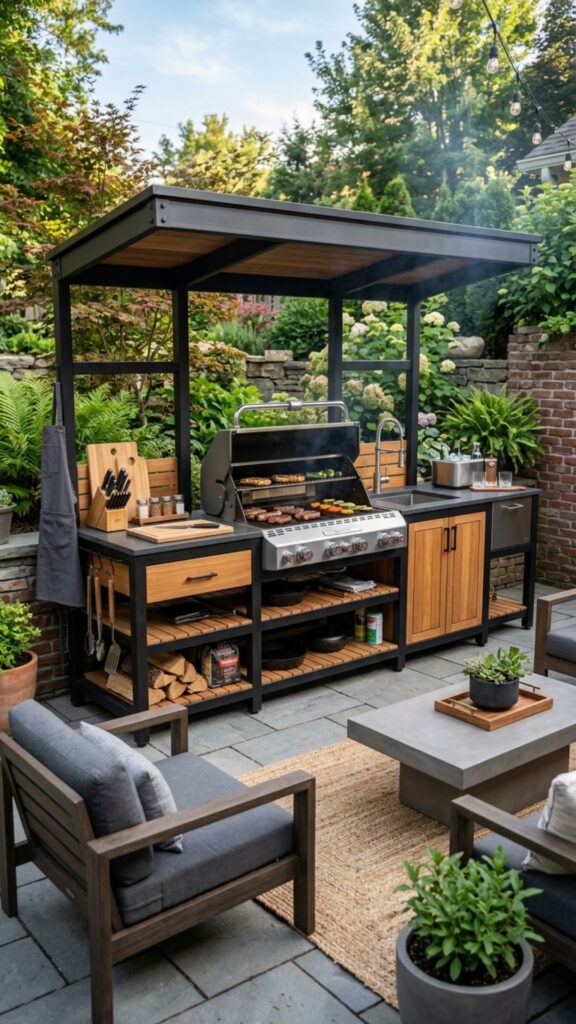
Welded steel or aluminum framing gives you a sleek, industrial-style station. Powder-coated metal resists rust and pairs beautifully with wood or concrete accents. This look suits contemporary homes and stands up to years of hard use.
You’ll need welding skills or a willingness to hire them out. If welding isn’t your thing, look into bolt-together metal framing systems sold at hardware stores. They let you build a sturdy frame with basic tools and no torch required.
9. Stone Veneer Luxury Grill Surround
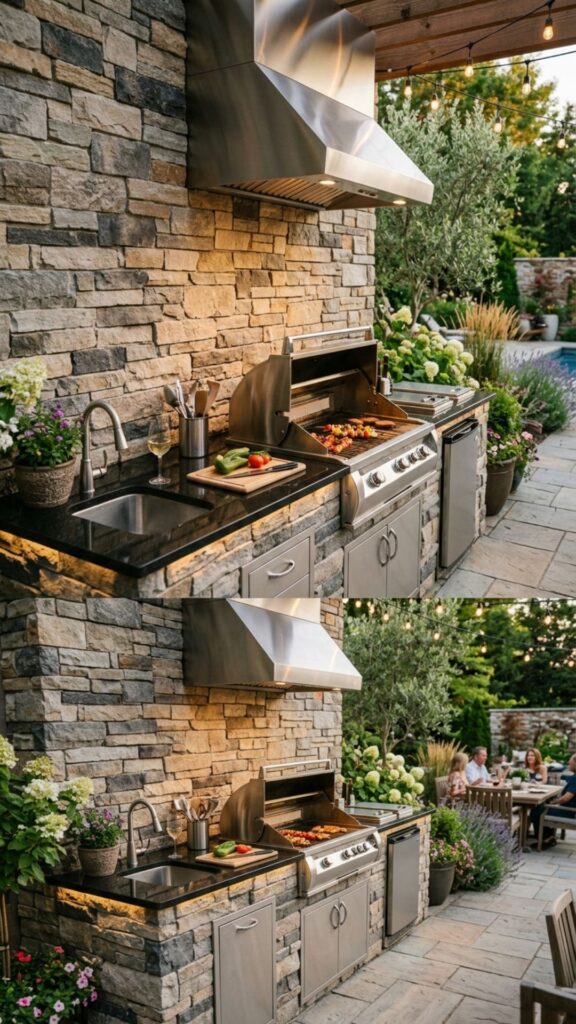
Stone veneer wraps a plain block or plywood base in the look of natural stacked stone at a fraction of the cost. It’s lightweight, glues on with special adhesive, and instantly upgrades any grill station to a premium feel.
Plan your layout before applying veneer so the pattern looks natural, not repetitive. Grout the joints for a finished appearance and seal the whole surface to protect against grease splatter. This is a favorite for homeowners wanting the high-end look without heavy masonry.
10. Fold-Down Wall-Mounted Grill Shelf
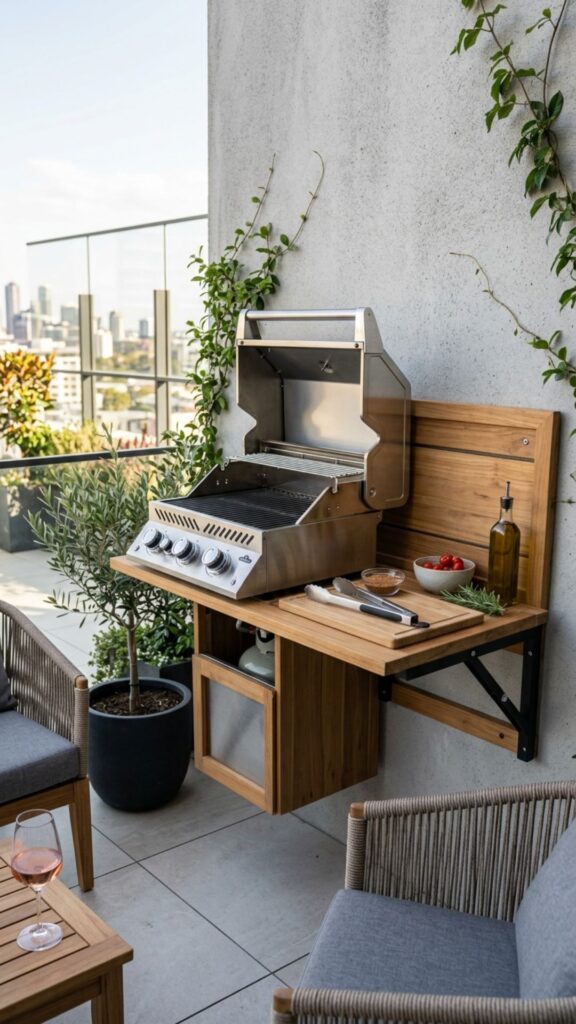
Tight patios benefit from a wall-mounted, fold-down grill shelf. When you’re done cooking, the shelf folds flat against the wall or fence, freeing up walking space. It’s the ultimate solution for renters and small yards.
Anchor the brackets into studs or use heavy masonry anchors for brick walls. A hardwood or metal top handles hot pans and prep work. This project costs very little and takes under two hours, making it a perfect starter build.
11. Fire Pit and Grill Combo Zone
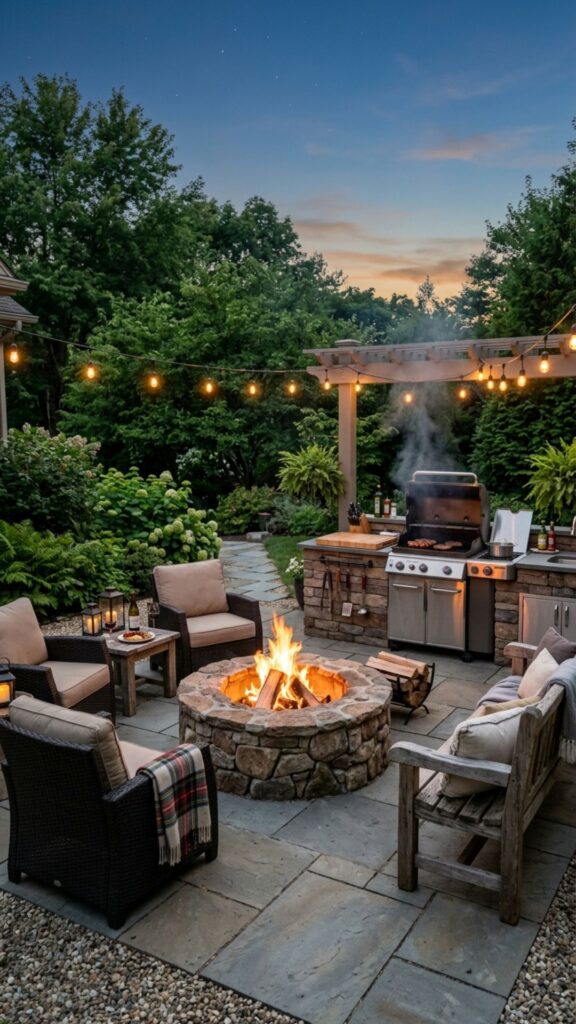
Combine a grill station with an adjacent fire pit for a space that cooks and entertains. Guests gather around the flames while you flip burgers a few steps away. It creates a natural flow between cooking and relaxing.
Keep a safe distance between the grill and open fire pit, and lay a non-combustible base like gravel or pavers under both. This dual setup works especially well for larger yards where you want a true outdoor living zone.
12. Tile-Topped Grill Counter
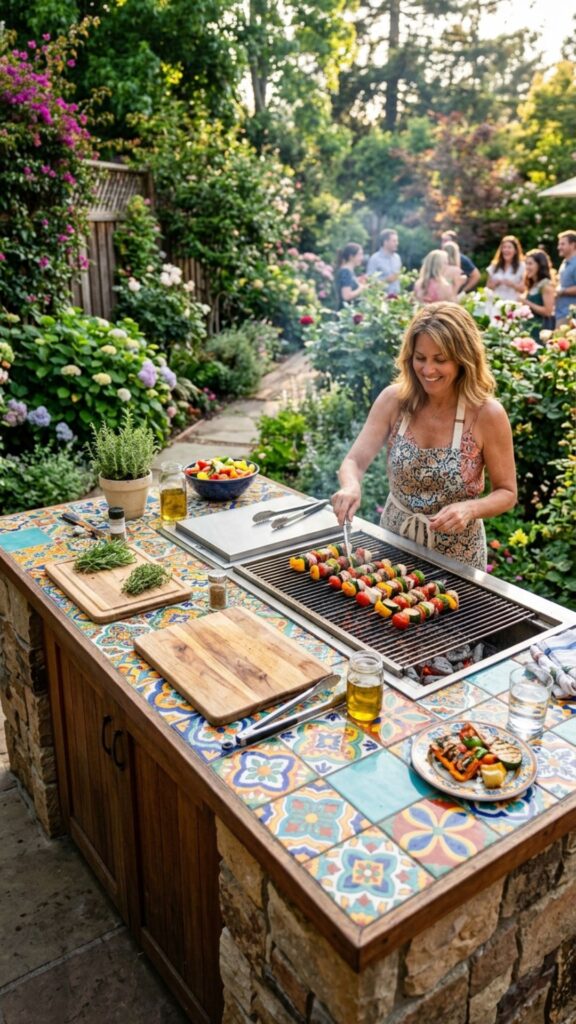
Ceramic or porcelain tile makes a colorful, heat-resistant counter surface. You can mix patterns and colors to match your home’s style, and cleanup is a breeze with a quick wipe.
Use exterior-grade tile and outdoor thermoset grout to handle temperature swings and freezing weather. Seal the grout lines to keep them from staining. A tiled counter brings personality to your station that plain surfaces simply can’t match.
13. Bar Height Grill Station with Seating
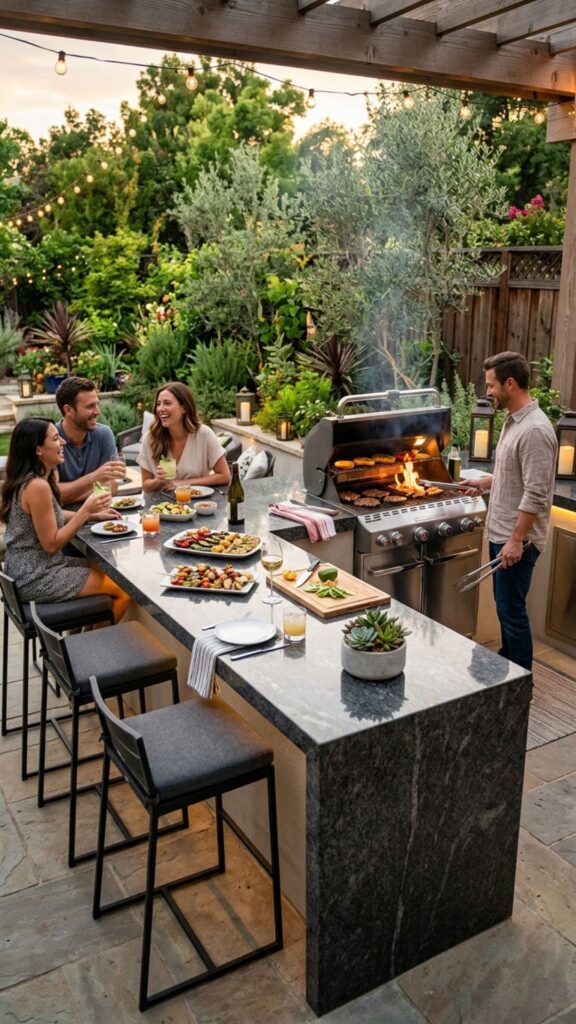
Build your grill counter at bar height and add stools so friends can chat while you cook. This layout keeps the cook connected to the party instead of tucked away in a corner.
Standard bar height sits around 42 inches, so plan your grill placement and prep zone accordingly. Add an overhang of at least 12 inches on the seating side so knees fit comfortably underneath. It’s a small detail that makes a big difference in comfort.
14. Corner L-Shaped Grill Layout
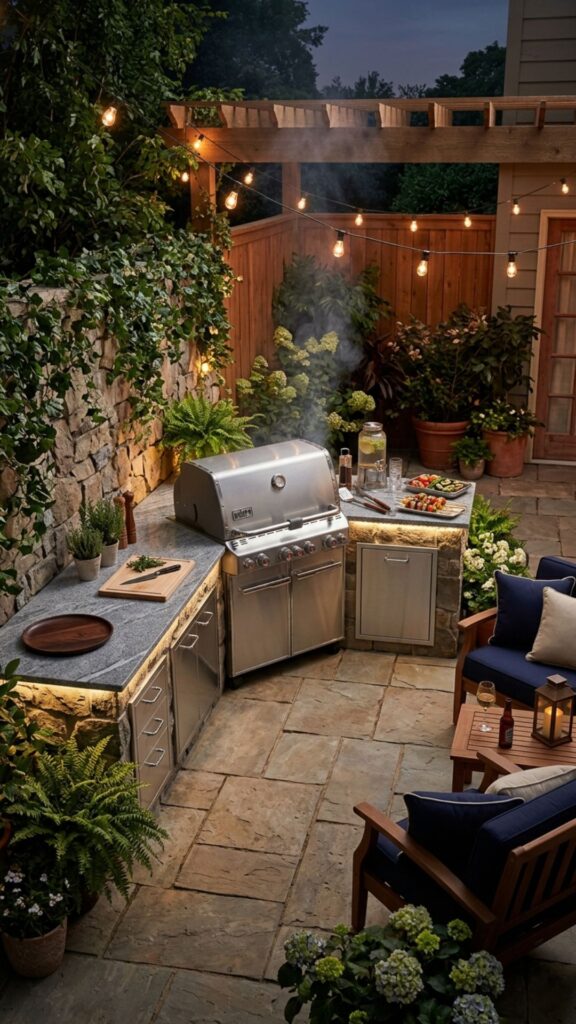
An L-shaped design tucks neatly into a corner and maximizes counter space on two sides. One leg holds the grill, the other becomes a prep and serving area. It’s efficient and keeps your workflow smooth.
This layout shines in medium-sized yards. Position the grill on the longer leg with the shorter leg near your seating for easy food handoff. Corner builds also protect your cooking zone from wind, which helps maintain steady grilling temperatures.
15. Covered Pergola Grill Retreat
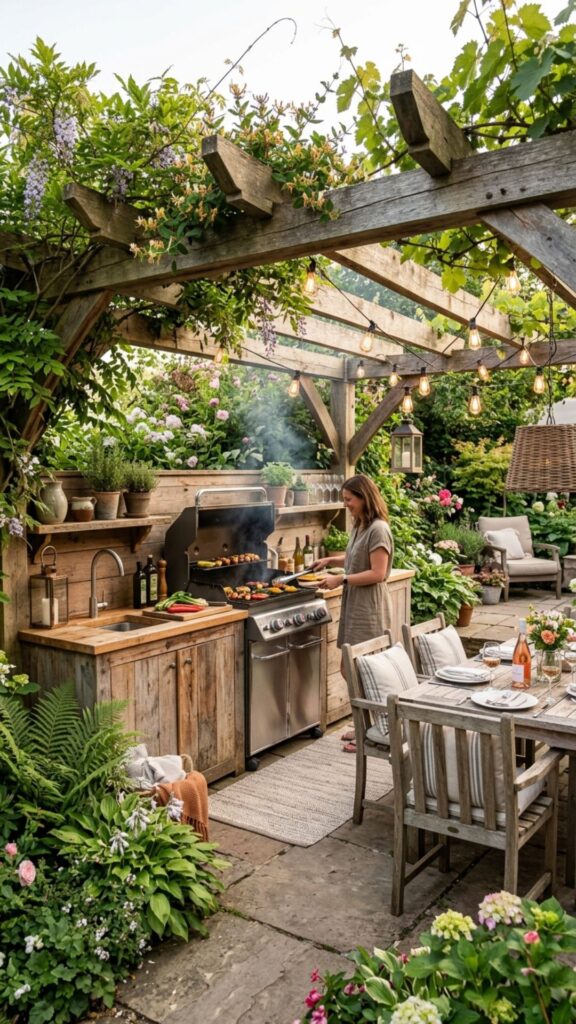
A pergola over your grill station adds shade and structure without fully enclosing the space. Train climbing plants up the posts for natural cover, or add a retractable canopy for rain protection.
Keep the grill positioned so smoke drifts away from seating areas. Never place a working grill directly under a low, solid roof. A pergola’s open slats allow heat and smoke to escape while still defining your outdoor kitchen.
16. Budget Sawhorse and Plank Setup
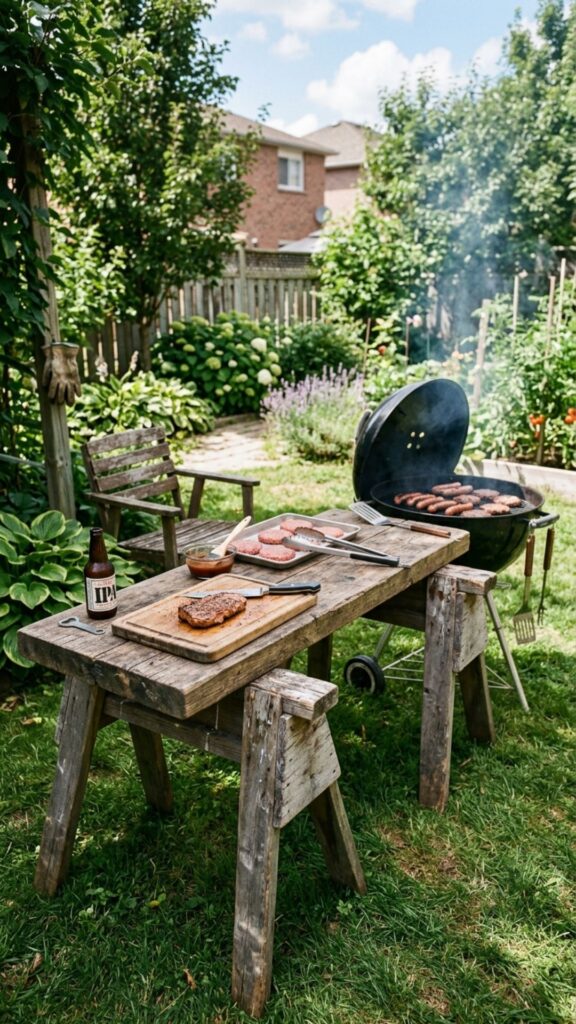
Two sturdy sawhorses and a thick plank top create an instant grill prep table for well under $50. It’s the definition of a beginner-friendly build and requires zero construction skills.
While basic, this setup teaches you how you actually use your outdoor space before committing to something permanent. Many people start here, learn their habits, then upgrade to a fixed station once they know exactly what they want.
17. Built-In Smoker and Grill Duo
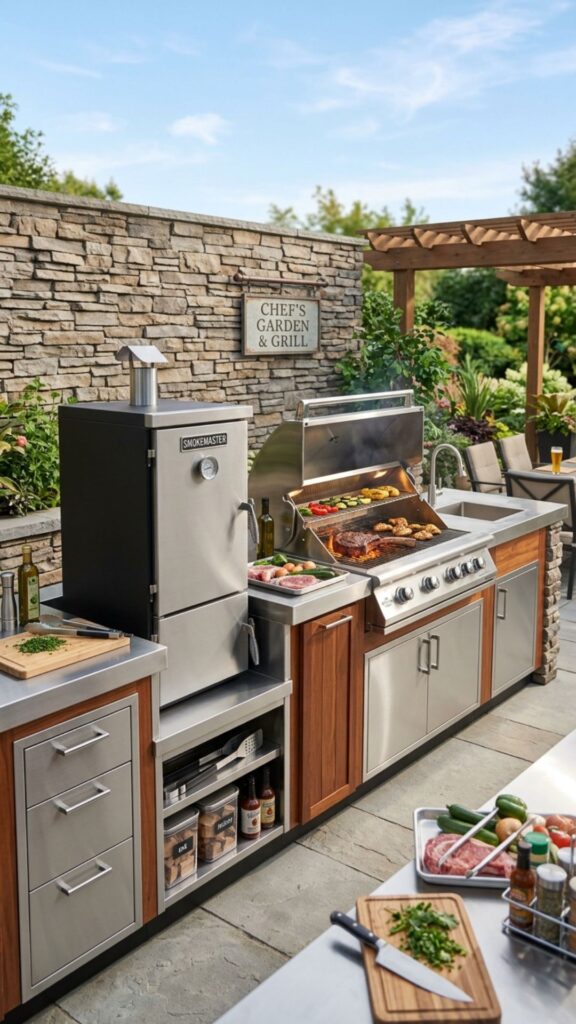
Serious cooks love a station that houses both a grill and a smoker. Build a masonry or metal frame with dedicated bays for each unit so you can smoke a brisket and grill veggies at the same time.
Give each appliance proper airflow and separate the heat sources so temperatures stay independent. This is a bigger investment, but for anyone who takes low-and-slow cooking seriously, it’s worth every hour of construction.
18. Rolling Kitchen Cart with Storage
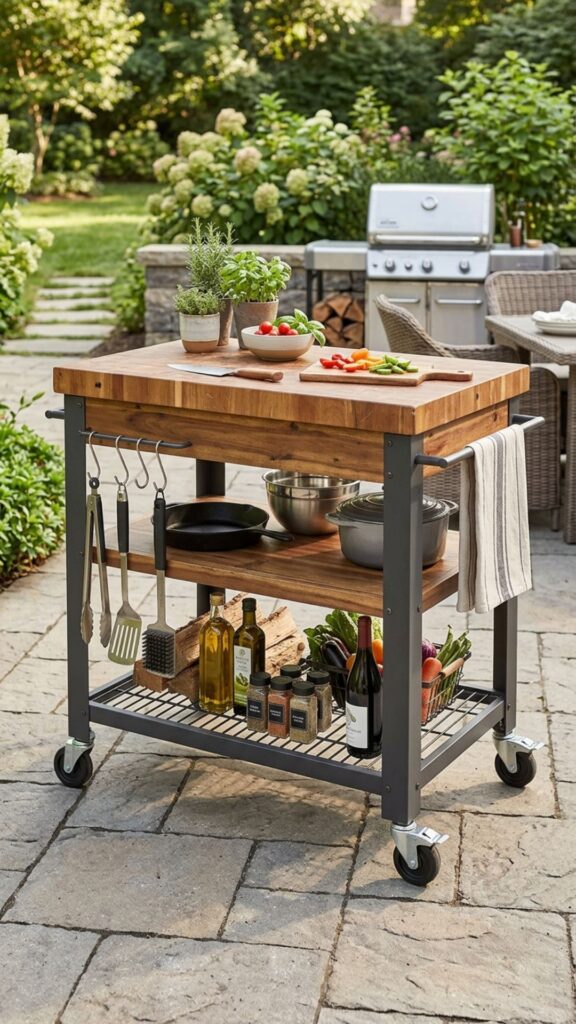
A rolling cart with shelves, a towel bar, and a cutting surface keeps everything mobile. Park it beside your grill while cooking, then roll it to storage afterward. It’s ideal for people who lack a permanent spot.
Choose one with locking wheels so it stays put during use. Stainless steel models resist weather best, but a well-sealed wooden cart works too. Add hooks on the sides for tongs, mitts, and brushes to keep your hands free.
19. Outdoor Kitchen Island with Sink
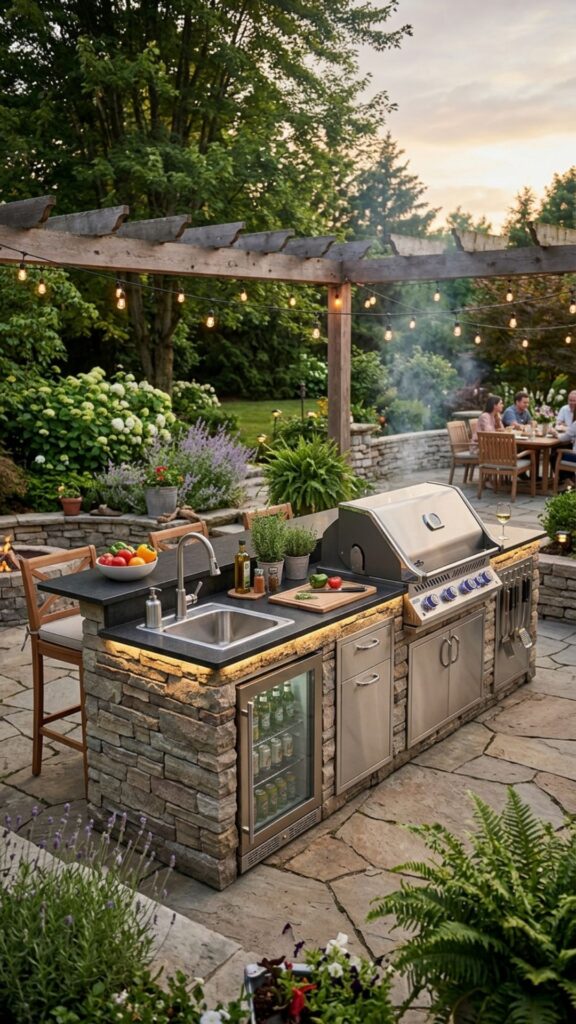
Adding a sink turns a grill station into a true outdoor kitchen. You gain a place to rinse produce, wash hands, and clean up without running back indoors. Connect it to a garden hose for supply and route drainage to a safe location.
Plumbing sounds daunting, but a simple cold-water hookup is manageable for most DIYers. If you want hot water or permanent plumbing, consult a professional. Even a basic sink dramatically improves how usable your cooking space becomes.
20. Full Backyard Kitchen with Grill, Fridge, and Counters
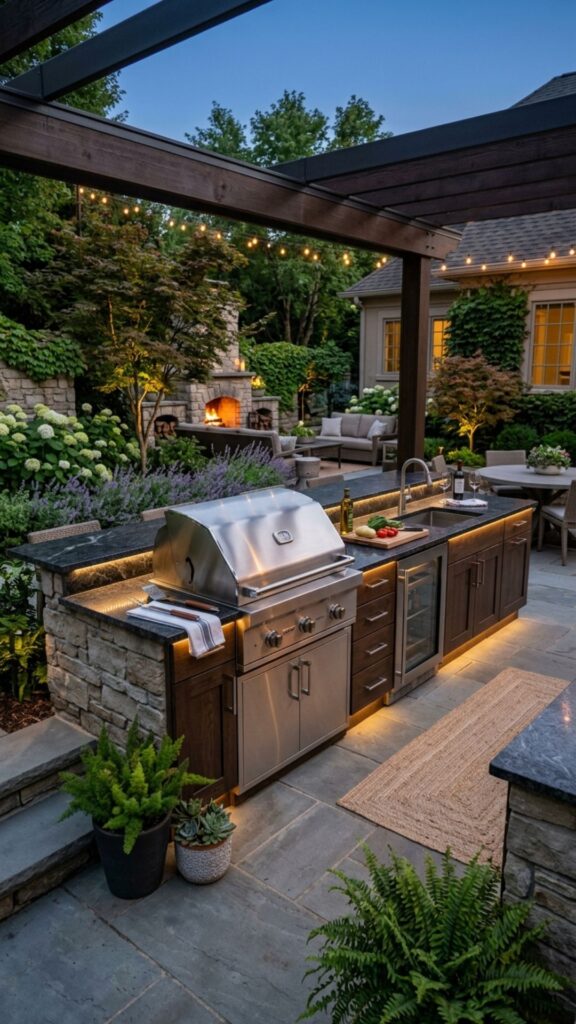
The ultimate build combines a grill, mini fridge, generous counters, and storage into one connected station. This is a weekend-warrior dream project that turns your yard into a genuine outdoor kitchen.
Plan for a dedicated electrical circuit for the fridge and any lighting, and hire an electrician for outdoor wiring. Lay out your zones the way a real kitchen flows: prep, cook, serve. Done right, this build becomes the heart of your backyard for years.
Bringing Your Backyard Cooking Dream to Life
The best outdoor kitchen idea with a DIY grill station is the one that matches your space, budget, and cooking style. Start small with a sawhorse table or a pallet cart, then work your way up to a full island as your confidence grows. Every build on this list has been used by real home cooks who wanted more from their backyard.
Ready to fire up your own project? Pick one idea that excites you, sketch out your space this weekend, and gather your materials. Your perfect outdoor cooking spot is closer than you think, and the first meal you cook out there will make every bit of effort worth it.
How much does it cost to build a DIY grill station?
A basic DIY grill station costs between $50 and $300 for simple builds like cinder block surrounds or pallet carts. Full outdoor kitchens with sinks, counters, and appliances can run $1,500 to $5,000 depending on materials and features.
What is the best material for an outdoor grill station countertop?
Concrete, tile, and stone are the best countertop materials because they handle heat, resist weather, and clean easily. Concrete offers durability at a low cost, while tile lets you add color and personality to your build.
How much clearance does a grill need in a DIY station?
Keep at least several inches of clearance on each side of the grill and never enclose a gas or charcoal grill in a tight space. Overhead structures like pergolas or shelters should sit high enough to let smoke and heat escape safely.
Can I build an outdoor grill station without any construction experience?
Yes. Beginner-friendly options like fold-down wall shelves, rolling carts, and sawhorse tables require basic tools and no advanced skills. These projects let you build confidence before moving on to permanent masonry or welded designs.
How do I protect my DIY grill station from the weather?
Seal all wood and masonry with outdoor-rated finishes, use rust-proof hardware, and add a cover or pergola for shade and rain protection. Lifting the base off wet ground with feet or a paver base also prevents moisture damage over time.