Few design styles bring drama quite like art deco. Born in the 1920s, it mixes bold geometry, rich materials, and unapologetic glamour. When you bring that spirit into your kitchen, the island becomes the star of the show.
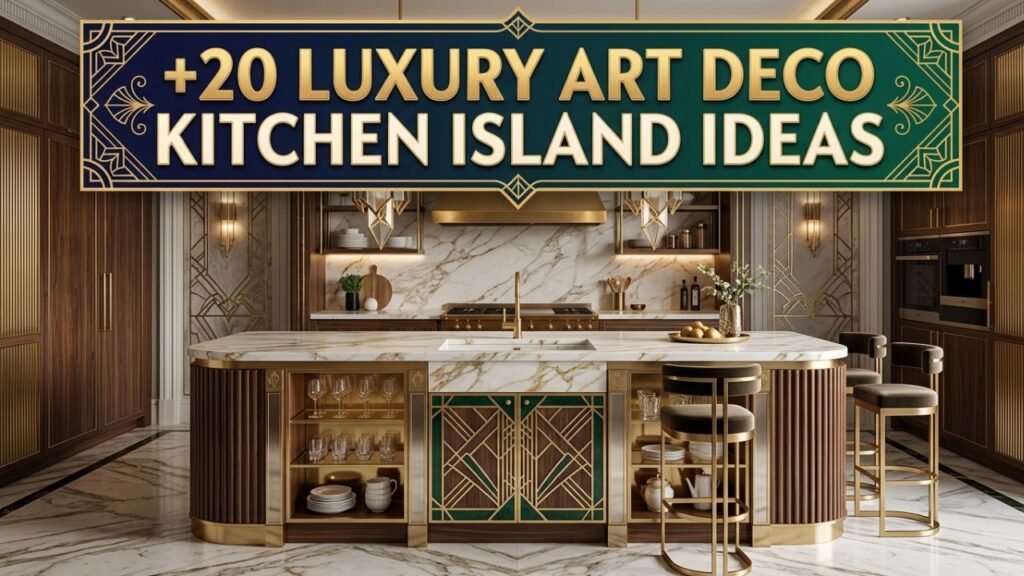
If you’re hunting for kitchen island ideas art deco lovers dream about, you’re in the right place. I’ve spent years helping homeowners rethink their kitchens, and the island is almost always where the magic happens.
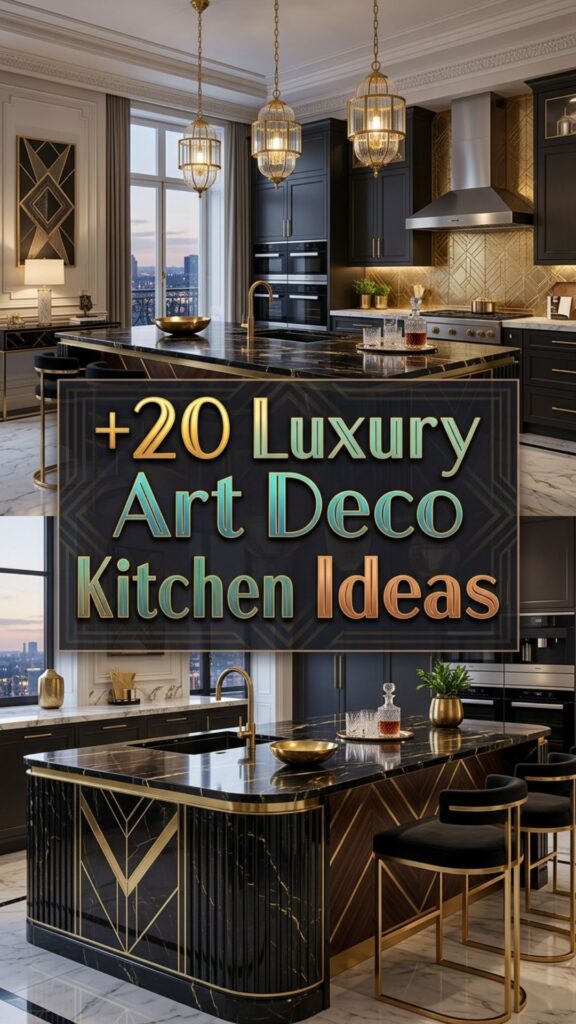
Below, you’ll find 20 ideas packed with practical tips, material suggestions, and styling tricks. Whether you want a full renovation or just a few upgrades, there’s something here for you.
Let’s dive in.
1. Go Bold with a Marble Waterfall Countertop
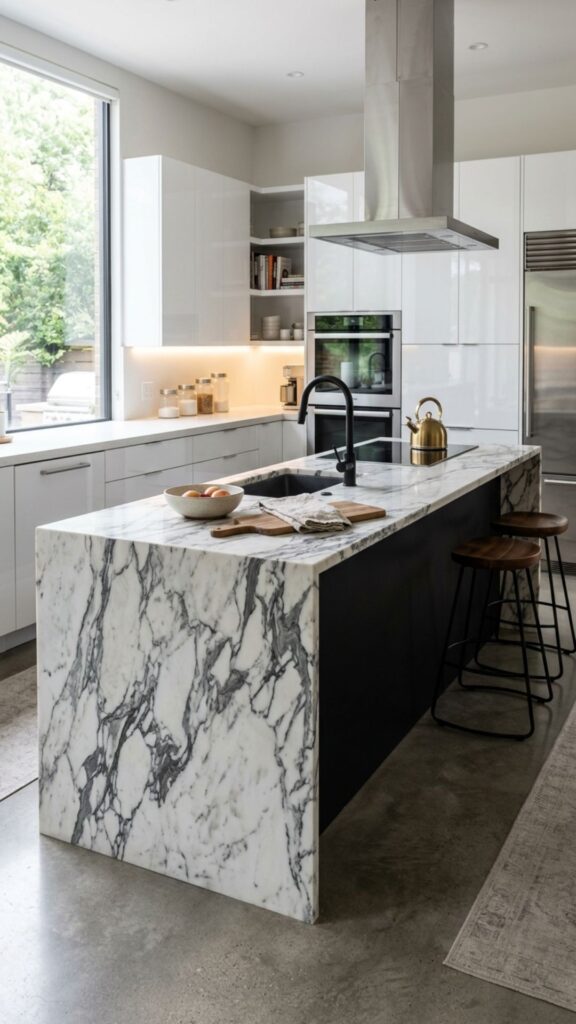
A waterfall edge is one of the fastest ways to add art deco flair. The stone flows from the counter straight down the sides, creating a seamless, sculptural look. Choose a marble with dramatic veining, like Calacatta or Nero Marquina, to catch the eye.
The beauty here is contrast. Pair that rich stone with matte cabinetry below, and the island instantly feels custom and expensive. It’s a small structural change that makes a huge visual impact.
2. Add Brass and Gold Accents
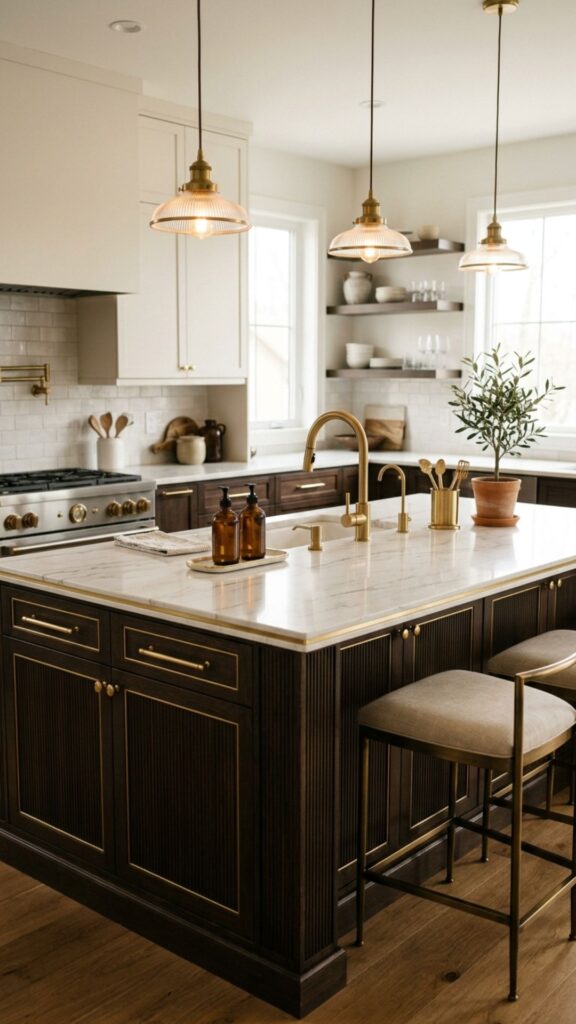
Nothing says deco glamour like warm metallics. Brass and gold pull the whole style together, whether you use them on hardware, trim, or the base itself. A polished brass toe-kick can turn a plain island into a statement.
Try mixing gold drawer pulls with a fluted wood front for extra texture. Keep the rest of your metals consistent so the look feels intentional. Small touches go a long way here.
3. Try a Fluted or Reeded Base
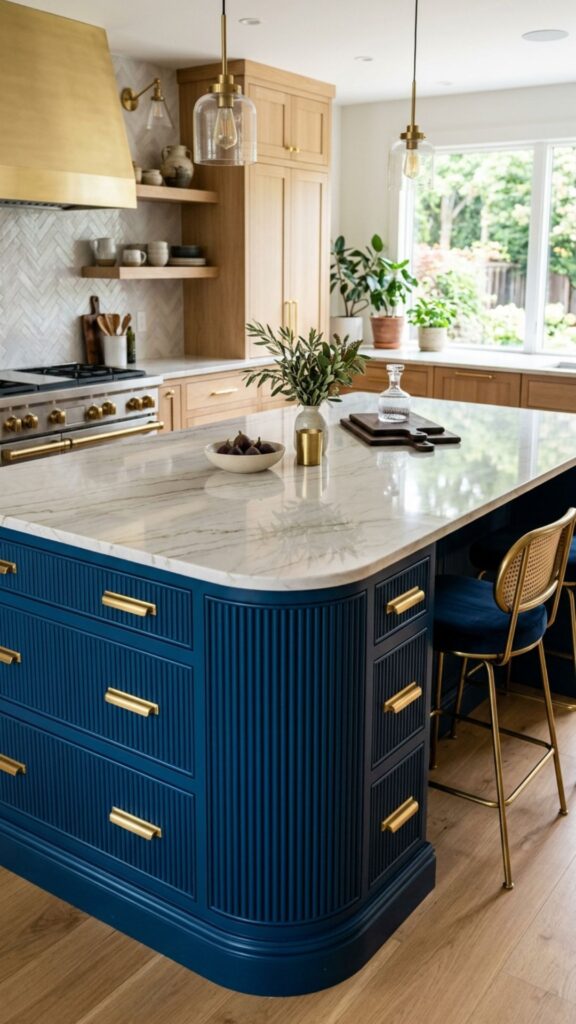
Fluting is having a major moment, and it fits art deco perfectly. Those vertical grooves add rhythm and shadow, which was a signature of the era. You can wrap the entire island base in fluted panels for a soft, tactile feel.
Paint the flutes in a deep jewel tone for even more drama. Emerald green or navy blue works beautifully against gold hardware. This detail feels luxurious without shouting for attention.
4. Choose a Black Lacquer Finish
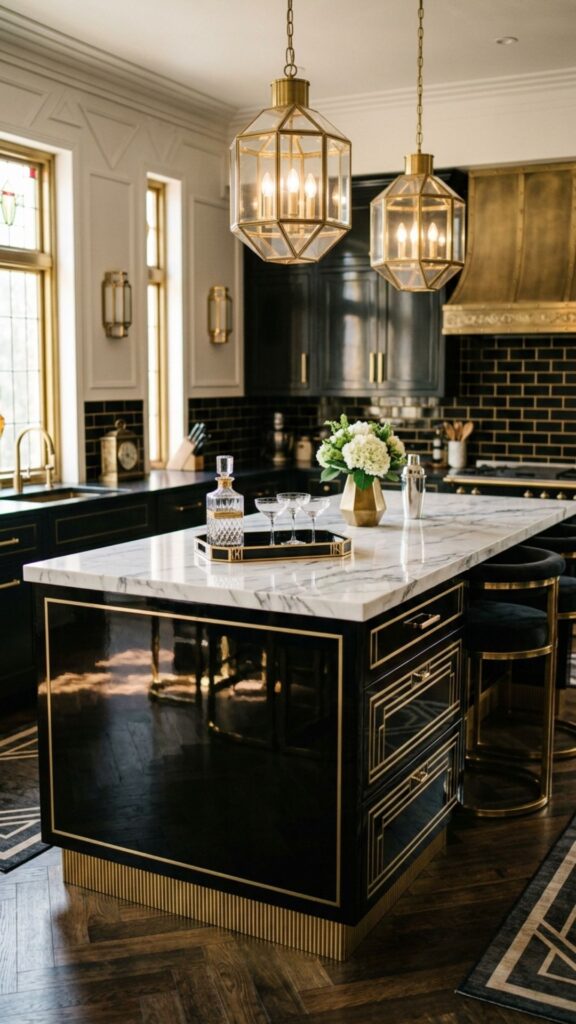
High-gloss black lacquer is pure 1920s elegance. It reflects light, feels sleek, and pairs with almost any accent color. An all-black island grounds a bright kitchen and gives it instant sophistication.
To keep it from feeling heavy, balance the black with light countertops or metallic trim. A white marble top over black lacquer is a timeless combo. Just be ready to wipe away fingerprints now and then.
5. Install a Sunburst or Geometric Panel
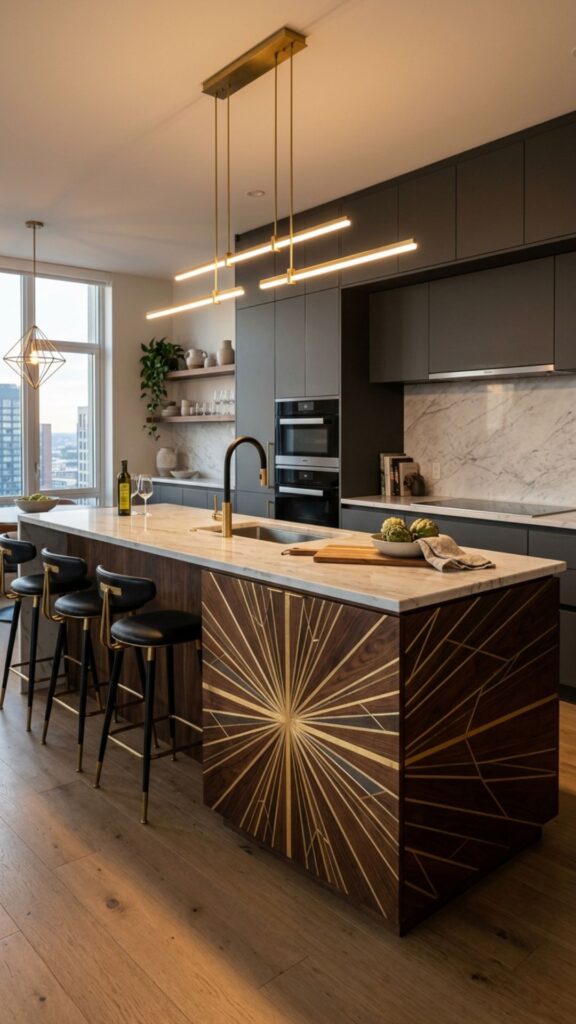
Geometric patterns are the heart of art deco. A sunburst motif on the island front makes a bold, artistic statement. You can achieve this with inlaid wood, metal, or even a custom carved panel.
Chevrons, zigzags, and stepped shapes also work wonderfully. These patterns draw the eye and give your kitchen a gallery-like feel. Keep the surrounding decor simple so the pattern stays the focus.
6. Mix Rich Wood Tones
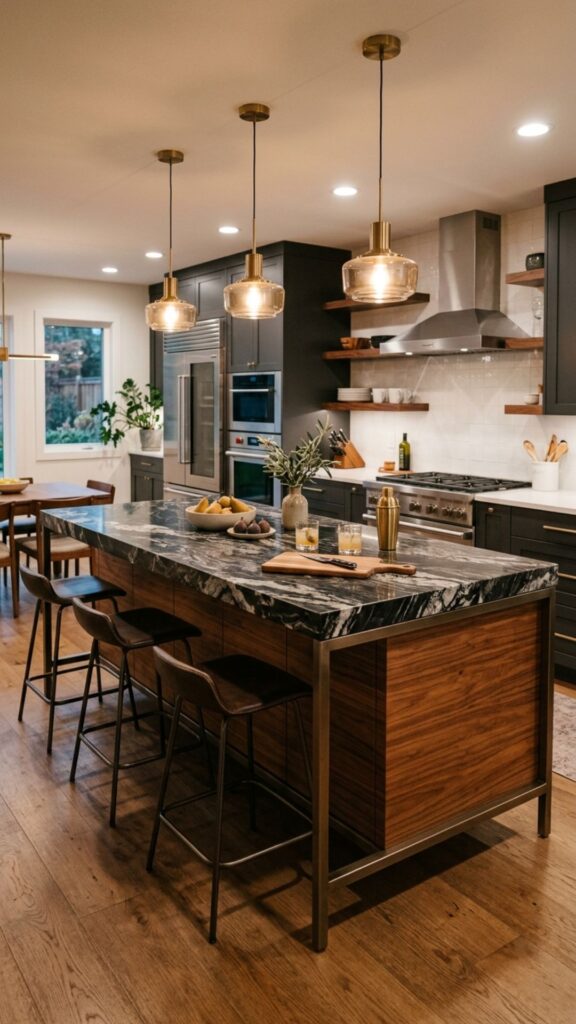
Warm, dark woods were a deco staple. Think walnut, mahogany, or ebony with a glossy finish. A wood island brings warmth to a space full of stone and metal.
For a modern twist, combine wood with a stone top and metallic legs. The mix of materials feels curated rather than matched. It’s a great way to add depth and personality.
7. Add Dramatic Pendant Lighting
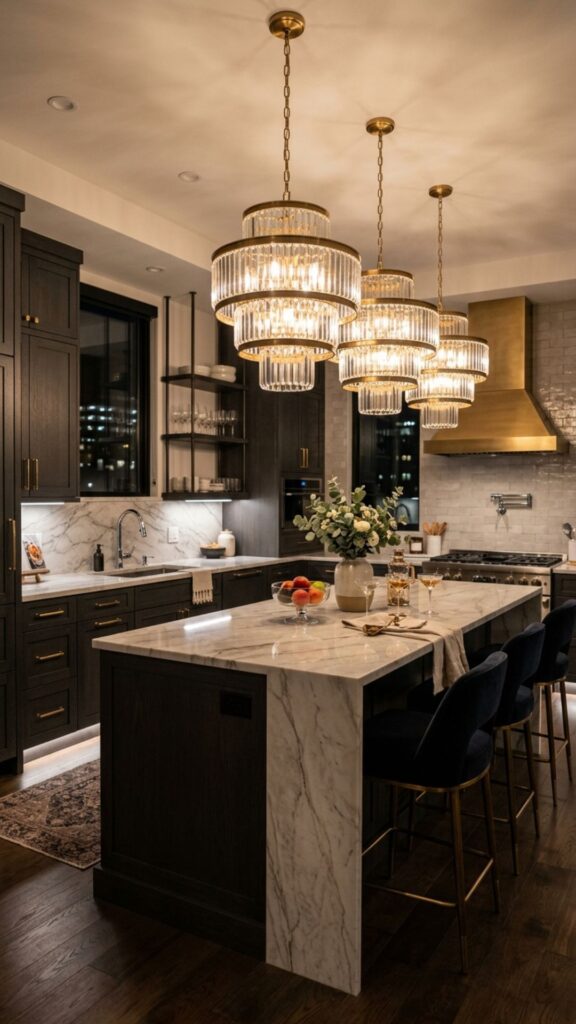
The right lighting can make or break your island. Art deco pendants often feature globe shapes, tiered glass, or geometric frames. Hang two or three above your island for balance and glow.
Look for fixtures in brass, smoked glass, or frosted white. They act like jewelry for the room. Good lighting also makes the island more functional for cooking and gathering.
8. Use a Curved Island Shape
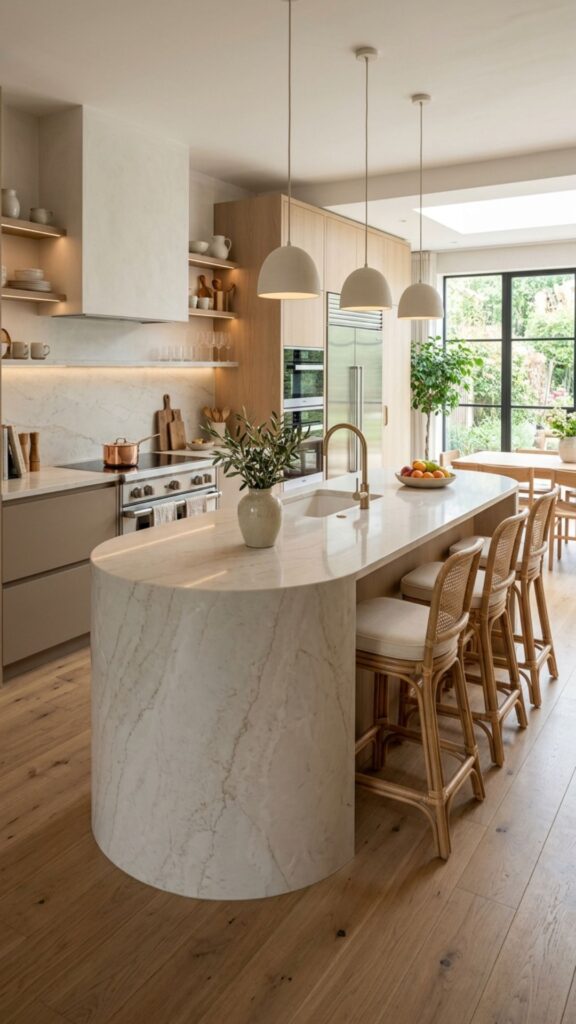
Art deco loved smooth, sweeping curves alongside its sharp angles. A rounded or oval island softens a kitchen and improves flow. It also feels more social, since people can gather around without hard corners.
Curved islands work especially well in open floor plans. Pair the shape with a waterfall stone edge for a truly custom look. This idea takes planning, but the payoff is worth it.
9. Incorporate Mirrored Surfaces
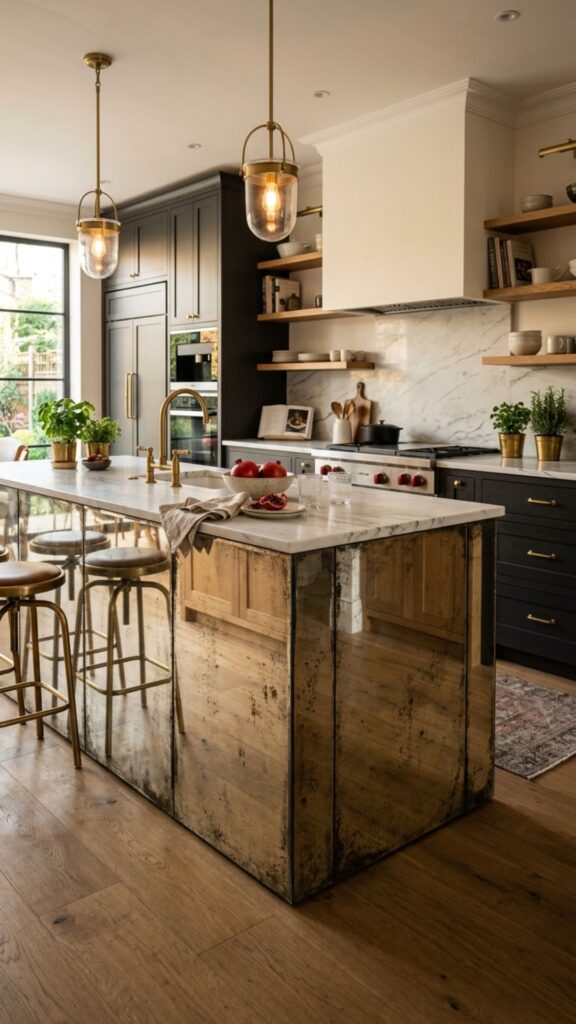
Mirror and reflective glass were everywhere in deco interiors. A mirrored or antiqued glass panel on the island base adds sparkle and depth. It also bounces light around, making small kitchens feel bigger.
Antique mirror hides smudges better than clear glass, which is a practical bonus. Use it on the sides or as an accent band. The effect is glamorous and slightly vintage.
10. Feature a Statement Stone Slab
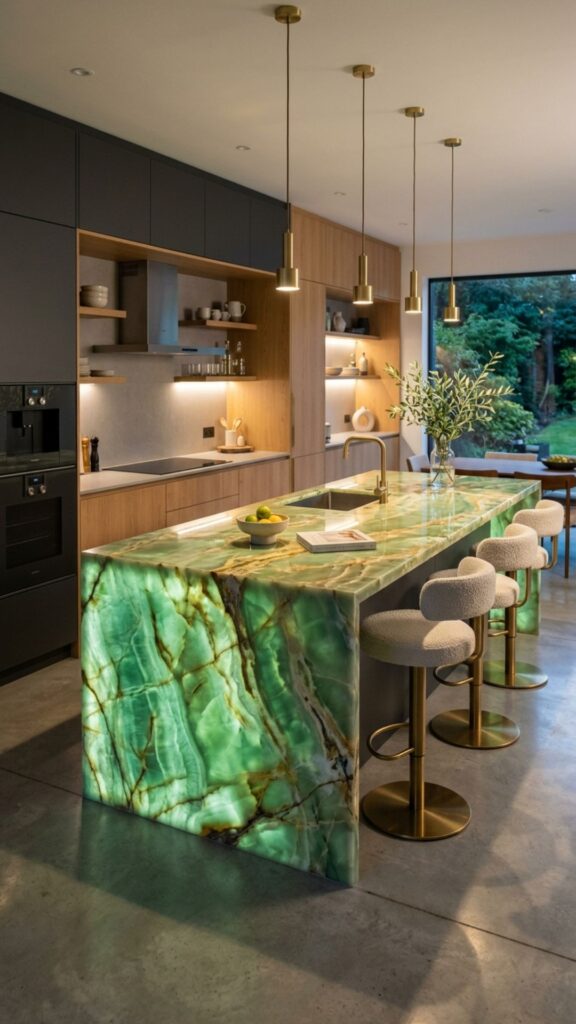
Sometimes the material does all the work. A single dramatic stone slab, like green onyx or blue quartzite, turns the island into art. Let the natural veining shine as the focal point.
Keep the cabinetry beneath it simple and clean. This lets the stone command attention. It’s a splurge, but it’s one that guests will always remember.
11. Add Stepped or Tiered Details
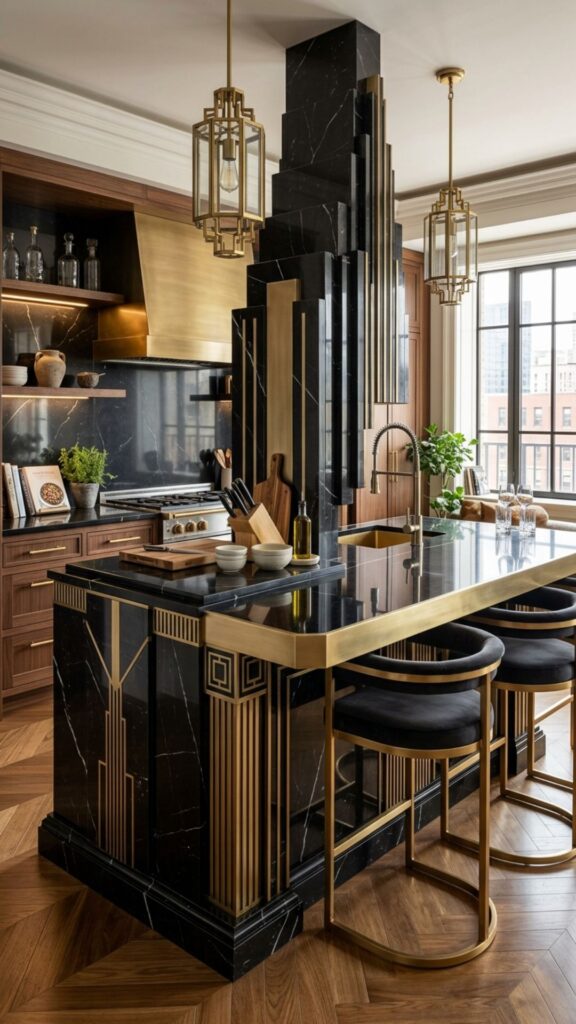
The “skyscraper” look defined the deco era. Stepped edges, tiered counters, or a layered base echo that architecture. These details add structure and a sense of grandeur.
A two-tier island also serves a purpose. Use the higher level for seating and the lower for prep. Form and function come together nicely here.
12. Play with Two-Tone Cabinetry
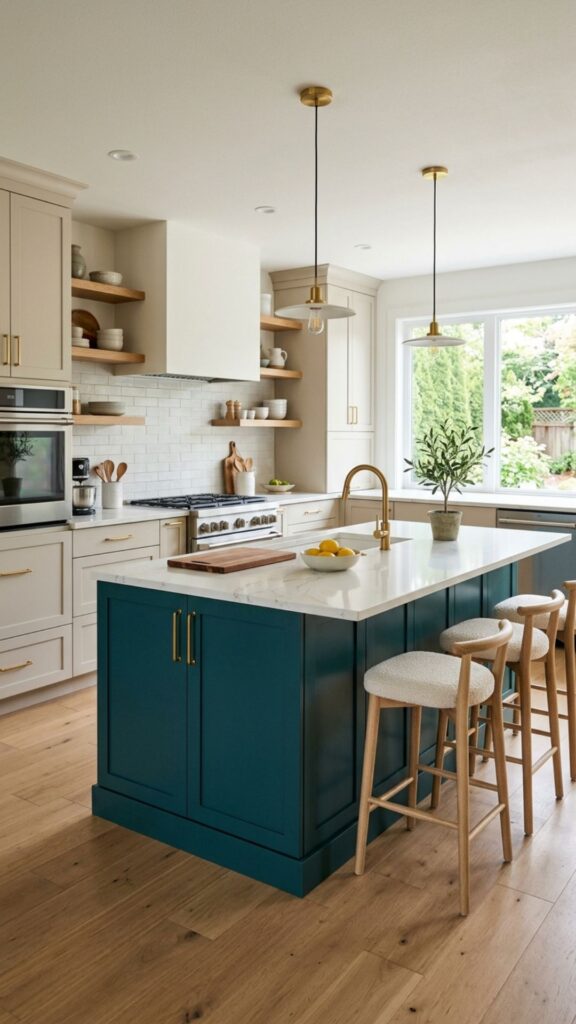
Contrast keeps a design interesting. Pair a bold island color with neutral perimeter cabinets. Deep burgundy, teal, or charcoal all make striking island choices.
This trick lets your island stand out without overwhelming the room. Add gold hardware to tie both tones together. It’s an easy way to get a designer look on a smaller budget.
13. Install Bar Seating with Velvet Stools
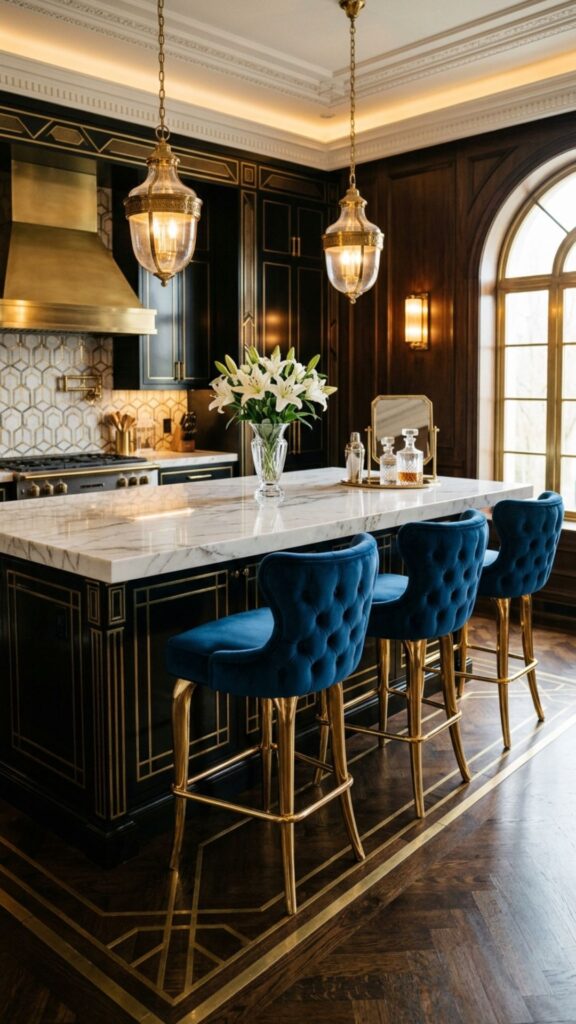
Seating makes your island a gathering spot. Velvet-upholstered stools scream deco luxury. Choose jewel tones like sapphire or ruby for maximum impact.
Look for stools with brass legs and clean lines. They add comfort and color at once. Just measure your overhang so knees have room underneath.
14. Choose Bold Backsplash-to-Island Pairings
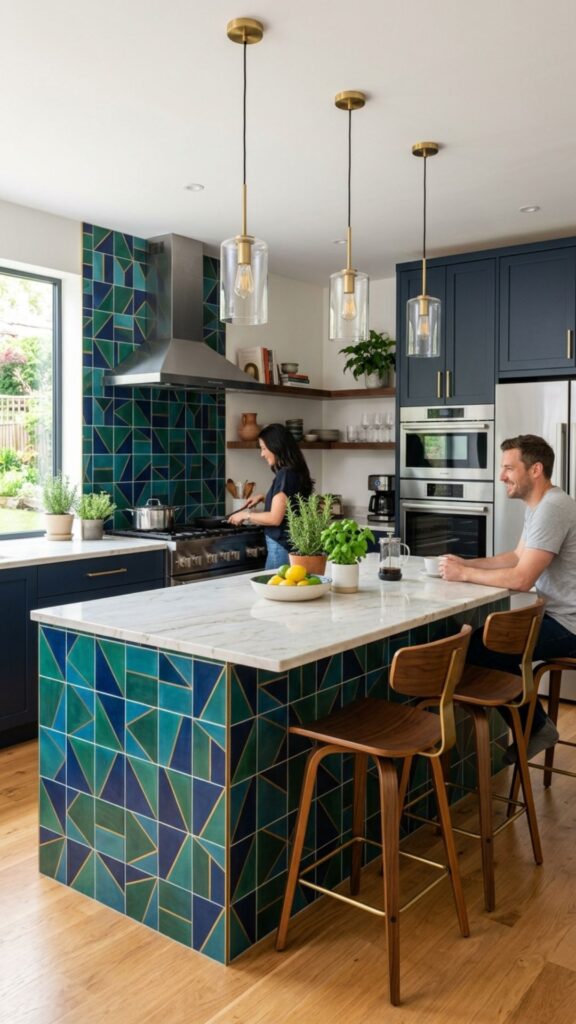
Your island shouldn’t work alone. Coordinate it with a striking backsplash for a cohesive scene. Geometric tile behind the range echoes the deco theme beautifully.
Repeat a color or pattern from the backsplash on the island base. This creates visual harmony across the room. Small connections like this make a space feel professionally designed.
15. Add a Built-In Wine Display
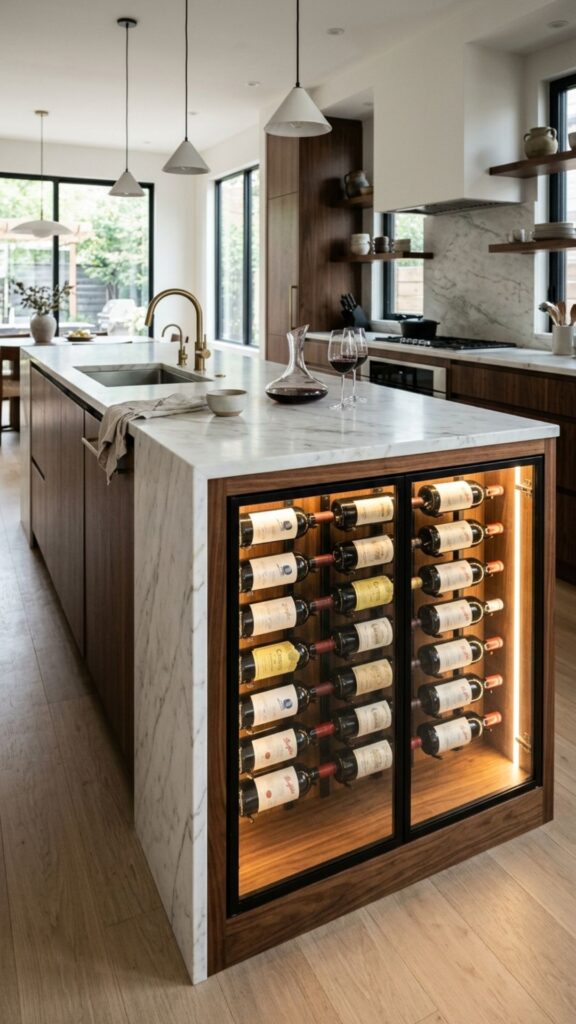
Entertaining was central to the deco lifestyle. A built-in wine rack or glass-front cooler adds function and flair. Position it on the island end for easy access.
Glass shelving with interior lighting shows off your collection. It turns storage into a display feature. Guests will gravitate toward it every time.
16. Use Chrome and Polished Nickel
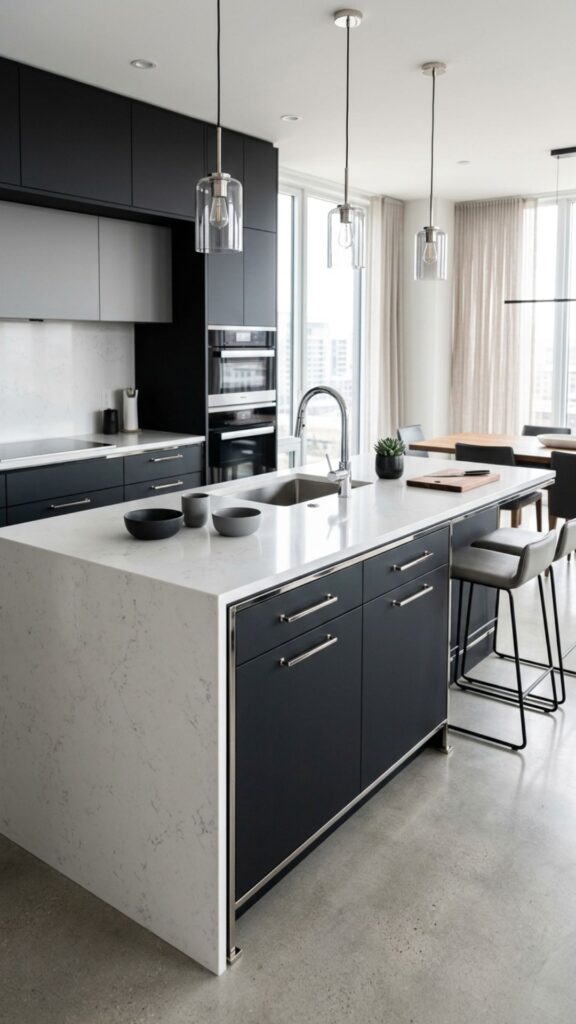
Not every deco kitchen leans gold. Chrome and polished nickel bring a cooler, sleeker edge. They pair well with black, white, and gray palettes.
Use these metals on hardware, faucets, and trim for a crisp finish. They feel modern yet still nod to the era. Consistency is key, so pick one metal and stick with it.
17. Highlight Inlaid Patterns
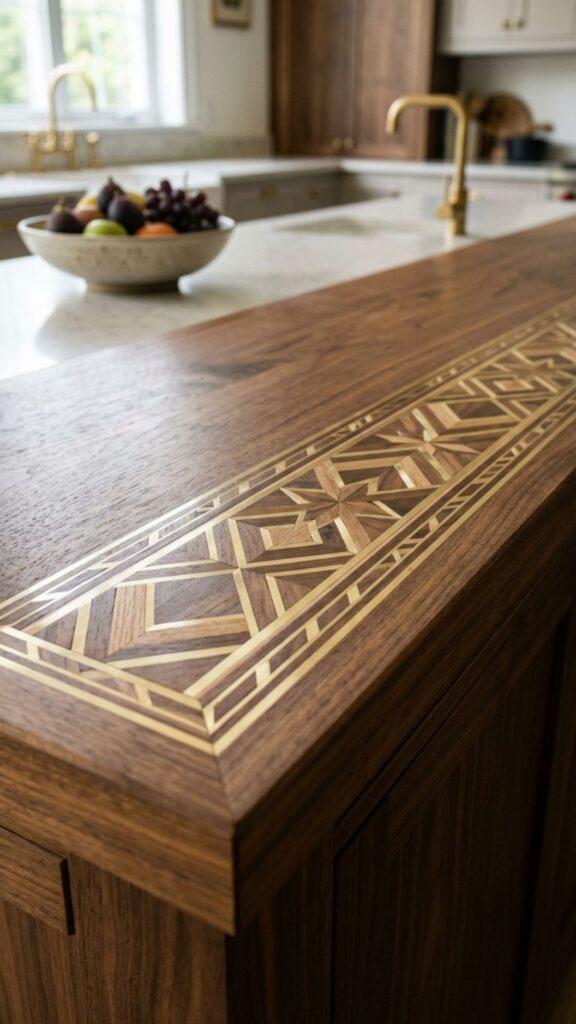
Inlay work shows true craftsmanship. Wood, brass, or stone inlays on the island top or sides add fine detail. Even a simple geometric border feels special.
This is where quality really shows. Skilled inlay work signals a thoughtful, high-end kitchen. It’s a detail worth investing in if your budget allows.
18. Try a Monochrome Marble Kitchen
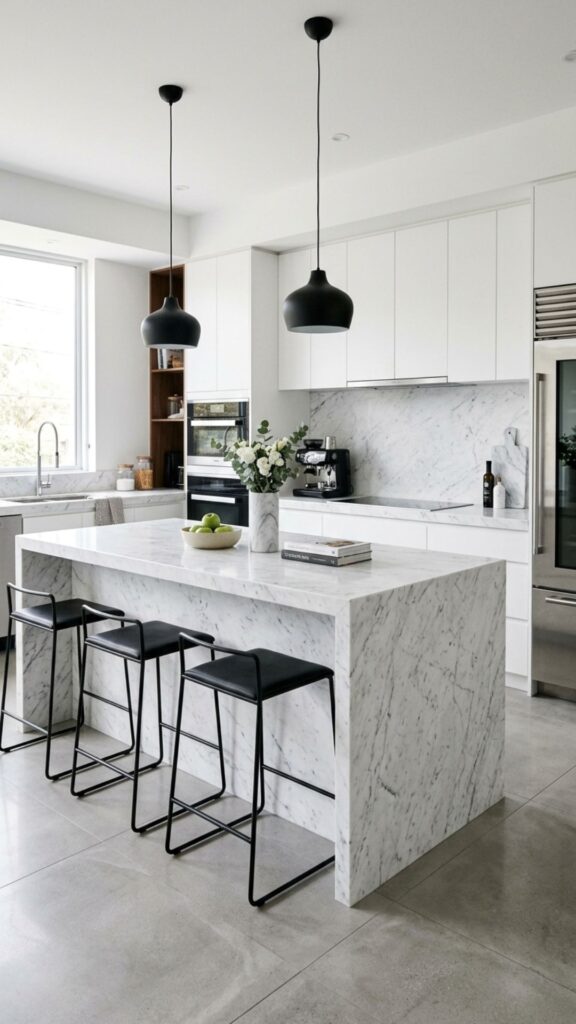
An all-marble scheme feels serene and rich. Match your island stone to the counters and backsplash for a wrapped, cohesive look. White marble with soft gray veins keeps it timeless.
Add warmth with brass accents and wood stools. This prevents the space from feeling cold. The result is understated luxury that never goes out of style.
19. Add Decorative Corbels or Legs
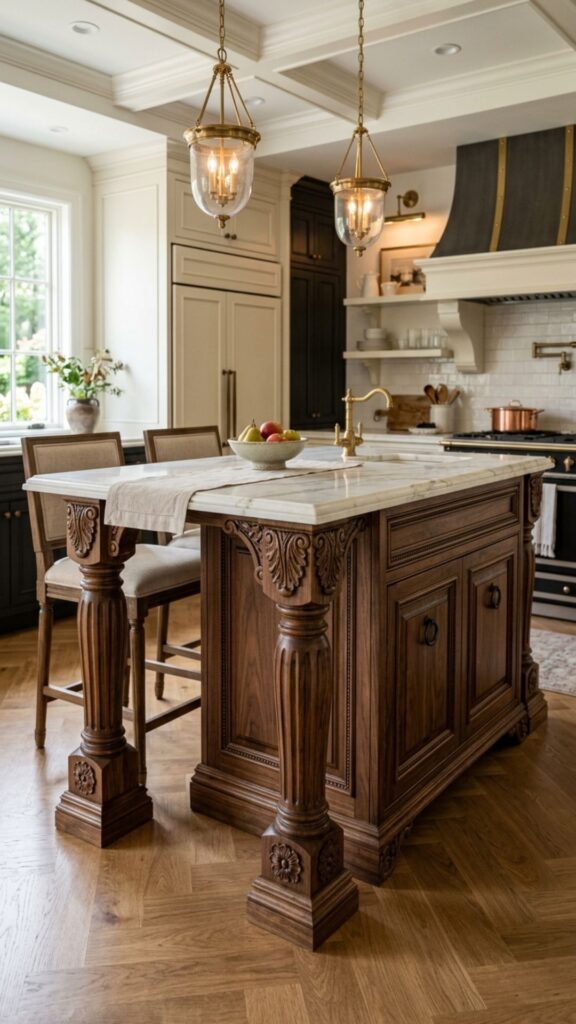
Details at the base add character. Turned legs, fluted corbels, or sculpted supports give the island a furniture-like feel. This was common in deco design, where kitchens borrowed from fine furniture.
Choose a finish that matches your hardware for unity. These accents make a store-bought island look custom. They’re a smart upgrade for renovators on a budget.
20. Layer in Statement Accessories
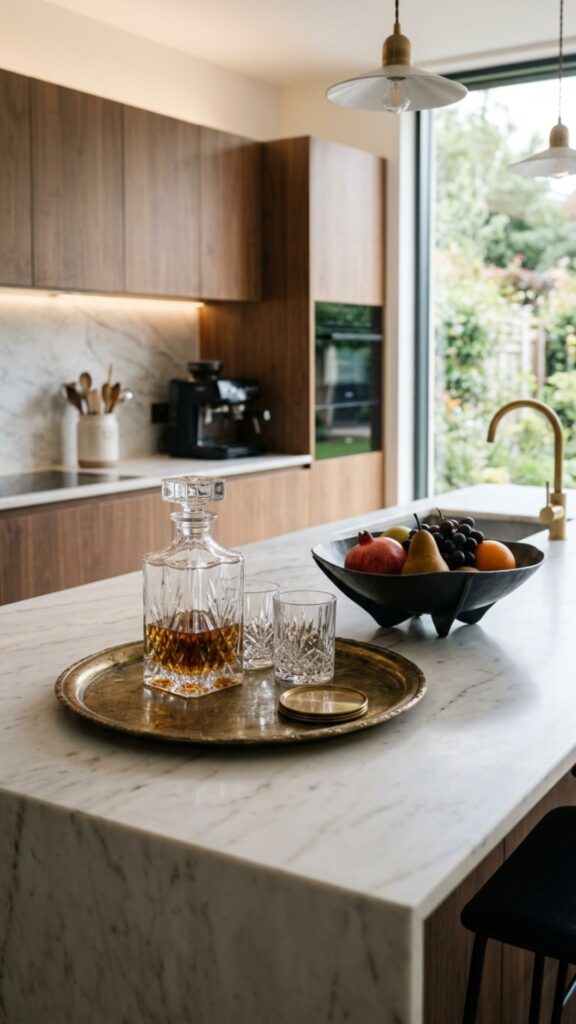
Finishing touches complete the look. Add a bold fruit bowl, brass tray, or crystal decanter to your island top. These small pieces reinforce the glamorous theme.
Keep clutter minimal so each item shines. Rotate accessories with the seasons to keep things fresh. A well-styled island always feels lived-in yet elegant.
Bringing It All Together
Art deco design proves that kitchens can be both practical and glamorous. From waterfall marble to brass accents and bold geometry, these kitchen island ideas art deco fans adore can fit almost any budget. You don’t need every element at once. Even one or two changes can transform your space.
Start by picking the ideas that speak to you most. Then build your island around a clear color palette and material story. Ready to create a showstopper? Save your favorite ideas, sketch a plan, and start gathering samples today. Your dream deco kitchen is closer than you think.
What makes a kitchen island art deco?
An art deco kitchen island features bold geometry, luxurious materials, and glamorous finishes. Common elements include marble waterfall edges, brass or gold accents, fluted bases, black lacquer, and geometric patterns like sunbursts or chevrons.
What colors work best for an art deco kitchen island?
Deep jewel tones work best, such as emerald green, navy blue, burgundy, and charcoal. These pair beautifully with gold, brass, or chrome accents. Black and white combinations also capture the classic deco look.
Are art deco kitchen islands expensive?
They can range widely in cost. High-end materials like marble slabs and custom inlays raise the price, but you can achieve the look affordably with two-tone paint, gold hardware, and fluted panels on a standard island.
What materials are used in art deco kitchen islands?
Popular materials include marble, dark woods like walnut and ebony, black lacquer, brass, chrome, mirrored glass, and dramatic stones such as onyx or quartzite. Mixing these materials creates the layered, luxurious deco feel.
Can I add art deco style to an existing island?
Yes. Simple updates like new brass hardware, fluted panel fronts, a fresh coat of jewel-tone paint, or velvet bar stools can give your current island an art deco makeover without a full renovation.