An open-concept home lives and dies by the kitchen. It’s where morning coffee happens, where kids do homework, and where guests somehow always end up during a party. If your kitchen flows into the living or dining area, the right island can pull the whole space together. That’s where L-shaped kitchen island ideas come in handy.
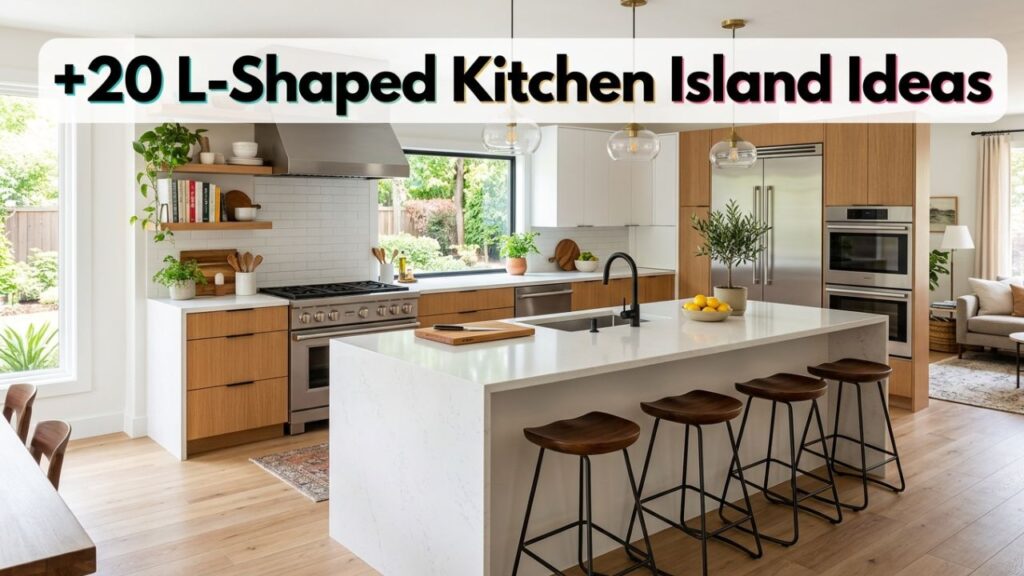
An L-shaped island does more than look good. It carves out zones, adds prep space, and gives everyone a place to gather without crowding the cook.
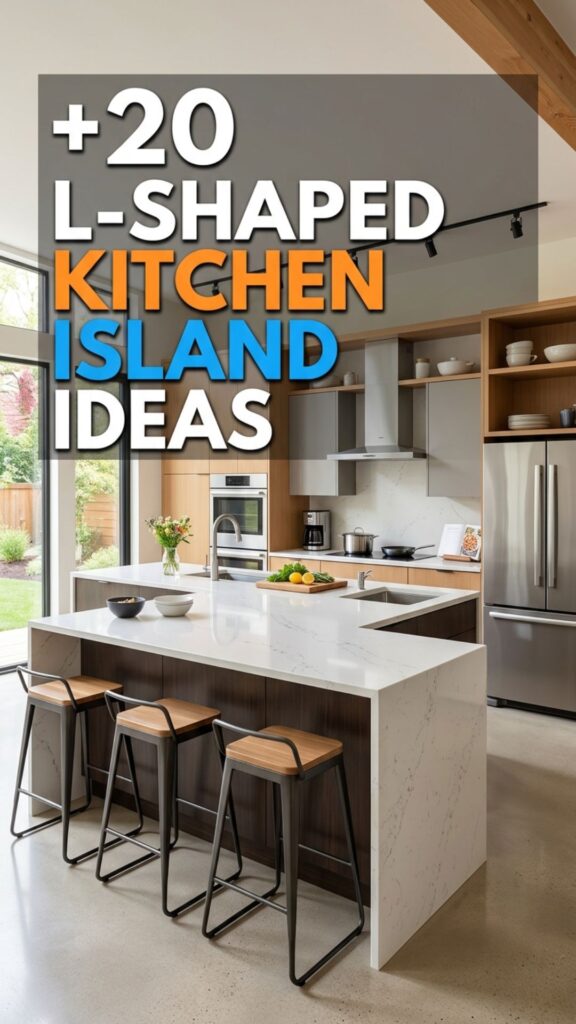
I’ve spent years helping homeowners rethink their layouts, and I’ve seen how the right island shape changes the way a family actually uses their space. Below, you’ll find 20 practical, tested ideas to spark your own design. Let’s dig in.
1. Create a Natural Divide Between Kitchen and Living Room
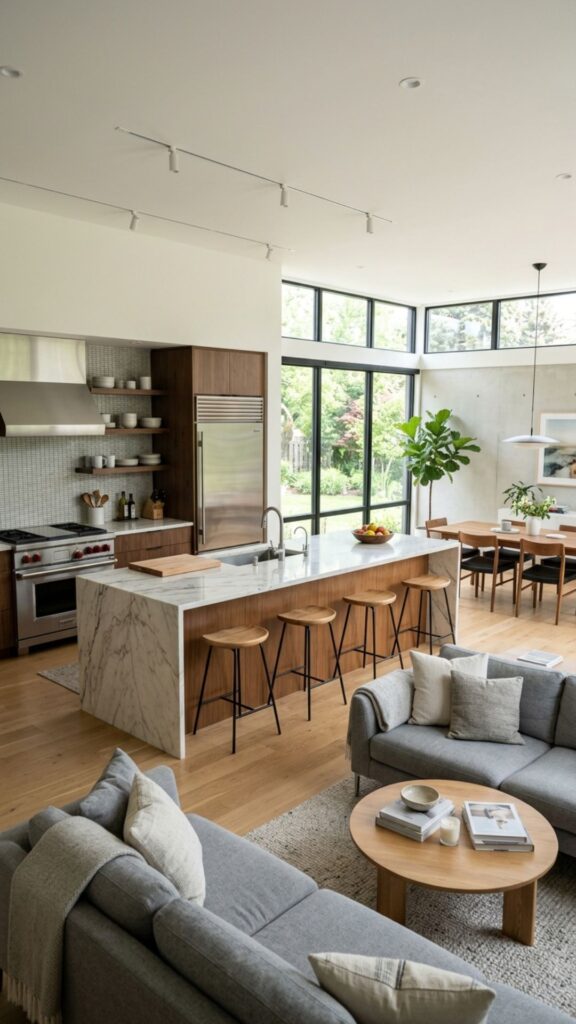
An L-shaped island works beautifully as a soft boundary. The longer leg runs parallel to your counters, while the shorter leg juts out to mark where the kitchen ends and the living space begins. You get separation without building a single wall.
This setup keeps sight lines open, so you can chat with family on the couch while chopping vegetables. It’s one of the simplest ways to define zones in a home where every room bleeds into the next.
2. Add a Built-In Breakfast Bar on the Short Leg
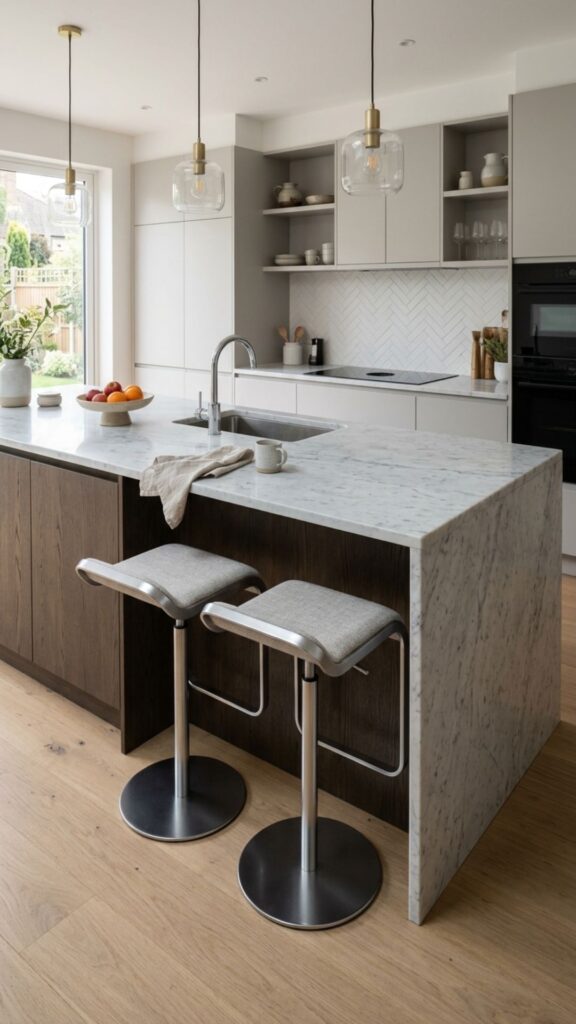
The short end of an L-shape is prime real estate for casual seating. Extend the countertop a few inches past the base cabinets, then slide in two or three stools. Suddenly you’ve got a breakfast bar that doesn’t eat up floor space.
I always tell clients this spot becomes the most-used seat in the house. It’s perfect for quick meals, homework, or keeping the cook company. Just leave about 12 inches of overhang so knees fit comfortably underneath.
3. Tuck a Prep Sink Into the Corner
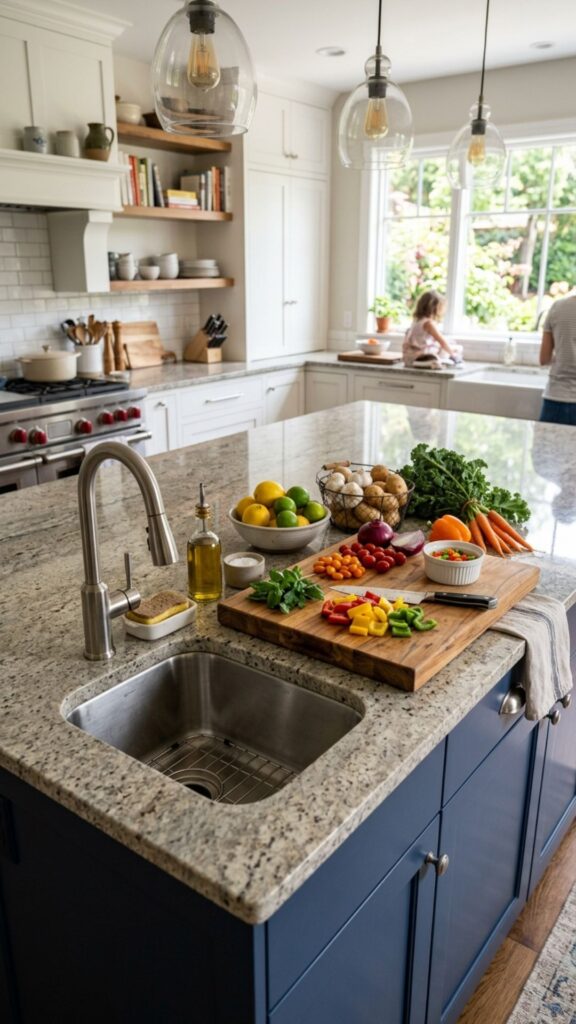
The inside corner of an L-shaped island is often dead space. Put it to work with a small prep sink. You’ll have water right where you need it for rinsing produce or filling pots, without crossing the whole kitchen.
A prep sink also makes the island a true second workstation. When two people cook together, one can wash while the other chops. It’s a small addition that pays off every single day.
4. Wrap Seating Around Both Legs
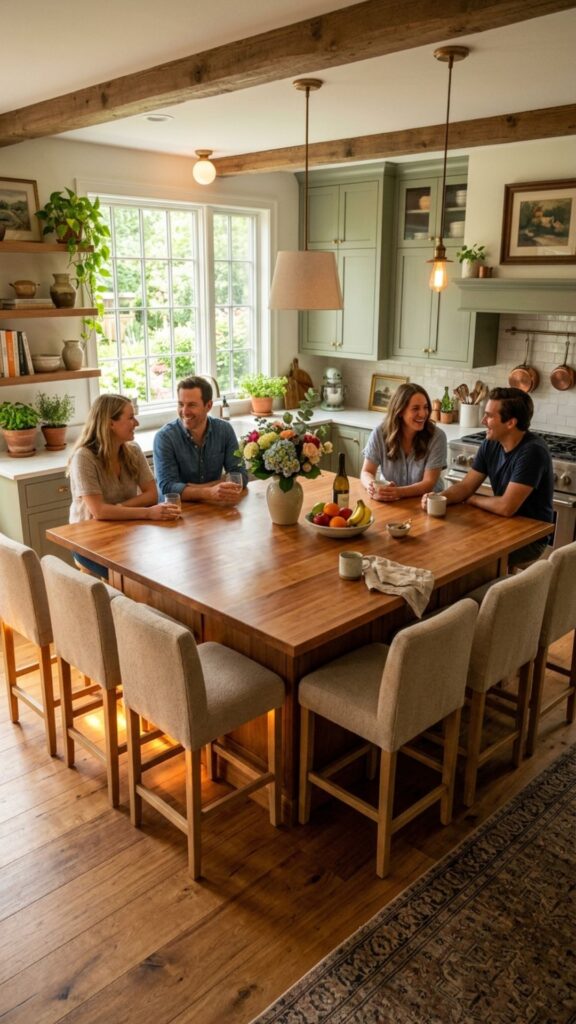
Why limit stools to one side? An L-shaped island lets you seat people along both legs, turning the corner into a cozy gathering spot. This works especially well for families who eat most meals at the island rather than a formal table.
Angle the corner stool slightly so nobody bumps elbows. With four or five seats, you get the feel of a diner booth right in the middle of your kitchen. Guests love it, and cleanup stays close by.
5. Mix Two Countertop Materials
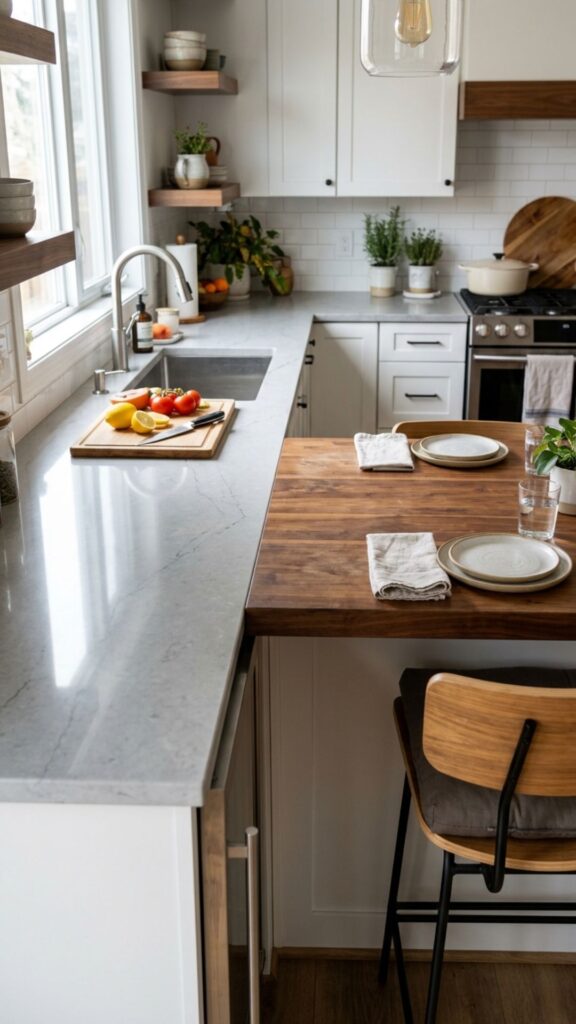
Give each leg of the island its own personality. Run durable quartz along the cooking side, then switch to a warm butcher-block top on the seating side. The contrast adds visual interest and signals how each area gets used.
This trick also stretches your budget. You can splurge on a small stretch of premium stone while keeping the rest affordable. Just make sure the two materials share a color family so the look feels intentional, not accidental.
6. Build In Deep Drawers for Pots and Pans
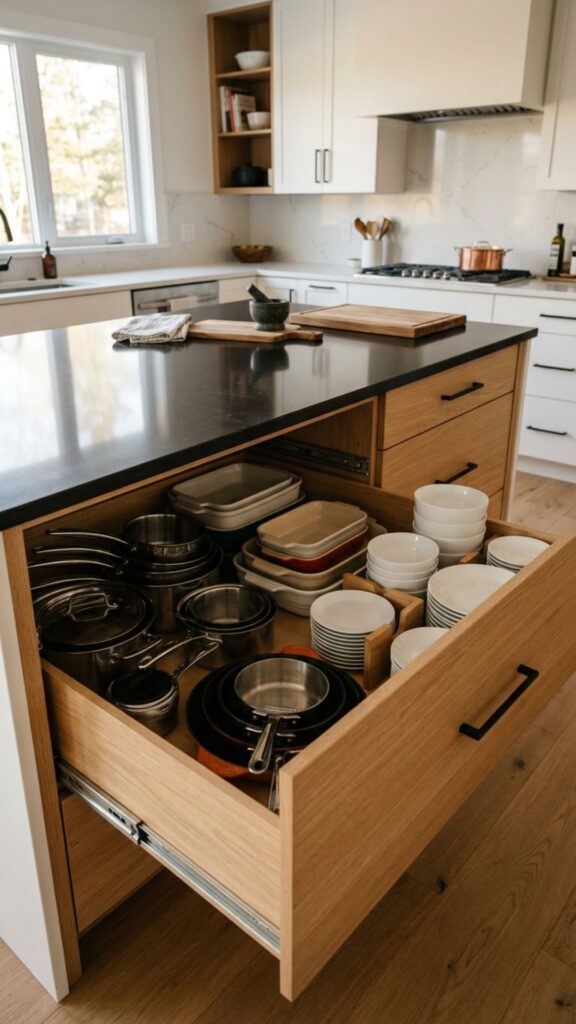
Storage is the secret weapon of any good island. Deep drawers hold heavy pots far better than low cabinets, since you pull the contents out instead of crouching down to dig around. On an L-shape, you get two runs of cabinetry to fill.
Organize by task. Keep bakeware near the oven side and everyday plates near the seating side. When everything has a home within arm’s reach, cooking feels less like a scavenger hunt.
7. Install a Waterfall Edge for a Modern Look
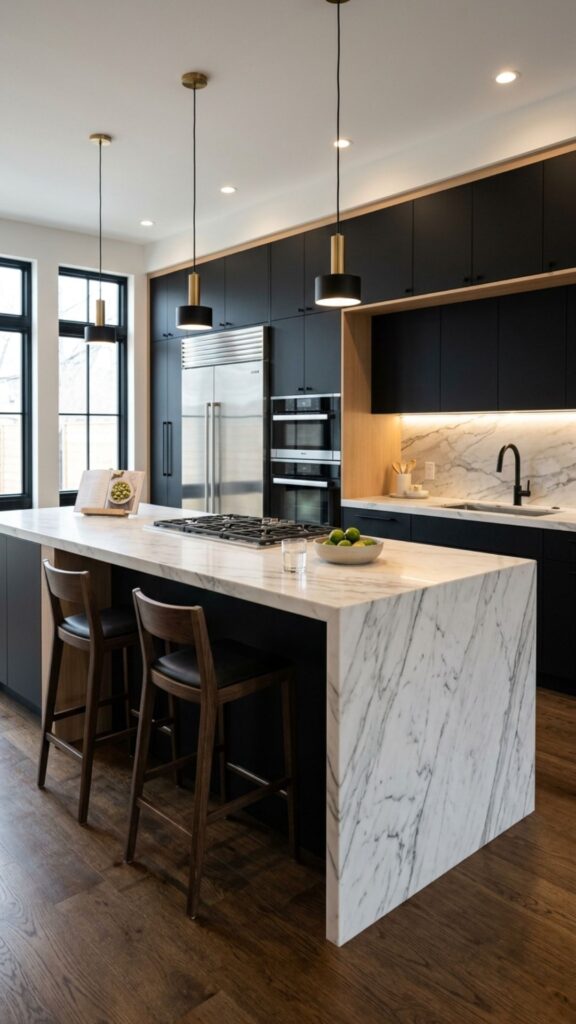
A waterfall edge, where the countertop cascades down the side to the floor, gives an L-shaped island a sleek, high-end feel. It works best on the exposed short leg that faces the living area, since that’s the part everyone sees.
The seamless flow of stone draws the eye and makes the island feel like a piece of furniture rather than just cabinets. Pair it with simple stools and clean lighting, and you’ve got a real centerpiece.
8. Add Open Shelving on the End Cap
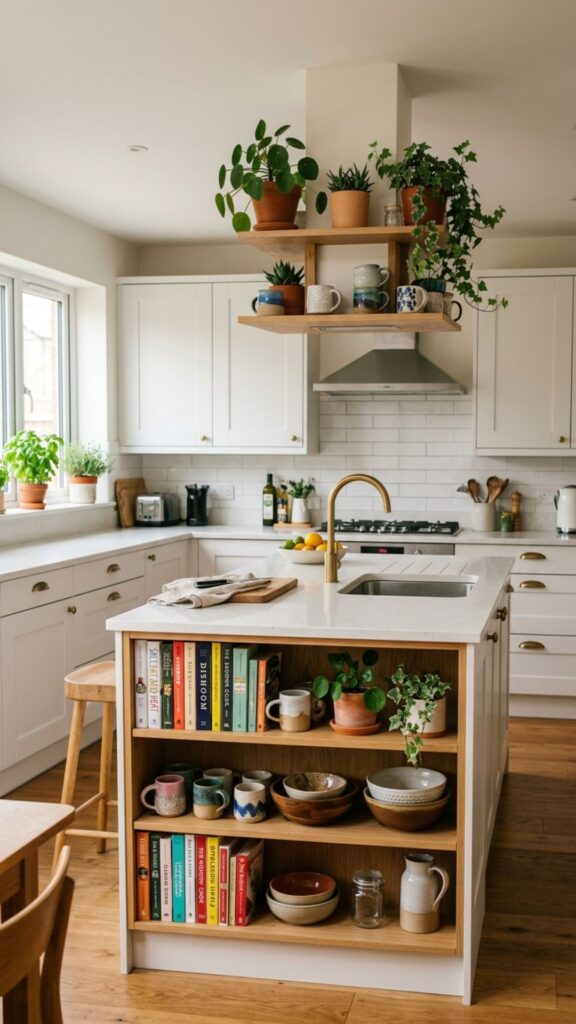
The end of your island’s short leg is a great spot for open shelving. Use it to display cookbooks, plants, or pretty serving bowls. This softens the boxy look and adds warmth to an open-concept space.
Open shelves also keep everyday items within reach. Stash your favorite mugs or a stack of small plates there. Just keep the styling loose and lived-in so it feels like part of a home, not a showroom.
9. Fit a Wine Fridge Into the Design
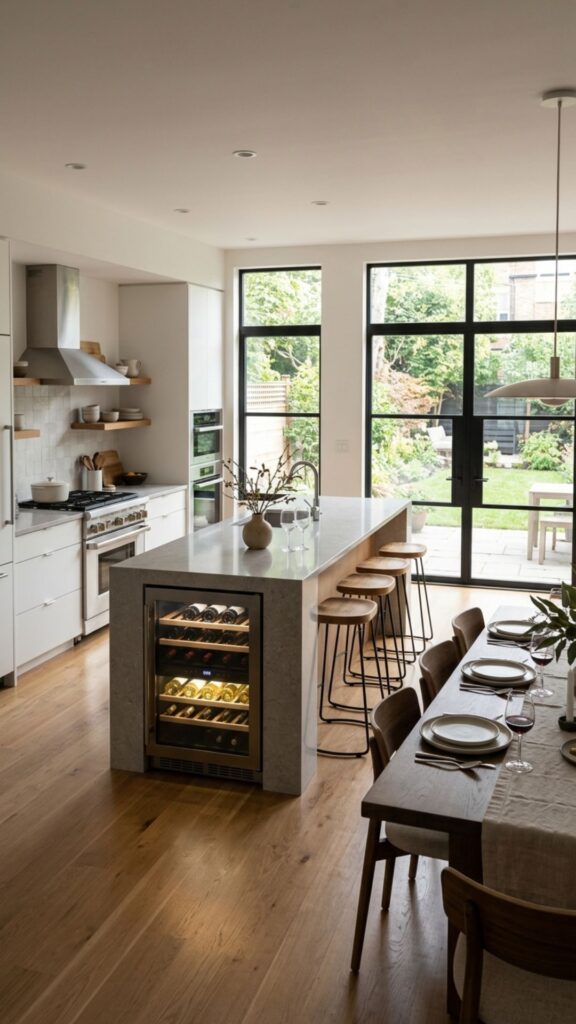
Entertainers, this one’s for you. Tuck a slim wine fridge into the base of your L-shaped island, ideally on the side closest to the dining or living area. Guests can grab a bottle without wandering into the cooking zone.
Beverage drawers work too if wine isn’t your thing. Fill them with sparkling water, juice boxes, or after-school snacks. Keeping drinks separate from the main fridge cuts down on traffic during busy gatherings.
10. Go Bold With a Contrasting Island Color
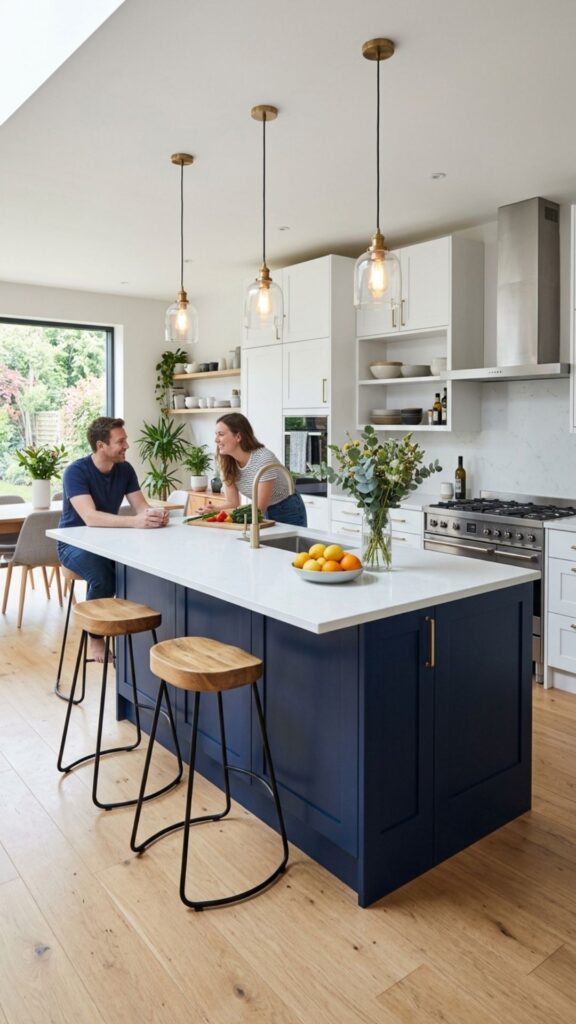
Your perimeter cabinets don’t have to match your island. Paint the L-shaped island a deep navy, forest green, or charcoal while keeping the surrounding kitchen light and airy. The contrast anchors the whole room.
In an open-concept layout, this bold island becomes a natural focal point tying the kitchen to the living space. Repeat the color in a nearby throw pillow or piece of art, and the design feels connected end to end.
11. Include a Cooktop for a True Cooking Hub
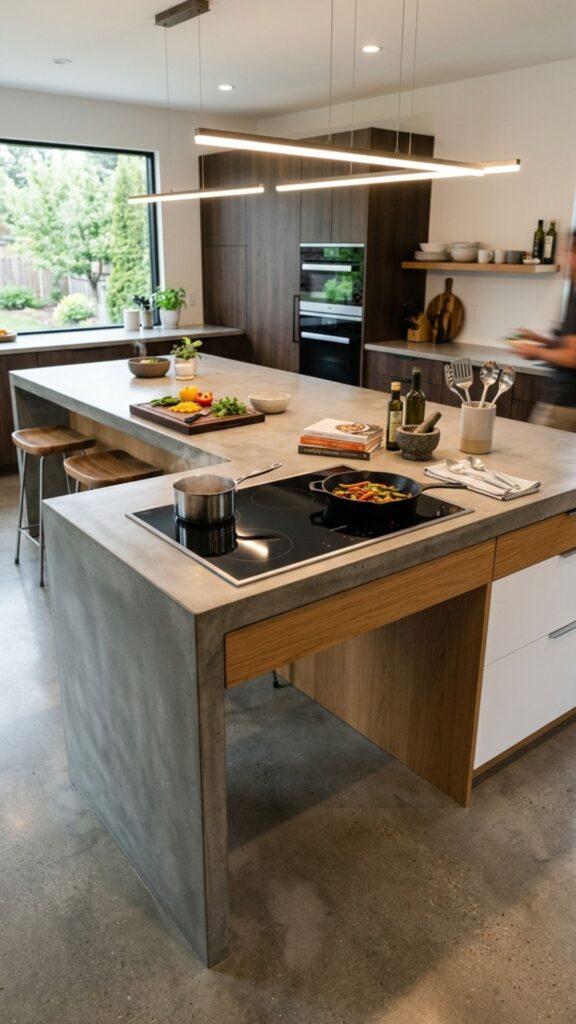
Moving your cooktop to the island turns it into command central. You face outward while you cook, so you never miss a conversation. On an L-shape, place the cooktop on the longer leg with prep space on either side.
You’ll need a downdraft vent or a ceiling-mounted hood to handle smoke and steam. It’s an investment, but the payoff is a kitchen where the cook is part of the party instead of stuck facing a wall.
12. Design a Two-Tier Island for Hidden Prep
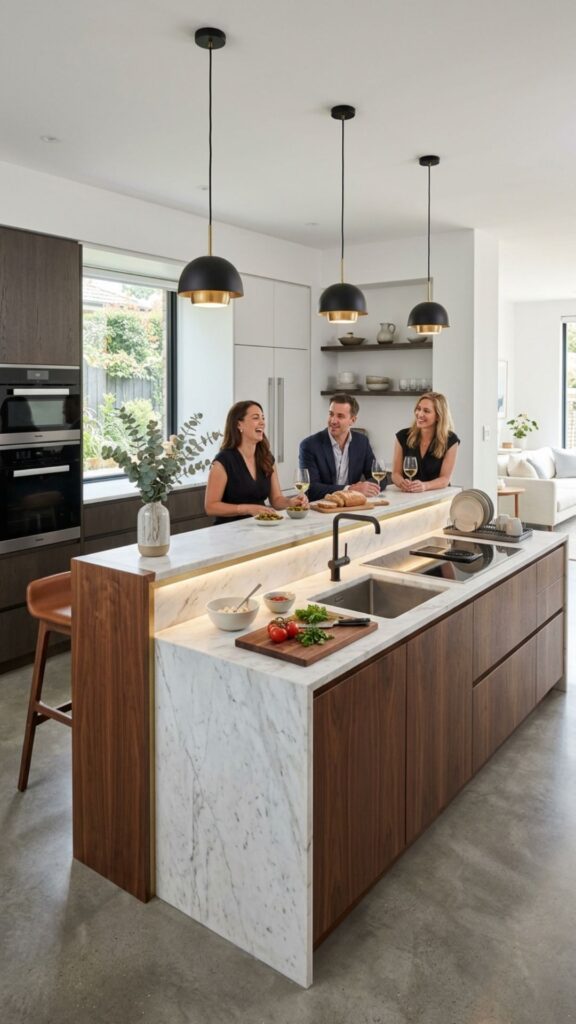
A two-level island keeps messy prep out of sight. The lower tier serves as your work surface, while the raised tier hides dirty dishes and clutter from guests seated on the other side. It’s a smart move for open-concept homes where everything’s on display.
The raised section also creates a natural spot for bar stools. Diners feel like they have their own space, separate from the cooking action. It’s a subtle way to keep function and hospitality in balance.
13. Maximize Corner Storage With a Lazy Susan
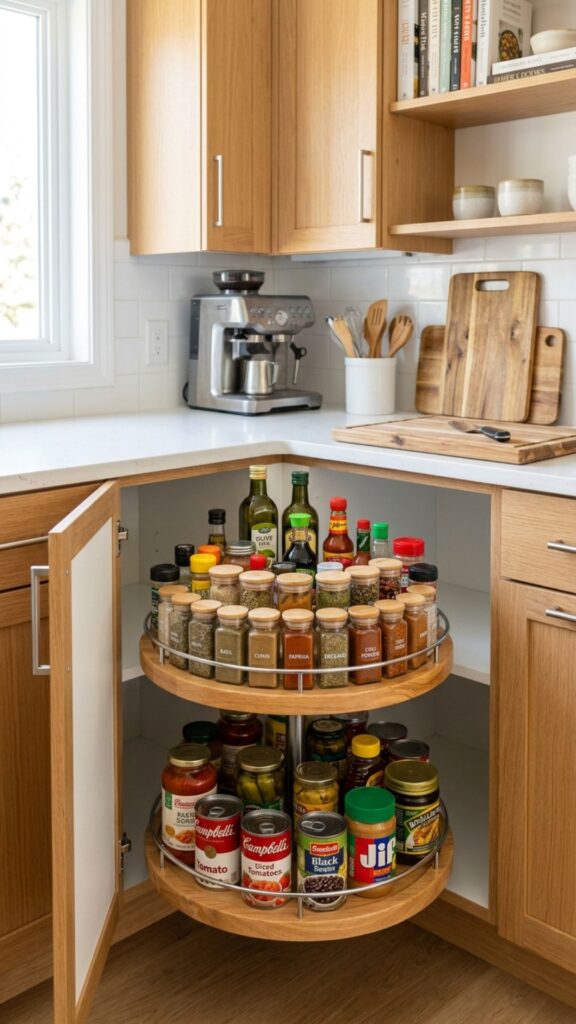
That inside corner tends to swallow items whole. A lazy Susan fixes the problem by spinning your pots, spices, or pantry goods right to your fingertips. It rescues space that would otherwise go to waste.
Corner drawers are another clever option. They pull out at an angle to reach the deepest part of the L. Either choice turns an awkward spot into some of the most usable storage in the whole island.
14. Add Pendant Lighting to Define the Zone
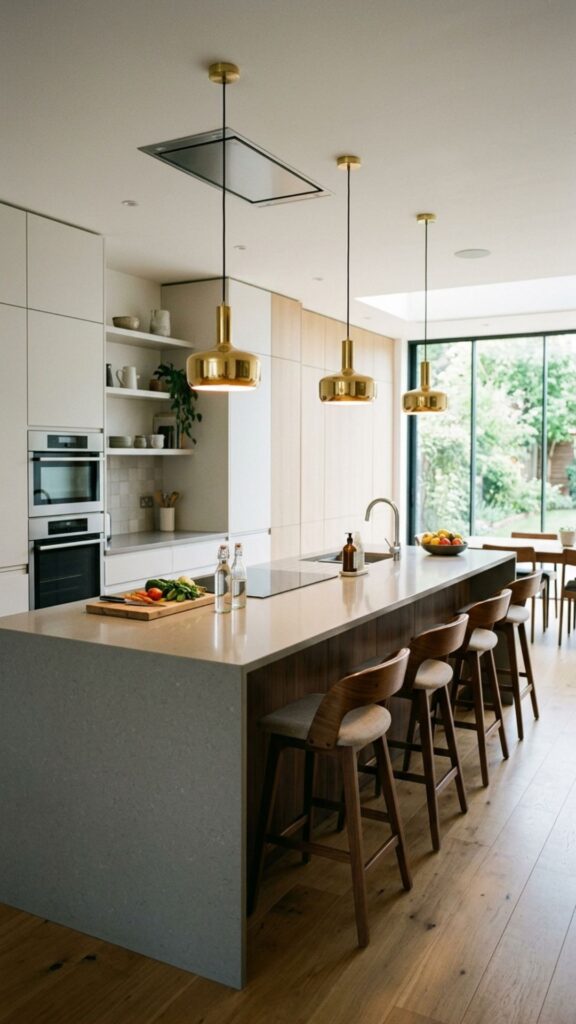
Hanging pendants over an L-shaped island does double duty. They light your work surface and visually mark the kitchen zone within your open floor plan. Two or three pendants along the longer leg usually strike the right balance.
Choose fixtures that echo your home’s overall style. Warm brass reads cozy and traditional, while matte black feels modern and sharp. Hang them about 30 to 36 inches above the counter so they light the surface without blocking your view.
15. Slide Bookshelves Into the Living-Room Side
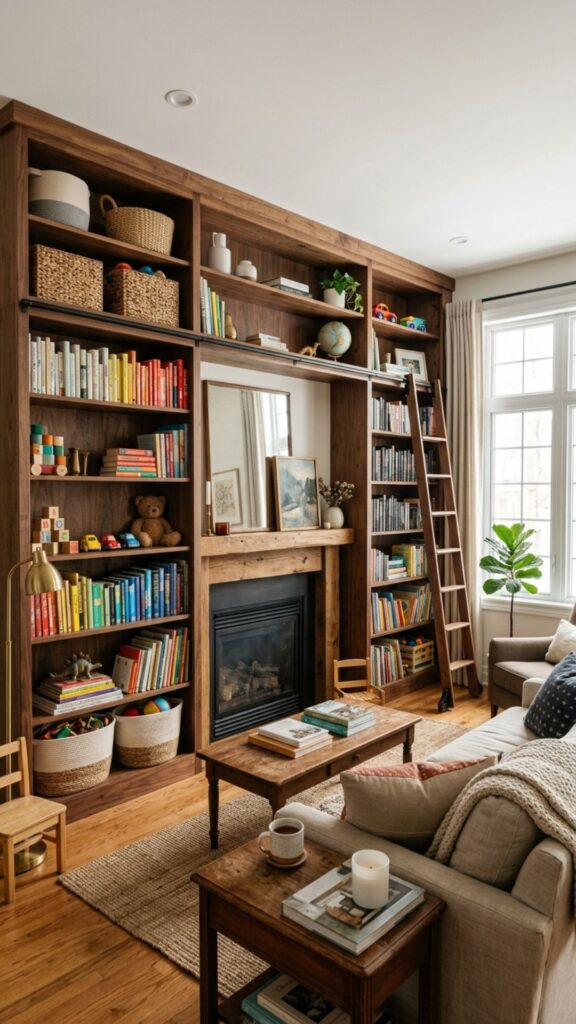
The back of your island, the side facing the living area, doesn’t have to be plain. Fit it with cubbies or shelves for books, baskets, or décor. This makes the island useful from both sides and ties it to the adjoining room.
Families with kids love this idea. Fill the shelves with toys, board games, or bins that keep the living space tidy. It’s a clever way to squeeze extra storage out of a surface most people ignore.
16. Choose a Compact L-Shape for Small Kitchens
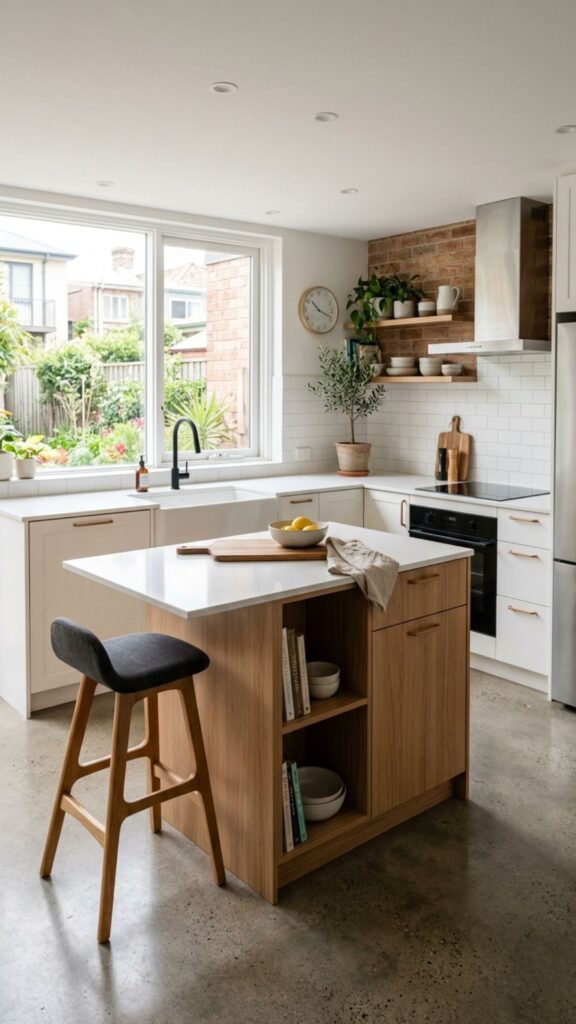
An island isn’t only for big kitchens. A compact L-shape can fit surprisingly tight spaces, giving you extra counter and a bit of seating without crowding the room. Aim for at least 36 inches of walkway around every side.
Keep the profile slim and skip bulky features like a cooktop. Focus instead on storage and a single stool tucked into the corner. Even a small island adds real function to an open-concept home that feels short on space.
17. Incorporate a Microwave Drawer
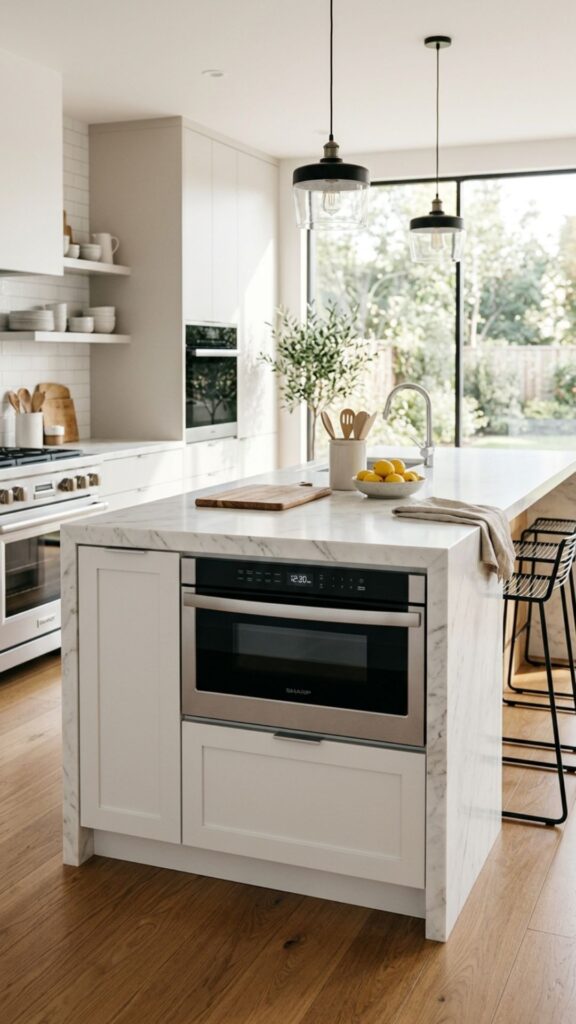
Free up your counters by building a microwave drawer into the island base. It pulls open from the top, so it’s easy to reach and stays out of sight. Kids can use it safely too, since it sits at a lower height.
This frees up wall space for cabinets or a backsplash you actually want to look at. In open-concept homes, hiding appliances keeps the whole area feeling calm and clutter-free.
18. Use Matching Stools for a Cohesive Flow
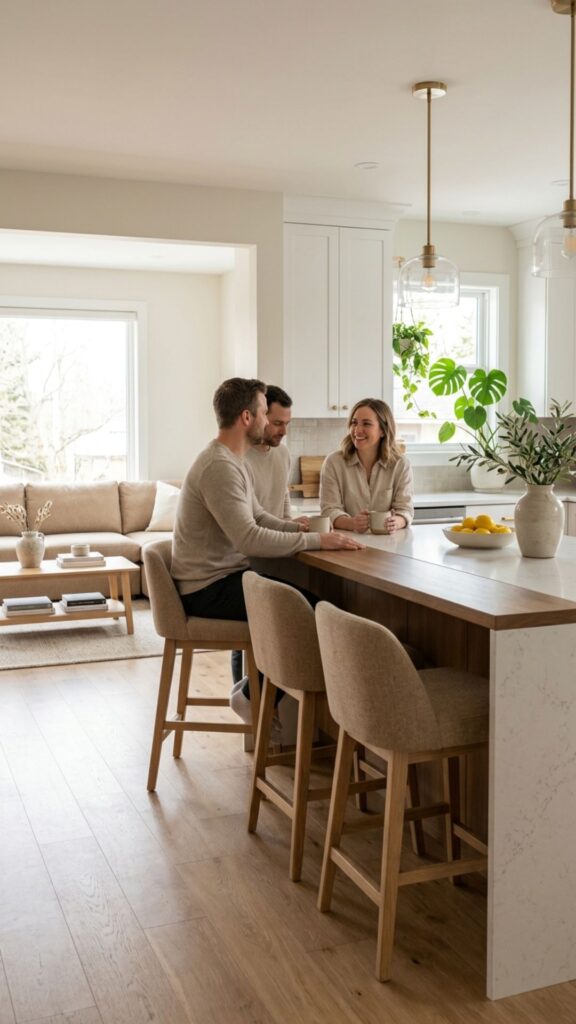
Since your island sits in view of the living space, the stools you choose matter. Pick a style, color, or material that nods to your furniture nearby. This small choice pulls the two areas together visually.
Backless stools tuck neatly under the counter and keep sight lines open. Upholstered seats add comfort for longer sit-downs. Whatever you choose, buy them in a matching set so the look stays clean and intentional.
19. Add a Charging Station for Busy Households
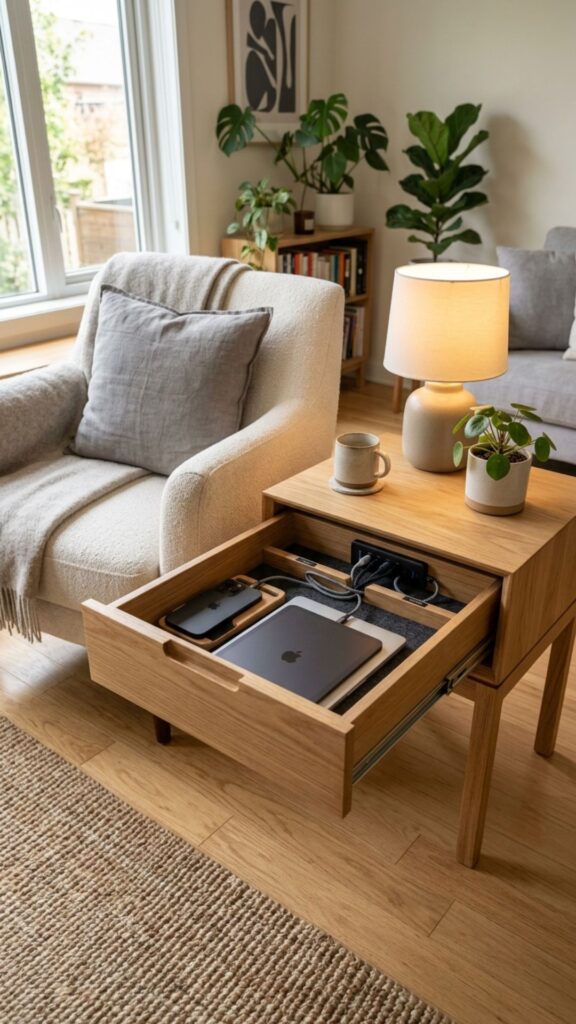
Modern kitchens are also communication hubs. Build a small charging drawer or add a pop-up outlet to your island. Phones, tablets, and laptops all get a tidy home, and cords stay hidden away.
Place it on the seating side so it’s easy to reach during homework or work-from-home stretches. It’s one of those upgrades you don’t think you need until you have it, and then you can’t imagine going without.
20. Blend the Island With Your Flooring and Trim
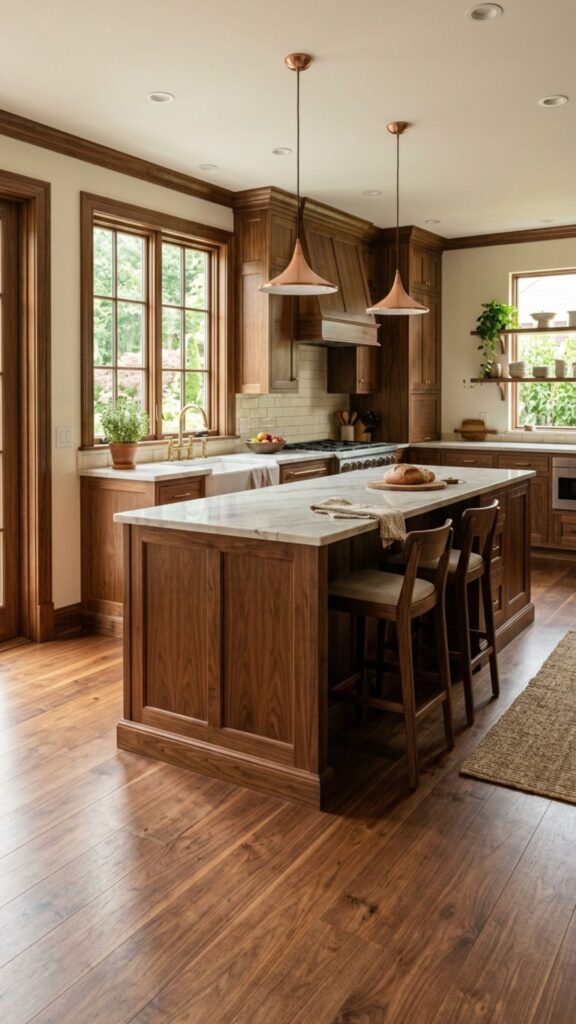
For a truly unified open-concept look, echo your flooring tone or trim color in the island’s design. A wood-toned base that matches your floors, or a painted base that matches your baseboards, makes the island feel built-in and permanent.
This attention to detail is what separates a thrown-together kitchen from a designed one. When the island speaks the same design language as the rest of the room, the whole space feels calm, cohesive, and complete.
Bringing It All Together
An L-shaped island is one of the most flexible choices you can make for an open-concept home. It divides space without walls, adds seating and storage, and becomes a natural gathering point for everyday life. The best part is how easily you can mix these ideas to fit your own routine and style.
Start by thinking about how your family actually uses the kitchen. Do you cook together, entertain often, or need a spot for the kids to do homework? Let those answers guide which features you prioritize. Ready to redesign your space? Grab a tape measure, sketch out your layout, and reach out to a local kitchen designer to turn your favorite ideas into a plan you’ll love for years.
What is the ideal size for an L-shaped kitchen island?
Most L-shaped islands work well with a longer leg of 4 to 6 feet and a shorter leg of 2 to 4 feet. Leave at least 36 to 42 inches of clearance on every side so people can move and open cabinets comfortably.
Is an L-shaped island good for a small kitchen?
Yes, as long as you keep the footprint compact and maintain proper walkways. A slim L-shape can add counter space and a stool or two without overwhelming a smaller open-concept room. Skip bulky features like a cooktop to save space.
How much does an L-shaped kitchen island cost?
Costs vary widely based on size, materials, and features. A basic island can start around $3,000, while custom builds with premium stone, appliances, and lighting can run $10,000 or more. Getting a few local quotes gives you the clearest picture.
Can I add seating to both sides of an L-shaped island?
Absolutely. One of the biggest perks of an L-shape is seating along both legs, which creates a booth-like gathering spot. Just plan for a 12-inch countertop overhang and enough legroom so guests sit comfortably.
Should my island match my kitchen cabinets?
Not necessarily. A contrasting island color is a popular way to create a focal point in open-concept homes. If you go bold, tie the color to something nearby, like décor or furniture, so the space still feels connected.