There’s something about a farmhouse kitchen that just feels like home. Warm wood, worn textures, a big island where the family gathers for pancakes on Sunday morning. If you’re planning a remodel or dreaming up your forever kitchen, the island is where the magic happens.
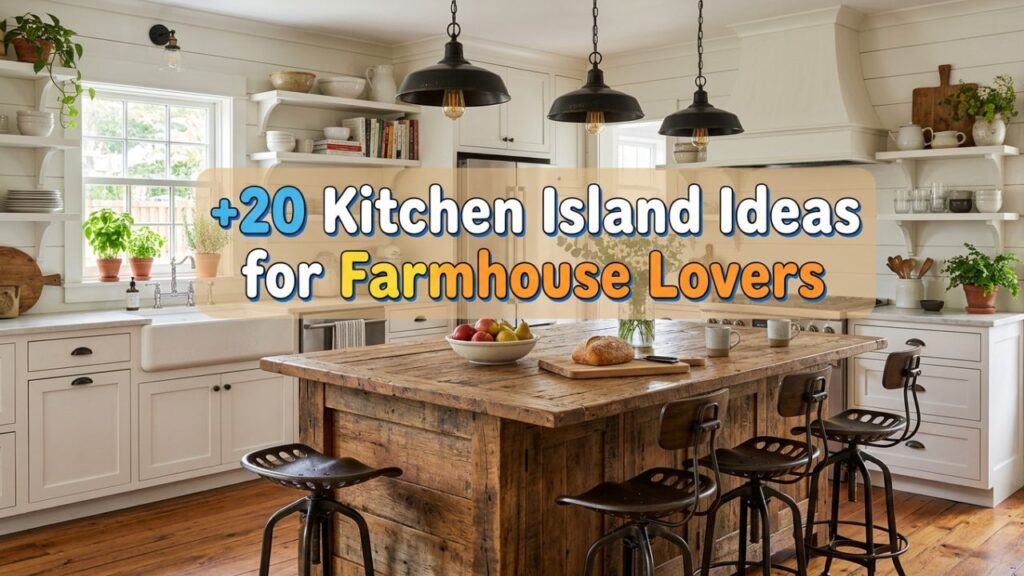
I’ve spent years helping homeowners rethink their kitchens, and the island is almost always the piece they agonize over most. It has to work hard, look beautiful, and tie the whole room together. That’s a tall order.
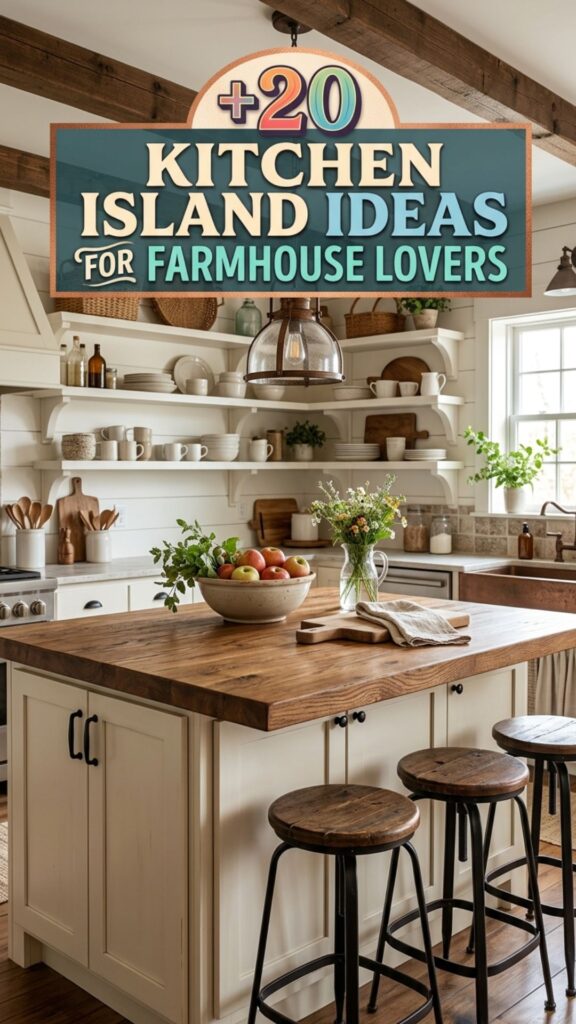
The good news? Farmhouse style gives you tons of room to play. Below you’ll find 20 kitchen island ideas farmhouse fans will love, from budget-friendly tweaks to statement centerpieces. Each one comes with practical tips so you can picture it in your own space. Let’s dig in.
1. Go Bold With a Butcher Block Top
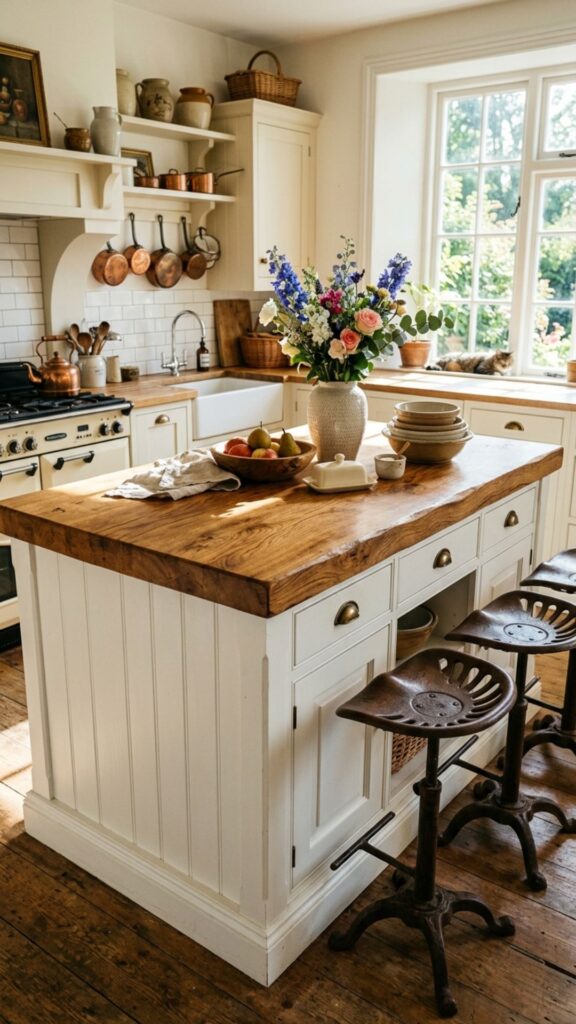
A thick butcher block countertop is the heart of farmhouse charm. The natural wood grain adds instant warmth, and it doubles as a chopping surface if you keep it well oiled. Maple and walnut are popular choices because they wear beautifully over time.
Pair it with a painted base in soft white or sage for that classic contrast. One client of mine used a reclaimed maple top and said the small dents and scratches only made it look better after a year of daily cooking. That lived-in feel is exactly what farmhouse style is about.
2. Add a Farmhouse Sink Right Into the Island
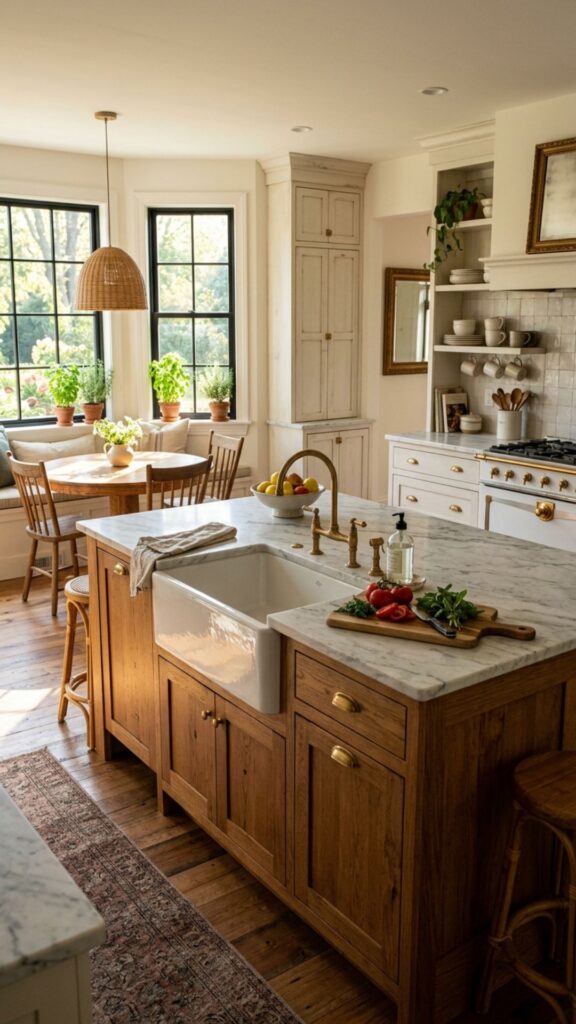
Dropping an apron-front sink into your island frees up counter space along the walls and puts you at the center of the action. You can wash dishes while chatting with guests or keeping an eye on the kids. It’s practical and looks stunning.
Choose a white fireclay sink for that iconic look, or go with hammered copper if you want a little rustic shine. Just remember to plan your plumbing early. Adding a sink to an island after the fact can get pricey, so bring it up with your contractor from day one.
3. Mix Two Paint Colors for a Two-Tone Look
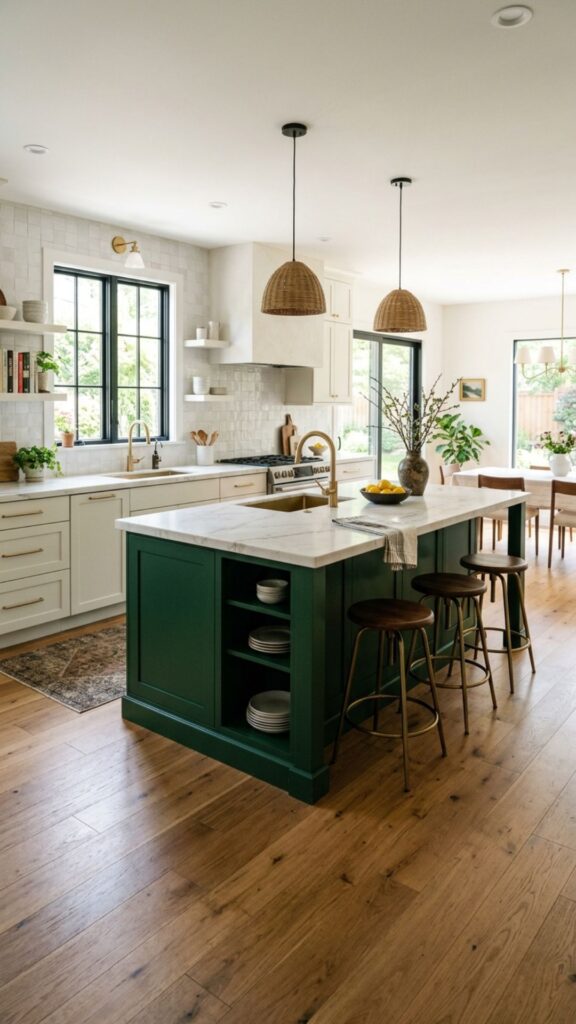
Painting your island a different shade than your perimeter cabinets creates depth and keeps things interesting. A muted blue, deep green, or charcoal island against creamy white cabinets is a farmhouse favorite. It draws the eye and anchors the room.
If you’re nervous about commitment, start with a color you can easily repaint later. Chalk paint is forgiving and gives that slightly matte, aged finish farmhouse kitchens are known for. Test a sample on a cabinet door before painting the whole thing.
4. Install Open Shelving for Cookbooks and Baskets
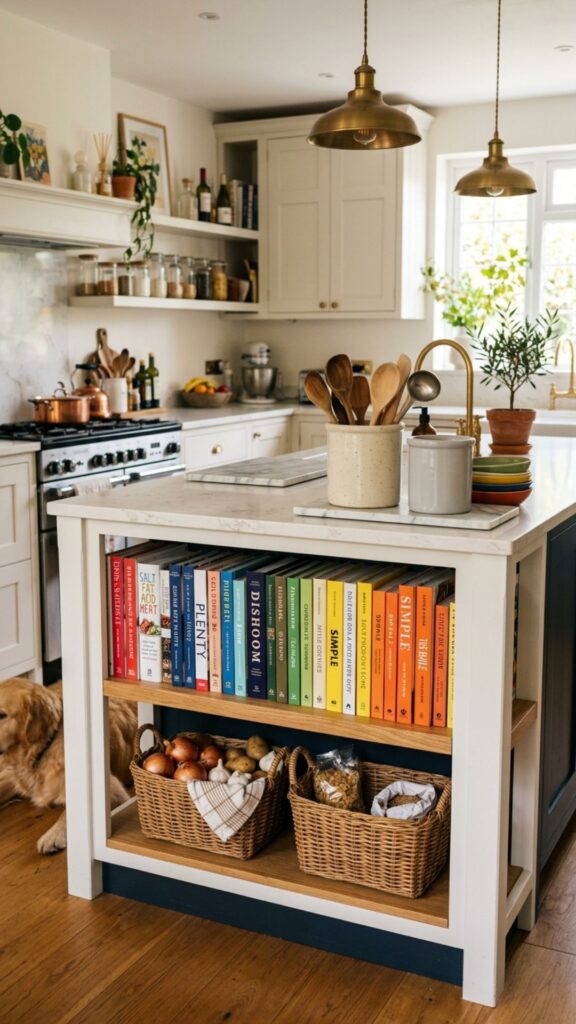
Open shelves on the end or side of your island add function and personality. Stack your favorite cookbooks, tuck in woven baskets, or display a few ceramic crocks. It breaks up the solid mass of the island and gives you easy-grab storage.
Keep it curated, though. A common mistake is cramming shelves full until they look cluttered. Leave breathing room so each piece stands out. Rotate seasonal touches like a pumpkin in fall or fresh greens in spring to keep it feeling alive.
5. Choose a Reclaimed Wood Base
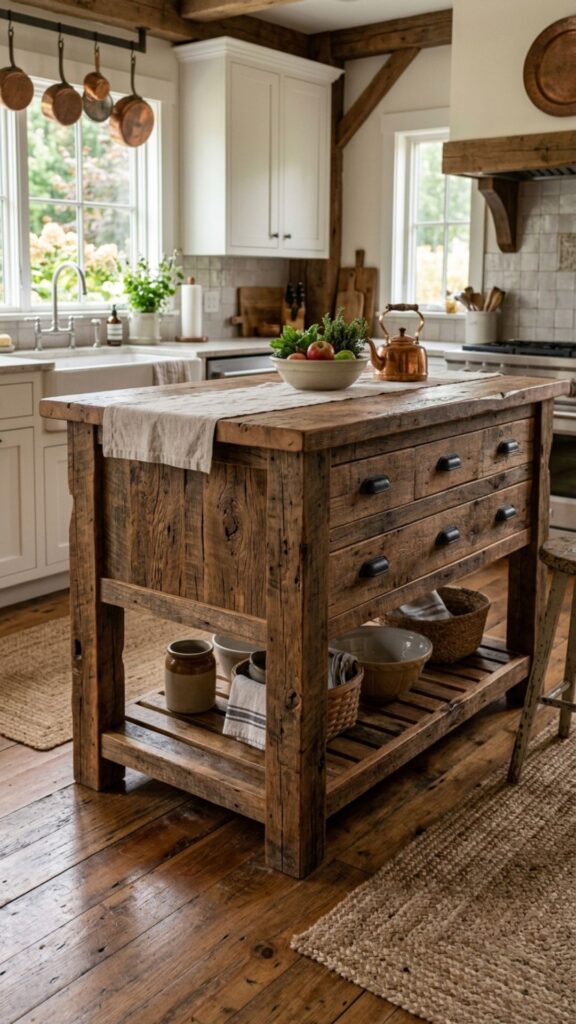
Nothing says farmhouse like salvaged timber. A base built from reclaimed barn wood carries history and texture you simply can’t fake with new lumber. Every knot and nail hole tells a story.
Reclaimed wood can be sourced from architectural salvage yards or old barns being torn down. Have it inspected and treated first to rule out pests. The result is a one-of-a-kind island that becomes an instant conversation starter.
6. Top It With Honed Marble or Quartz
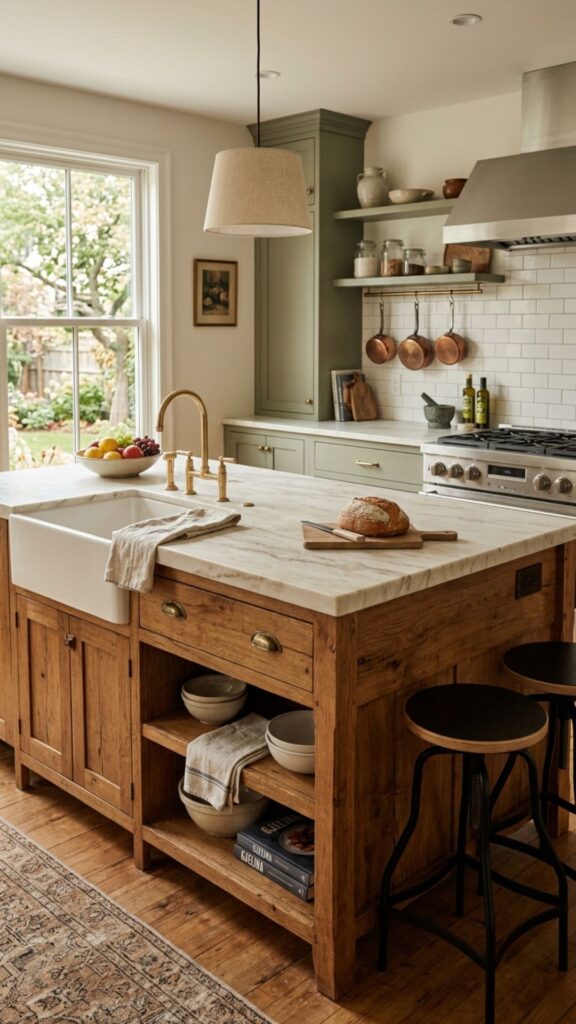
If you love the bright, airy side of farmhouse design, a light stone countertop keeps things fresh. Honed marble offers a soft, matte elegance, while quartz gives you the same look with far less upkeep. Both pair beautifully with wood bases.
Worried about marble stains? Quartz is your friend. It resists spills from red wine, coffee, and lemon juice without sealing. I usually steer busy families toward quartz for the island since it takes the heaviest daily beating.
7. Add Turned Legs for Vintage Character
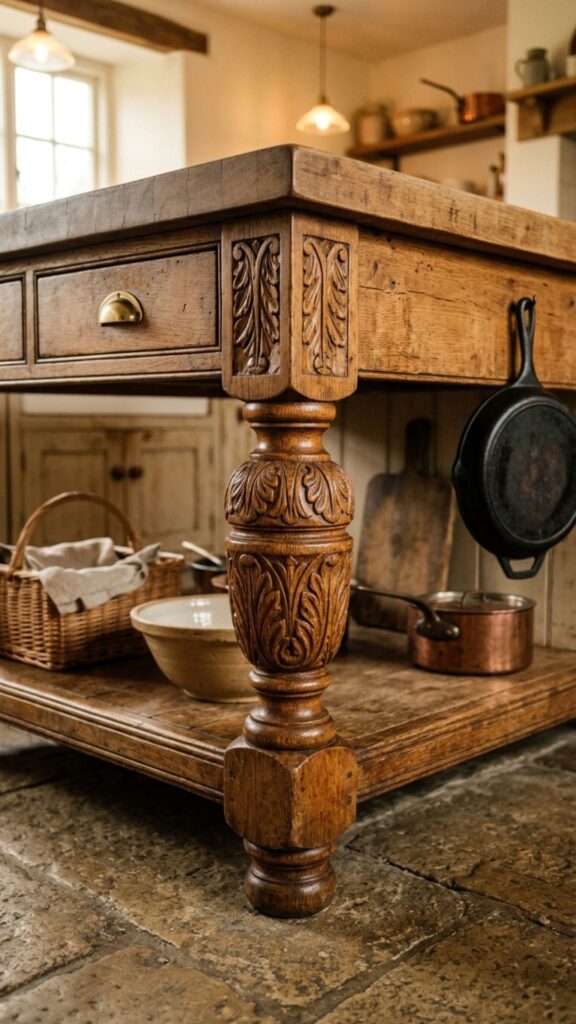
Swapping boxy cabinet ends for chunky turned legs instantly softens your island. These furniture-style legs make the piece look like an antique table rather than a built-in. It’s a small detail with a big payoff.
You can buy pre-made legs at most home stores or have a woodworker turn custom ones. Paint them to match or leave them raw for contrast. This works especially well on smaller islands where you want a lighter, less bulky feel.
8. Build In Seating for Casual Meals
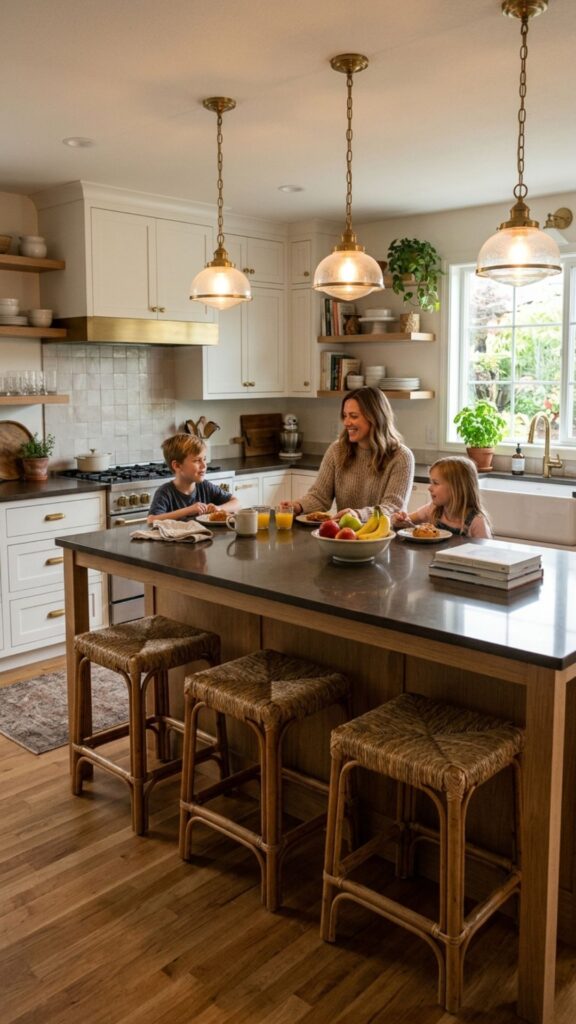
An overhang on one side turns your island into a breakfast bar. Allow at least 12 inches of overhang and about 24 inches of width per seat so everyone sits comfortably. This is where mornings and homework happen.
Pair it with woven rattan stools or metal counter chairs for that farmhouse mix of textures. Backless stools tuck neatly underneath when not in use, keeping the space open. Seating is one of the most requested island features I hear about.
9. Hang Statement Pendant Lights Above
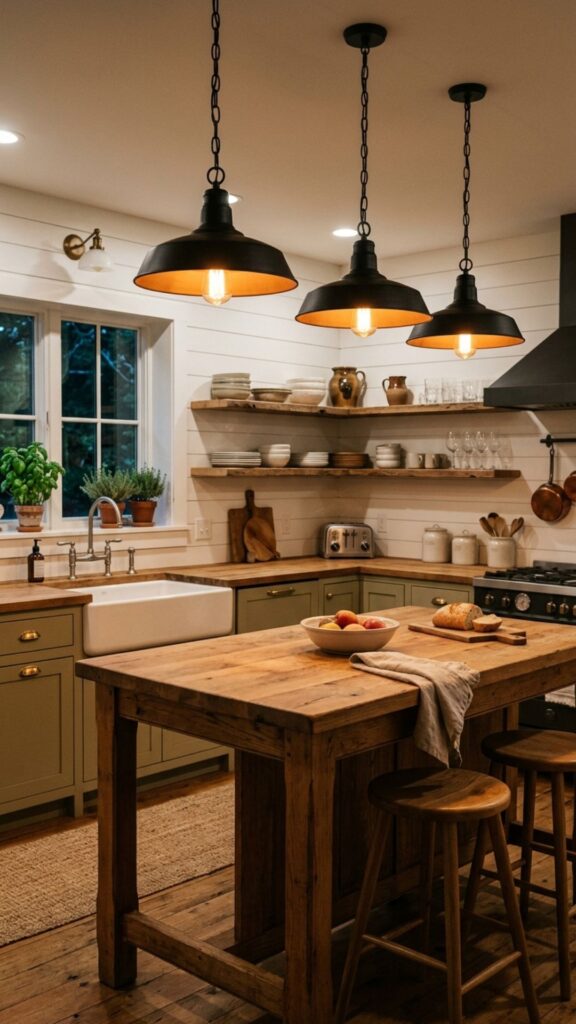
Lighting can make or break the look. Two or three pendant lights over your island add glow and style at the same time. Black metal, clear glass, or woven pendants all lean farmhouse depending on the vibe you want.
Hang them roughly 30 to 36 inches above the countertop so they light your workspace without blocking sightlines. Odd numbers usually look best. This is an easy upgrade that dramatically shifts the feel of the whole kitchen.
10. Incorporate Wine Storage or a Beverage Fridge
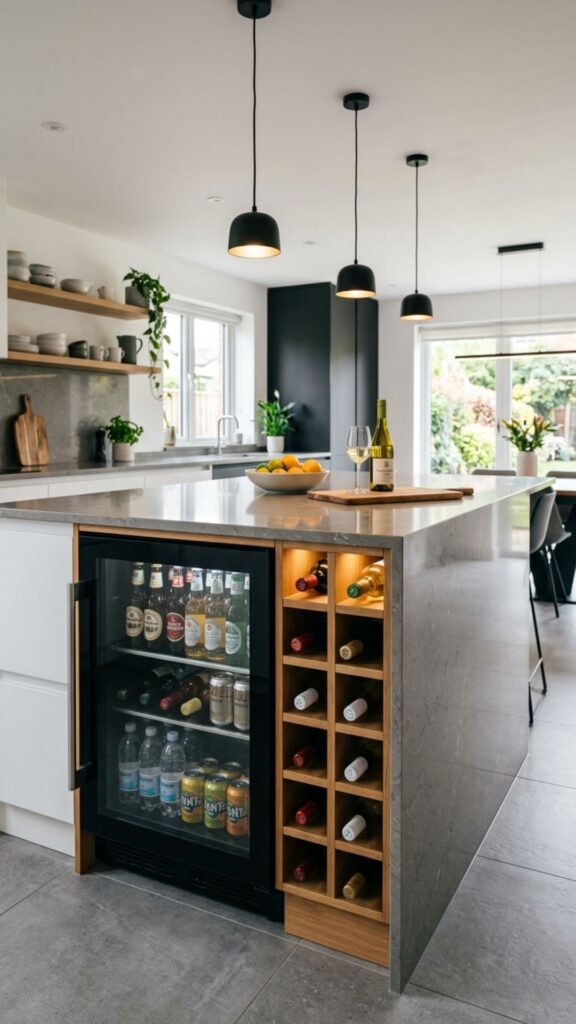
Tuck a small wine rack or under-counter beverage fridge into the island end. It keeps drinks handy for entertaining and makes smart use of otherwise dead space. Guests love having a spot to grab a refill without crowding the cook.
If you don’t drink wine, use the cubbies for rolled towels or extra serving trays. The idea is to build in function that fits your life. Every inch of an island should earn its keep.
11. Use Beadboard Paneling on the Sides
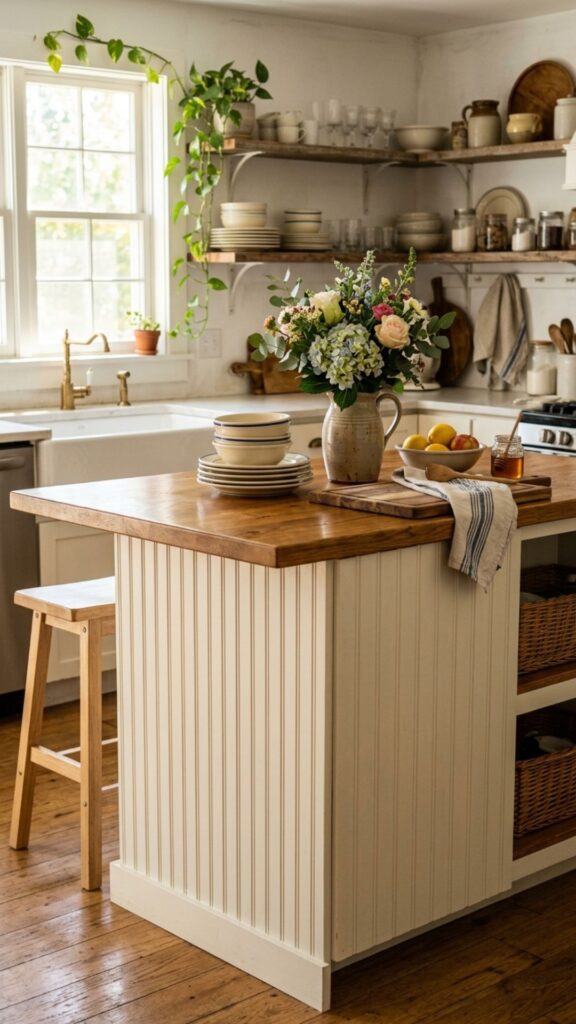
Beadboard is a farmhouse staple for good reason. Adding it to the visible sides of your island brings texture and cottage charm without a big budget. It’s a weekend project many homeowners tackle themselves.
Paint it the same color as the island for a subtle effect, or contrast it for more drama. Beadboard also hides scuffs well, which matters on the high-traffic ends of an island. It’s an easy win for renters allowed to make small changes, too.
12. Go Big With an Oversized Island
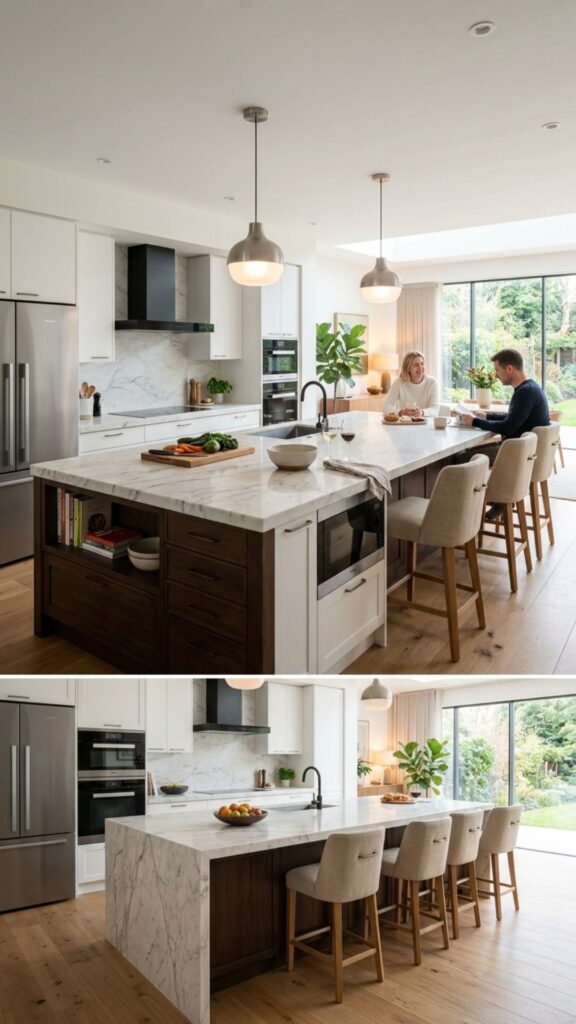
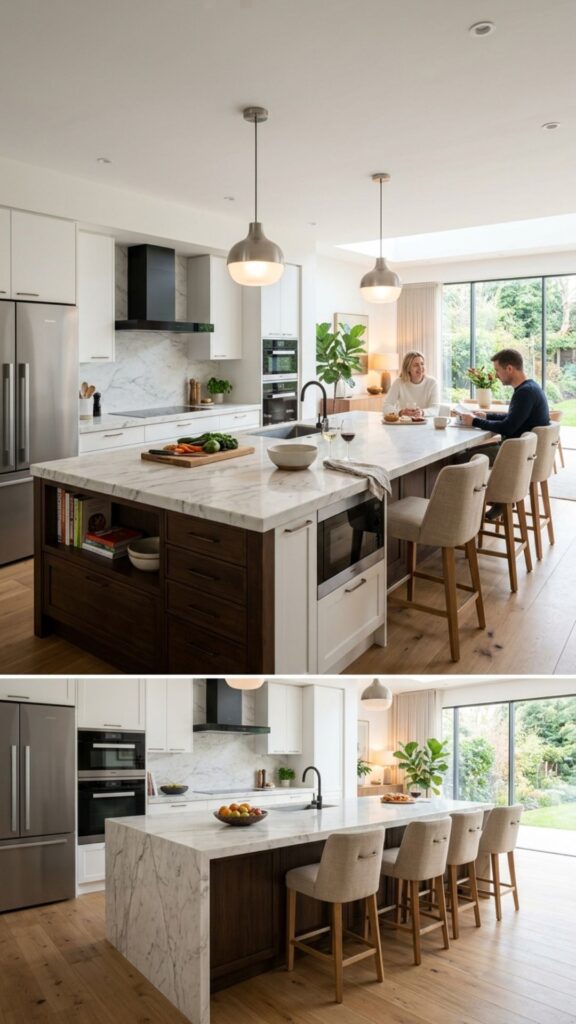
If your kitchen has the square footage, an oversized island becomes the true hub of the home. Think eight feet or longer, with room for prep, seating, and storage all in one. It’s ideal for large families and people who love to host.
Just make sure you leave at least 36 to 42 inches of walkway around all sides. A common mistake is building an island so big you can’t move around it comfortably. Measure your traffic flow before finalizing the size.
13. Add Rustic Metal Accents
Wrought iron pulls, galvanized bins, and aged brass hardware layer in that authentic farmhouse feel. Metal accents keep an all-wood island from feeling flat. They catch the light and add a hardworking, utilitarian touch.
Mix your metals sparingly for a collected look, but keep one finish dominant so it doesn’t feel random. Oil-rubbed bronze and matte black are both timeless picks. These small details often make the biggest difference in the final photo.
14. Create a Hidden Trash and Recycling Center
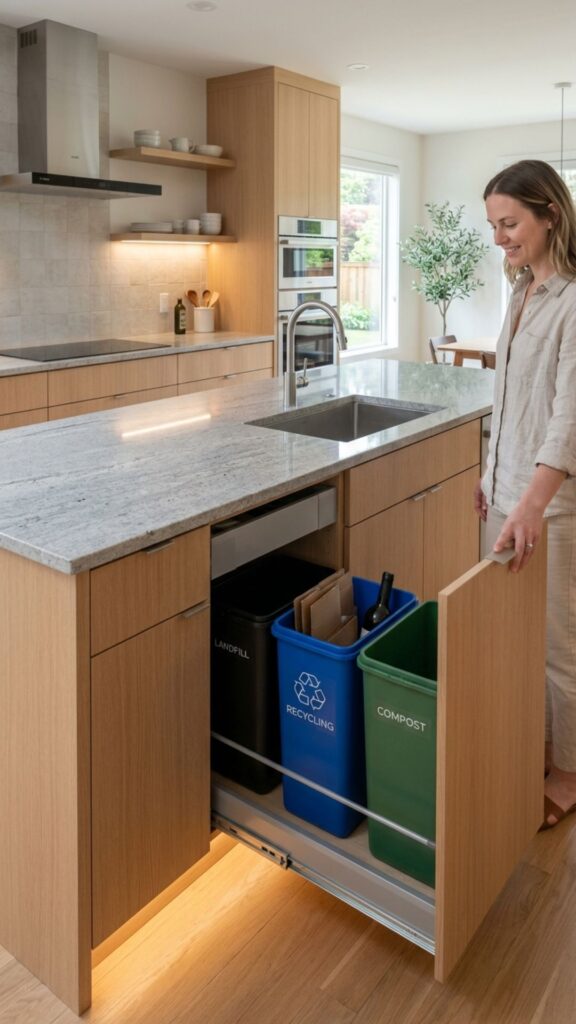
Farmhouse kitchens value tidiness, and nothing ruins the look faster than a visible trash can. Build pull-out bins into the island for trash and recycling. It keeps everything out of sight and close to your prep zone.
Position it near the sink for easy cleanup while cooking. This is one of those upgrades homeowners tell me they wish they’d done sooner. Function like this makes daily life smoother in ways you notice every single day.
15. Layer in a Pot Rack or Hanging Rail
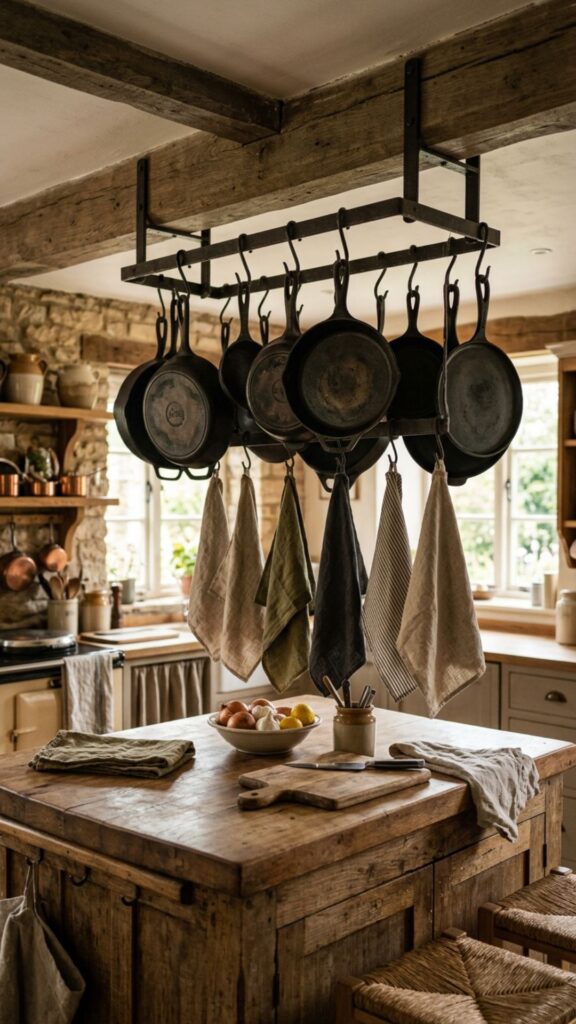
A hanging rail along the island side keeps utensils, pots, or dish towels within reach. It’s practical and adds that lived-in, working-kitchen feel farmhouse style loves. Cast iron pans hung on a rack become decor themselves.
Install it at a height that clears your countertop clutter but stays easy to reach. This works great in smaller kitchens where cabinet space is tight. Everything you need is right there when you’re cooking.
16. Choose a Distressed or Weathered Finish
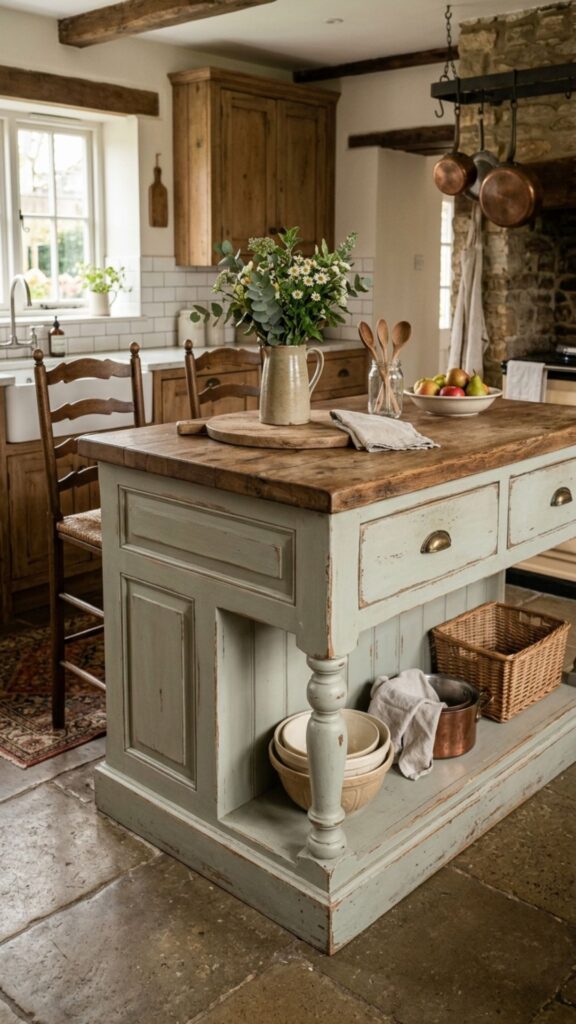
A gently distressed paint job gives your island that heirloom, been-here-for-generations look. Lightly sanding the edges after painting reveals the wood beneath and mimics natural wear. It hides real scuffs beautifully over time.
Don’t overdo it, though. A touch of distressing reads charming, while too much looks forced. Focus on corners and edges where a real piece would naturally wear. This technique makes brand-new cabinetry feel like a treasured find.
17. Add Furniture-Style Corbels
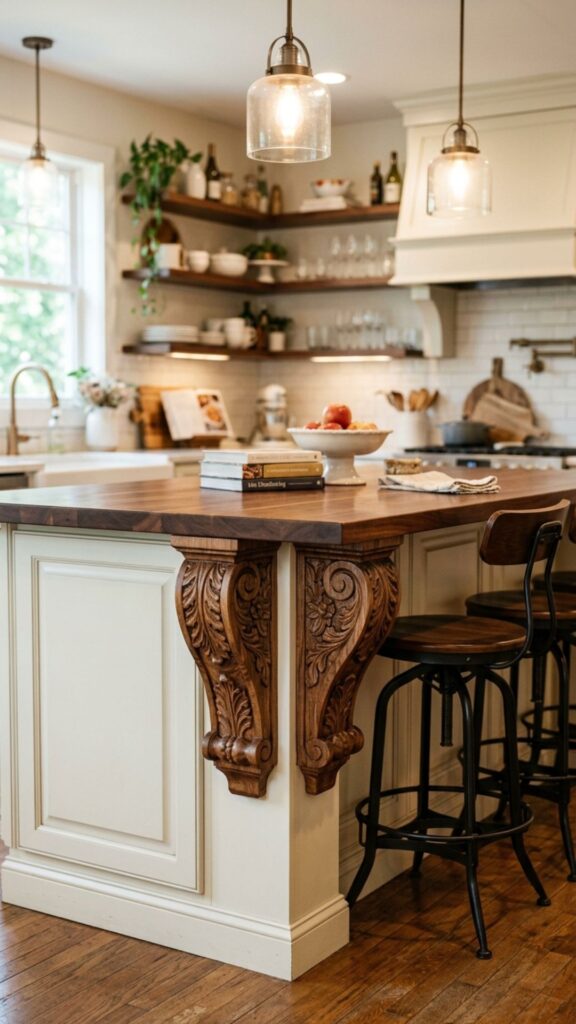
Decorative corbels under the countertop overhang bring architectural interest and support your seating area. They frame the island like a piece of furniture and add that handcrafted farmhouse touch. Carved wood corbels are especially charming.
They come in dozens of styles and sizes, so match the scale to your island. Larger islands can handle chunkier corbels, while petite ones need something more delicate. It’s a finishing detail that elevates the whole design.
18. Install a Second Prep Sink
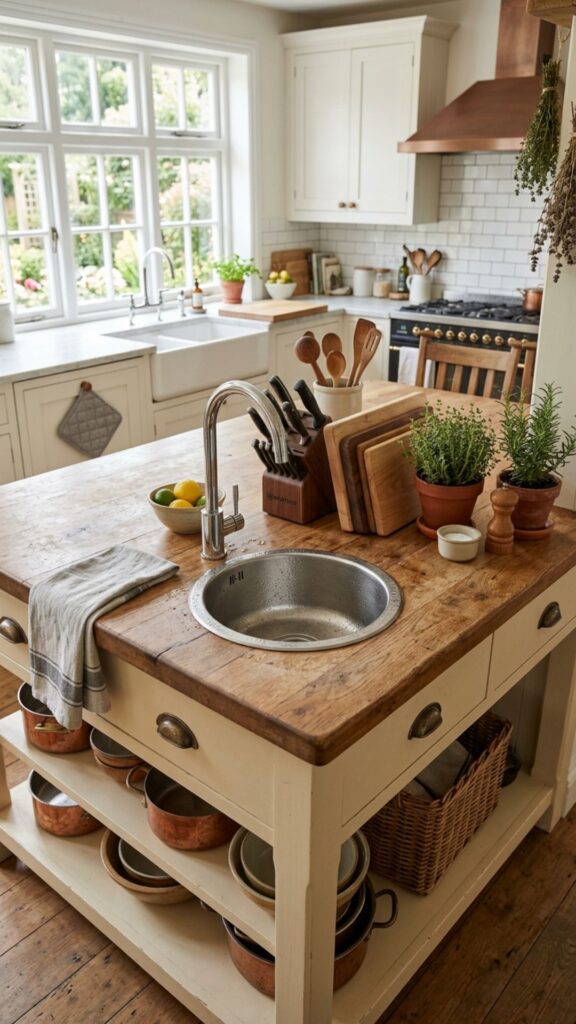
For serious cooks, a small prep sink on the island is a game-worthy addition. It lets you rinse vegetables or fill pots without crossing the kitchen. Two sinks also help when more than one person is cooking.
Keep it compact so it doesn’t eat into your prep space. A round bar sink works well for tighter islands. If you cook daily or entertain often, this small feature pays off every time you’re at the counter.
19. Use Shiplap for Textured Sides
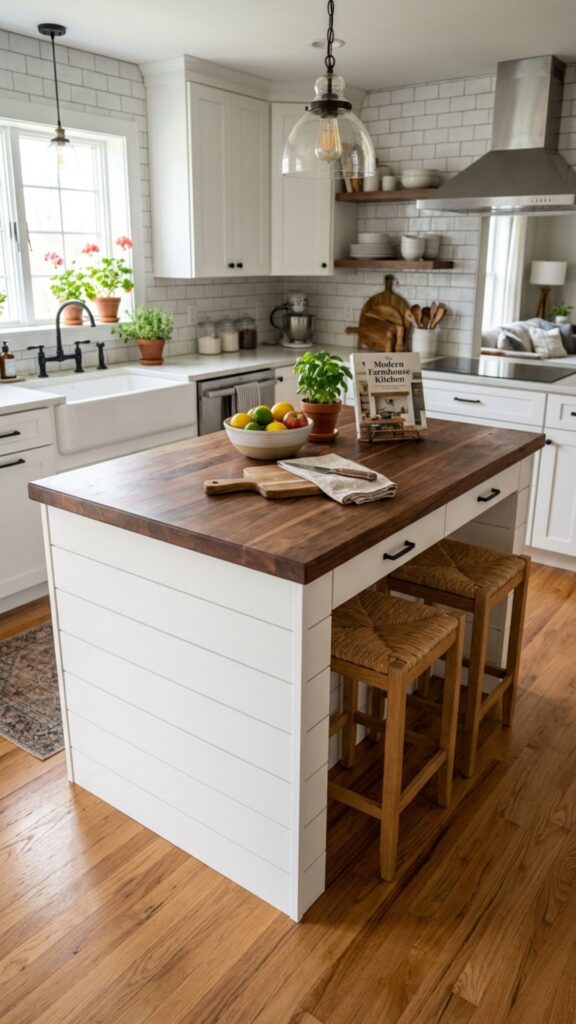
Shiplap paneling brings coastal-farmhouse charm to the island’s exposed sides. The horizontal grooves add subtle shadow lines and texture that plain panels can’t match. Painted crisp white, it’s bright and timeless.
Shiplap holds up well and is simple to wipe clean. It pairs perfectly with a butcher block top and black hardware for a balanced look. If you love the modern farmhouse trend, this is one of the easiest ways to nail it.
20. Finish With Fresh Greenery and Simple Styling
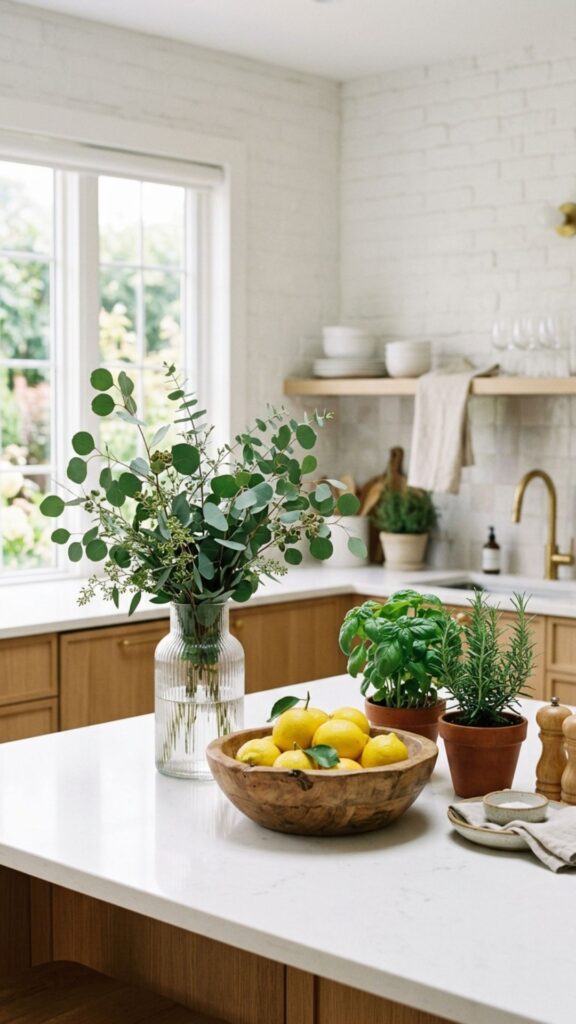
The final touch is styling. A wooden bowl of lemons, a small potted herb, or a vase of eucalyptus makes your island feel warm and finished. These little details bring the whole farmhouse look to life.
Keep it simple and functional. Over-styling reads staged, while a few natural elements feel effortless and inviting. Change things seasonally to keep your kitchen feeling fresh year-round. This is the cherry on top of a well-designed island.
Bringing Your Farmhouse Island to Life
Your kitchen island should work as hard as you do while looking like the heart of your home. Whether you start small with new hardware and beadboard or go all-in with a reclaimed wood base and farmhouse sink, every idea here helps you build a space you’ll love for years.
Pick two or three of these kitchen island ideas farmhouse lovers rave about and sketch out your plan this week. Measure your space, set a budget, and prioritize the features that fit how you actually cook and gather. Then talk to a contractor or designer to bring your vision to life. Your dream island is closer than you think, so grab a notebook and start planning today.
What is the best countertop for a farmhouse kitchen island?
Butcher block and quartz are the top choices. Butcher block delivers warm, classic farmhouse charm, while quartz offers a durable, low-maintenance surface that resists stains and scratches from daily use.
How big should a farmhouse kitchen island be?
A standard island is around 4 feet long and 2 feet wide, but leave at least 36 to 42 inches of walkway on all sides. For seating, allow 24 inches of width and 12 inches of overhang per person.
What color should I paint a farmhouse kitchen island?
Soft blues, sage green, charcoal, and creamy white are the most popular farmhouse island colors. A two-tone look, with a colored island against white perimeter cabinets, adds depth and visual interest.
Can I add a sink to my kitchen island?
Yes, but plan the plumbing early. Adding a farmhouse or prep sink to an island frees up wall counter space and lets you face guests while working, though retrofitting one later can be costly.
What makes an island look farmhouse style?
Natural wood tones, distressed or painted finishes, apron-front sinks, turned legs, beadboard or shiplap sides, and rustic metal hardware all combine to create an authentic farmhouse island look.