There’s something deeply satisfying about pulling a ripe tomato straight from soil you tended yourself. If you’ve been staring at that empty patch of yard wondering where to start, you’re in the right place. In-ground gardening is one of the most affordable and rewarding ways to grow your own food, and you don’t need fancy equipment or years of experience to make it work.
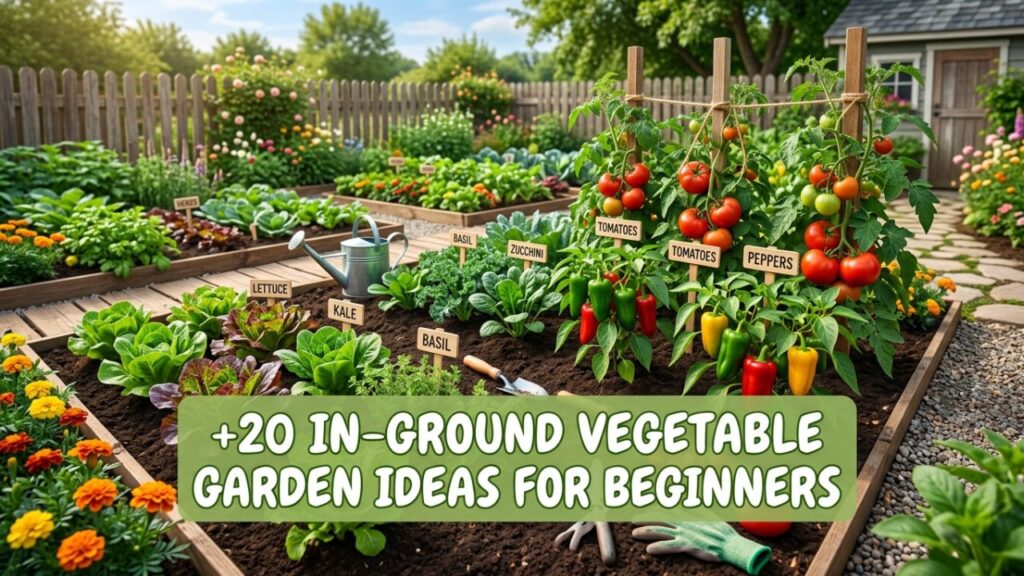
I’ve spent over a decade turning bare patches of dirt into productive gardens, and I’ve made just about every beginner mistake possible along the way. The good news? Those mistakes taught me what actually works.
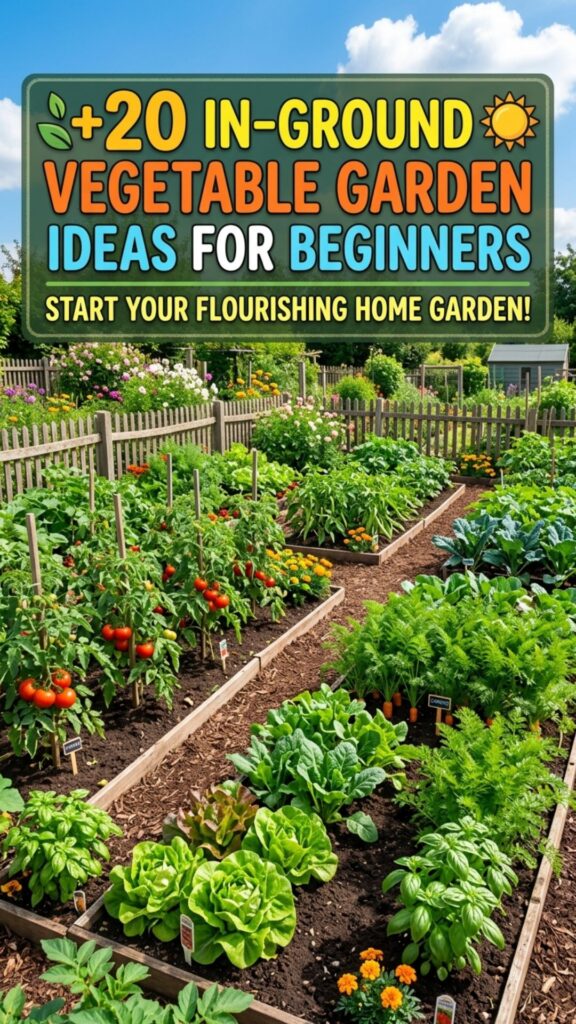
Below, you’ll find 20 practical in-ground vegetable garden ideas that will help you plan, plant, and harvest with confidence. Whether you have a sunny corner or a whole backyard, these tips will set you up for a season worth celebrating.
1. Start Small With a 4×8 Foot Plot
When you’re new to gardening, biting off more than you can chew is the fastest way to burn out. A 4×8 foot plot gives you plenty of room to grow a satisfying mix of vegetables without overwhelming your weekends. You can reach the center from either side, which means less trampling of soil and easier weeding.
This modest size also keeps your water bill and effort manageable. I always tell first-timers that a small garden you actually maintain beats a large one you abandon by July. Once you’ve had a full season of success, you can expand next spring with the confidence that comes from real experience.
2. Pick the Sunniest Spot in Your Yard
Most vegetables need at least six to eight hours of direct sunlight to thrive. Before you dig a single hole, spend a day watching how the sun moves across your yard. Notice which areas stay bright through the afternoon and which fall into shade from trees, fences, or your house.
South-facing spots usually get the most consistent light, making them ideal for sun-loving crops like tomatoes, peppers, and squash. If your sunniest area happens to be far from a water source, plan for a longer hose or a rain barrel nearby. Getting the location right from the start saves you from disappointing harvests later.
3. Test and Improve Your Soil First
Healthy soil is the foundation of every good garden, and it’s the one thing beginners tend to skip. A simple soil test kit from your local garden center reveals your pH level and nutrient balance. Most vegetables prefer a slightly acidic to neutral pH between 6.0 and 7.0.
Once you know what you’re working with, mix in a few inches of compost or aged manure to boost fertility and improve texture. Clay-heavy soil benefits from added organic matter to loosen it, while sandy soil holds moisture better with the same treatment. This upfront work pays off in stronger plants and bigger yields all season long.
4. Grow Vertically With Trellises
Not all garden expansion has to happen sideways. Adding trellises, stakes, or simple cattle panels lets you grow upward, saving valuable ground space. Vining crops like cucumbers, pole beans, and peas love climbing, and they stay cleaner and healthier off the soil.
Vertical growing also improves air circulation, which reduces the risk of fungal disease. I’ve grown a full crop of cucumbers along a single arched panel that took up barely two feet of ground. As a bonus, harvesting is easier on your back when the produce hangs at eye level instead of hiding under leaves.
5. Try Square Foot Gardening Layouts
Square foot gardening divides your plot into a grid of one-foot squares, with each square dedicated to a specific plant or group. This method makes spacing simple and helps you fit more variety into a small area. You might plant one tomato in a square, four lettuce heads in another, and sixteen carrots in the next.
The grid also makes planning and rotation easier to track from season to season. Beginners love this approach because it removes the guesswork around how far apart to space seeds. Mark your grid with string or thin wooden strips, and you’ll have a tidy, productive garden that’s easy to manage.
6. Plant Companion Vegetables Together
Some plants genuinely help each other grow better when planted side by side. The classic example is the “three sisters” method, where corn, beans, and squash support one another. The corn provides a natural pole for beans, the beans add nitrogen to the soil, and the squash shades the ground to hold in moisture.
Other helpful pairings include basil near tomatoes to improve flavor and repel pests, or marigolds scattered throughout to deter harmful insects. Companion planting reduces your need for chemical interventions and makes your garden more resilient. It’s a time-tested strategy that turns your plot into a small, cooperative ecosystem.
7. Use Raised Rows for Better Drainage
If your yard tends to hold water after rain, mounded rows can save your crops from soggy roots. Simply pile soil into raised ridges about six to eight inches high, then plant along the top. This lifts your vegetables above pooling water and encourages faster warming in spring.
Raised rows also define your planting areas clearly, keeping walking paths separate from growing space. I’ve used this technique in heavy clay yards where flat beds stayed waterlogged for days. The improved drainage means healthier roots and fewer rot problems, especially for crops like root vegetables that dislike wet feet.
8. Create Defined Pathways Between Beds
Walking directly on your growing soil compacts it and squeezes out the air roots need. Designating clear pathways between planting areas protects your soil structure and keeps mud off your shoes. Paths of wood chips, straw, or gravel work well and suppress weeds at the same time.
Aim for paths at least 18 inches wide so you can kneel, weed, and harvest comfortably. If you use a wheelbarrow, make your main path wide enough to fit it. This small bit of planning keeps your garden organized and makes daily maintenance a genuine pleasure rather than a chore.
9. Focus on Easy Beginner Crops
Nothing builds confidence like early success, so start with vegetables that are forgiving and quick to grow. Lettuce, radishes, green beans, zucchini, and cherry tomatoes are reliable choices that produce generous harvests with minimal fuss. These crops tolerate beginner mistakes and still reward you.
Radishes, for instance, can go from seed to harvest in about a month, giving you a fast win. Zucchini plants are famously productive, often more than a single family can eat. Once you’ve mastered these, you can branch into trickier crops like cauliflower or melons with a season of knowledge behind you.
10. Plan for Succession Planting
Instead of planting everything at once, stagger your sowings every two or three weeks. This technique, called succession planting, keeps a steady stream of fresh vegetables coming rather than one giant harvest all at once. It works beautifully for crops like lettuce, beans, and carrots.
Succession planting also makes better use of your space as early crops finish and free up room for new ones. When your spring lettuce bolts in the summer heat, you can pop in a round of bush beans in its place. This approach extends your harvest window and keeps your garden working hard all season.
11. Add a Simple Watering System
Consistent watering is one of the biggest factors in garden success, and dry spells can undo weeks of effort. A soaker hose or basic drip line delivers water right to the roots where plants need it most. This reduces waste and keeps foliage dry, which lowers disease risk.
Set your system on a timer, and you’ll never worry about forgetting to water during a busy week or a weekend away. I switched to drip irrigation years ago and immediately saw sturdier plants and fewer losses. Even a low-cost kit from the hardware store makes a noticeable difference in your results.
12. Mulch to Lock In Moisture
A two to three inch layer of mulch around your plants does wonders for a beginner garden. Straw, shredded leaves, or grass clippings hold moisture in the soil, meaning you water less often. Mulch also blocks sunlight from reaching weed seeds, dramatically cutting down on weeding.
As organic mulch breaks down, it feeds your soil and improves its structure over time. Keep the mulch slightly away from plant stems to prevent rot, but cover the open soil generously. This one simple habit is among the highest-value things a new gardener can do.
13. Rotate Your Crops Each Season
Planting the same vegetables in the same spot year after year drains specific nutrients and invites pests and diseases. Crop rotation moves plant families to different sections each season, keeping your soil balanced and your plants healthier. Group crops by family, such as tomatoes with peppers, or cabbage with broccoli.
A simple rotation might move heavy feeders like tomatoes into a bed where nitrogen-fixing beans grew the year before. Keep a small notebook or garden map to track what went where. This habit takes almost no extra effort but pays real dividends in soil health and reduced problems.
14. Interplant Flowers for Pollinators
Vegetables that produce fruit, like squash, cucumbers, and tomatoes, depend on pollinators to set a good crop. Tucking flowers like zinnias, borage, and sunflowers among your vegetables draws in bees and butterflies. More pollinator visits mean more fruit on your plants.
Flowers also add color and life to what could otherwise be a purely practical space. Many, like nasturtiums, are edible and bring a peppery kick to salads. This blend of beauty and function makes your garden more productive and far more enjoyable to spend time in.
15. Build in Space for Perennial Vegetables
While most vegetables are replanted each year, perennials come back on their own season after season. Asparagus, rhubarb, and artichokes reward a bit of patience with years of harvests from a single planting. Dedicate a permanent corner of your plot to these long-term producers.
These crops take a season or two to establish before they hit full production, so plant them early in your gardening journey. Once settled, an asparagus bed can yield spears for 15 to 20 years. It’s one of the best investments of effort you can make in an in-ground garden.
16. Edge Your Garden to Keep It Neat
A defined border keeps grass and weeds from creeping into your growing space. Simple edging made from bricks, stones, or landscape timber creates a clean line between lawn and garden. This barrier saves you countless hours of pulling invading grass runners.
Edging also gives your garden a finished, intentional look that makes the whole yard feel cared for. I’ve used everything from reclaimed bricks to a simple trench dug along the border. Whatever material you choose, a clear edge signals where the garden begins and keeps maintenance simple.
17. Group Plants by Water Needs
Some vegetables crave steady moisture while others prefer to dry out between waterings. Grouping plants with similar needs together makes watering far more efficient and keeps everyone happy. Thirsty crops like celery and leafy greens go in one zone, while drought-tolerant herbs like rosemary and thyme go in another.
This approach prevents overwatering some plants while underwatering others. It also lets you fine-tune your irrigation without constant guesswork. A little planning here means less stress and healthier plants throughout the growing season.
18. Extend Your Season With Row Covers
A light fabric row cover can add weeks to both ends of your growing season. In spring, it traps warmth to protect tender seedlings from late frosts. In fall, it shields crops from the first cold snaps, letting you harvest longer.
Row covers also form a physical barrier against many common pests like cabbage moths and beetles. They let light and water through while keeping insects out, reducing your need for sprays. For beginners, this simple tool solves several problems at once and makes for far more reliable harvests.
19. Keep a Garden Journal
Writing down what you plant, when, and how it performs turns every season into a lesson. A garden journal helps you remember which varieties thrived, which struggled, and what timing worked best. Over a few seasons, this record becomes your most valuable gardening tool.
Note things like planting dates, weather patterns, pest problems, and harvest amounts. When you look back, you’ll spot patterns that guide smarter decisions. I still reference journals from years ago, and they’ve saved me from repeating old mistakes more times than I can count.
20. Compost Your Kitchen and Garden Scraps
A compost pile turns kitchen scraps and yard waste into rich, free fertilizer for your garden. Vegetable peels, coffee grounds, eggshells, and fallen leaves all break down into dark, crumbly compost that plants love. This closes the loop, sending nutrients right back into your soil.
Start with a simple pile or bin in a shady corner, and turn it every couple of weeks to speed things along. Within a few months, you’ll have your own homemade soil booster. Composting reduces waste, saves money on fertilizer, and gives your in-ground garden a steady supply of nourishment.
Conclusion
Starting an in-ground vegetable garden is one of the most rewarding projects you can take on, and it’s far more forgiving than most beginners expect. From choosing a sunny spot and improving your soil to mulching, composting, and keeping a journal, each of these ideas builds toward a garden that feeds you season after season. You don’t have to try all 20 at once. Pick a few that excite you, get your hands in the dirt, and learn as you grow.
Ready to dig in? Grab a soil test kit this weekend, sketch out a small plot, and plant your first crop. Your future self, snacking on homegrown tomatoes, will thank you. Come back and share how your garden grows, and keep experimenting with new ideas each season.
How much sun does an in-ground vegetable garden need?
Most vegetables need at least six to eight hours of direct sunlight each day. Leafy greens like lettuce and spinach can tolerate a bit less, but fruiting crops such as tomatoes and peppers demand full sun for the best harvest.
What vegetables are easiest to grow in the ground for beginners?
Lettuce, radishes, green beans, zucchini, and cherry tomatoes are the easiest crops for beginners. They grow quickly, tolerate common mistakes, and produce generous harvests with minimal special care.
How do I prepare soil for an in-ground vegetable garden?
Start by testing your soil’s pH, aiming for a range between 6.0 and 7.0. Then mix in a few inches of compost or aged manure to boost nutrients and improve texture before planting.
How often should I water my in-ground garden?
Most gardens need about one inch of water per week, either from rain or watering. Water deeply two or three times a week rather than a little every day to encourage strong, deep roots.
Do I need to rotate crops in an in-ground garden?
Yes, rotating crops each season prevents nutrient depletion and reduces pest and disease buildup. Move plant families to different sections each year and track your layout with a simple garden map.