There’s something deeply satisfying about picking a tomato you grew yourself. I still remember my first crooked raised bed, built from scrap lumber and pure stubbornness. It wobbled a little, but it fed my family all summer. That’s the magic of growing your own food: you don’t need fancy tools or a huge yard to get started.
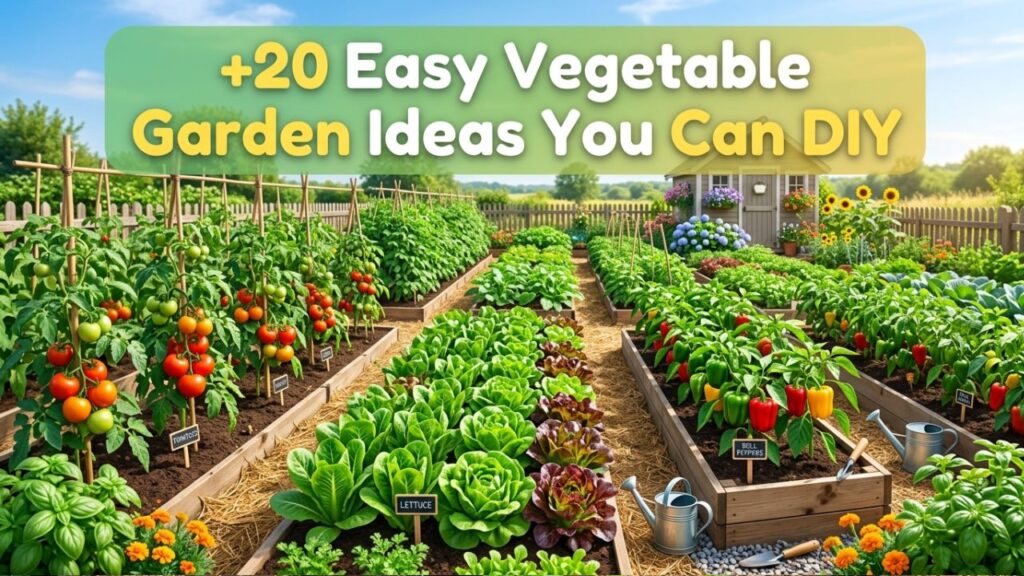
If you’ve been dreaming about fresh herbs on your windowsill or rows of crisp lettuce out back, you’re in the right place.
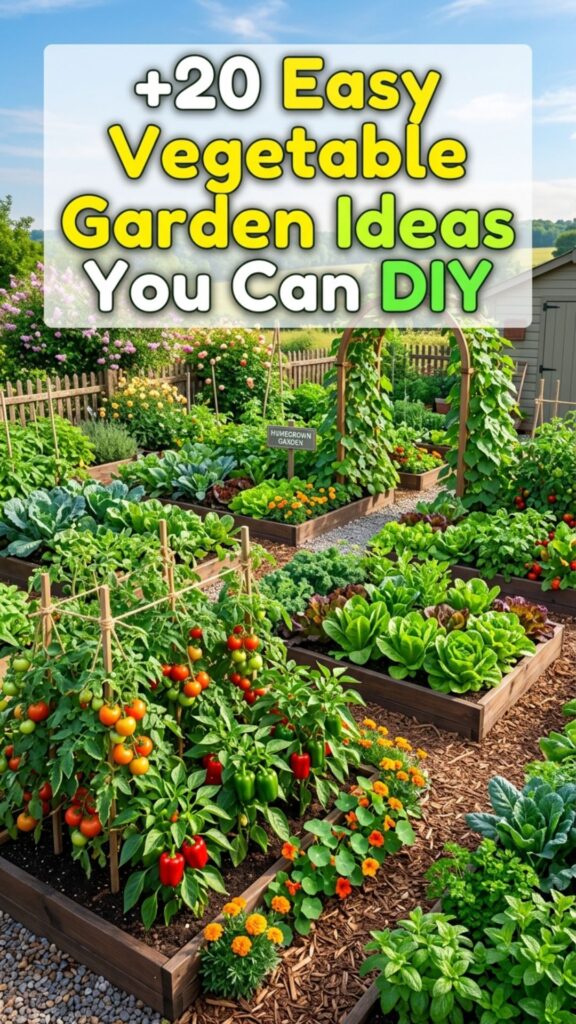
These vegetable garden ideas DIY projects range from tiny apartment setups to sprawling backyard plots. I’ve tested most of them over the years, and I’ll share what actually works. Grab your gloves, and let’s dig in.
1. Build a Simple Raised Bed From Reclaimed Wood
Raised beds are the backbone of many home gardens for good reason. They give you full control over soil quality, drain better than ground plots, and save your back from constant bending. You can build a basic 4×4-foot bed in an afternoon using old fence boards or pallet wood.
Fill it with a mix of compost, topsoil, and a little peat or coconut coir. Aim for at least 10 to 12 inches of depth so roots have room to stretch. This single project transforms a patchy corner of your yard into a productive growing space that lasts for years.
2. Turn Old Pallets Into Vertical Planters
Wooden pallets are one of the best free resources for gardeners. Stand one upright, staple landscape fabric to the back and sides, then fill each slat with soil. You end up with a living wall perfect for strawberries, lettuce, or trailing herbs.
Just make sure your pallet is stamped “HT,” which means heat-treated rather than chemically treated. This keeps nasty chemicals out of your food. Lean it against a sunny fence, and you’ve added serious growing space without touching the ground.
3. Grow Herbs in a Sunny Windowsill
You don’t need outdoor space to grow food. A bright kitchen window can support basil, parsley, chives, and mint all year long. Use small pots with drainage holes and a light potting mix, then rotate them every few days so they grow evenly.
Herbs are forgiving and quick to reward you. Snip what you need for dinner, and the plants bounce back stronger. This is my go-to recommendation for anyone nervous about their green thumb, since success comes fast.
4. Create a Keyhole Garden
A keyhole garden is a round raised bed with a notch cut into one side, giving it a keyhole shape from above. At its center sits a composting basket where you toss kitchen scraps. Nutrients seep out into the surrounding soil, feeding your plants naturally.
This design originated in drought-prone regions of Africa, and it’s brilliant for water conservation. You water the compost core, and moisture spreads outward. It’s a smart, self-sustaining setup that rewards a little upfront effort.
5. Repurpose a Galvanized Stock Tank
Metal stock tanks make gorgeous, durable planters. They’re deep, roomy, and add an industrial-chic look to any patio. Drill a few holes in the bottom for drainage, add a layer of gravel, then fill with quality soil.
Because they hold so much soil, stock tanks stay moist longer and support bigger crops like tomatoes, peppers, and squash. One tank can become a complete mini garden. They cost a bit more upfront but last decades.
6. Start a Container Garden on Your Balcony
Small space, big harvest. Containers let renters and city dwellers grow real food on balconies and patios. Choose pots at least 12 inches wide for most vegetables, and always pick ones with drainage.
Group containers by water needs to make care easier. Cluster your thirsty tomatoes together and keep drought-tolerant herbs in their own spot. With a sunny balcony, you can grow a surprising amount in just a few square feet.
7. Make a Trellis for Climbing Vegetables
Vertical growing saves space and keeps plants healthier by improving airflow. Build a simple trellis from bamboo stakes, wire mesh, or old ladders. Beans, cucumbers, peas, and small melons happily climb upward.
Position your trellis on the north side of a bed so it doesn’t shade shorter plants. As vines climb, fruit hangs freely and stays clean, making harvest easier. It’s one of the cheapest upgrades with the biggest payoff.
8. Design a Square Foot Garden
Square foot gardening divides a raised bed into a grid of one-foot squares. Each square holds a set number of plants based on their size. This method keeps things organized and cuts down on wasted space and seed.
I love this approach for beginners because it removes the guesswork. Plant nine bush beans or sixteen carrots per square, and you’ll always know how much fits. It also makes crop rotation and succession planting much simpler.
9. Upcycle Plastic Bottles Into Self-Watering Planters
Large plastic bottles get a second life as clever self-watering pots. Cut one in half, flip the top upside down into the base, and thread a cotton wick through the cap. Water in the bottom reservoir travels up to thirsty roots.
These work wonderfully for herbs and small greens, especially if you travel or forget to water. It’s a great weekend project to do with kids, teaching them about recycling and plant care at the same time.
10. Build a Cold Frame to Extend Your Season
A cold frame is a low, boxy structure with a clear lid that traps heat like a mini greenhouse. Build one from scrap wood topped with an old window or clear plastic sheet. It protects seedlings from frost and stretches your growing season on both ends.
Open the lid on warm days to prevent overheating and close it at night to hold warmth. With a cold frame, you can start seeds earlier in spring and keep harvesting hardy greens well into cold weather.
11. Grow Potatoes in a Bag or Bucket
Potatoes don’t need a field. A sturdy grow bag or a 5-gallon bucket with drainage holes works perfectly. Add a few inches of soil, plant seed potatoes, and mound more soil as the plants grow taller.
Come harvest time, you simply tip the container over and collect your spuds. No digging, no lost potatoes. This method also keeps pests at bay and lets you move your crop to catch the best sun.
12. Set Up a Straw Bale Garden
Straw bale gardening turns bales into ready-made planting beds. You “condition” the bales over about two weeks by watering and adding fertilizer, which kickstarts decomposition inside. The bale becomes a warm, nutrient-rich home for roots.
This is a fantastic option if your soil is poor or rocky. Plant directly into the top of the bale, and by season’s end the bale breaks down into compost. It’s growing and soil-building in one tidy package.
13. Create a Herb Spiral
A herb spiral is a raised, spiraling mound that packs many microclimates into a small footprint. The top drains fast and stays dry for Mediterranean herbs like rosemary, while the base holds moisture for plants like mint.
Build one with stacked stones or bricks filled with soil. It’s beautiful, functional, and a real conversation starter. Gardeners love how it fits so much variety into just a couple square feet of space.
14. Repurpose an Old Dresser Into Tiered Planters
Got an old dresser headed for the curb? Pull the drawers out at staggered depths to create a tiered planting display. Line each drawer with plastic, add drainage holes, and fill with soil.
The cascading levels look charming and give different plants their own spot. Use the top drawers for sun-lovers and the shaded lower ones for leafy greens. It’s a creative way to add character while growing food.
15. Try Hügelkultur Mounds
Hügelkultur is a German technique that builds raised mounds over buried logs and branches. As the wood slowly rots, it holds water like a sponge and releases nutrients for years. These mounds need less watering over time.
Start by digging a shallow trench, layering in logs, then covering with compost and soil. It takes some muscle upfront, but the reward is a low-maintenance, super-fertile bed that keeps giving season after season.
16. Build a Compost Bin From Scrap Wood
Great gardens start with great soil, and compost is liquid gold for your plants. Build a simple three-sided bin from pallets or scrap boards. Toss in vegetable scraps, coffee grounds, dry leaves, and grass clippings.
Turn the pile every couple weeks to speed things up. Within a few months, you’ll have dark, crumbly compost to feed your beds for free. Making your own compost also cuts household waste dramatically.
17. Install a Drip Irrigation System
Consistent watering makes a huge difference in yield, and drip irrigation delivers water right to the roots. You can assemble an affordable kit with tubing, emitters, and a timer in a single afternoon.
This saves water, reduces disease, and frees you from daily hose duty. I set mine on a timer and barely think about watering all summer. For busy gardeners, it’s genuinely one of the best upgrades you can make.
18. Grow a Salad Table
A salad table is a waist-high, shallow box on legs, perfect for growing leafy greens. The shallow depth suits lettuce, spinach, and arugula, which don’t need deep roots. Working at standing height is easy on your knees and back.
Fit a mesh bottom lined with landscape fabric so water drains freely. Sow seeds thickly and snip greens as they grow for a cut-and-come-again harvest. Fresh salad steps from your kitchen becomes effortless.
19. Make Seed Starting Pots From Newspaper
Save money on plastic seed trays by rolling your own pots from newspaper. Wrap a strip around a small jar or can, fold the bottom, and slide it off. Fill with seed-starting mix and sow.
When seedlings are ready, plant the whole pot right into the ground. The paper breaks down and roots grow through it undisturbed. It’s cheap, eco-friendly, and reduces transplant shock beautifully.
20. Design a Pollinator-Friendly Border
Vegetables like squash, cucumbers, and beans depend on pollinators to produce fruit. Plant a border of flowers such as marigolds, zinnias, borage, and cosmos around your garden to invite bees and butterflies.
More pollinators mean better harvests, and the flowers add gorgeous color too. Many of these blooms also repel pests, giving you natural protection. It’s the finishing touch that ties a healthy, thriving garden together.
Conclusion
Growing your own food doesn’t require a big budget or years of experience. These vegetable garden ideas DIY projects prove that a few creative touches and some scrap materials can turn any space into a source of fresh, homegrown produce. Whether you start with a single windowsill herb pot or dive into a full raised-bed setup, every seed you plant brings you closer to that first delicious harvest.
Pick one idea that excites you, gather your materials this weekend, and give it a try. Your future self, biting into a sun-warm tomato, will thank you. Ready to get your hands dirty? Choose your project and start building your garden today.
What is the easiest vegetable to grow for beginners?
Lettuce is the easiest vegetable for beginners. It grows fast, tolerates containers and small spaces, and you can harvest leaves within a month. Radishes, green beans, and cherry tomatoes are also very forgiving choices.
How much sunlight does a DIY vegetable garden need?
Most vegetables need at least 6 to 8 hours of direct sunlight per day. Leafy greens like spinach and lettuce can manage with 4 to 6 hours, while fruiting crops such as tomatoes and peppers need the full 8 hours to thrive.
Can I start a vegetable garden without a yard?
Yes. Containers, balcony gardens, windowsill herbs, and vertical pallet planters all let you grow vegetables without any yard. A sunny balcony or bright window is enough to produce herbs, greens, and even small tomatoes.
What soil is best for a DIY vegetable garden?
A loose, well-draining mix works best. Combine roughly one-third compost, one-third topsoil, and one-third aeration material like coconut coir or perlite. This blend holds moisture while giving roots plenty of oxygen.
How often should I water my vegetable garden?
Most gardens need about 1 to 2 inches of water per week. Water deeply two or three times weekly rather than a little every day. Containers dry out faster and may need daily watering during hot weather.