Think your kitchen is too cramped for an island? I used to believe that too, until I squeezed a rolling cart into a galley kitchen barely six feet wide and gained a whole new prep zone. The truth is, a small kitchen doesn’t need to skip the island dream. It just needs a smarter version of it.
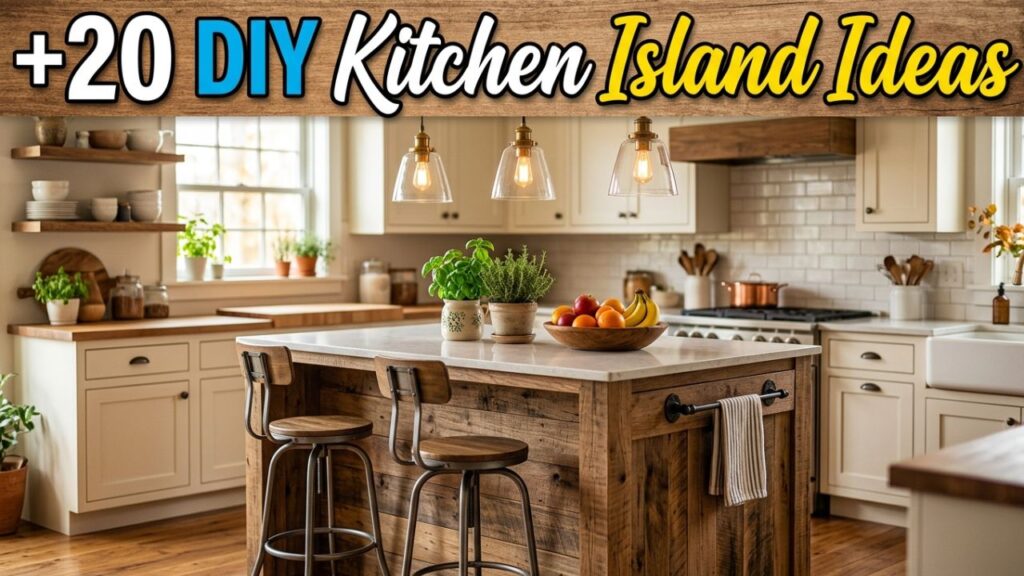
Below you’ll find 20 kitchen island ideas for small spaces that I’ve either built, tested, or watched friends pull off in tight rentals and cozy condos.
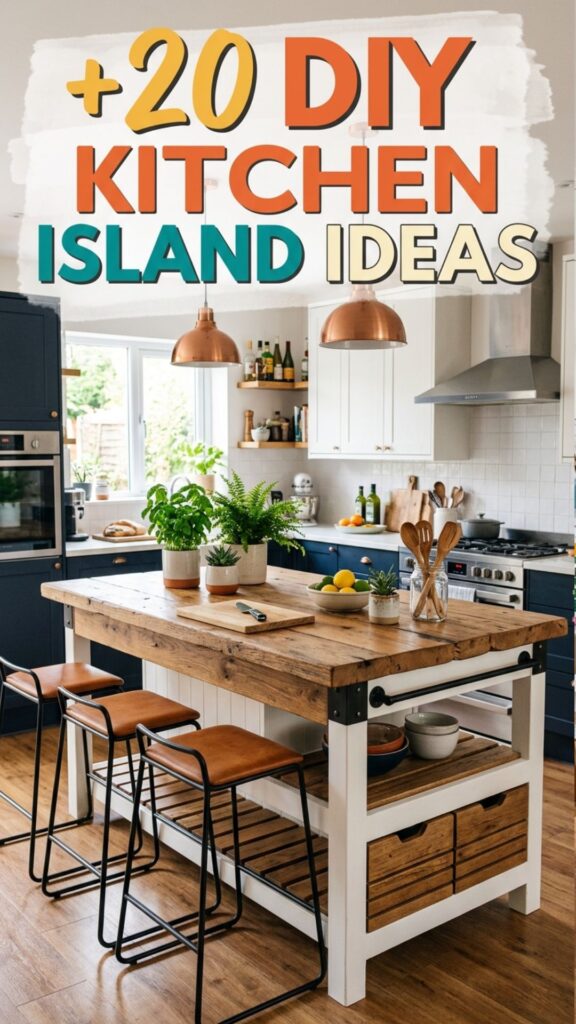
Each one comes with practical steps, real material suggestions, and honest notes on what to avoid. Whether you rent, own, or just want more counter space without a full renovation, there’s an option here for your budget and skill level.
1. Repurpose a Rolling Kitchen Cart
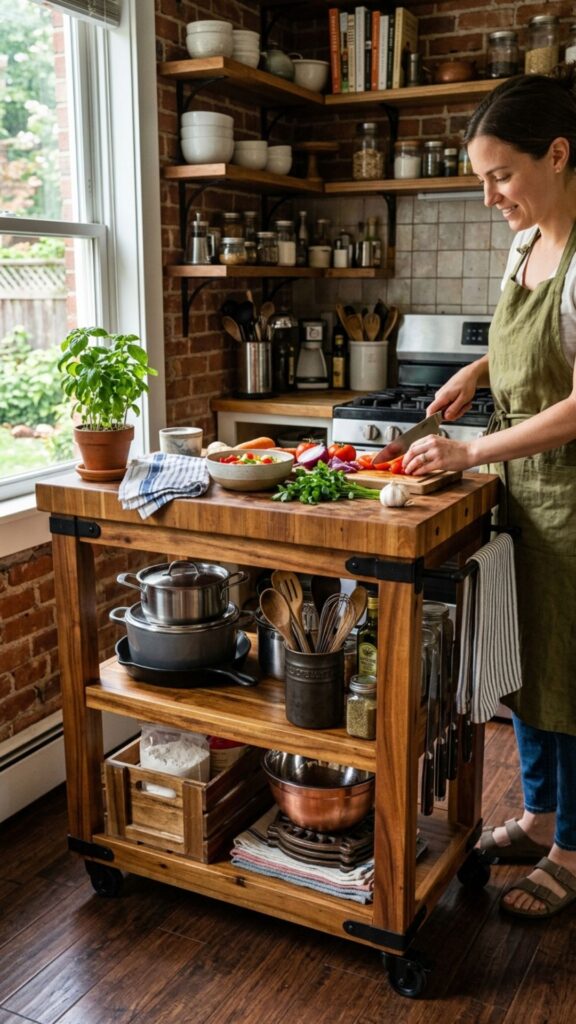
A rolling cart is the fastest win for a tight kitchen. Grab a butcher-block cart with locking wheels, and you’ve got instant prep space that tucks away when you’re done. IKEA’s classic models run under $100, but thrift stores often hide sturdier hardwood versions for less.
The magic here is mobility. Roll it to the sink while you wash veggies, then push it against the wall when the meal is done. Just make sure the wheels lock, otherwise your cutting board will drift mid-chop, and nobody enjoys chasing a runaway onion across the floor.
2. Build a Slim Bookshelf Island
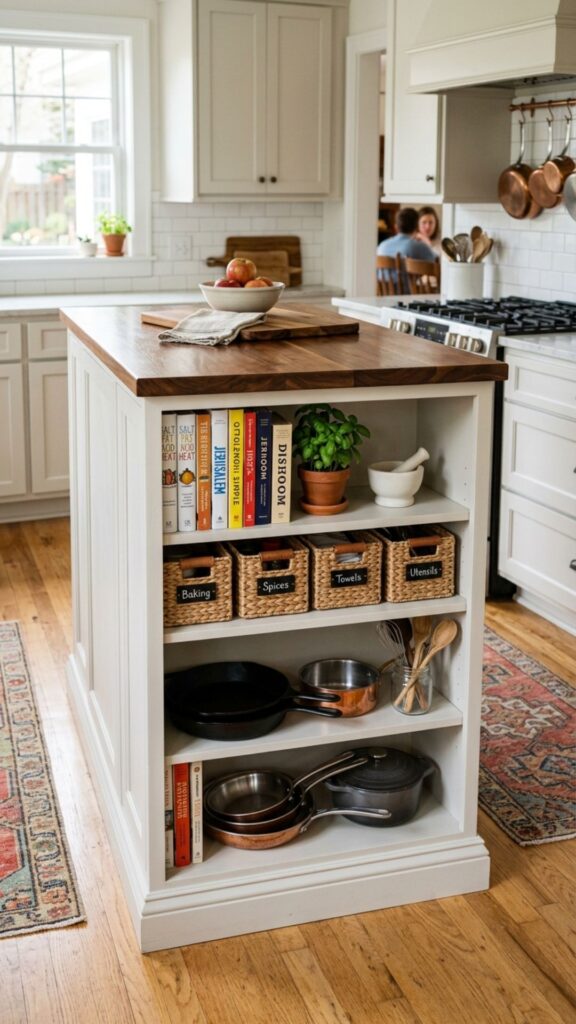
Turn a narrow bookshelf on its side or stand it upright as a compact island base. Add a wood slab on top, and the open shelves below become storage for cookbooks, baskets, and pots. This works beautifully in kitchens where a full-depth island won’t fit.
Anchor the shelf to a wall if it feels tippy, especially with kids or pets around. I bolted mine to a stud with an L-bracket, and it hasn’t budged in three years. Paint the whole thing one color to make it look custom rather than salvaged.
3. Install a Fold-Down Wall Table
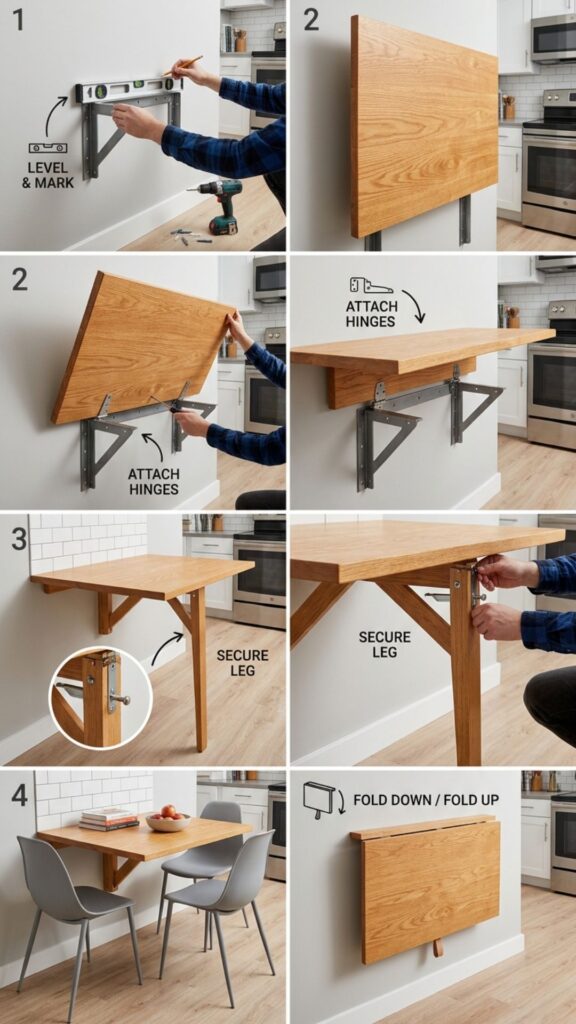
When floor space is truly precious, a fold-down table mounted to the wall gives you an island only when you need it. Drop it down for meal prep, then fold it flat to reclaim your walkway. Hardware kits cost around $30 and mount in an afternoon.
Height matters most here. Mount the hinge at counter level, roughly 36 inches, so it aligns with your existing surfaces. A common mistake is placing it too low, which turns your “island” into an awkward kids’ desk.
4. Stack Two Base Cabinets
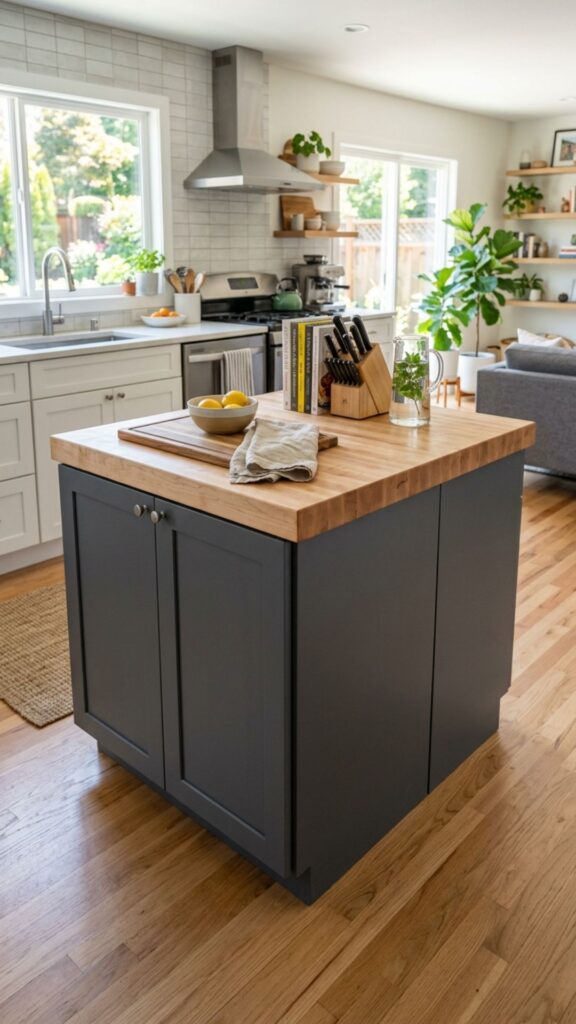
Two stock base cabinets pushed back-to-back create a solid, permanent island for a fraction of custom prices. Big-box stores sell unfinished cabinets you can paint any shade. Top them with a slab of butcher block or laminate for a finished look.
Screw the cabinets together before adding the top, and level them with shims on uneven floors. This gives you drawers and shelves on both sides, which is a storage jackpot in a kitchen short on cupboards.
5. Convert an Old Dresser
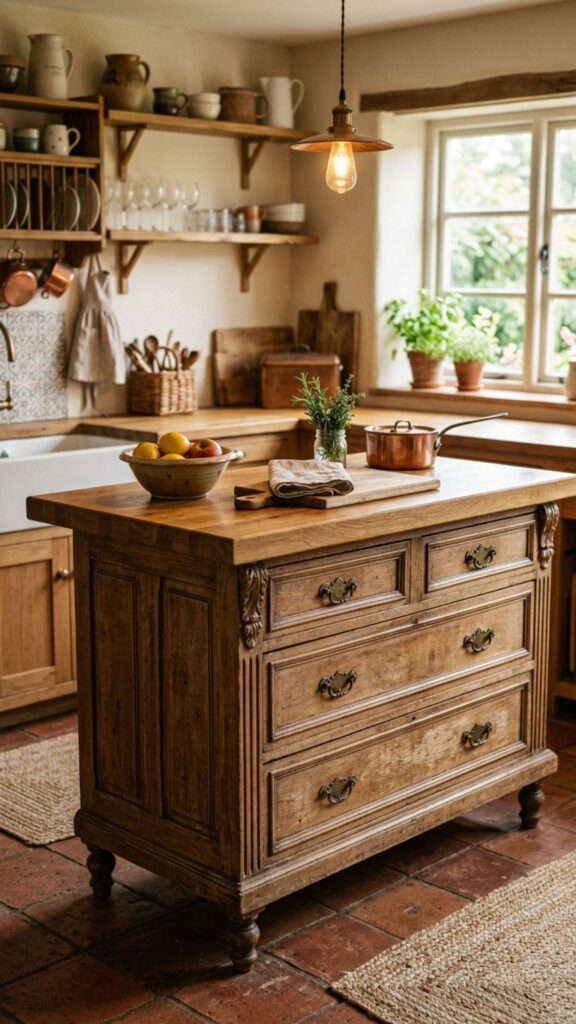
A vintage dresser makes a charming island with drawers already built in. Remove the top, add a wipeable surface like tile or sealed wood, and you’ve upcycled furniture into function. Estate sales are goldmines for solid-wood pieces under $50.
Seal every drawer and surface against moisture, since kitchens get splashy. A coat of polyurethane protects the wood and keeps the drawers gliding. The mismatched-yet-intentional look pairs nicely with a farmhouse or eclectic kitchen.
6. Use a Kitchen Prep Island With Drop Leaves
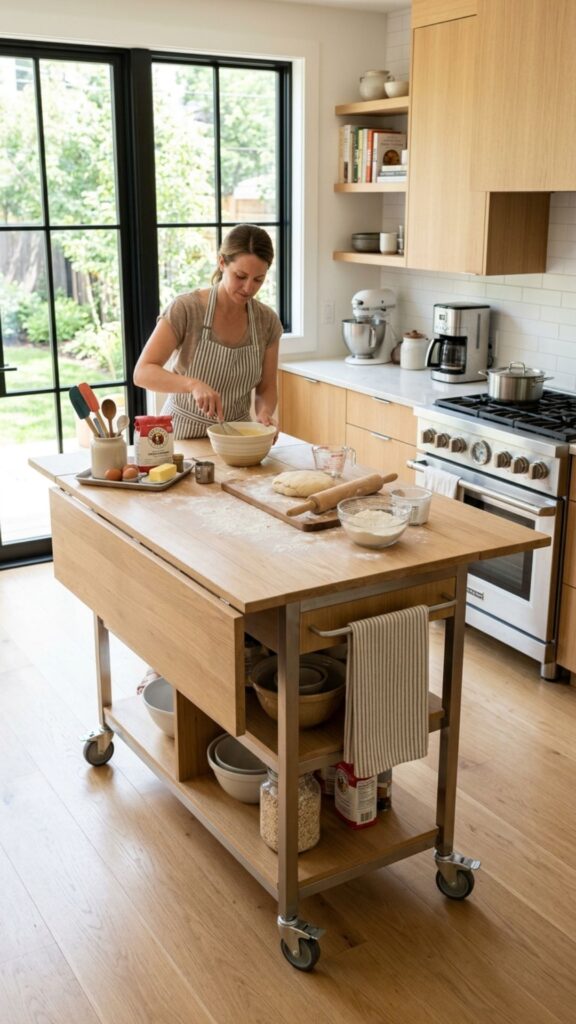
A drop-leaf island expands and shrinks with your needs. Keep both leaves down for a slim profile on weeknights, then raise them for weekend baking marathons. These are perfect for kitchens that go from quiet to busy fast.
Look for models with a lower shelf for pots or a towel bar on the side. When shopping, test the leaf supports, because flimsy hinges sag under a heavy mixing bowl. Sturdy metal brackets beat plastic every time.
7. Build a Pallet Wood Island
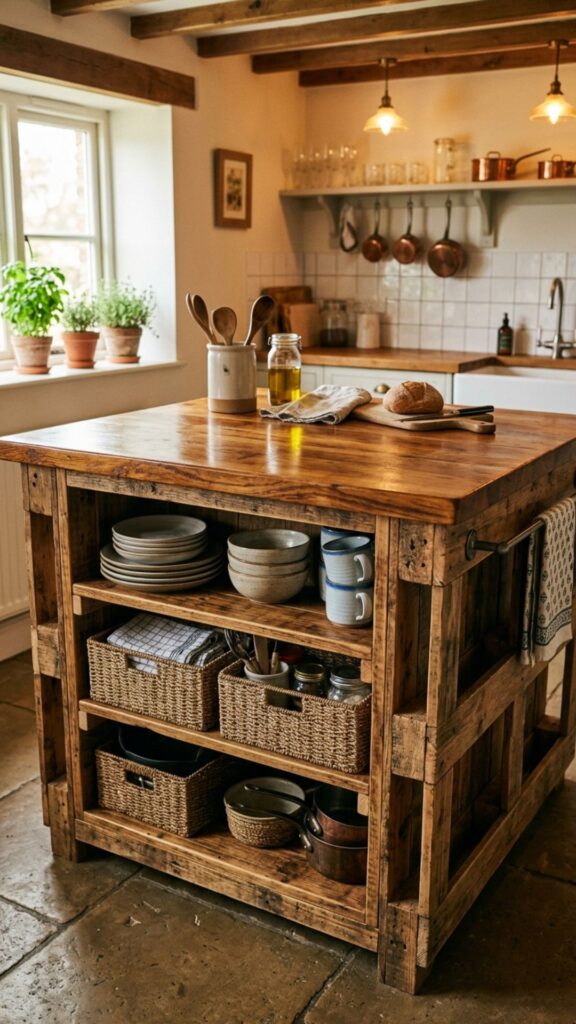
Reclaimed pallets cost little to nothing and give a rustic, textured base. Break them down, sand well, and build a compact frame topped with a smooth board. This is a satisfying weekend project if you own a basic saw and sander.
Sand thoroughly to remove splinters and check for the “HT” stamp, meaning heat-treated rather than chemically treated wood. Skip any pallets marked “MB,” since those were treated with chemicals you don’t want near food.
8. Try a Peninsula Instead
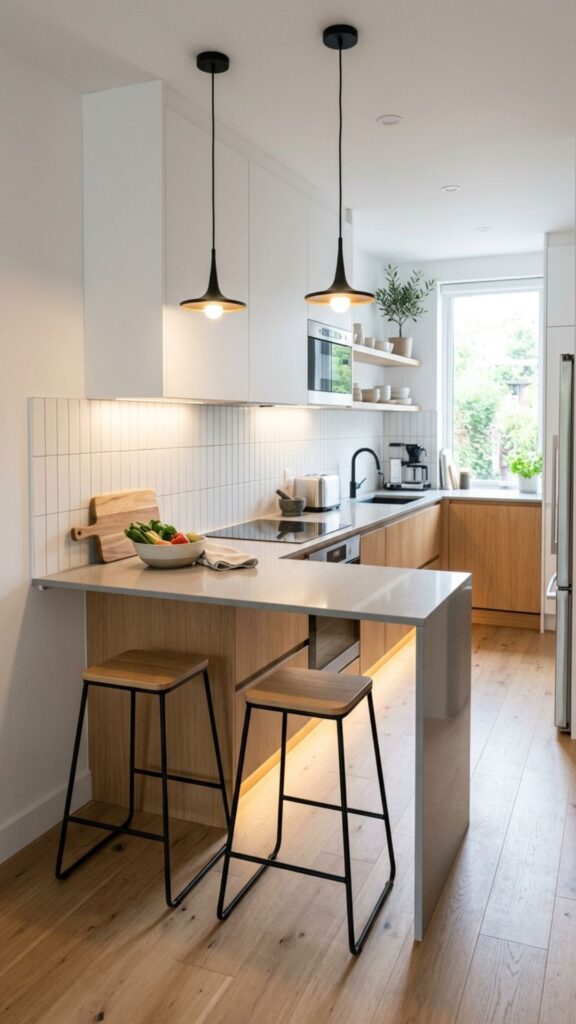
If a freestanding island won’t fit, a peninsula attached to one wall or counter offers the same benefit with less footprint. It extends your work triangle without blocking traffic on all four sides. This layout shines in L-shaped kitchens.
Cap the open end with a small overhang, and you’ve got room for a stool or two. Keep the walkway around it at least 36 inches so you don’t feel boxed in while cooking.
9. Repurpose a Wooden Crate Stack
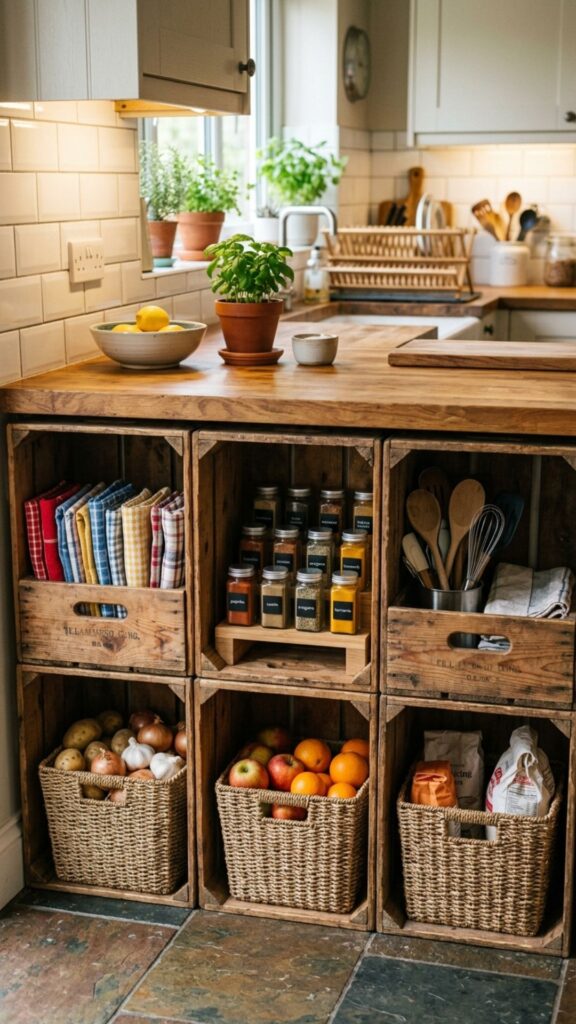
Sturdy wooden crates stacked and secured make a playful, open-storage island. Fill them with produce, linens, or pantry items you want on display. This budget option costs about $15 per crate at craft stores.
Screw the crates together and add a flat top for stability. Because the storage is open, it looks best when tidy, so this suits folks who enjoy a styled, visible pantry over hidden clutter.
10. Install a Countertop Extension
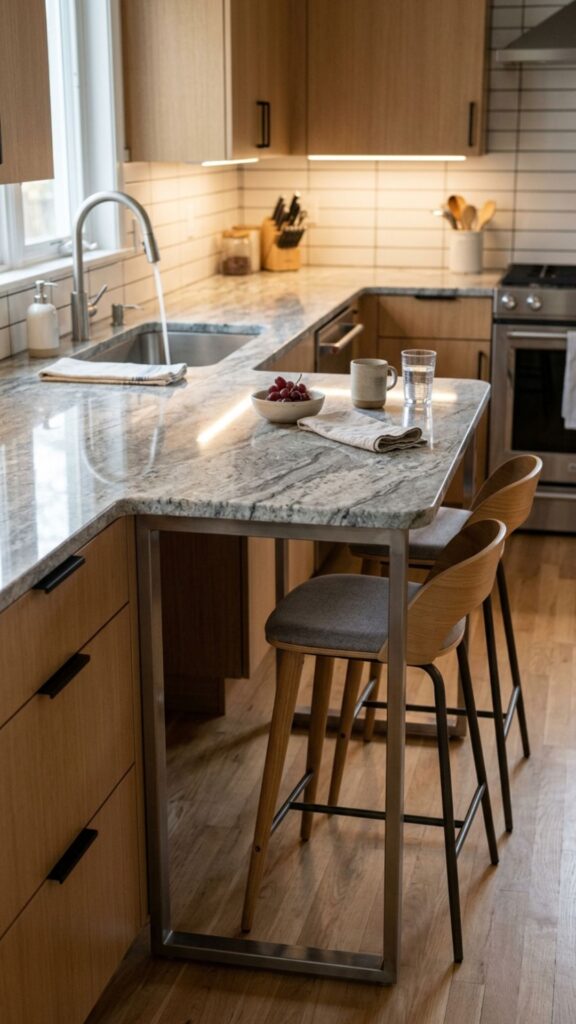
A simple slab mounted flush with your existing counter creates an L or U shape that acts like an island edge. Support it with a single leg or a bracket, and you gain seating or prep room without a bulky base.
Match the new surface to your current countertop for a seamless look, or go bold with a contrasting butcher block. Measure your knee clearance if you plan to sit there, aiming for at least 12 inches of overhang.
11. Use a Bar Cart as a Mini Island
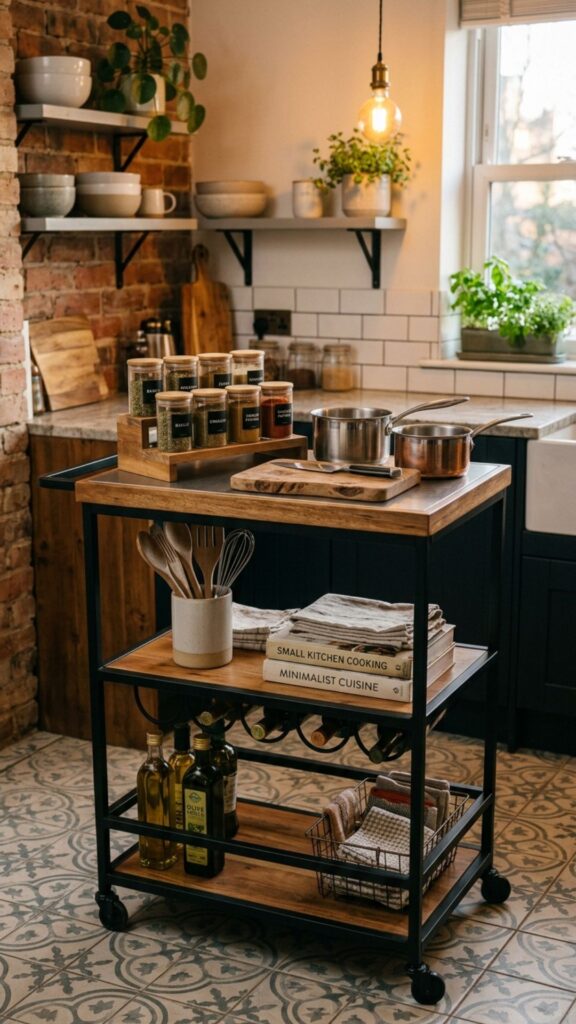
A stylish bar cart doubles as a petite island in studios and tiny apartments. Its slim frame slips into corners, and the tiered shelves hold everything from spices to a coffee setup. Roll it wherever the action is.
Choose one with a solid top shelf you can actually chop on. Glass shelves look pretty but crack under a heavy hand, so metal or wood serves better for real cooking work.
12. Build a Concrete-Top Island
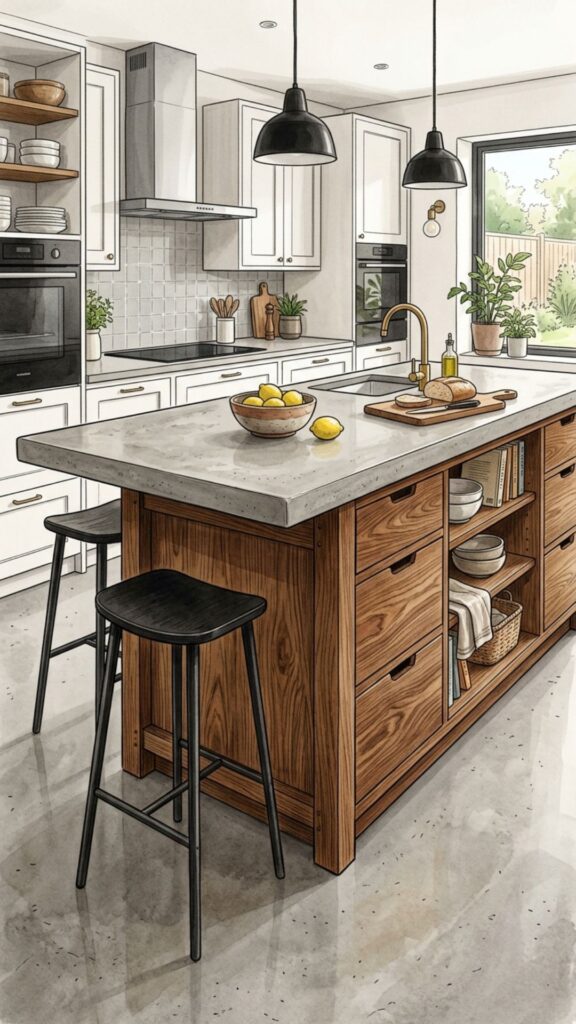
A concrete countertop over a simple wood base gives an industrial, durable surface you can pour yourself. DIY concrete kits run about $50 and cure into a rock-solid top. It’s heavier than it looks, so build a strong frame.
Seal the concrete once cured to prevent stains from wine, oil, and citrus. I learned this the hard way after a lemon left a permanent pale ring on an unsealed test slab. One coat of food-safe sealer saves the headache.
13. Add a Freestanding Butcher Block
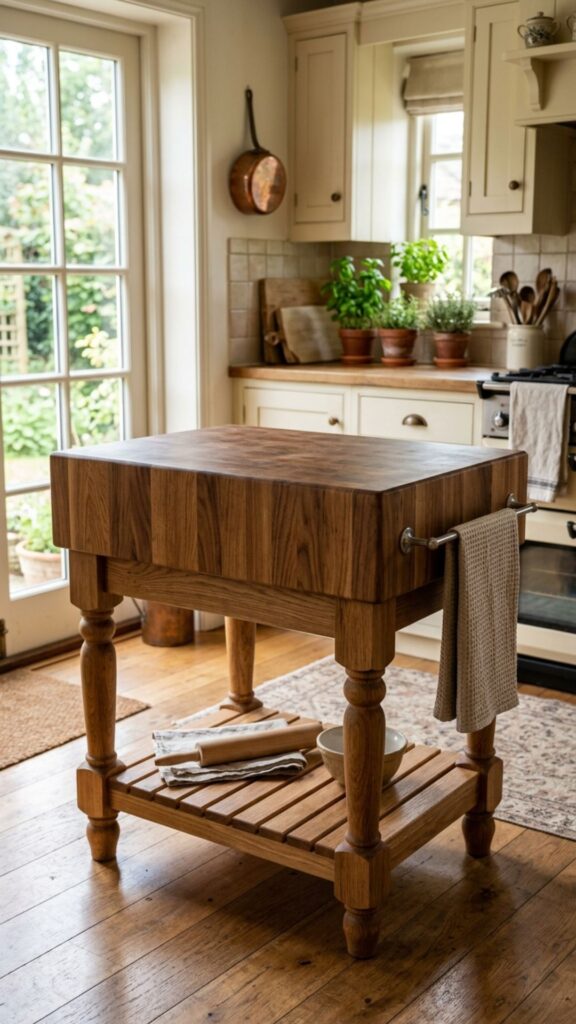
A standalone butcher block island doubles as a giant cutting board. The thick maple top handles chopping, kneading, and rolling with ease. Compact versions fit kitchens as small as 100 square feet.
Oil the top monthly with food-grade mineral oil to keep it from cracking. Avoid soaking it or running it under water, since standing moisture warps the wood over time.
14. Repurpose a Console Table
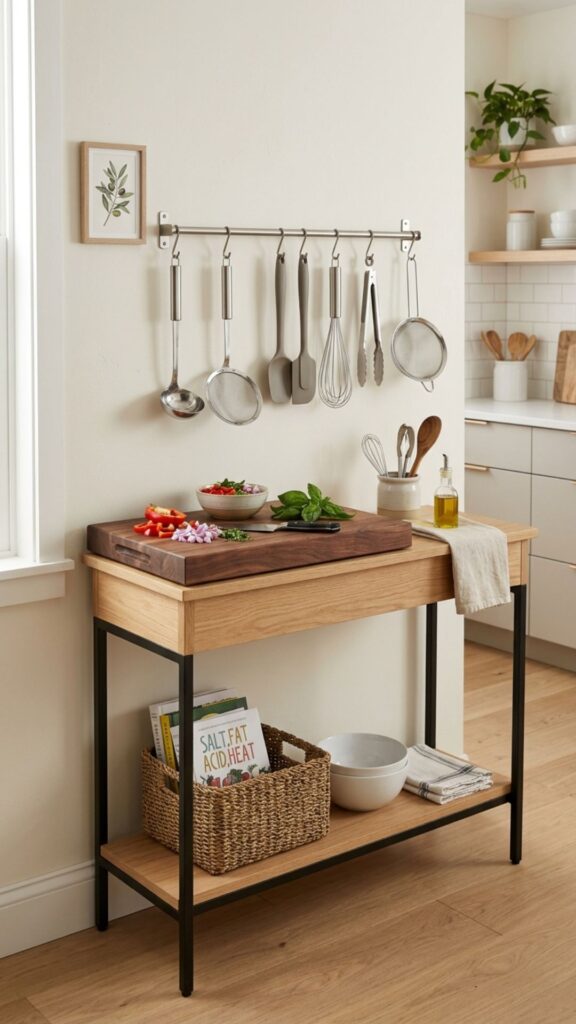
A narrow console table, usually meant for hallways, fits kitchens where depth is limited. At around 12 to 16 inches deep, it hugs the wall while still offering a surface and lower shelf. Thrift stores overflow with these.
Top it with a cutting mat or a fitted board for food prep. Add hooks on the side for mugs or utensils, turning wasted vertical space into handy storage.
15. Build a Storage Bench Island
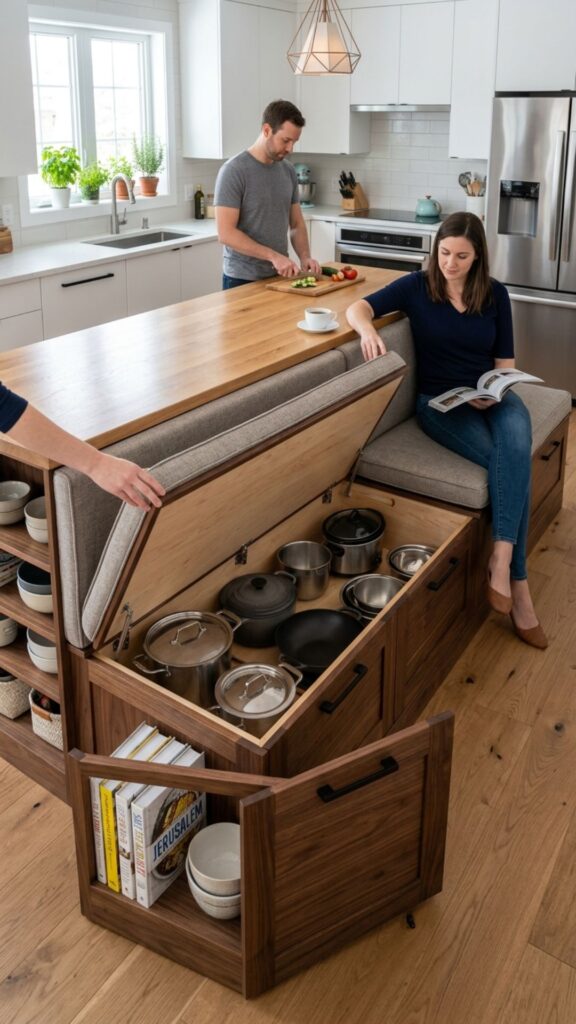
A low island with bench-height seating built in serves double duty in an eat-in kitchen. Lift the top for hidden storage, and stow bulky items like slow cookers inside. This works well against a wall in a breakfast nook.
Use a piano hinge for a smooth, safe lid. Add cushions on top, and the same piece becomes casual seating when guests spill over from the dining table.
16. Install Floating Shelf Legs
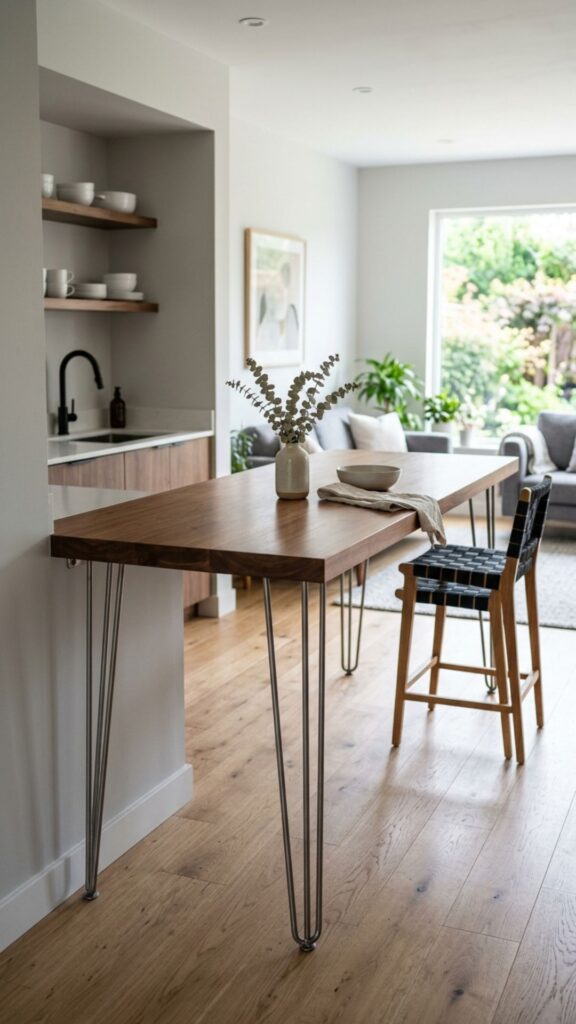
Mount a short countertop on two furniture legs bolted to the floor for an airy, open island. The lack of a bulky base keeps small kitchens feeling roomy. Hairpin legs give a modern touch and cost around $40 a set.
Bolt the legs securely into the floor joists, not just the surface flooring. A wobbly leg turns a sleek island into a hazard, so use proper anchors and a level during install.
17. Repurpose a Sewing Table
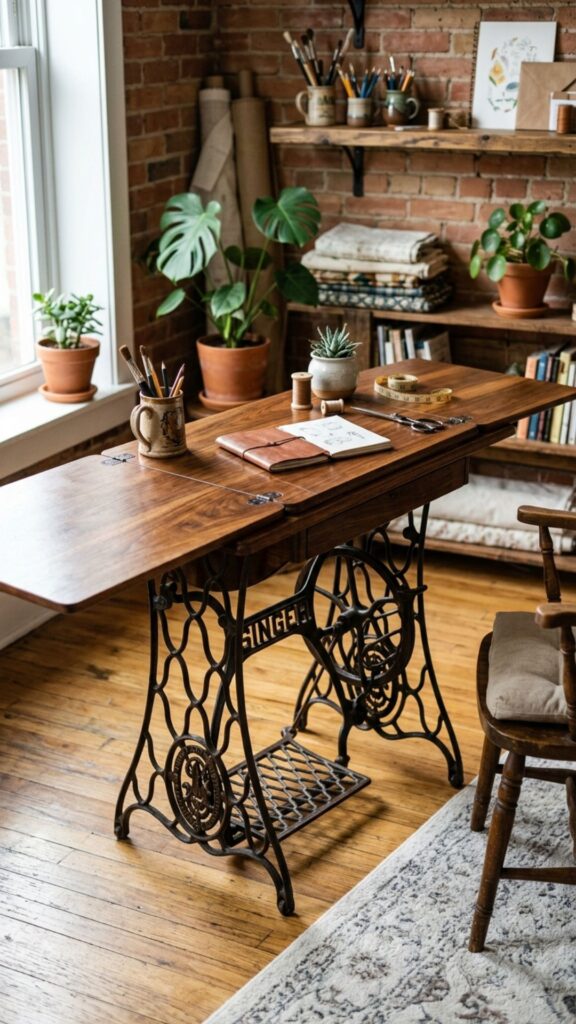
Antique sewing tables often have foldable extensions and lovely iron bases. Cap the top with a wood or laminate surface, and the fold-out sections give you flexible prep room. It’s a conversation piece with real function.
Check the fold mechanism first, since old hinges can seize up. A little machine oil usually frees them, restoring the built-in expandability that makes these tables perfect for small spaces.
18. Build a Slim Galley Island
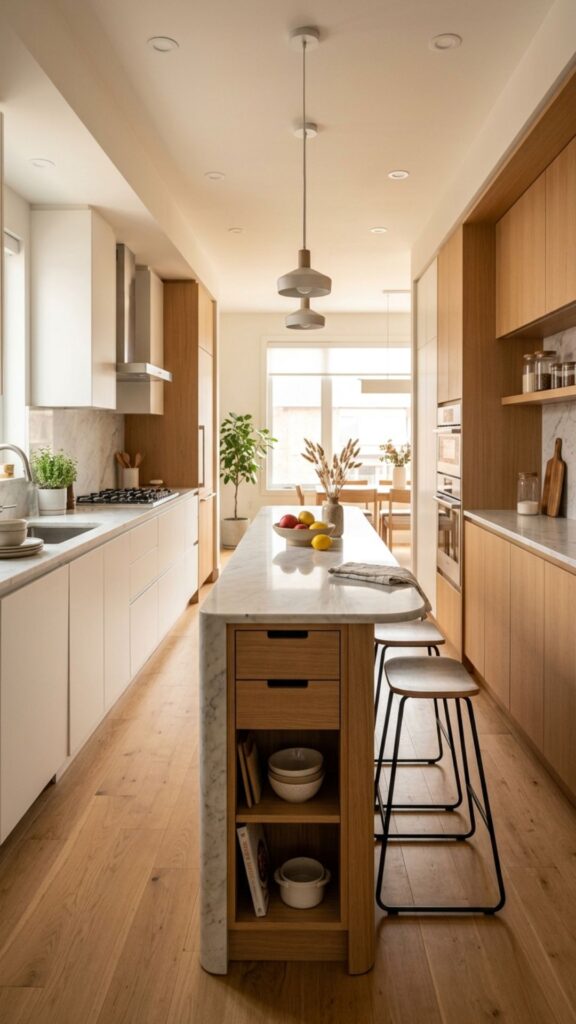
For narrow galley kitchens, build an ultra-slim island just 12 to 18 inches deep down the center. It leaves clear paths on both sides while adding a strip of prep space. Custom-cut plywood keeps costs low.
Round the corners to avoid painful hip bumps in the tight aisle. Measure your walkways carefully, keeping at least 36 inches clear so two people can pass without a traffic jam.
19. Use a Kitchen Cart With a Trash Pull-Out
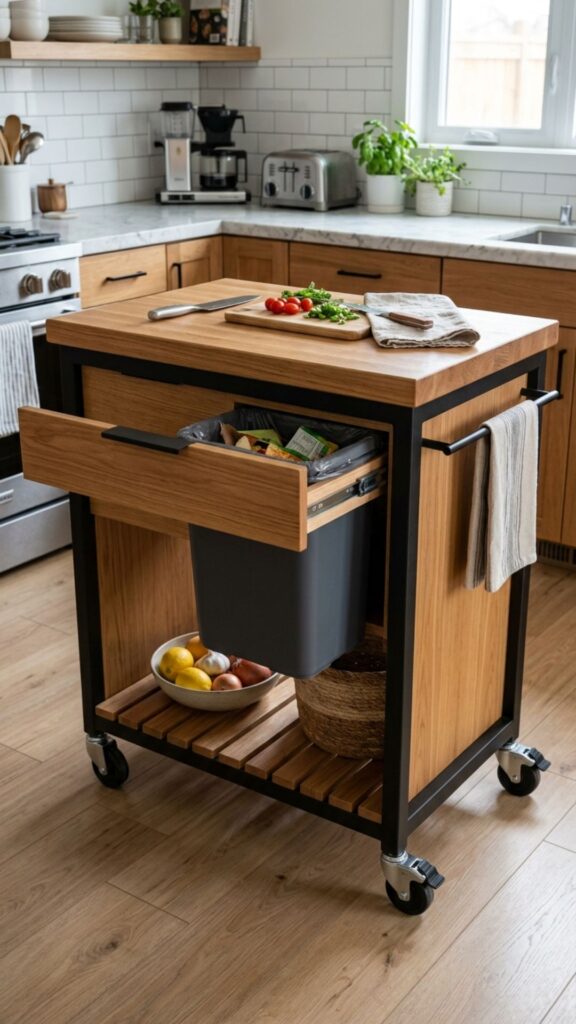
A cart with a built-in bin hides your trash while adding surface space up top. This tackles two problems at once, which is exactly what small kitchens demand. Look for models with a cutting board that slides out.
Line the bin area with a wipeable liner for easy cleaning. The combo of prep space above and hidden waste below keeps your counters clear and your kitchen looking calm.
20. Build a Corner Island
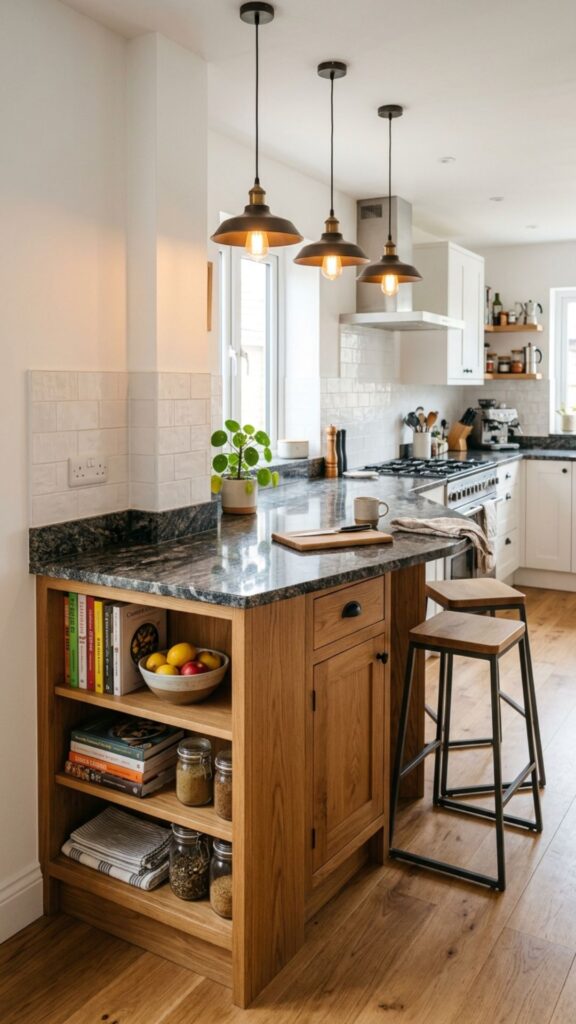
A triangular or wedge-shaped island tucks into an unused corner, capturing space most kitchens waste. It follows the walls and leaves the center open. Custom angles take a bit of measuring but reward you with found square footage.
Add a small sink or a couple of stools if plumbing allows, though most folks keep it simple as prep space. Sketch the corner on paper first to nail the angles before you cut any wood.
Conclusion
A small kitchen doesn’t lock you out of the island club. From a $40 rolling cart to a corner unit built into wasted space, there’s a project here for every budget, skill level, and floor plan. The best kitchen island ideas for small spaces solve two problems at once: adding surface area while keeping your walkways clear.
Ready to start? Pick one idea that matches your weekend availability and tools, then measure your space twice before you buy or build. Begin with the rolling cart or fold-down table if you’re short on time, then work up to the built-in projects once you’ve seen how much easier prep becomes.
What is the minimum size for a kitchen island in a small space?
A kitchen island needs at least 24 inches of depth and 36 to 40 inches of length to be useful. Leave 36 inches of clearance around it so you can move and open drawers comfortably.
How much does a DIY kitchen island cost to build?
A DIY kitchen island costs between $40 and $300, depending on materials. Rolling carts and repurposed furniture sit at the low end, while stacked cabinets with a butcher-block top land higher.
Can you put an island in a very small kitchen?
Yes. Slim, mobile, or fold-down islands work in kitchens as small as 100 square feet. Choose a piece 12 to 18 inches deep, and keep at least 36 inches of walking space on every open side.
What can I use instead of a kitchen island?
A rolling cart, console table, bar cart, or wall-mounted fold-down table all work as island alternatives. A peninsula attached to your existing counter also adds prep space without a freestanding footprint.
How do I make a small kitchen island more functional?
Add storage below with shelves or drawers, a towel bar on the side, and locking wheels for mobility. Choosing pieces that serve double duty, like a cart with a hidden trash bin, maximizes every inch.