Small kitchens get a bad rap. People assume there’s no room for an island, so they skip the idea entirely and lose out on counter space, storage, and a spot to gather. That’s a mistake I made in my first apartment, and I regretted it for two years.
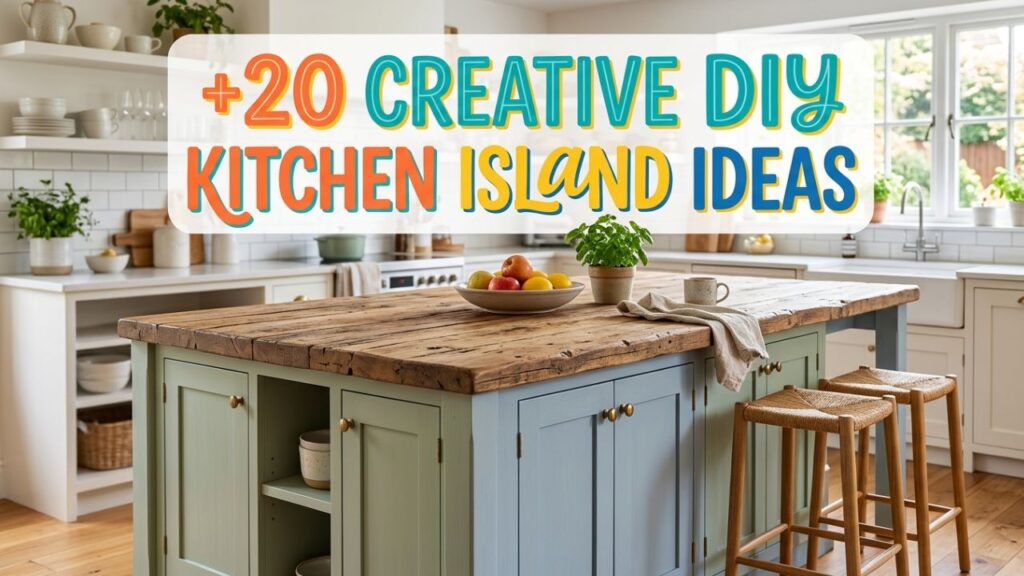
The good news? A tiny footprint doesn’t mean no island. With the right build, you can add prep space, hide clutter, and even squeeze in seating—all without hiring a contractor. I’ve built three islands myself over the years, tested plenty of failures along the way, and learned what actually works when square footage is tight.
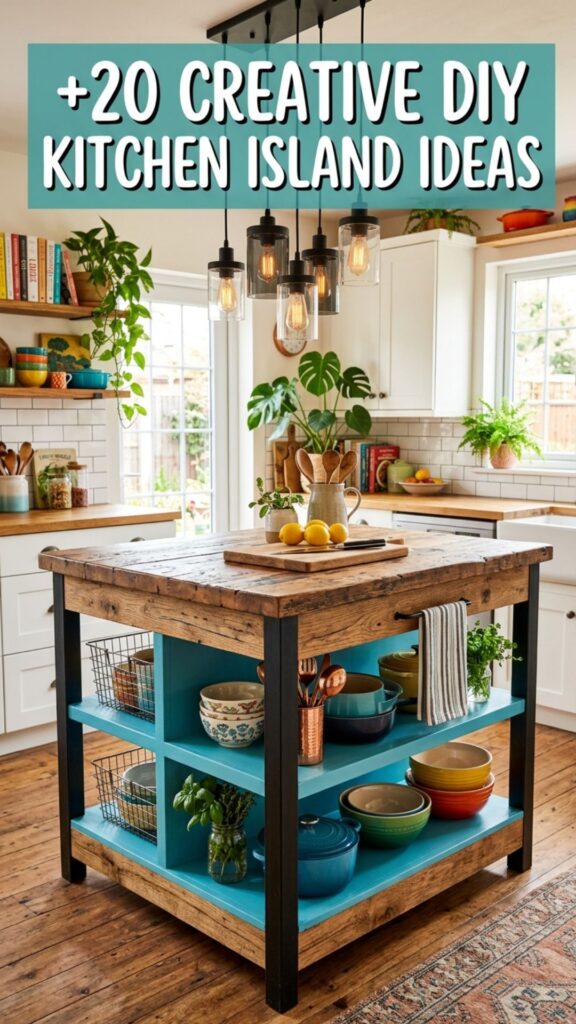
This guide walks you through 20 practical DIY kitchen island ideas for small kitchens. You’ll learn budget-friendly builds, space-saving tricks, and clever hacks using furniture you might already own. Whether you rent or own, there’s something here you can start this weekend.
1. Repurpose an Old Dresser
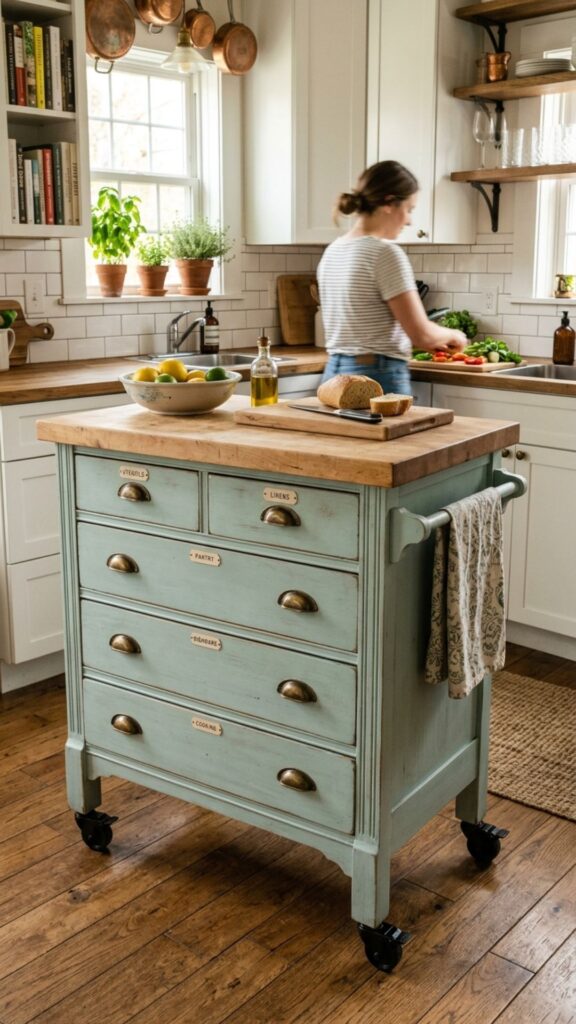
An old dresser is a small-kitchen goldmine. The drawers give you instant storage for utensils, linens, or dry goods, and the height is usually close to counter level. Sand it down, add a coat of durable paint, and top it with a butcher block or laminate slab cut to size.
I built my first island this way for under $60, thrifting the dresser and buying only the countertop. The key is choosing a solid wood piece—particleboard dressers sag under weight and warp near heat. Add caster wheels if you want the flexibility to move it against a wall when you need floor space.
2. Stack Two Bookcases Back to Back
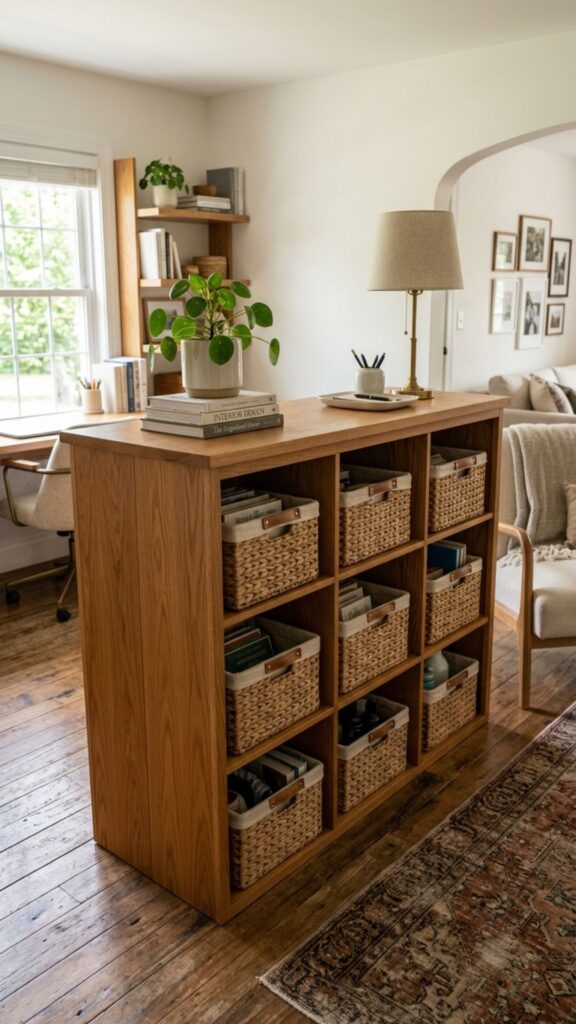
Two short bookcases placed back to back create a surprisingly sturdy island base with open shelving on both sides. This works beautifully in narrow kitchens where you want visible storage for cookbooks, baskets, or serving bowls. Screw them together for stability and cap the top with a plywood board.
The open design keeps the space feeling light, which matters in a small room. Paint the interiors a bold color for contrast, or line the shelves with matching bins to hide the mess. It’s one of the cheapest builds on this list if you already own the bookcases.
3. Use a Kitchen Cart on Wheels
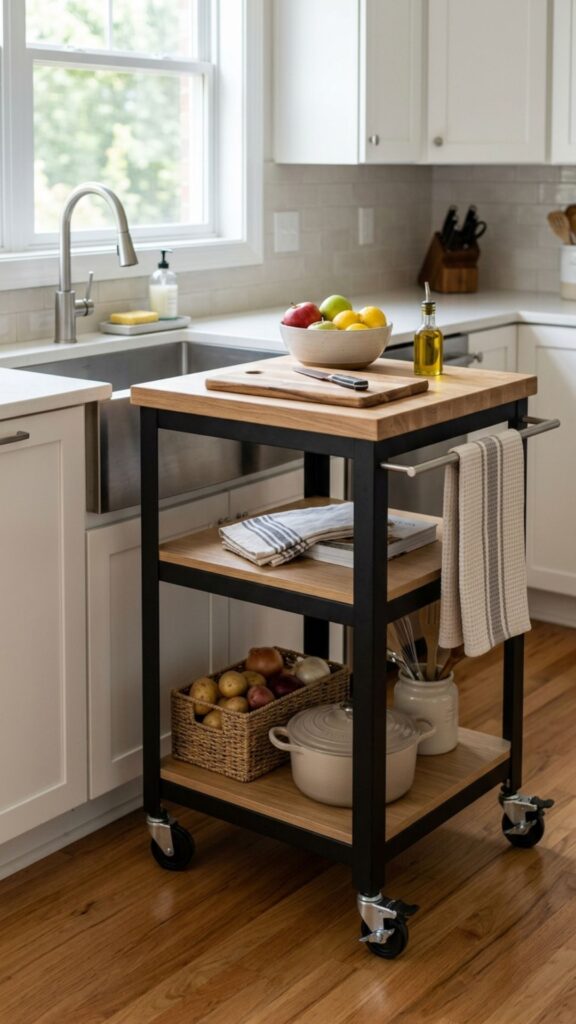
A rolling cart is the ultimate flexible island for cramped kitchens. You can wheel it to the sink for prep, roll it to the table when serving, and tuck it into a corner when you need the floor. Look for one with a lower shelf and a towel bar for extra function.
Many hardware carts come as ready-to-assemble kits, but you can DIY your own using a base cabinet and locking casters. The locking feature matters—an island that slides around while you’re chopping is more hazard than help. This is my top pick for renters who can’t drill into floors or walls.
4. Build a Slim Rolling Butcher Block
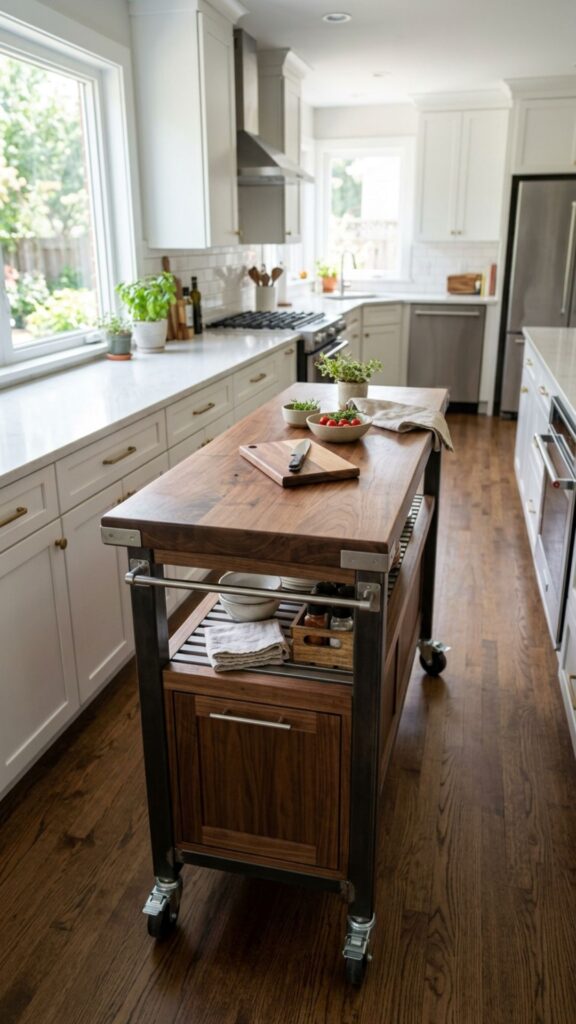
If depth is your enemy, go slim. A narrow butcher block island, around 16 to 20 inches deep, fits in galley kitchens where a full-size island won’t. Mount it on wheels and you get a mobile prep surface that doesn’t block traffic.
Butcher block adds warmth and doubles as a cutting surface, so you save space you’d otherwise lose to a bulky board. Oil it every few weeks to keep it sealed against moisture. I keep mine parked under a window and roll it out only when I’m cooking a bigger meal.
5. Convert a Console Table
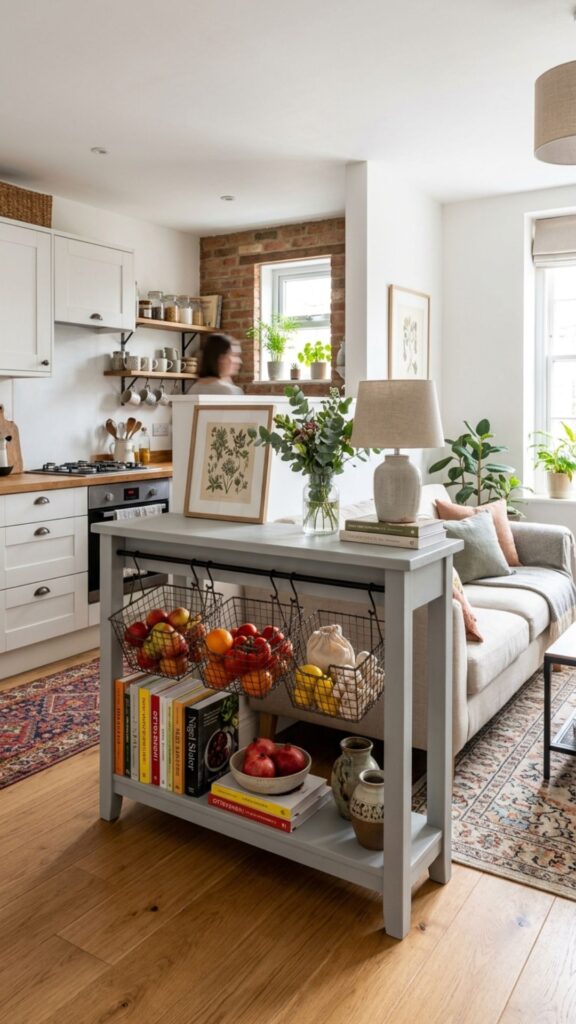
Console tables are naturally narrow, which makes them perfect for tight layouts. Add a lower shelf if the design allows, and use hanging baskets underneath for produce or pantry overflow. The slim profile keeps walkways clear.
Because console tables are lightweight, secure yours with rubber floor grips or add weight to the lower shelf. A quick coat of chalk paint transforms a dated find into something that matches your cabinets. This idea shines in open-plan spaces where the island doubles as a room divider.
6. Create a Fold-Down Wall Island
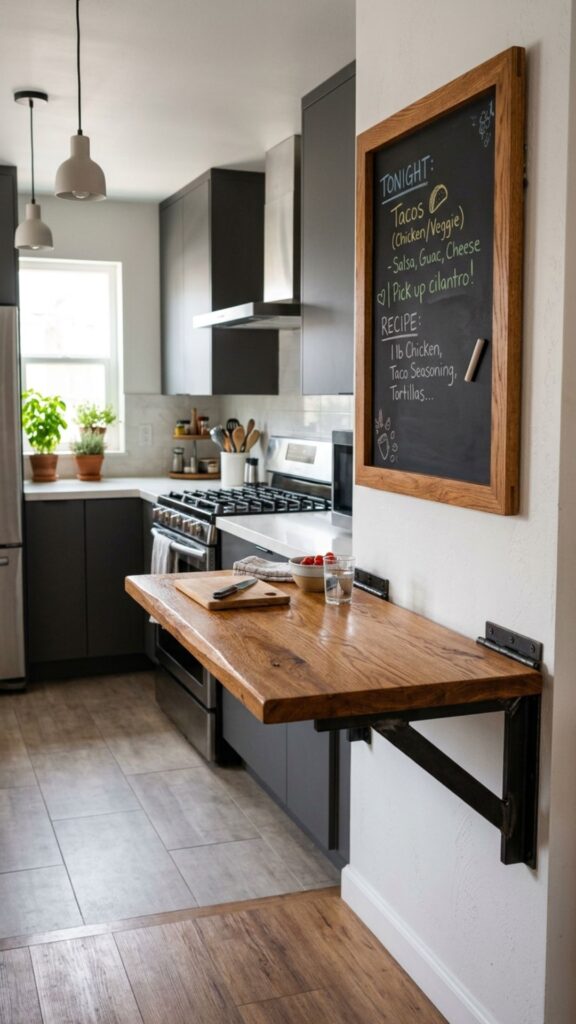
When floor space is truly scarce, build up—or rather, out. A fold-down island attaches to the wall with a hinged bracket and drops down only when you need it. Fold it flat against the wall afterward and reclaim every inch.
This DIY takes a bit more skill, but the payoff is huge in micro kitchens. Use a strong piano hinge and heavy-duty folding brackets rated for the weight you’ll put on it. Add a small chalkboard on the underside so it looks intentional when folded up.
7. Repurpose a Vintage Workbench
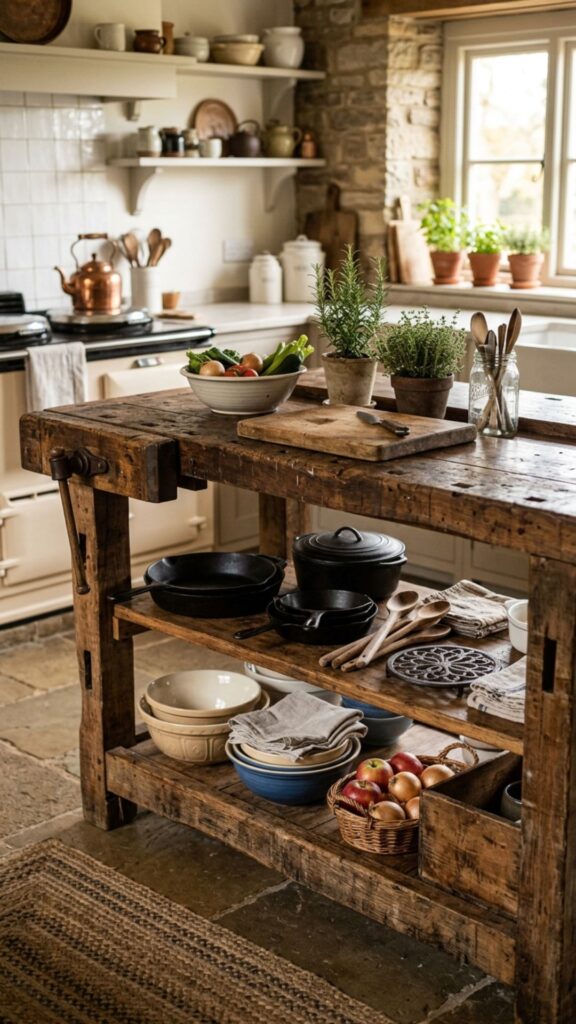
An old workbench brings instant character and rugged durability. These pieces were built to take a beating, so they handle daily kitchen use without complaint. The lower shelves and side vises can hold pots, boards, and towels.
Clean and seal the wood to make it food-safe, then decide whether to keep the worn patina or refinish it fully. I’ve seen reclaimed workbenches become the star of a small kitchen, blending industrial charm with real function. Check estate sales and salvage yards for the best deals.
8. Assemble Stock Cabinets Into a Compact Base
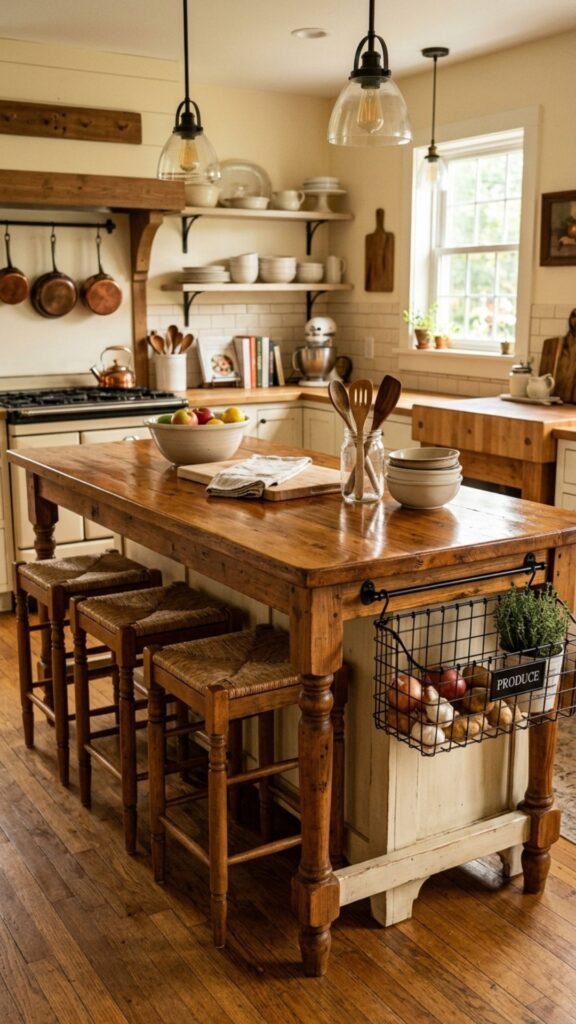
Big-box stores sell affordable stock base cabinets that snap together into a custom island. Choose one or two 24-inch units for a small kitchen, join them, and add a countertop. You get real drawers and doors at a fraction of custom cost.
This is my go-to for anyone wanting a built-in look on a budget. Add a decorative panel to the back so the island looks finished from every angle. Toe-kick space at the bottom keeps it feeling like a permanent fixture rather than a leftover cabinet.
9. Turn a Farmhouse Table Into an Island
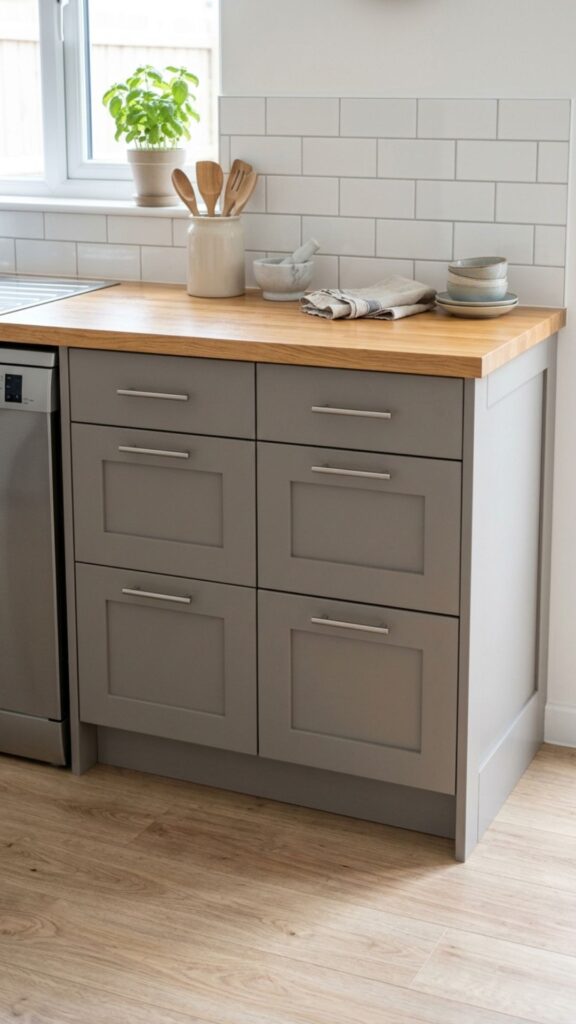
A sturdy farmhouse table sitting at the right height makes a ready-made island with zero construction. If it’s too low, add bun feet or extend the legs. The open base keeps the visual footprint airy in a small room.
Slide stools underneath for casual seating, and hang a wire basket on one end for storage. Tables like this often turn up cheap secondhand because people underestimate them. A little sanding and stain, and you’ve got a rustic centerpiece.
10. Build a Crate Stack Island
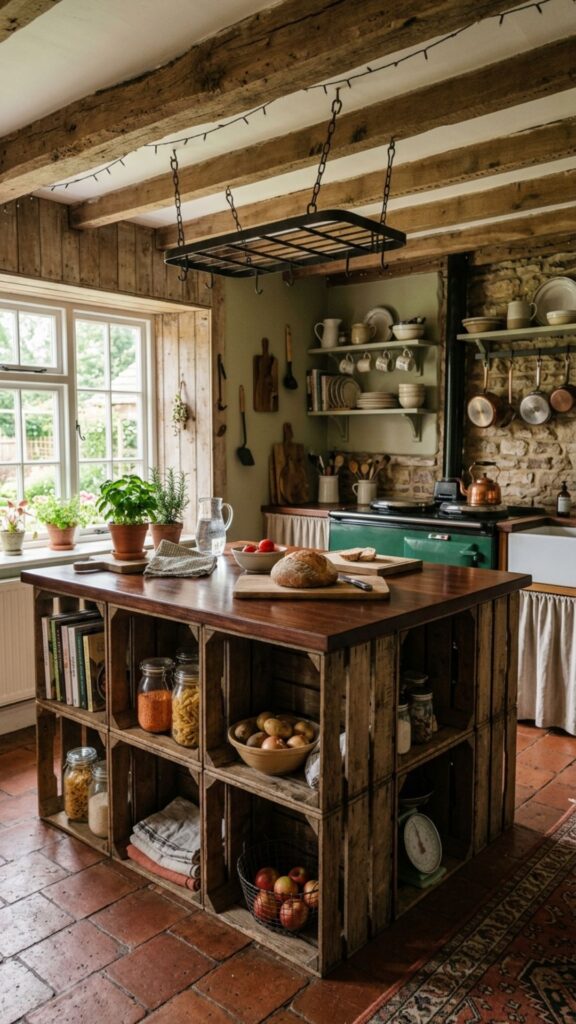
Wooden crates are cheap, stackable, and endlessly versatile. Arrange and screw them together into a cube or L-shape, then top with a wood board. The open cubbies store bottles, jars, and cookbooks in plain sight.
This build appeals to anyone who loves a rustic, hands-on project. Sand every edge to avoid splinters and seal the wood so spills wipe clean. Because crates are lightweight, anchor the stack together well so it doesn’t shift during use.
11. Use a Sewing Table Base
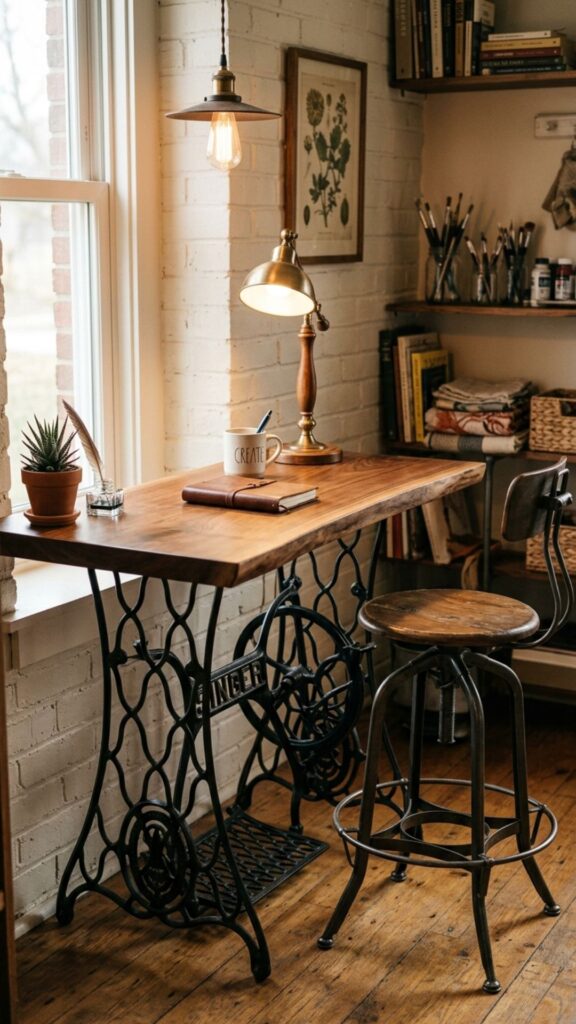
Antique sewing table bases have gorgeous cast-iron legs that add instant vintage flair. Remove the old top and replace it with a wood or stone slab cut to fit. The compact size suits small kitchens perfectly.
The metal base is heavy enough to stay put without anchoring, which is a bonus for renters. Pair it with industrial stools for a cohesive look. These bases show up regularly at flea markets, often for very little money.
12. Add a Peninsula Instead
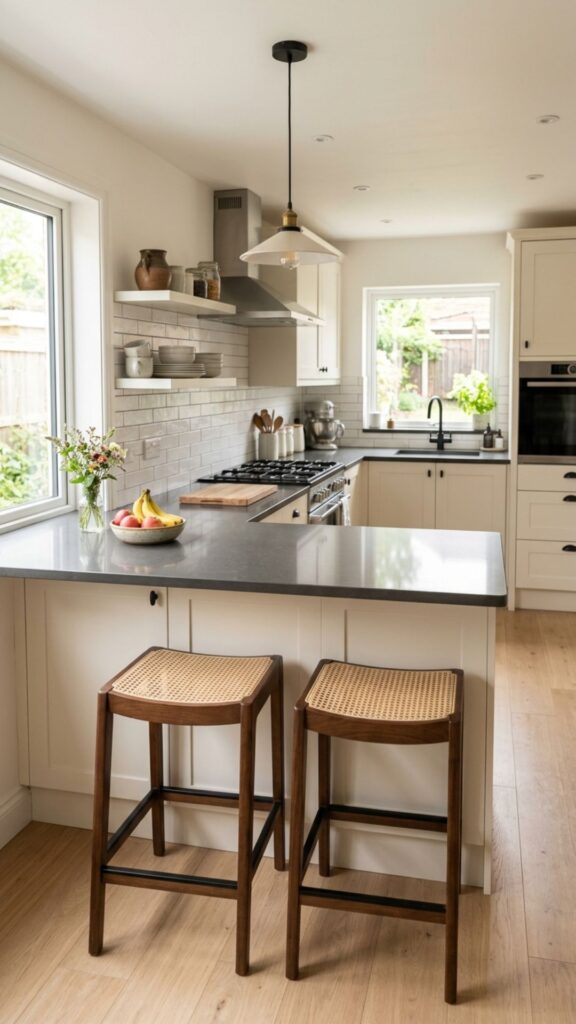
If a freestanding island won’t fit, a peninsula might. Attach a countertop and base cabinet to the end of an existing run of cabinets, extending outward like a small bar. You get extra surface without needing clearance on all four sides.
Peninsulas work wonders in L-shaped kitchens where one wall has open space. Add an overhang for a stool or two and you’ve created a casual eating spot. This solution saves the walking room a full island would eat up.
13. Repurpose a Metal Utility Cart
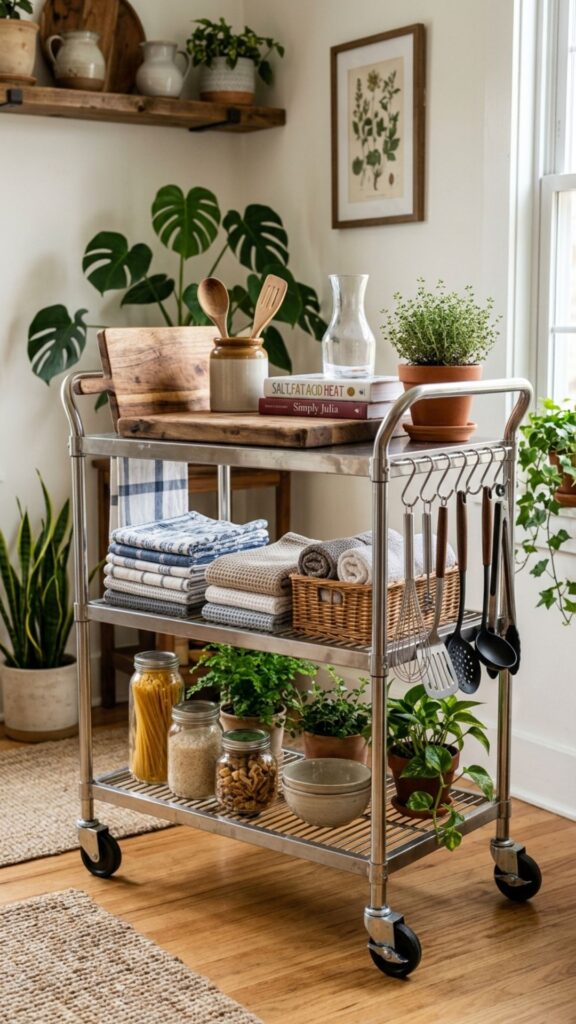
A stainless steel utility cart brings a professional, restaurant-kitchen vibe. The metal shelves wipe clean easily and handle heat and moisture without damage. Wheels make it mobile, and the open design keeps it from crowding the room.
I love this option for its no-fuss durability. Add S-hooks along the edges to hang mugs, towels, or utensils. It’s a favorite among home cooks who want function over frills, and it assembles in minutes.
14. Build a Narrow Bar-Height Island
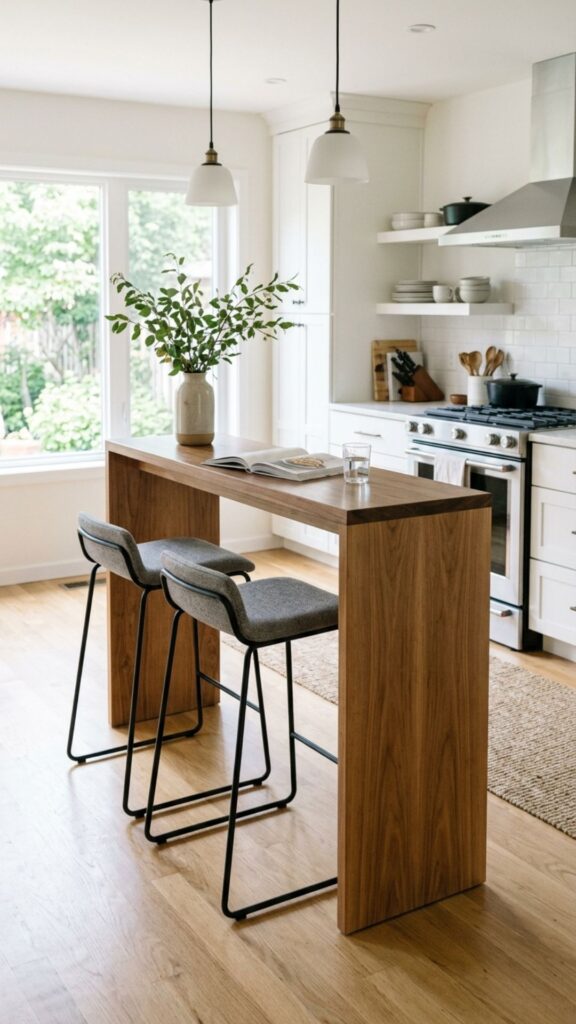
A tall, skinny island doubles as prep space and a standing bar. Because it’s narrow, it fits where a standard-depth island can’t. The bar height also makes it feel intentional rather than cramped.
Use a single stock cabinet or a custom wood frame, then top it with a slim counter. Tuck bar stools underneath to save floor space when not in use. This works especially well in apartments where the kitchen flows into the living area.
15. Repurpose a TV Stand or Media Console
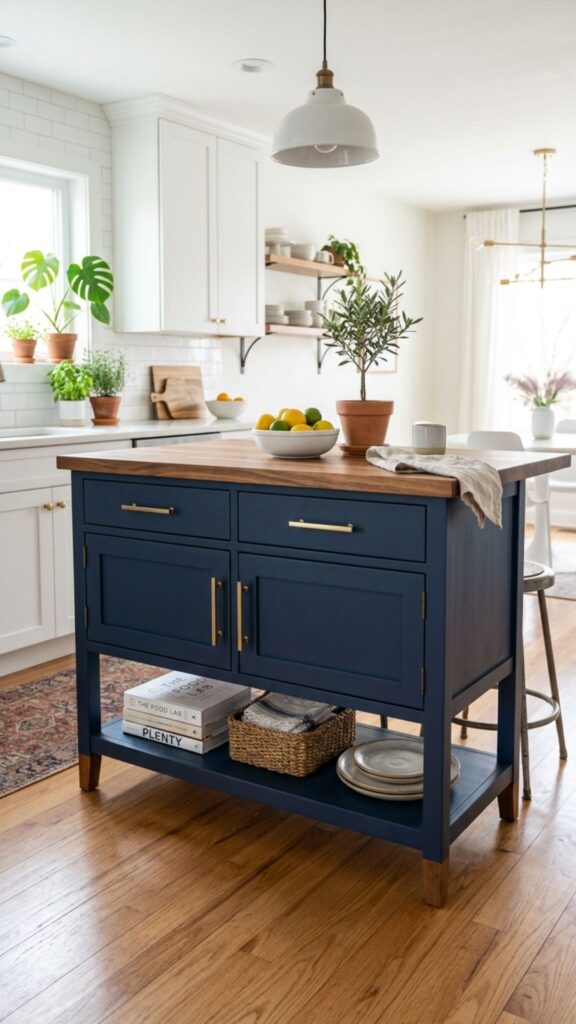
Modern media consoles offer the perfect island proportions—long, low, and full of storage. Many have adjustable shelves and cable cutouts you can repurpose for cords or ventilation. Raise it on legs or casters to reach counter height.
This budget hack uses furniture people constantly give away. Paint it, swap the hardware, and cap it with a fresh countertop. You’d never guess it started life holding a television.
16. Create a Pallet Wood Island
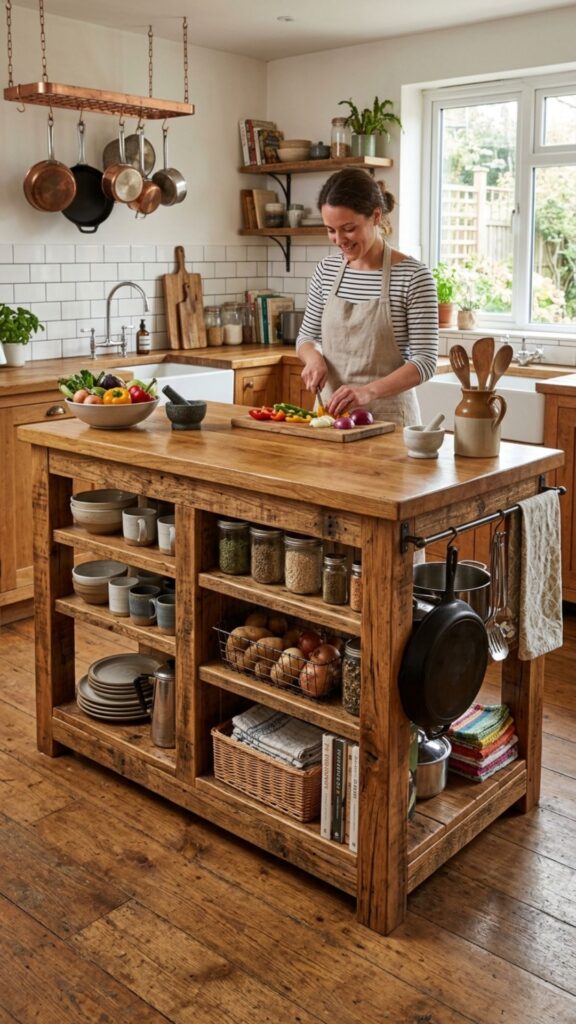
Reclaimed pallets cost almost nothing and deliver serious rustic charm. Break them down, sand the boards, and build a simple box frame with storage below. Cap it with a matching pallet-wood top or a smooth board for prep.
This is a rewarding weekend project for hands-on DIYers. Always use heat-treated pallets marked “HT” to avoid chemical-treated wood near food. Seal everything well, since raw pallet wood is rough and porous.
17. Use an Kitchen Base With Open Shelving
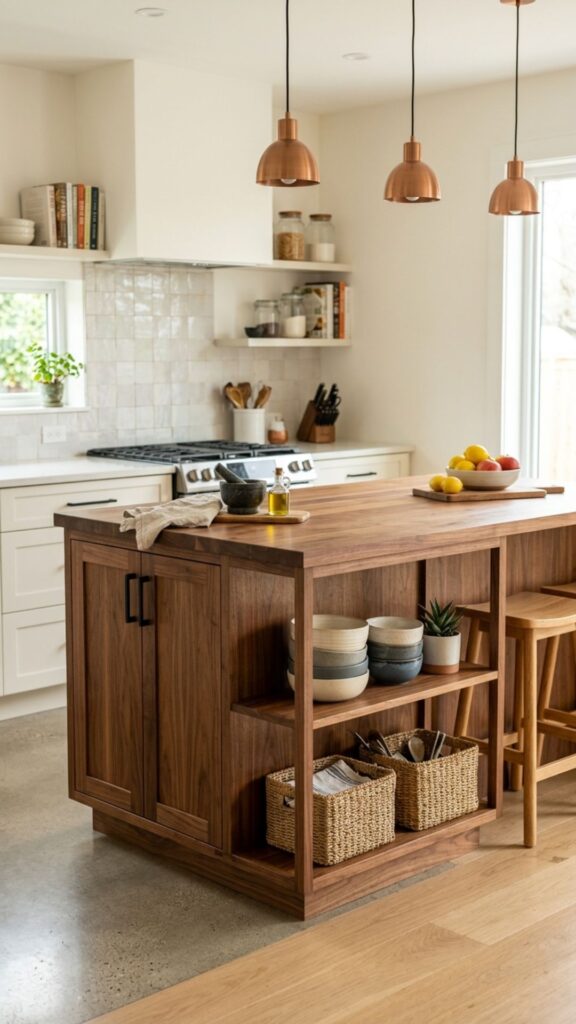
Combine a small base cabinet with open shelving on one side for the best of both worlds. Hidden storage handles clutter, while open shelves display your prettier pieces. The mix keeps a small kitchen from feeling boxed in.
Build the frame from plywood or repurpose a cabinet and add shelf brackets. Style the open shelves with a few curated items, not a jumble. This balance of hidden and visible storage is what makes small kitchens feel organized.
18. Repurpose a Bathroom Vanity
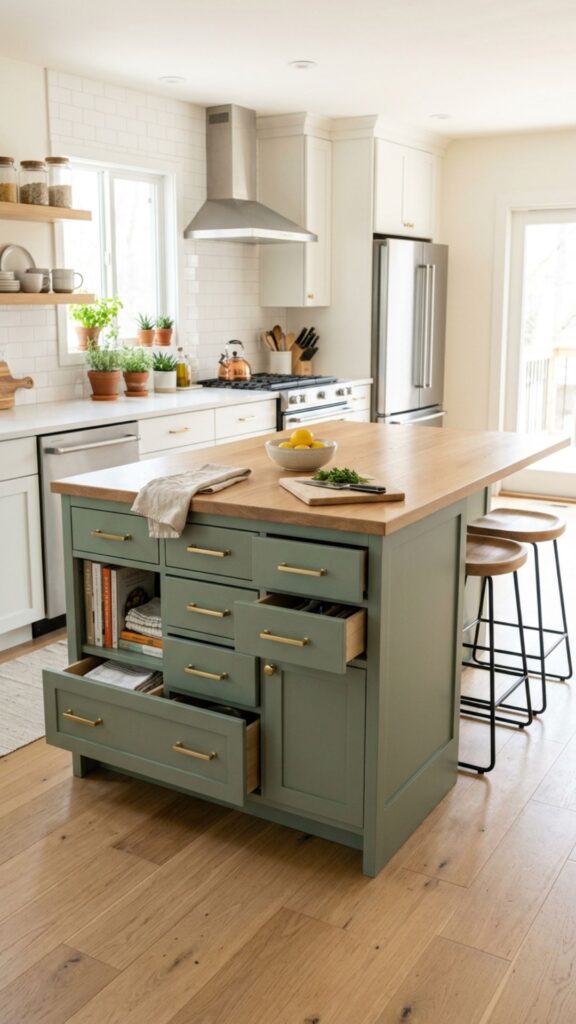
A bathroom vanity already has the ideal cabinet-and-counter structure for an island. The built-in storage and finished top save you serious construction time. Just remove any plumbing cutouts and patch the surface.
Vanities come in compact sizes that suit tight kitchens well. Refinish the doors and swap in kitchen-appropriate hardware for a seamless look. It’s an unexpected source that often costs less than buying an island kit.
19. Build a Ladder Shelf Island
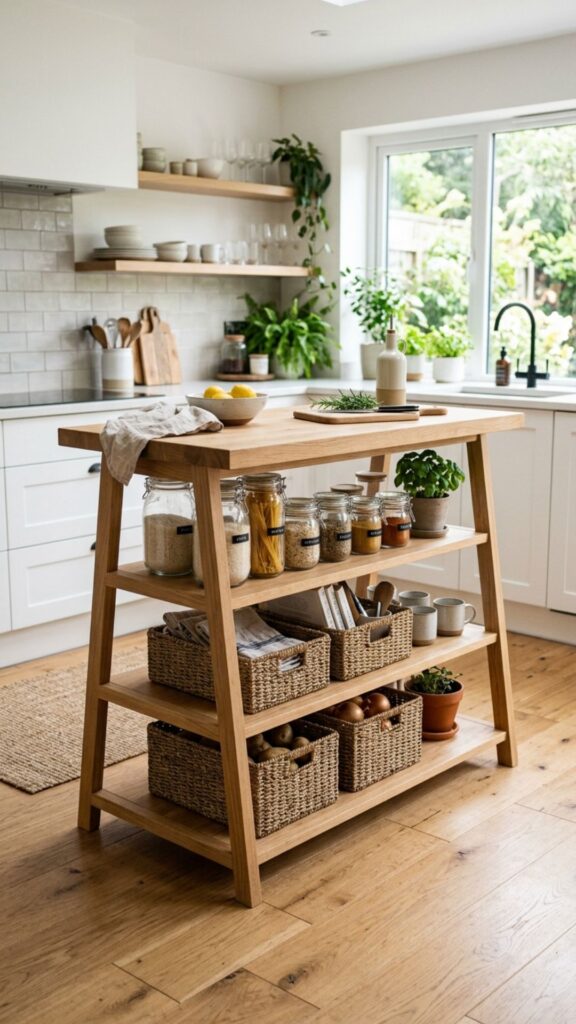
A leaning ladder shelf turned on its function makes a light, tiered island with graduated storage. The stepped design fits snugly against limited space while offering multiple levels for baskets and jars. Anchor a solid top across the widest section for prep.
The airy frame keeps sightlines open, which tricks the eye into seeing more room. This build suits a modern or Scandinavian aesthetic. Reinforce the joints, since ladder shelves aren’t built for heavy loads out of the box.
20. Make a Concrete-Top Cart
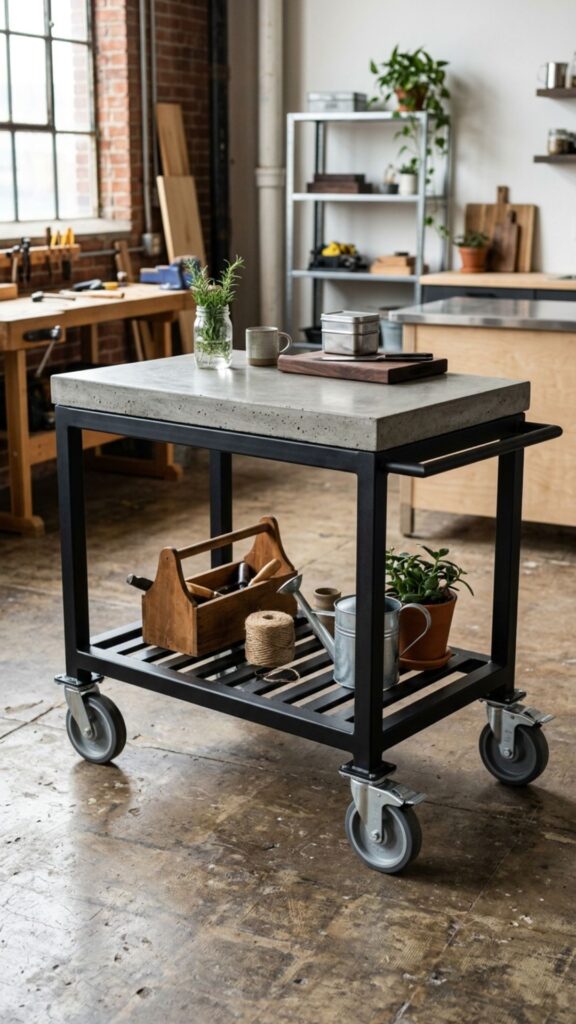
For an industrial edge, pour a slim concrete top onto a wood or metal base. Concrete resists heat and scratches, standing up to daily cooking abuse. Keep the slab thin and small so weight stays manageable.
This is the most advanced project here, but the results feel high-end. Seal the concrete to prevent staining and reapply yearly. Mount the base on locking casters so you can still move your island when floor space runs short.
Conclusion
A small kitchen doesn’t have to mean no island. From a thrifted dresser to a slim rolling cart, these DIY kitchen island ideas prove that smart design beats square footage every time. The best build is the one that fits your space, your budget, and the way you actually cook.
Ready to start? Here’s your next step:
- Measure your open floor space, leaving at least 36 inches of walkway on each side you’ll use.
- Pick one idea from this list that matches your skill level and budget.
- Gather materials this weekend and build your first island.
Start with a simple rolling cart if you’re new to DIY—it’s forgiving, flexible, and hard to get wrong.
How much clearance do I need around a kitchen island?
Leave at least 36 inches of walkway between the island and surrounding counters or walls. In busier kitchens, aim for 42 to 48 inches so two people can pass comfortably.
What is the cheapest way to build a DIY kitchen island?
Repurposing furniture you already own is the cheapest route. A dresser, console table, or bookcase paired with a simple wood top can cost under $75 total.
Can I put a small island in a tiny kitchen?
Yes. Slim, rolling, or fold-down islands work in kitchens as small as 100 square feet. Choose a narrow depth of 16 to 20 inches and add wheels so you can move it when needed.
What material makes the best DIY island countertop?
Butcher block is the most beginner-friendly—it’s affordable, easy to cut, and doubles as a prep surface. Laminate and sealed concrete are also durable, budget-conscious choices.
Do DIY kitchen islands need to be anchored to the floor?
Freestanding islands don’t require anchoring if they’re heavy enough to stay put. Lightweight builds should sit on rubber floor grips or locking casters to prevent sliding during use.