Straight lines have ruled kitchens for decades, but curves are quietly stealing the spotlight. A rounded island softens a room, improves traffic flow, and gives your kitchen that custom, high-end feel most people crave.
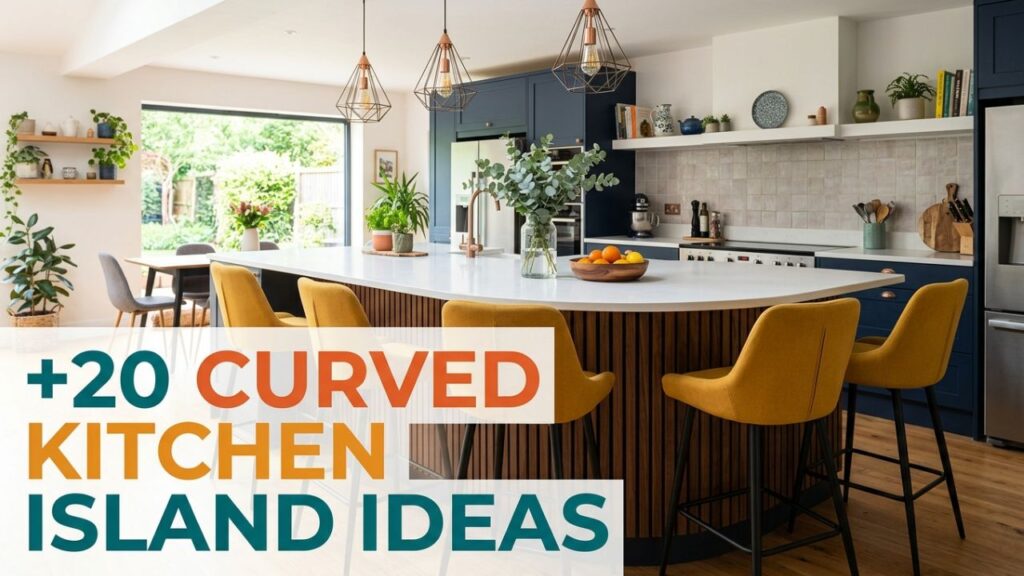
After years of helping homeowners rethink their layouts, I’ve watched curved islands turn awkward floor plans into the heart of the home.
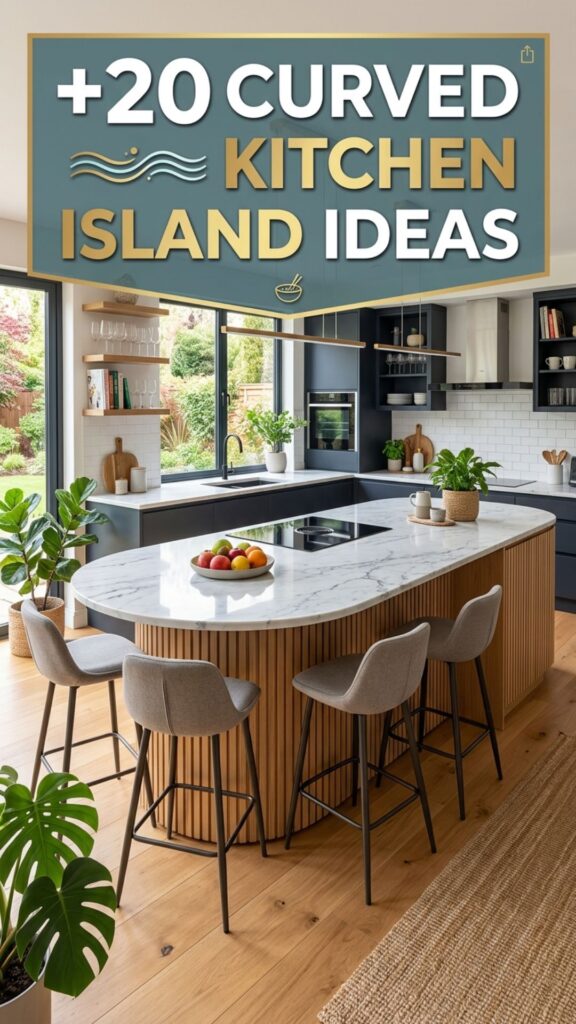
In this guide, you’ll find 20 curved kitchen island ideas covering shapes, materials, seating, lighting, and clever storage. Whether you’re planning a full renovation or just dreaming for now, these examples will help you picture what works in your space. Let’s dig in.
1. Start With a Simple Half-Moon Shape
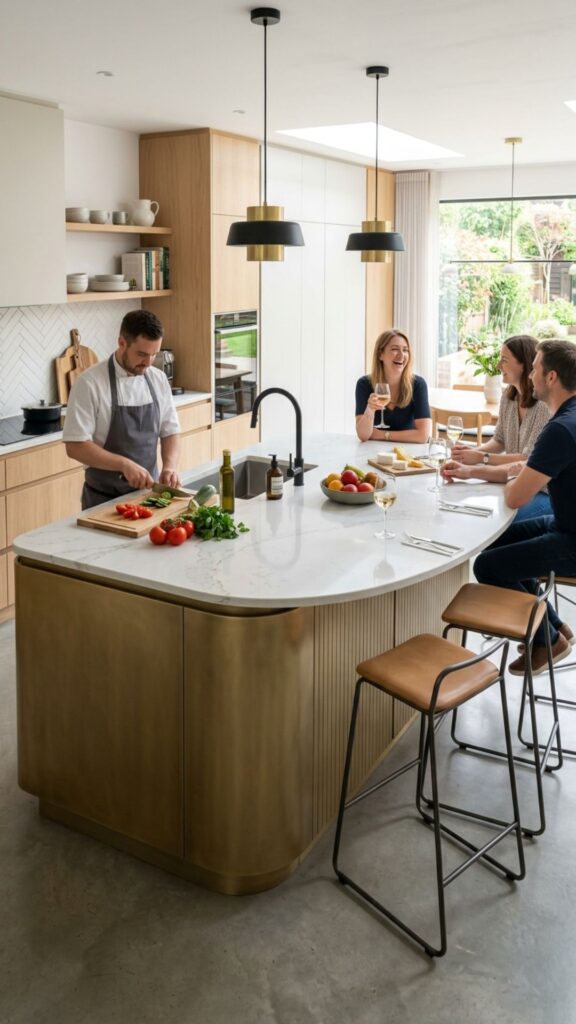
A half-moon island is the easiest way to introduce curves without overwhelming your kitchen. One flat side sits against your prep zone, while the rounded edge faces the living area. This shape keeps counter space generous where you need it most and softens the transition into open-plan rooms.
I usually recommend this design for busy families. The gentle curve means fewer sharp corners for kids to bump into, and it naturally guides people around the island instead of trapping them in tight walkways. Pair it with two or three stools on the rounded side for casual meals.
2. Go Bold With a Full Kidney-Bean Curve
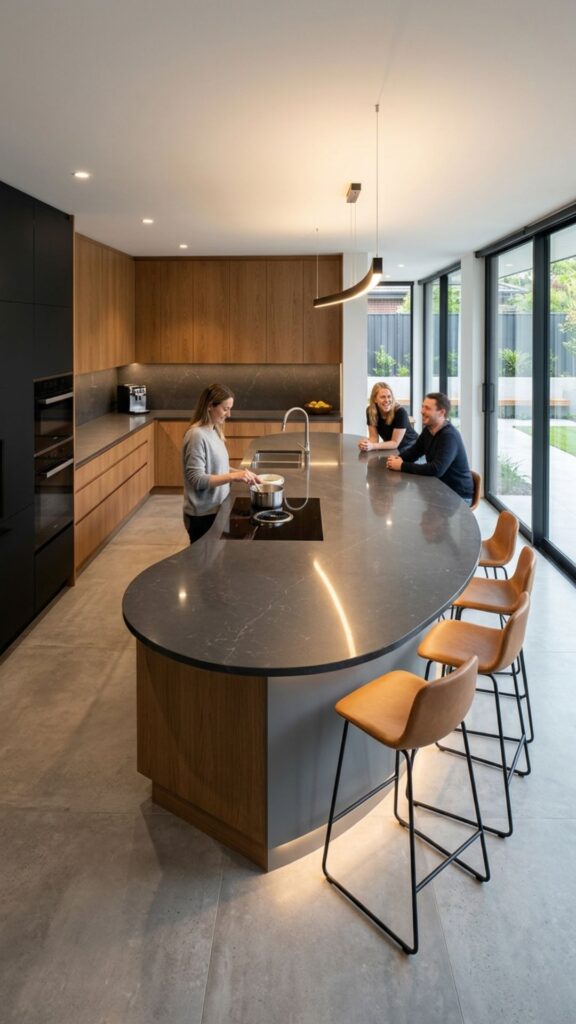
If you have the floor space, a kidney-bean island makes a striking centerpiece. Its dramatic S-curve creates two distinct zones: one for cooking and one for gathering. This works beautifully in larger kitchens where a straight island would look boxy and cold.
The trick is balance. Keep at least 42 inches of clearance on all sides so the shape reads as intentional rather than crowded. I’ve seen this design shine in homes with high ceilings, where the sweeping form echoes the openness above.
3. Curve One End for Casual Seating
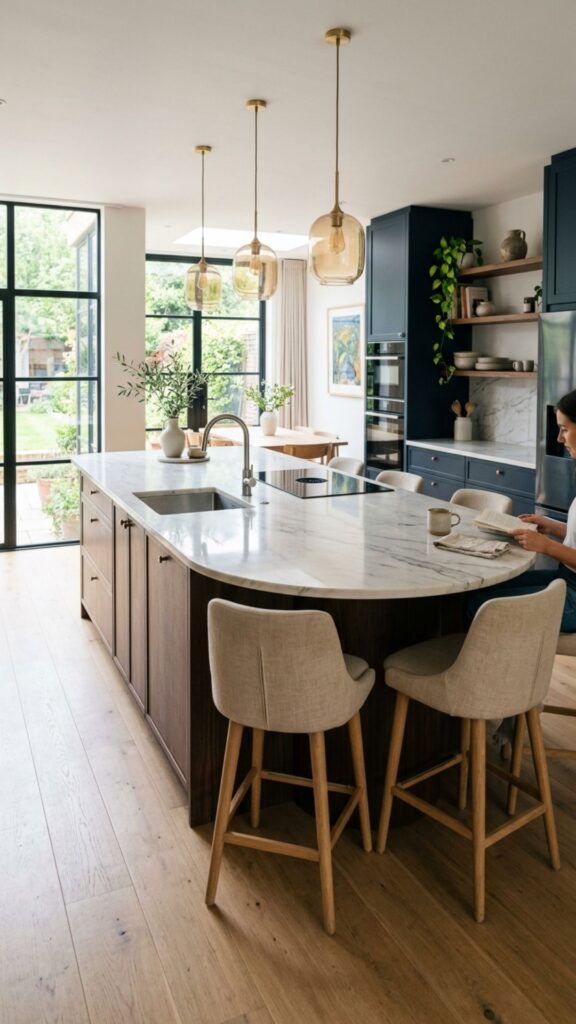
Not ready to commit to a fully rounded island? Round off just one end. This hybrid approach gives you a practical rectangular workspace while carving out a cozy nook for stools. It’s a smart middle ground for people who want subtle style without a total redesign.
This idea also helps with tight budgets. Curving a single end costs far less than a fully custom shape, yet it still delivers that softer, welcoming look. Add a slight overhang on the curved end so legs have room to tuck under.
4. Wrap Curved Cabinetry Around the Base
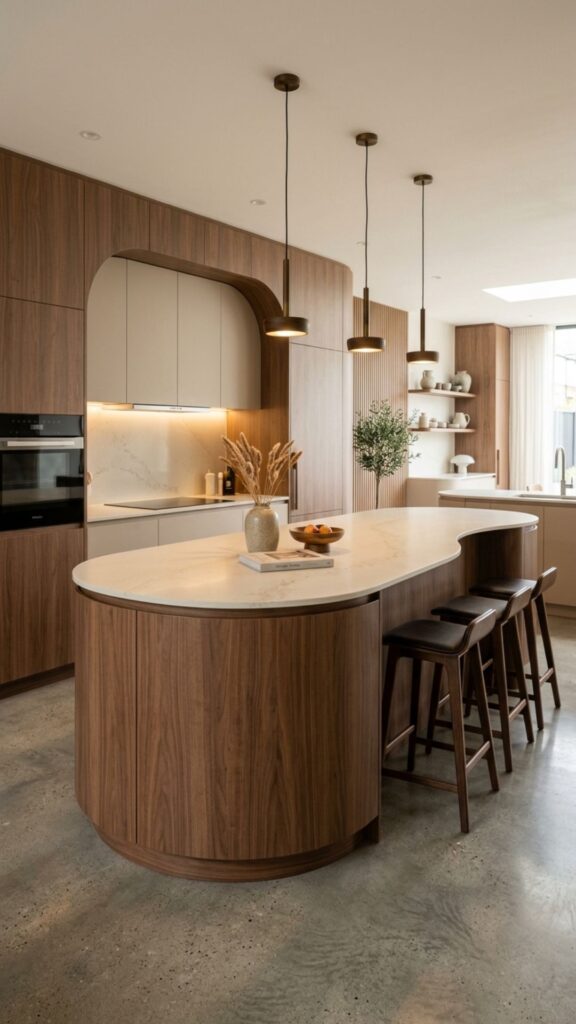
The countertop isn’t the only place to add curves. Rounded cabinet fronts that follow the island’s shape create a seamless, sculptural look. This detail feels custom and luxurious, and it’s a favorite in modern and contemporary kitchens.
Curved cabinetry does cost more to build, since it requires bent or specially cut panels. Still, the payoff is worth it if you want a showpiece. Choose a matte finish in a warm tone to highlight the flowing lines without competing with the rest of your kitchen.
5. Try a Round Island for Small Kitchens
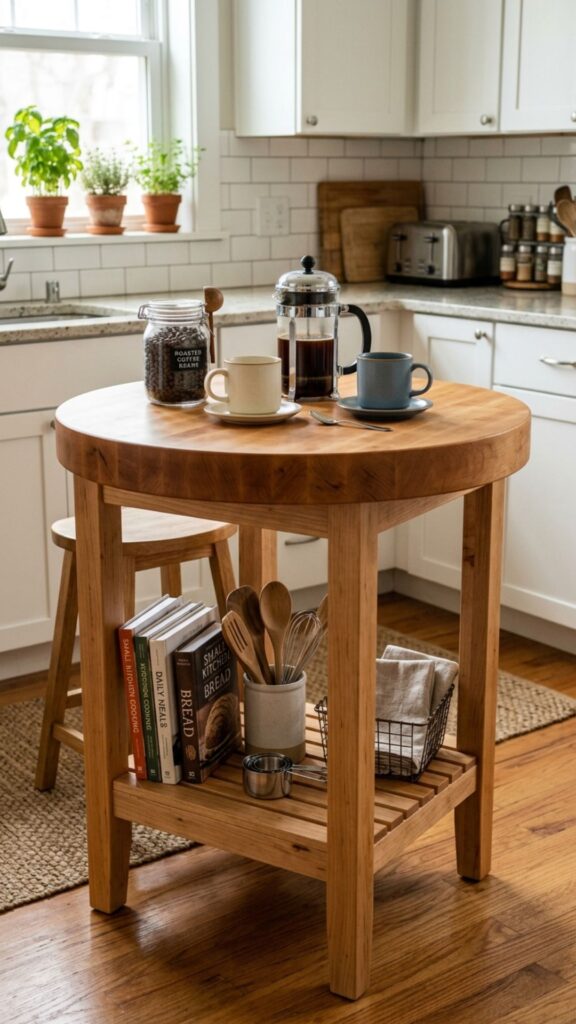
Contrary to what you might expect, a compact round island can work wonders in a small kitchen. Without corners to navigate, you can move around it freely, and it fits neatly into square rooms where a long island would feel bulky.
Keep it multi-functional. A round island with a butcher-block top doubles as a prep station and a spot for morning coffee. I often suggest adding a lower shelf underneath for cookbooks or baskets, since round shapes limit interior cabinet space.
6. Add a Waterfall Edge With a Curved Twist
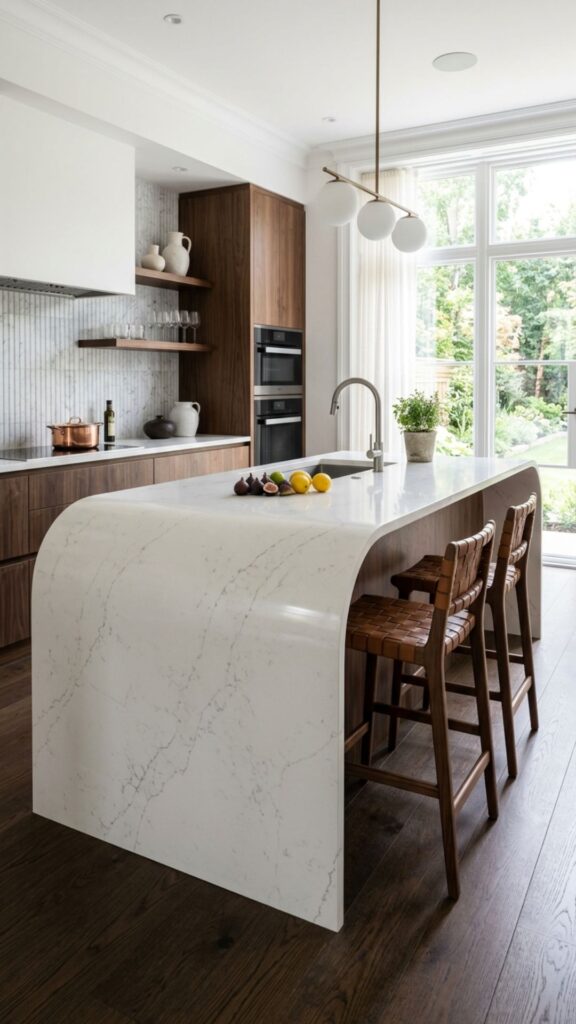
Waterfall edges, where the countertop flows down the sides, look stunning when paired with a curve. The stone appears to pour around the bend, creating a smooth, continuous surface that catches the eye instantly.
This look demands quality fabrication. Curved waterfall edges require skilled stone cutting, so hire an experienced installer. Quartz and porcelain handle the bending process better than natural stone, and they resist stains from daily cooking.
7. Mix Curved and Straight in an L-Shape
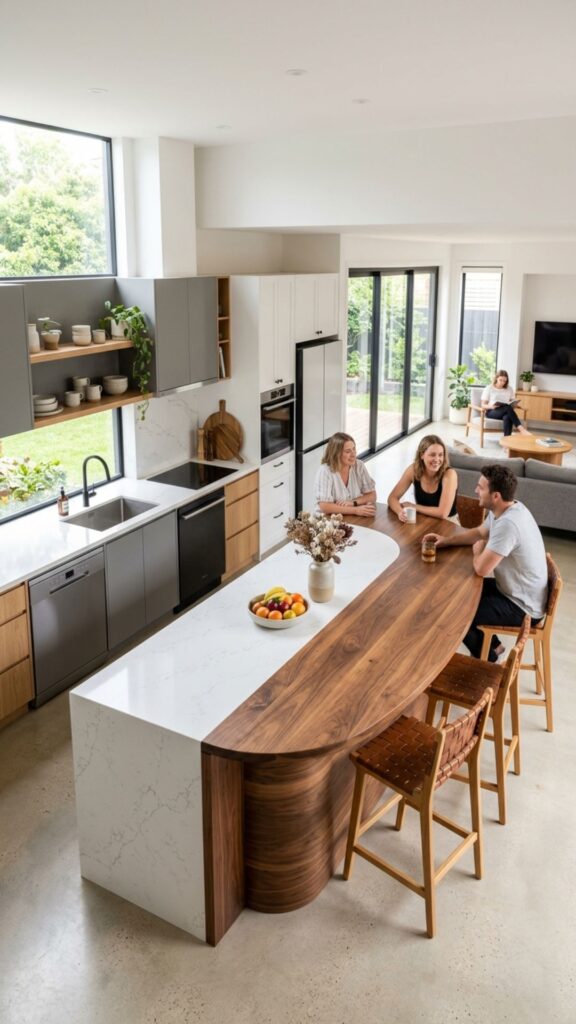
A curved L-shaped island offers the best of both worlds. One leg stays straight for appliances and prep, while the connecting curve opens toward your dining or living space. This layout defines zones without walls, perfect for open-concept homes.
Use the curve to guide movement. Place the sink or cooktop along the straight section and reserve the rounded portion for seating or serving. This keeps working and gathering areas separate, which cuts down on kitchen traffic jams.
8. Feature a Curved Breakfast Bar Extension
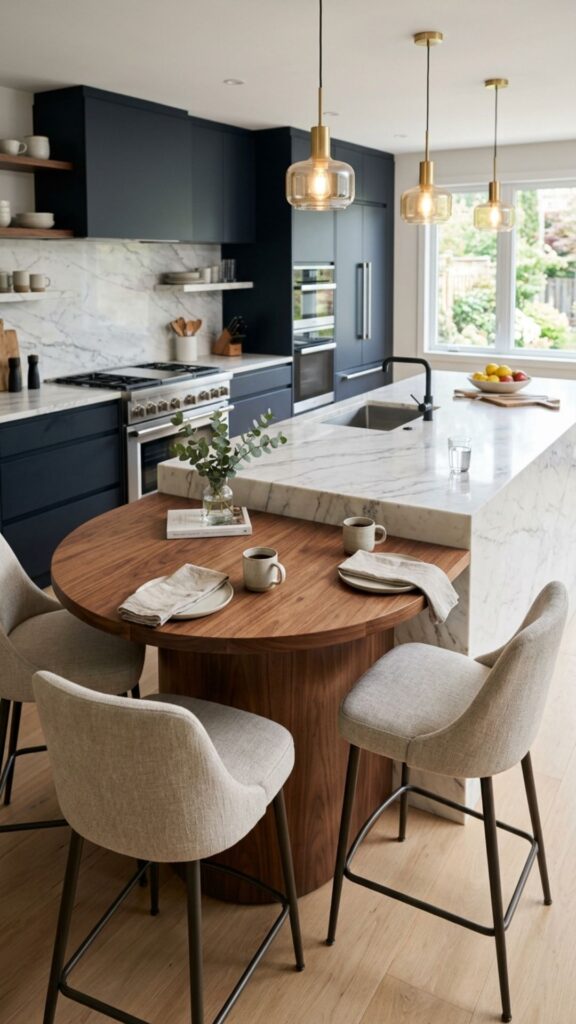
Extend your island with a lower, curved breakfast bar. Setting the bar a few inches below counter height creates a natural spot for eating while keeping your prep surface clean and separate. The curve invites people to pull up a chair and stay awhile.
This works especially well for entertaining. Guests can perch at the bar without crowding your cooking zone. Choose a contrasting material for the bar top, like warm wood against a cool stone counter, to make the extension feel like its own inviting space.
9. Choose Curved Islands With Rounded Corners Only
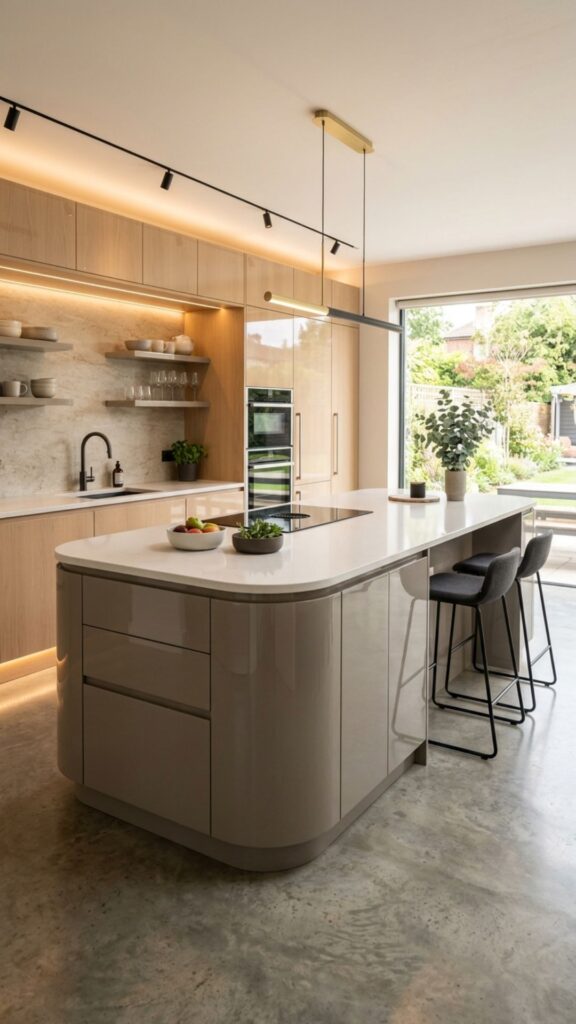
Sometimes the smallest change makes the biggest difference. Softening just the corners of a rectangular island gives you a gentler silhouette without a full custom build. These rounded corners look modern and feel safer in high-traffic homes.
Fabricators can round corners on most countertop materials with ease, so this is one of the more affordable curved kitchen island ideas. It’s a great starting point if you’re testing the waters before a larger commitment.
10. Install a Curved Island With Open Shelving
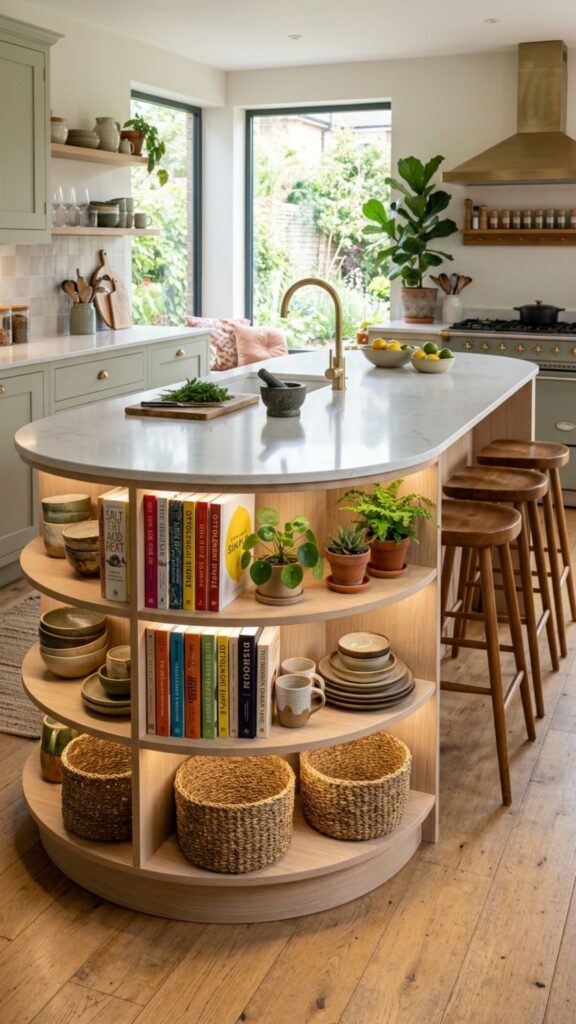
Open shelving along a curved island base shows off dishware, plants, or cookbooks while adding depth to the design. The flowing lines of the shelves emphasize the curve and keep the space feeling light and airy.
Style it thoughtfully. Group items in odd numbers and leave breathing room so shelves don’t look cluttered. This idea suits people who love a lived-in, personal kitchen rather than a sterile, showroom look.
11. Pair a Curve With a Statement Range Hood
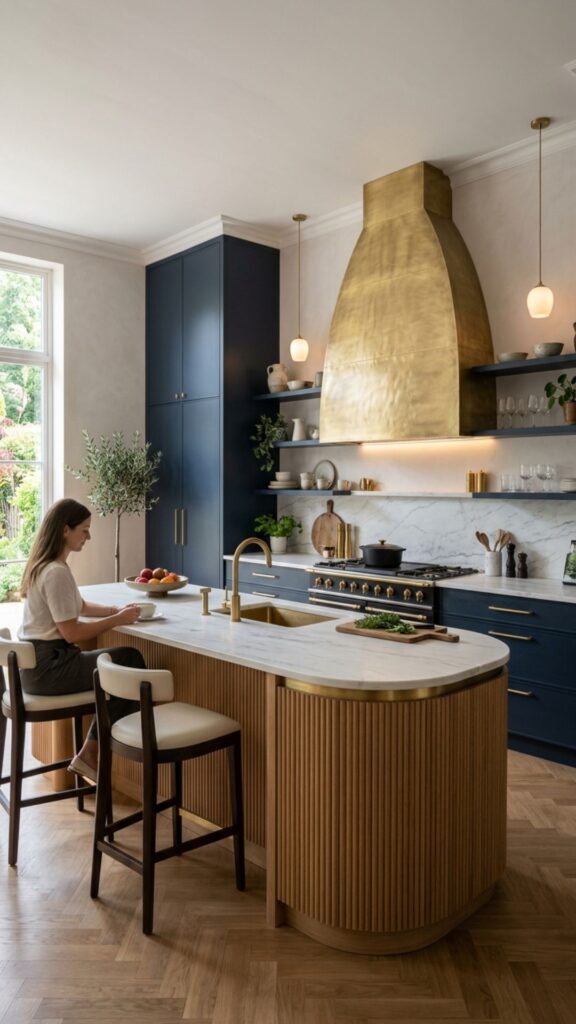
When your island curves, echo that softness overhead. A rounded or gently arched range hood mirrors the island’s shape and ties the whole design together. This creates visual harmony that makes the kitchen feel professionally designed.
Metal hoods in brushed brass or matte black work beautifully here. The reflective finish draws the eye upward while the curved form keeps the mood relaxed. It’s a subtle trick that elevates the entire room.
12. Use Curved Islands to Zone Open-Plan Spaces
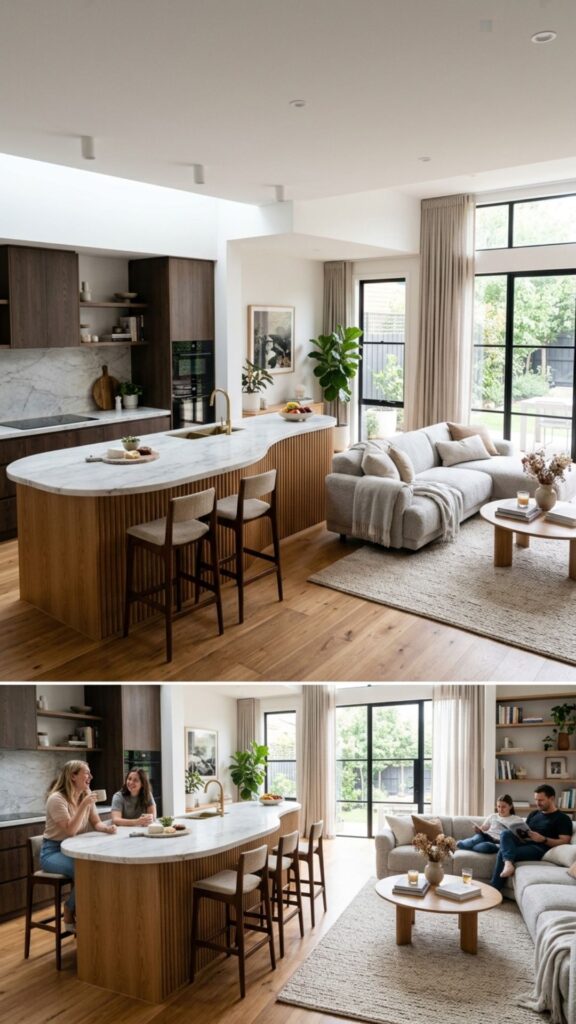
In open-plan homes, a curved island acts as a gentle divider between the kitchen and living areas. Unlike a straight island that creates a hard line, the curve invites flow and connection between spaces.
Position the curve facing your seating area so it feels welcoming from the living room side. This layout keeps the cook part of the conversation while still marking where one zone ends and another begins.
13. Try a Two-Tier Curved Island
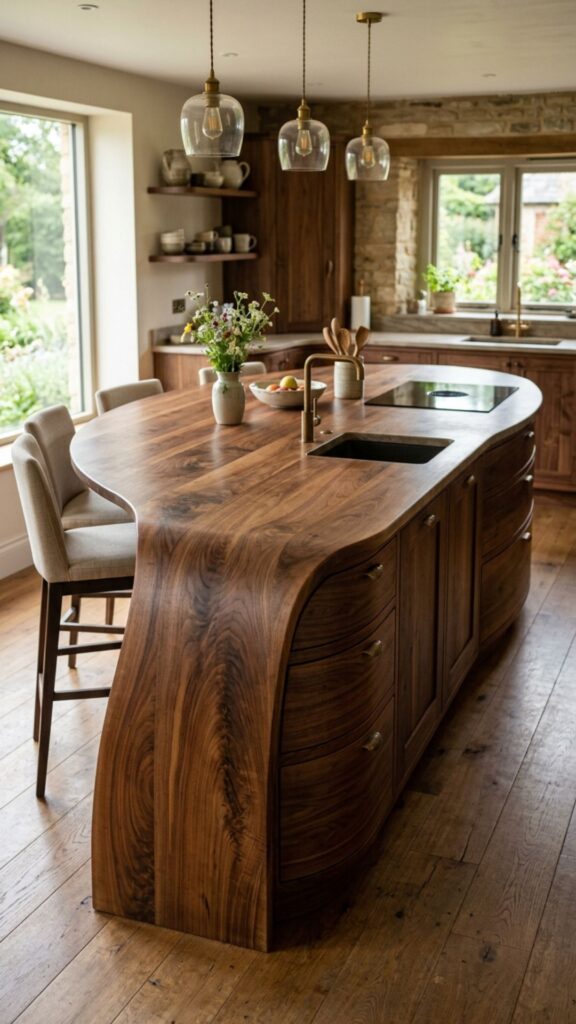
A two-tier design layers a raised bar over a lower prep surface, and the curve makes the two levels feel connected rather than clunky. The raised section hides messy prep areas from view, which is handy during dinner parties.
This approach also adds architectural interest. The stacked curves create shadow and dimension, giving your island real presence. Just make sure both tiers are wide enough to be useful, at least 12 inches for the bar.
14. Highlight Natural Wood in a Curved Design
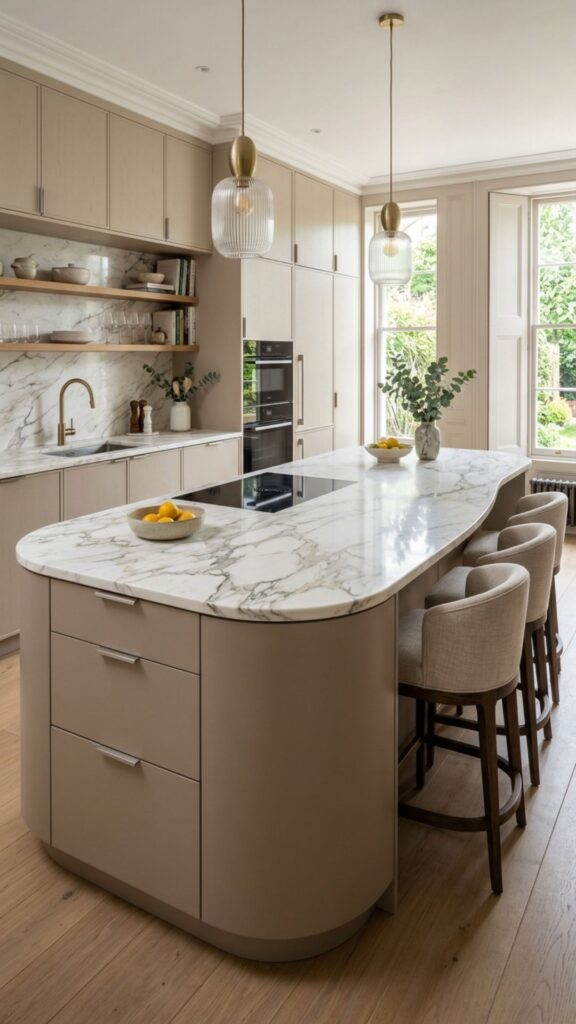
Wood and curves are a natural match. A curved island wrapped in warm oak or walnut brings organic softness that pairs well with both modern and rustic kitchens. The grain follows the curve, adding movement and warmth.
Seal the wood well, especially near sinks and stovetops. A durable, food-safe finish protects against moisture and daily wear. This choice suits anyone who wants their kitchen to feel cozy rather than cold.
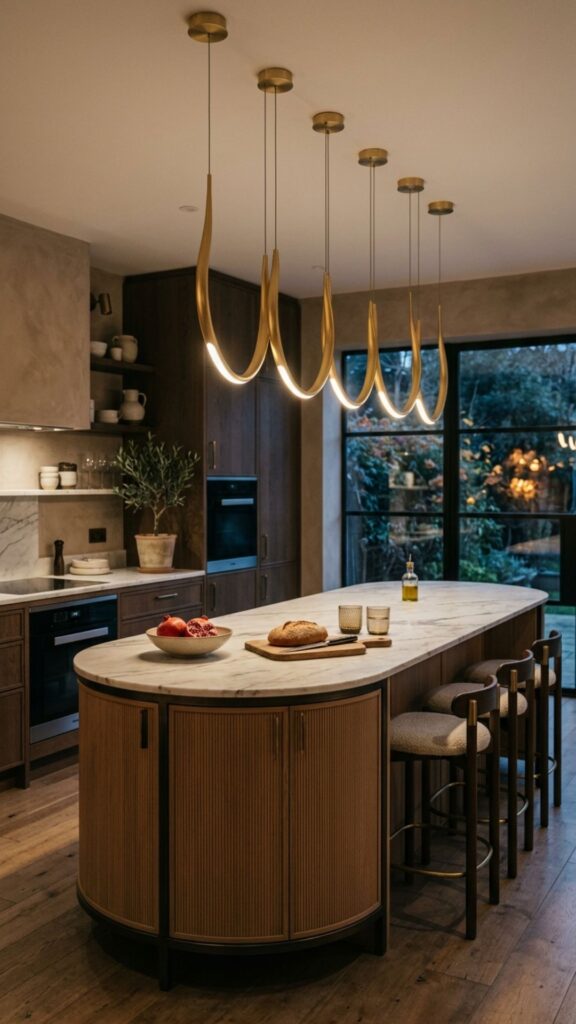
15. Combine a Curve With a Marble Countertop
Marble on a curved island reads as pure luxury. The stone’s natural veining flows with the shape, creating a fluid, elegant surface. This pairing suits classic and transitional kitchens beautifully.
Keep in mind that natural marble stains and scratches over time. If you love the look but worry about upkeep, choose a marble-look quartz instead. You’ll get the same soft veining with far less maintenance.
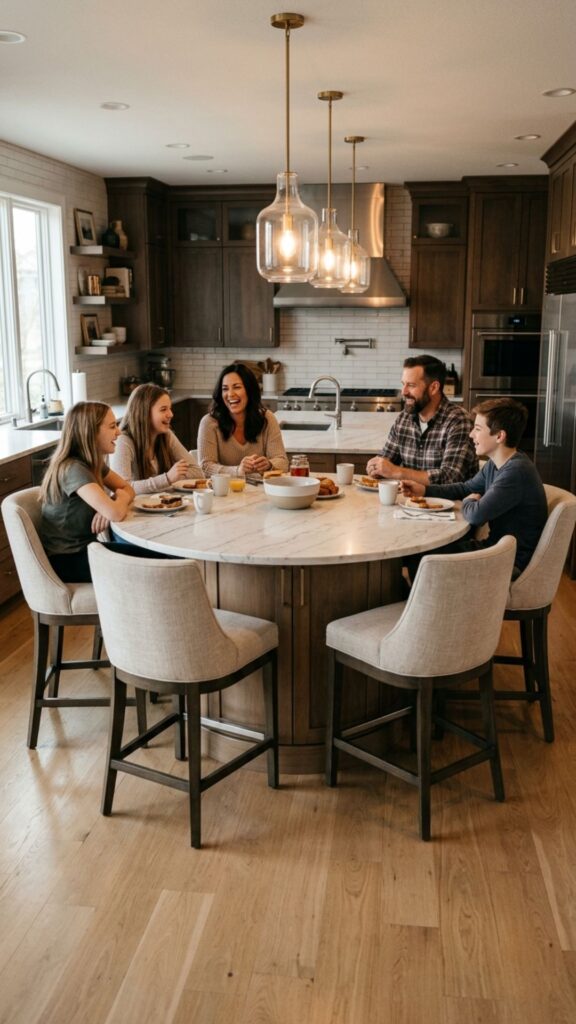
16. Add Curved Island Seating for the Whole Family
Design your curve specifically around seating capacity. A generous rounded end can fit four or five stools comfortably, turning your island into the family’s daily gathering spot. The curve lets people face each other, which encourages conversation.
Measure carefully before you build. Allow about 24 inches of width per person and a 12-inch overhang for legroom. This planning ensures everyone has space to sit and eat without bumping elbows.
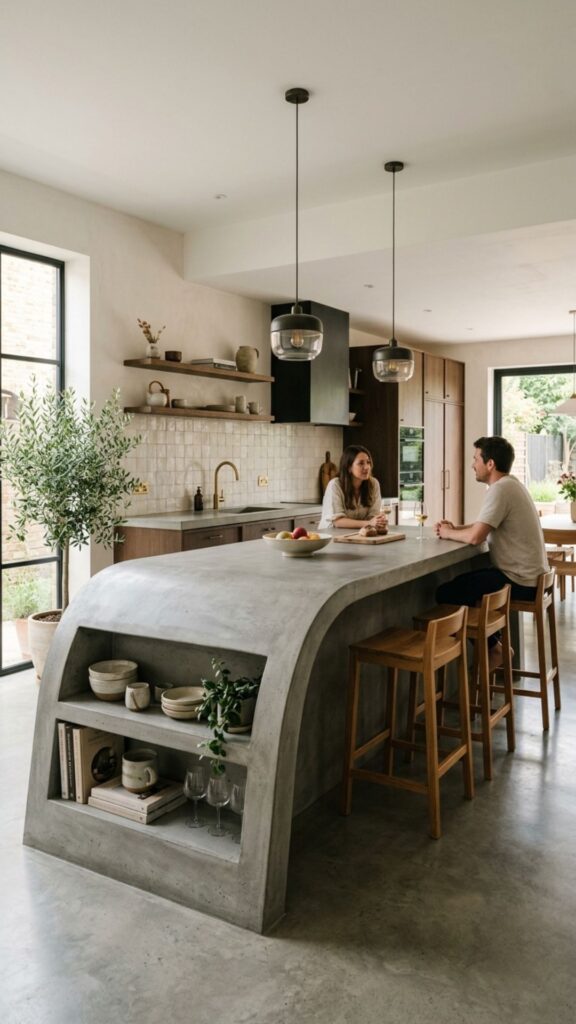
17. Go Sleek With a Curved Concrete Island
Concrete gives curved islands a modern, industrial edge. Poured concrete can be molded into flowing shapes that other materials can’t easily match, making it ideal for bold, contemporary kitchens.
Concrete does need sealing to prevent staining, and it develops a natural patina over time. Many homeowners actually love this aging character. Pair it with warm wood stools to soften the industrial vibe.
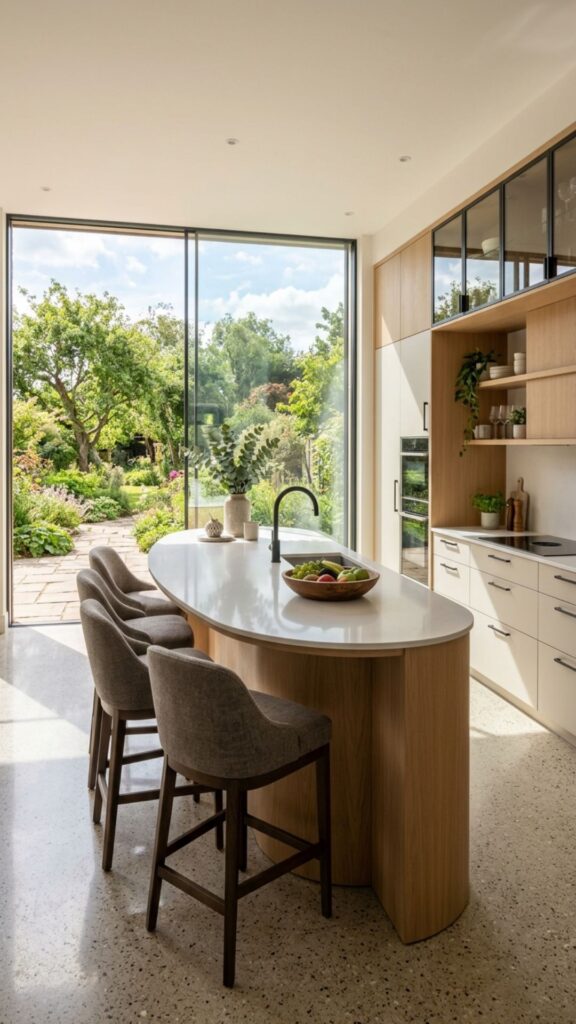
18. Curve the Island Toward a Window View
If your kitchen has a great view, angle the curve to embrace it. Positioning seating along the rounded edge facing a window turns everyday meals into a scenic experience. This thoughtful placement makes the most of natural light too.
Natural light also enhances curved shapes, casting soft shadows that highlight the flowing form. It’s a design detail that costs nothing extra but delivers a big impact on how the space feels.
19. Install Curved Pendant Lighting Above
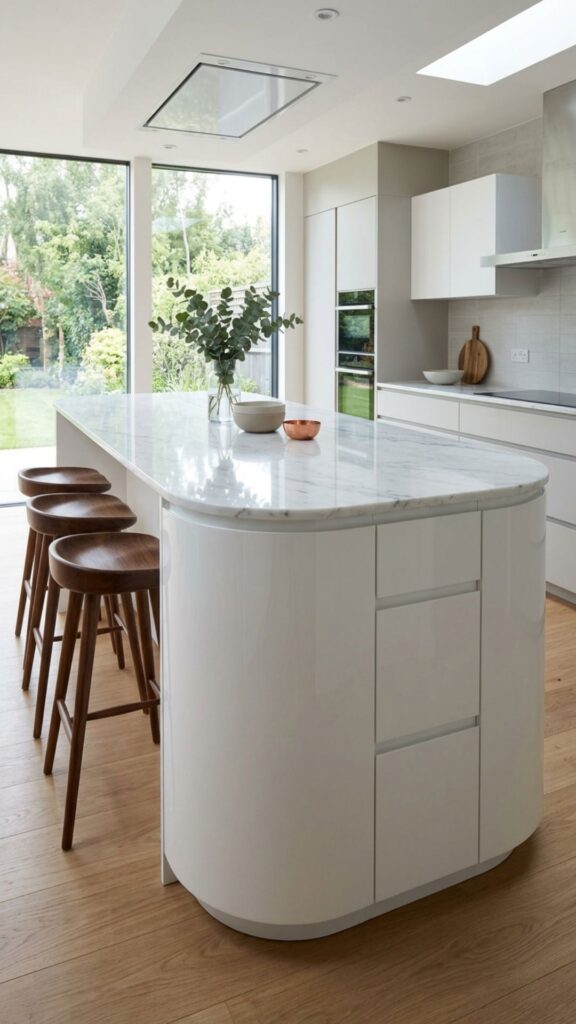
Lighting should follow your island’s lead. Instead of lining up pendants in a straight row, arrange them to trace the curve. This subtle detail reinforces the shape and creates a balanced, intentional look.
Choose fixtures that suit the scale of your island. Larger islands can handle three or more pendants, while a compact round island might need just one statement fixture. Warm-toned bulbs keep the space inviting after dark.
20. Build a Curved Island With Hidden Storage
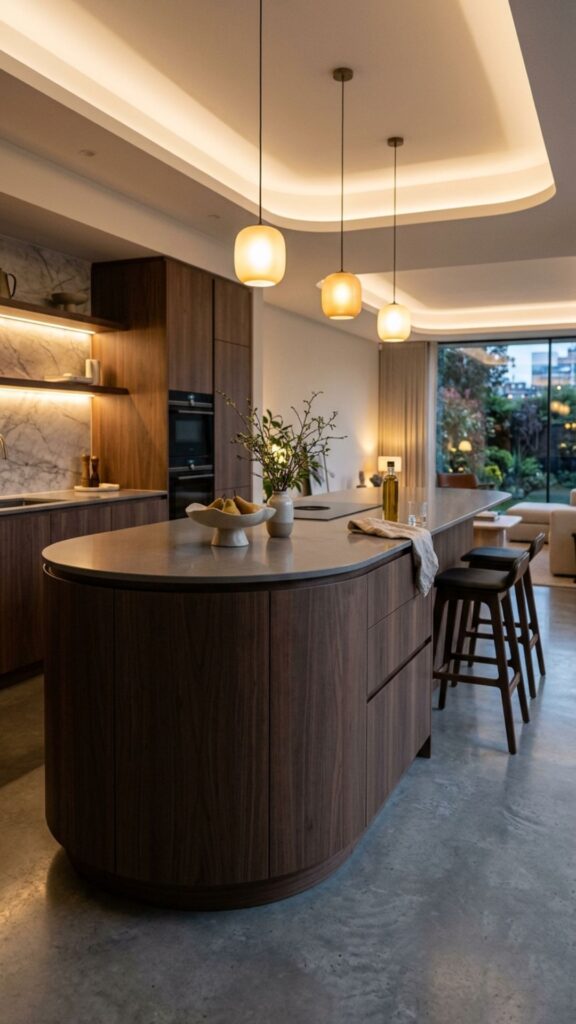
Curves and storage can absolutely coexist. Custom drawers and cabinets built to follow the island’s shape maximize every inch of interior space. Deep drawers work better than shelves in curved bases, since they pull straight out.
Think about what you’ll store where. Reserve one section for pots and pans, another for utensils, and a third for small appliances. Smart storage keeps your beautiful curved island functional day after day.
Conclusion
Curved kitchen islands blend beauty and practicality in a way straight designs simply can’t match. From simple rounded corners to bold kidney-bean shapes, there’s a curved option for every kitchen size, style, and budget. The right choice depends on your space, how you cook, and how you love to gather.
Ready to bring these curved kitchen island ideas to life? Start by measuring your kitchen and noting your daily habits, then take your favorite ideas to a trusted designer or contractor. Your dream island is closer than you think, so take that first step today.
Are curved kitchen islands more expensive than straight ones?
Yes, curved islands usually cost more because they require custom fabrication and skilled installation. Simple rounded corners add little to the price, while fully curved cabinetry and waterfall edges cost significantly more than standard straight designs.
What is the best material for a curved kitchen island countertop?
Quartz and porcelain are the best choices for curved countertops because they bend and shape more easily than natural stone. They also resist stains and scratches, making them ideal for busy kitchens.
How much space do I need for a curved island?
Allow at least 42 to 48 inches of clearance on all sides of your island for comfortable movement. Curved islands often need a bit more floor space than straight ones to let the shape read clearly.
Do curved islands work in small kitchens?
Yes, a compact round or half-moon island can work well in small kitchens. The lack of sharp corners improves traffic flow and makes the space feel more open and easy to navigate.
How many people can sit at a curved kitchen island?
A generously curved island can seat four to five people comfortably. Plan for about 24 inches of width per person and a 12-inch overhang so everyone has enough room for their legs.