Blank walls drain the life out of a room. But fancy art and store-bought frames cost more than most of us want to spend. Here’s the good news: that pile of shipping boxes in your closet is all you need.
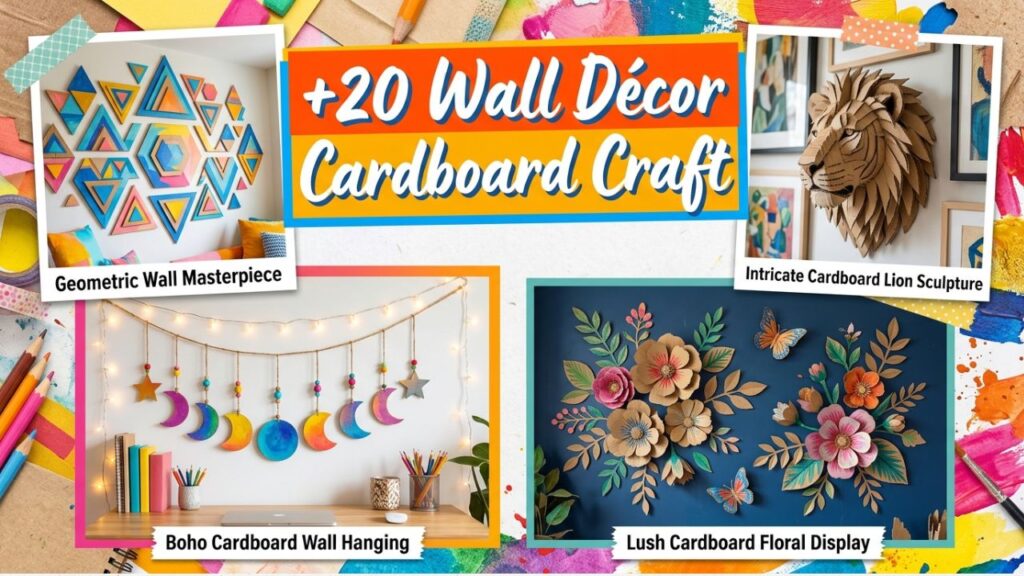
Cardboard is one of the most underrated craft materials around. It’s free, easy to cut, and surprisingly sturdy once you know how to work with it. I’ve spent years turning ordinary boxes into pieces friends swear came from a boutique. The secret isn’t talent. It’s a few simple techniques and a little creativity.
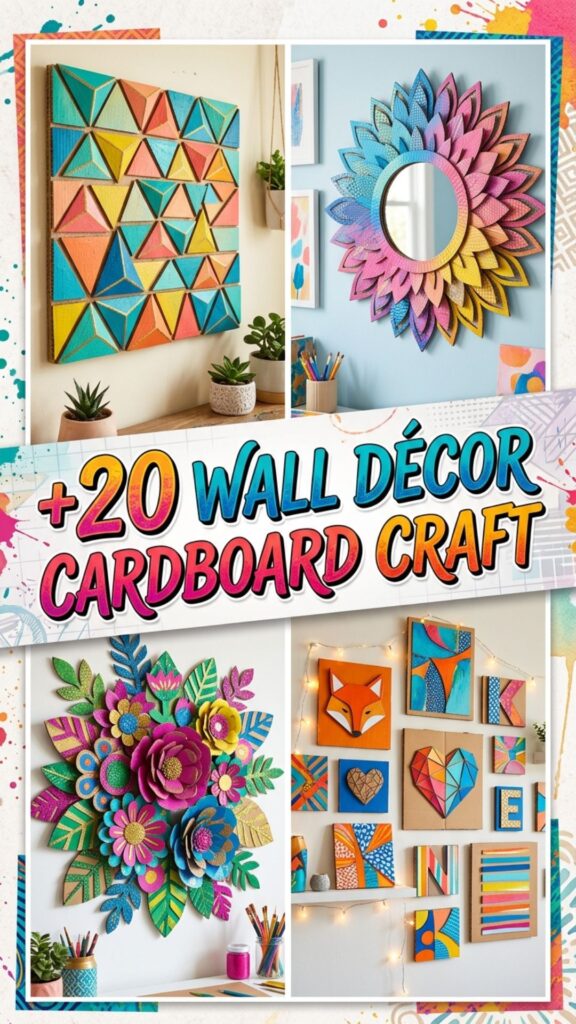
In this guide, you’ll get 20 wall décor cardboard ideas you can build at home. Each one comes with practical steps, real examples, and tips to make your finished piece look polished instead of homemade. Whether you rent, own, or just love a good weekend project, you’ll find something here to fill those empty walls. Let’s get started.
1. Layered Geometric Wall Panels
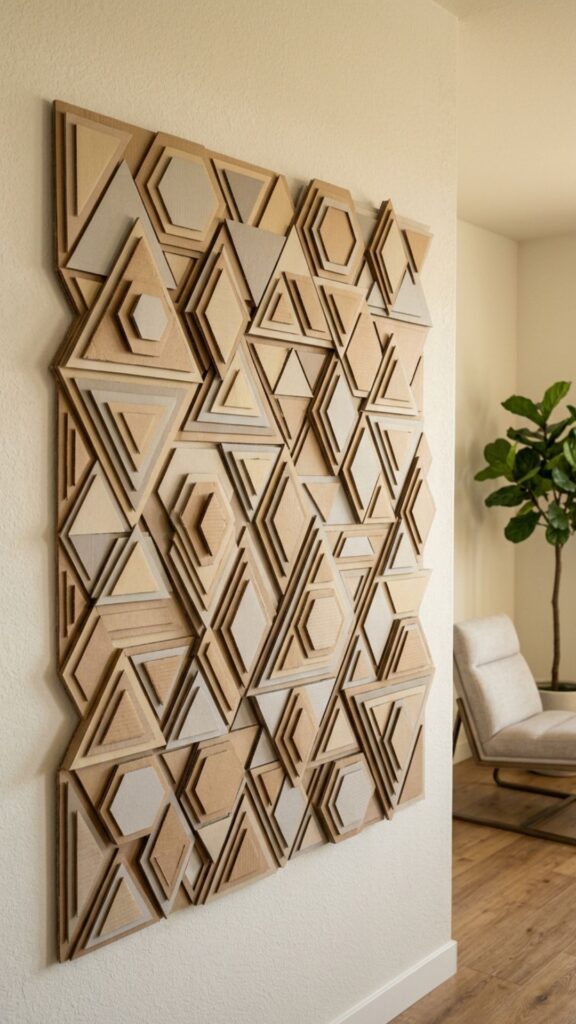
Build instant texture with stacked geometric shapes. Cut triangles, hexagons, or diamonds from cardboard, then glue them in overlapping layers on a backing board. The depth catches light and shadow, giving flat walls a modern, sculptural feel.
Paint your shapes in two or three tones from the same color family for a designer look. Soft neutrals work beautifully in living rooms, while bold contrasts suit a home office. This project takes about an hour and turns a single box into a centerpiece.
2. Faux Mounted Animal Heads
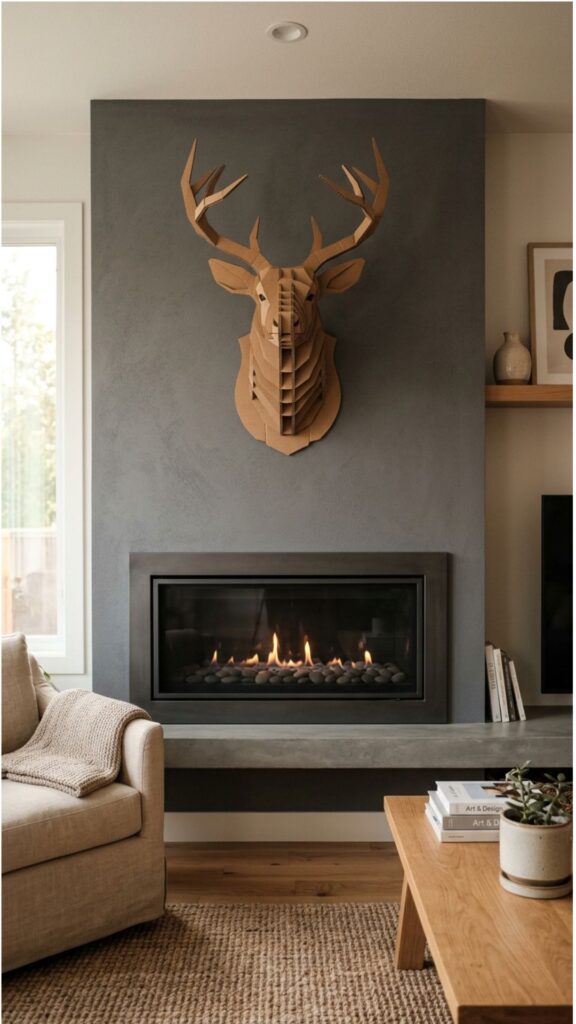
Make a statement without harming a thing. Trace and cut a deer, fox, or buffalo silhouette from thick cardboard, then assemble the layers using slot-and-tab joints. The result is a 3D trophy head that looks striking above a fireplace or bed.
Leave the cardboard raw for an industrial vibe, or paint it white for a clean, gallery feel. Kids love helping with this one, and guests always ask where you bought it. That’s your cue to smile and say you made it.
3. Boho Woven Wall Hangings
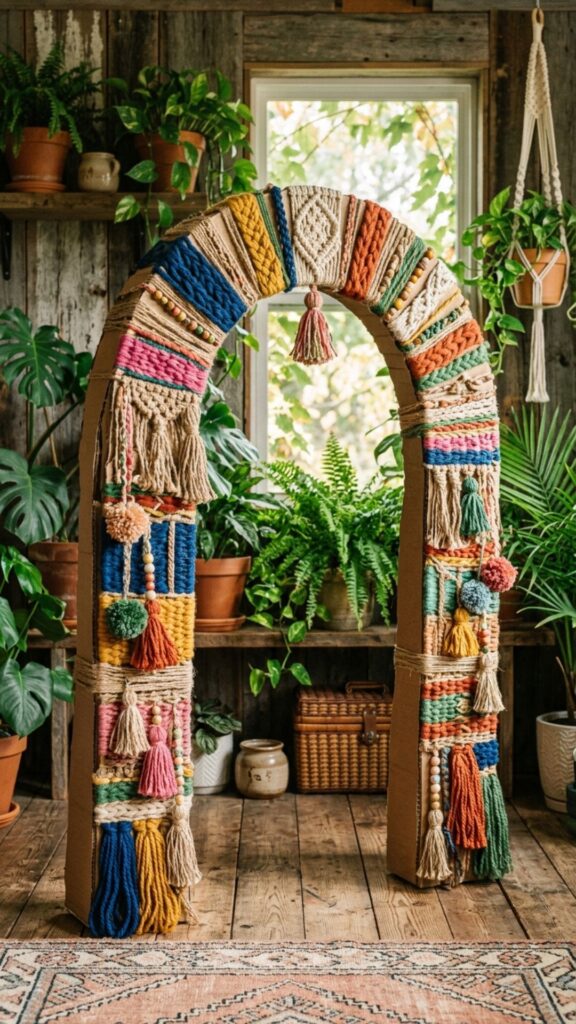
Bring warm, textured charm to any corner. Cut a large circle or arch from cardboard, then weave yarn, twine, or fabric strips through small notches along the edges. The cardboard base keeps the weave tight and even, which is the hardest part of traditional weaving.
Mix chunky wool with thin cotton for contrast, and add tassels at the bottom for movement. This piece pairs perfectly with plants and natural wood. It’s proof that wall décor cardboard projects can look anything but cheap.
4. 3D Floating Letters and Words
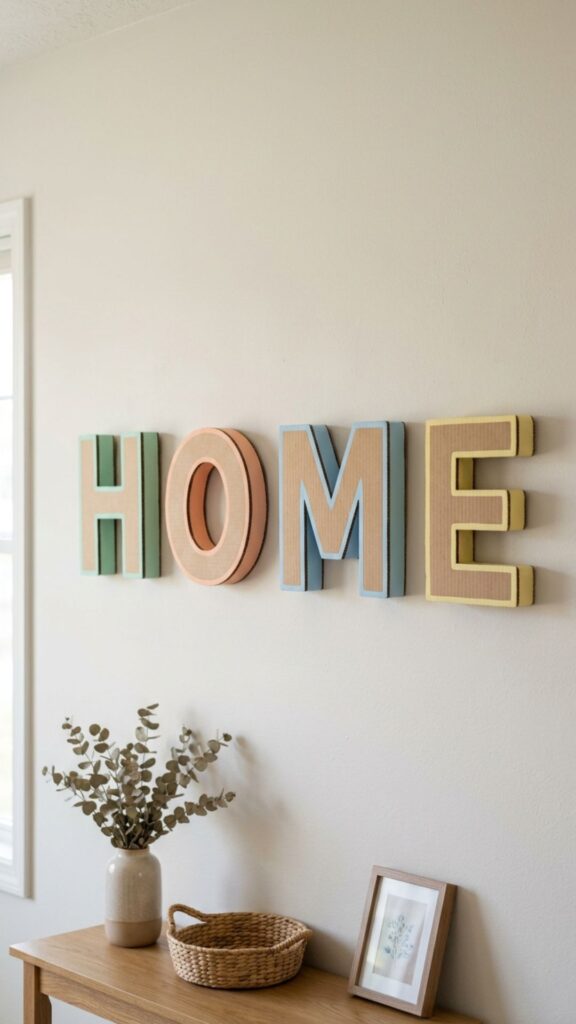
Spell out a name, a quote, or a single powerful word. Cut block letters from cardboard, layer two or three pieces per letter for thickness, then wrap them in paint, paper, or fabric. The added depth makes them pop off the wall.
Use these above a nursery crib, in an entryway, or behind a desk. A short word like “GROW” or “HOME” reads cleanly from across the room. Mount them with removable adhesive strips so you can rearrange them anytime.
5. Mirror Frame Upgrades
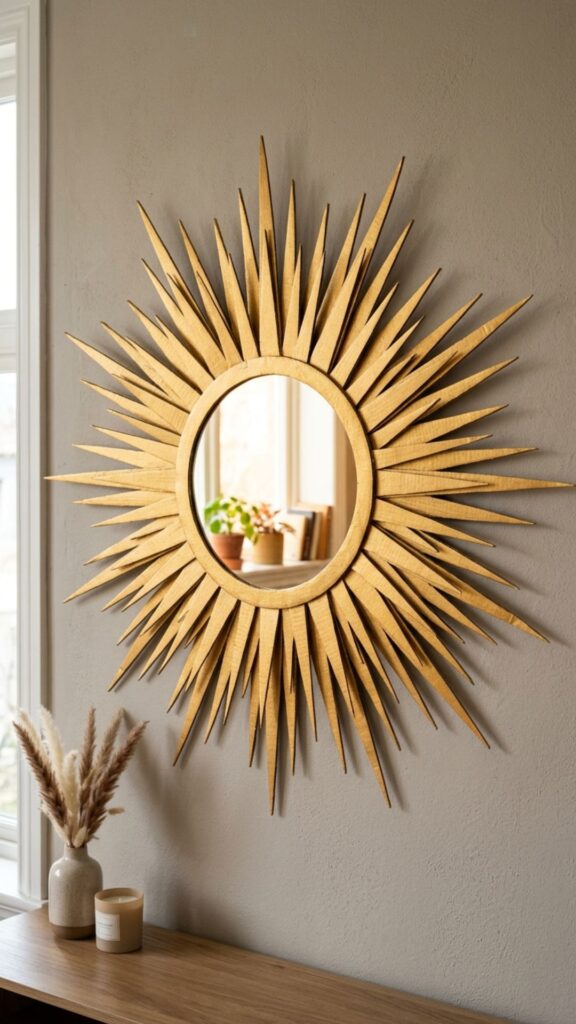
Turn a plain mirror into a focal point. Cut a decorative frame from cardboard, cut a few inches wider than your mirror, then attach it to the back edge. Carved scallops, sunbursts, and ornate borders are easy to shape with a craft knife.
Finish with metallic spray paint to mimic gold or brass. A simple round mirror suddenly looks like a high-end home goods find. This trick costs a few dollars and takes less than 30 minutes.
6. Honeycomb Hexagon Shelves
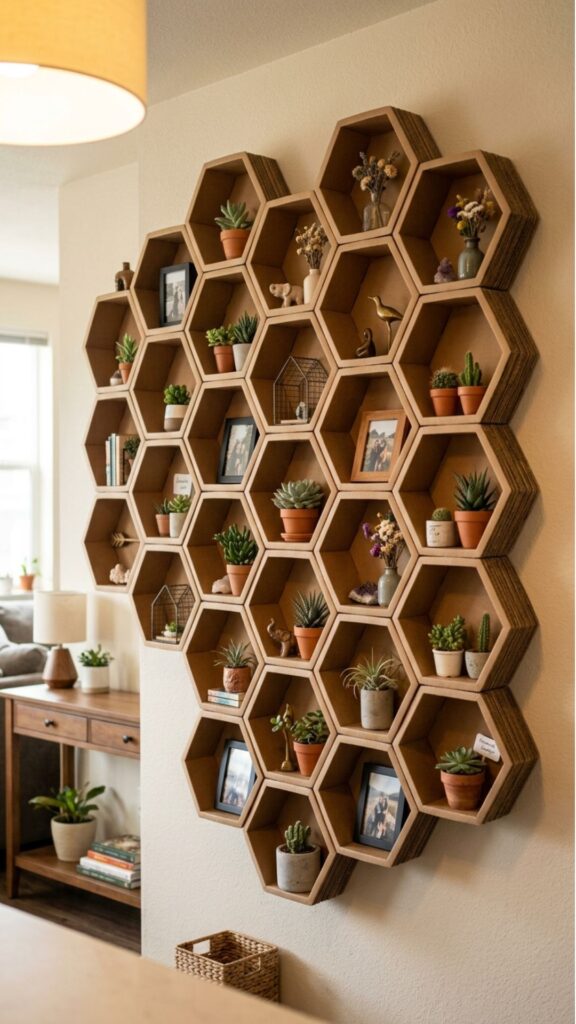
Get function and style in one build. Cut six identical strips of cardboard, fold and glue them into hexagons, then group several together in a cluster on the wall. Reinforce the joints with hot glue for added strength.
These hold lightweight items like small plants, books, or photos. Paint them to match your room or leave them natural for a Scandinavian look. Arrange them in a staggered honeycomb pattern for maximum visual impact.
7. Textured Sunburst Mirror Art
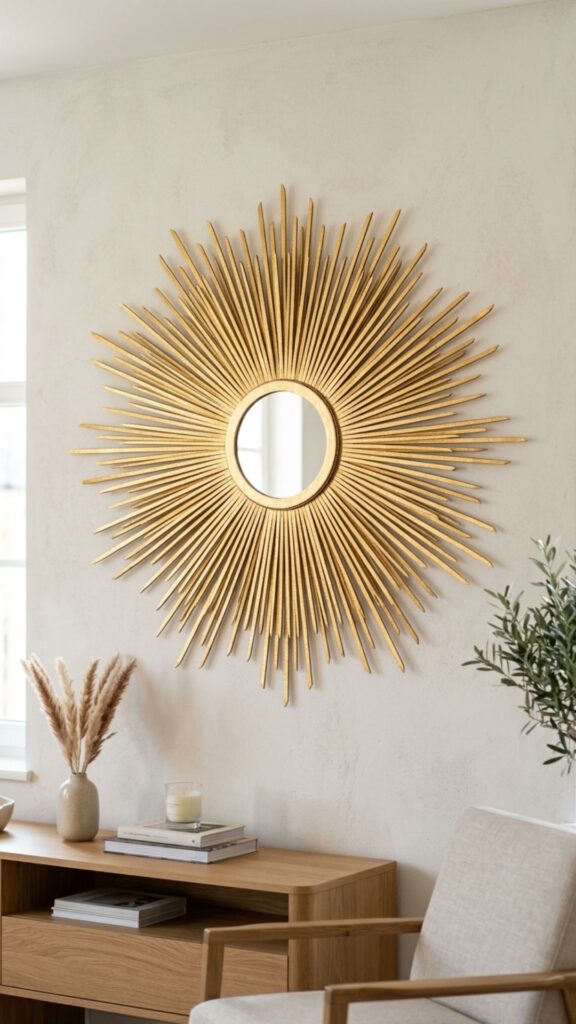
Channel mid-century style with radiating rays. Cut long, thin cardboard spikes of varying lengths, then arrange them in a circle around a small mirror or printed center. Glue everything to a round backing board for stability.
Spray the whole piece in a single metallic color so it reads as one cohesive sculpture. The sunburst design feels retro and fresh at the same time. Hang it in a hallway or above a console table for a dramatic welcome.
8. Quilled Paper-and-Cardboard Mandala
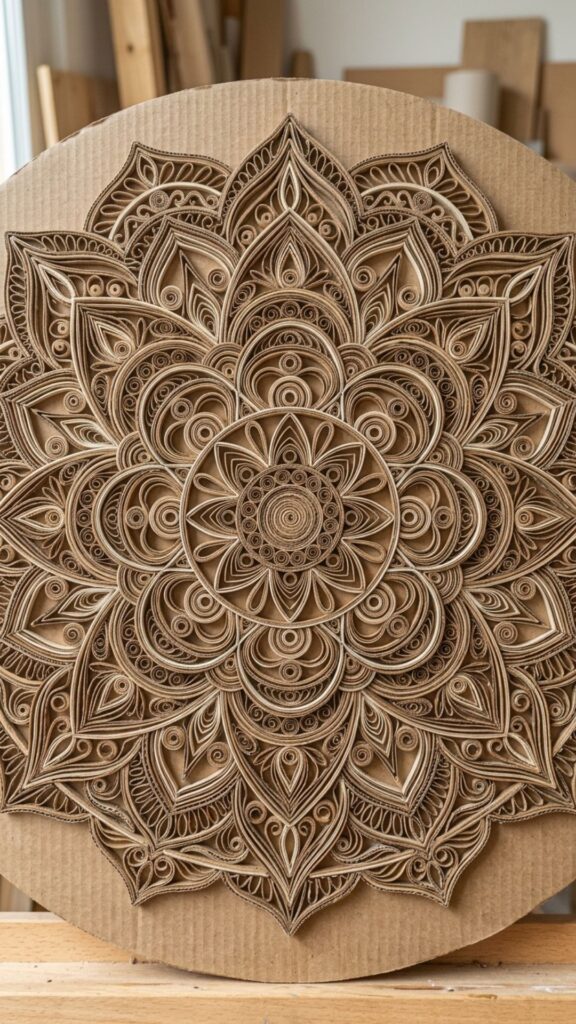
Create intricate art with rolled strips. Cut thin strips of cardboard, roll and pinch them into coils, teardrops, and spirals, then arrange them into a symmetrical mandala on a flat base. The raised pattern adds rich texture.
Work from the center outward to keep your design balanced. Paint it in jewel tones or keep it monochrome for a calming effect. This meditative project rewards patience with a one-of-a-kind statement piece.
9. Faux Tile Accent Panels
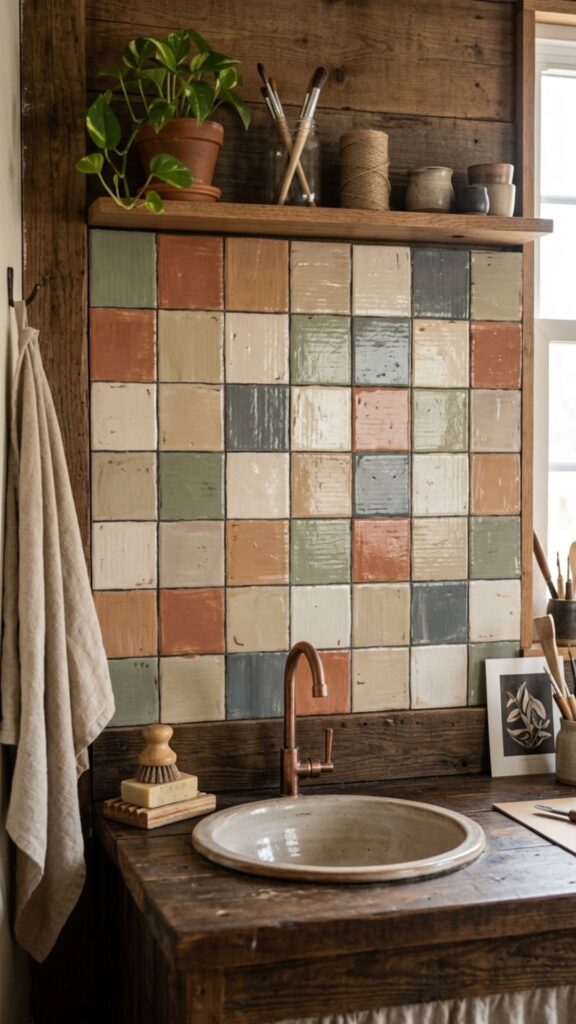
Fake a tiled wall without the commitment. Cut uniform squares of cardboard, score subtle grout lines between them, then paint them to mimic ceramic, marble, or terracotta. Mount the finished panel behind a desk or sink area.
This works wonders in rented spaces where you can’t touch the real walls. The illusion holds up well from a few feet away. Seal it with a clear matte spray to protect against humidity and scuffs.
10. Layered Mountain Range Silhouettes
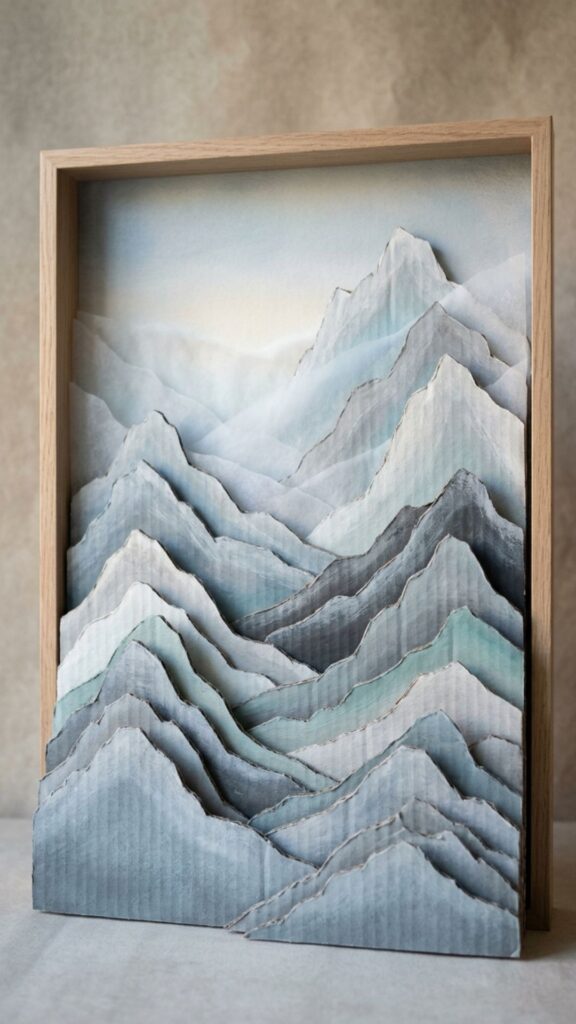
Bring the outdoors inside with calming peaks. Cut several mountain-shaped strips of cardboard in graduated sizes, then stack them with small gaps for depth. The layered effect creates a serene, dimensional landscape.
Paint each layer a slightly different shade of blue, green, or gray for a misty look. Add a small sun or moon cutout for a finishing touch. This piece suits bedrooms and reading nooks beautifully.
11. Vintage-Style Wall Clock
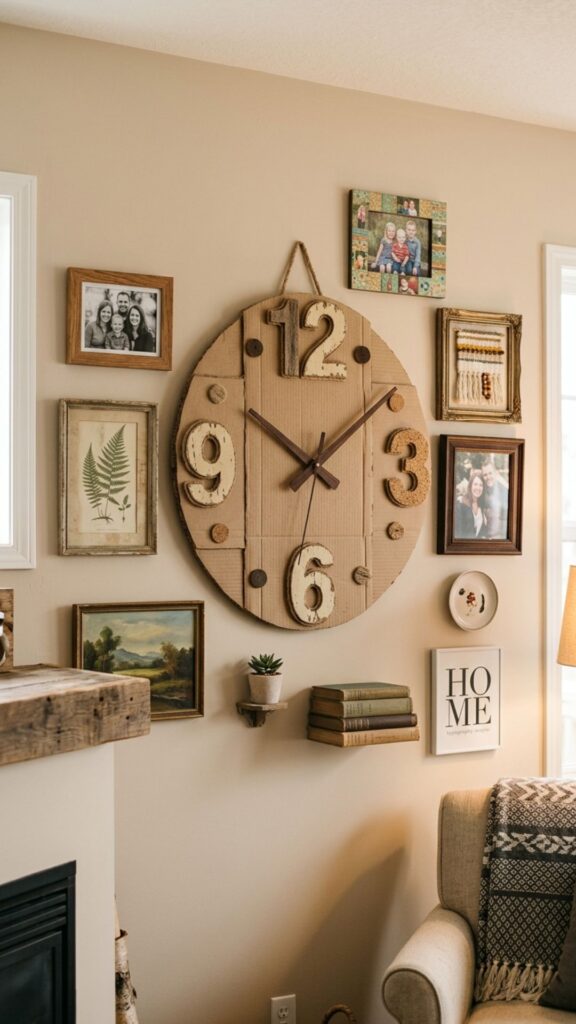
Build a clock that doubles as art. Cut a large circle from sturdy cardboard, add numbers or markers, then insert an inexpensive clock movement kit through the center. These kits cost just a few dollars online.
Distress the surface with paint and sandpaper for a rustic farmhouse feel, or keep it sleek and minimal. A handmade clock anchors a gallery wall and earns endless compliments. It’s one of the most practical wall décor cardboard projects you can make.
12. Pressed Botanical Display Frames
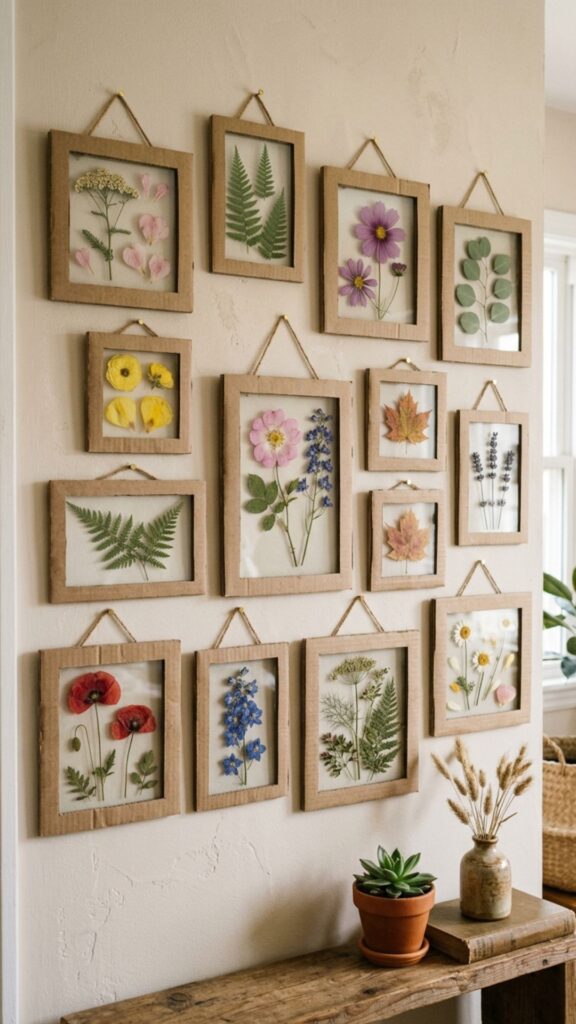
Show off nature in cardboard frames. Cut simple square or rectangular frames, paint them, then mount dried flowers or pressed leaves inside using a sheet of clear acetate. Group several frames for a botanical gallery effect.
Press your own flowers between heavy books for a week before framing. This project connects you to the seasons and adds organic softness to any wall. It’s a thoughtful, low-cost gift idea too.
13. Abstract 3D Cube Cluster
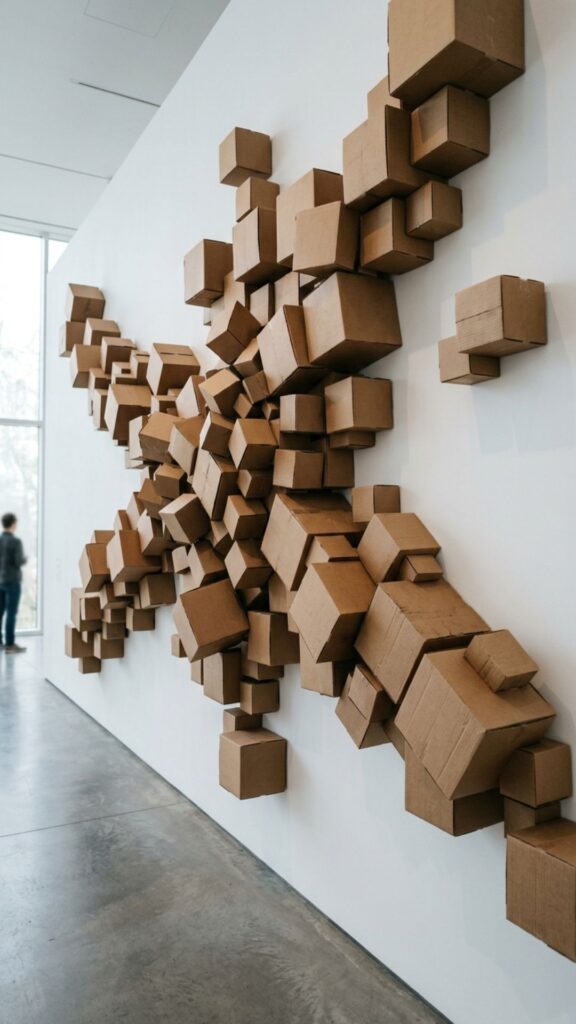
Play with light and shadow using simple cubes. Fold cardboard into open or closed cubes of different sizes, paint them, then mount them in a scattered grid. The varying depths create a dynamic, gallery-worthy display.
Stick to two or three colors so the cluster feels intentional, not chaotic. This design fills large, awkward wall spaces with ease. It looks especially sharp in modern apartments and creative workspaces.
14. Macramé-Inspired Cardboard Hanging
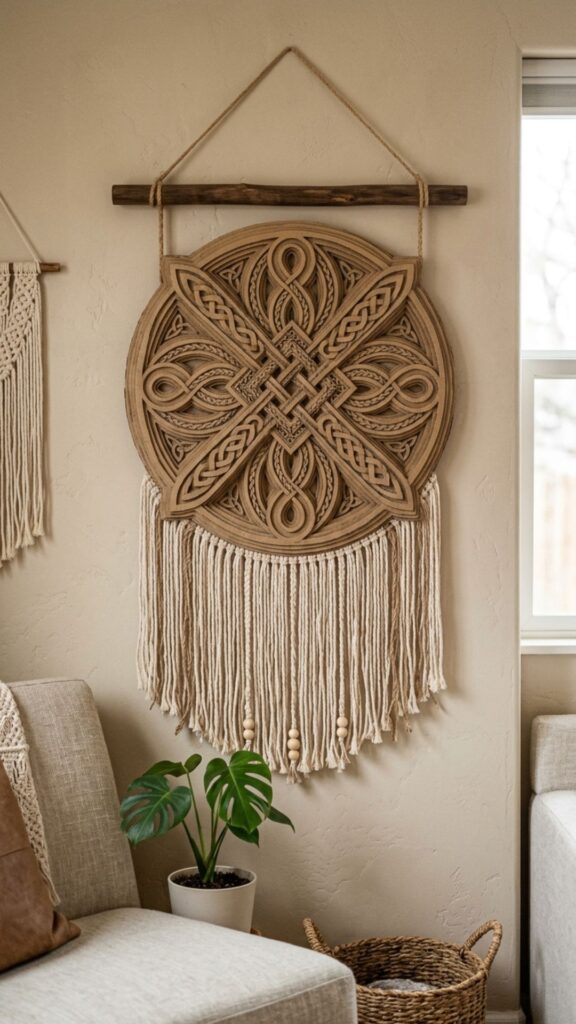
Get the knotted look without learning macramé. Cut a cardboard panel and carve out a lattice or knot pattern, then paint it cream or tan to mimic natural rope. Add real fringe at the bottom for authenticity.
This shortcut delivers boho charm in a fraction of the time. Hang it from a wooden dowel for the full effect. Pair it with woven baskets and warm lighting to complete the cozy look.
15. Custom Map Wall Art
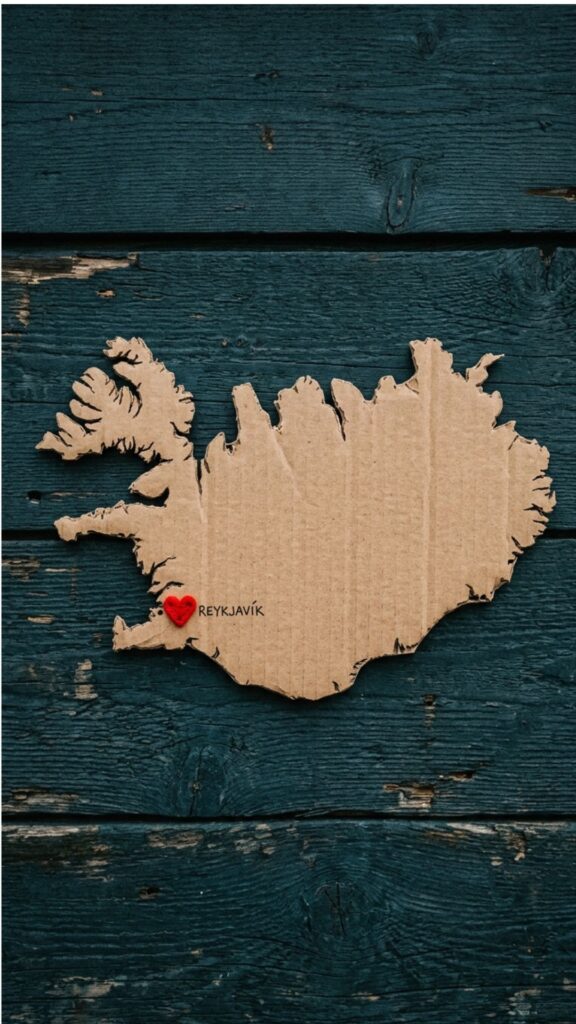
Mark your favorite place on the map. Cut a city, country, or coastline shape from cardboard, then mount it on a contrasting backing board. Add a small heart or pin to mark a meaningful spot.
Paint it in a single bold color for a clean, graphic style. This personalized piece works great for travel lovers and new homeowners. It’s a heartfelt way to fill a wall with memories.
16. Cardboard Picture Ledge Shelf
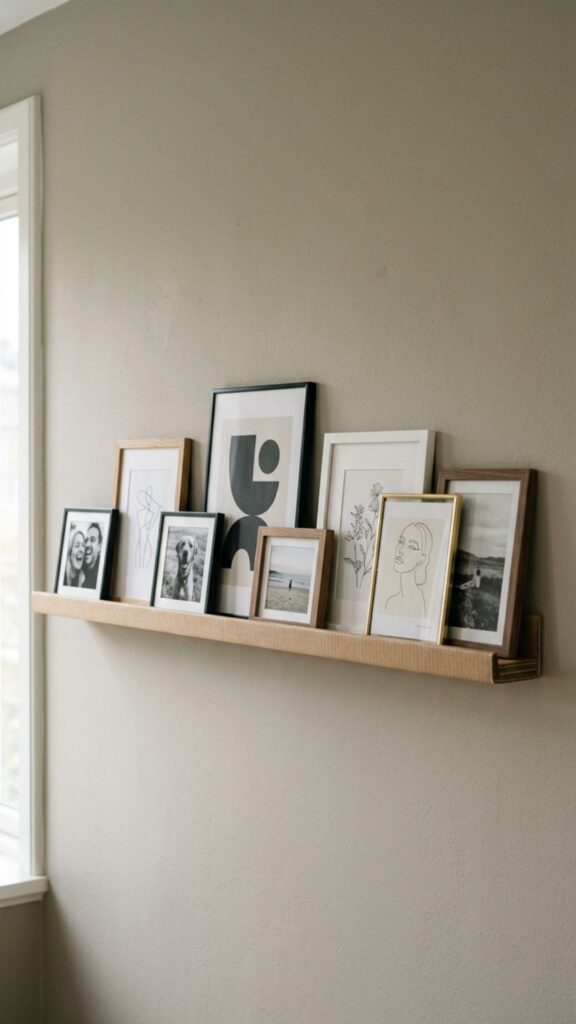
Display photos without drilling deep holes. Cut and fold cardboard into a slim ledge with a front lip, then reinforce it well and mount it securely. Lean framed prints and small art against the wall on top.
This flexible setup lets you swap photos whenever the mood strikes. Keep displayed items lightweight to protect the cardboard. It’s a renter-friendly way to build a rotating gallery.
17. Stenciled Damask Wall Medallion
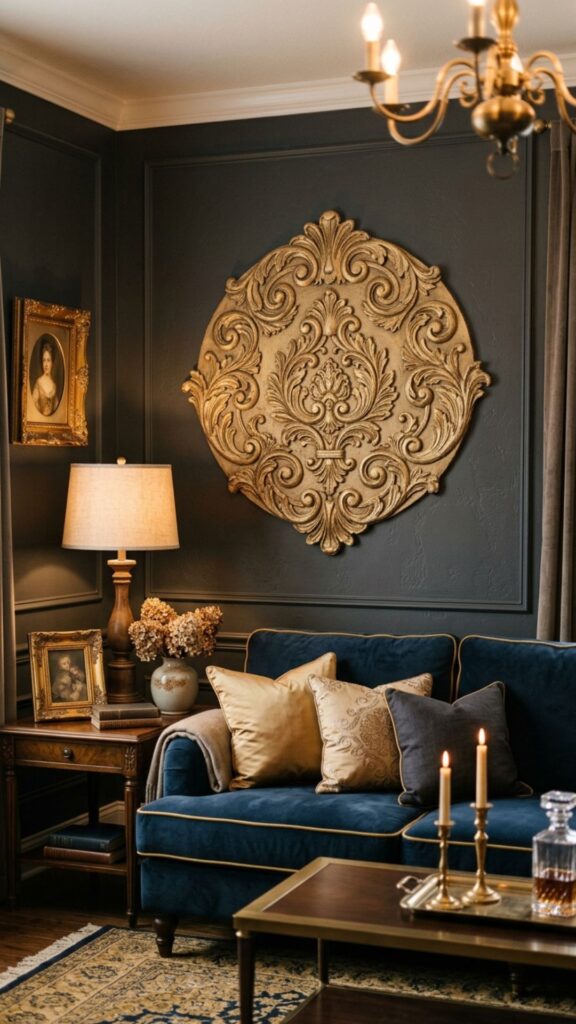
Add elegance with an ornate centerpiece. Cut a large circular or oval base, then layer cut-out damask or floral patterns on top for a raised, decorative finish. Place it above a bed or sofa as a headboard accent.
Paint it in soft white or antique gold for a refined, timeless look. The intricate pattern reads as expensive plaster molding from a distance. Nobody will guess it started as a shipping box.
18. Kids’ Room Cloud and Star Set
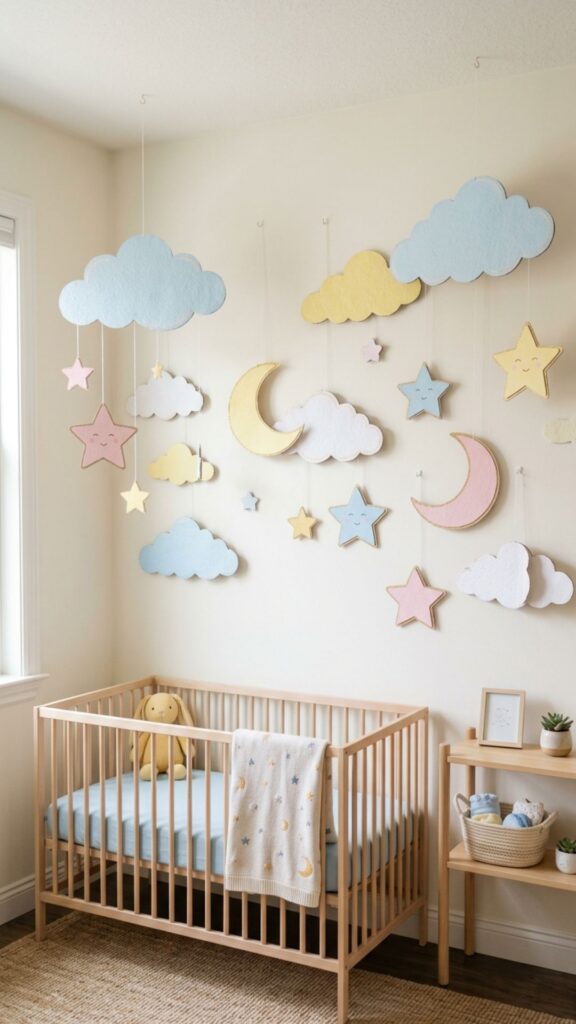
Bring whimsy to little spaces. Cut puffy clouds, stars, and moons from cardboard, paint them in soft pastels, then arrange them across the wall. Add cotton or glitter for extra texture and sparkle.
Let your kids help paint and place the pieces for a fun family project. The lightweight shapes hang easily with adhesive strips. It’s a sweet, budget-friendly way to decorate a nursery or playroom.
19. Industrial Faux-Metal Wall Art
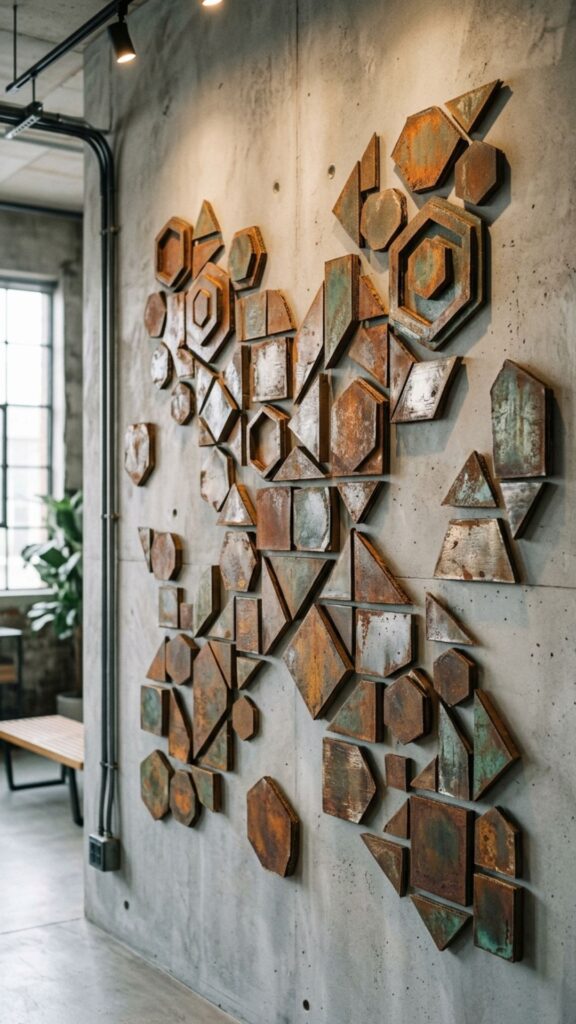
Fake the warehouse-chic look on a budget. Cut bold geometric or pipe-inspired shapes, then paint them with a metallic or rusted finish using layered grays and browns. The result mimics aged steel and iron.
Sponge on darker tones to build realistic texture and patina. This style suits lofts, garages, and modern industrial interiors. Up close it surprises everyone with its cardboard origins.
20. Multi-Frame Gallery Wall Collage
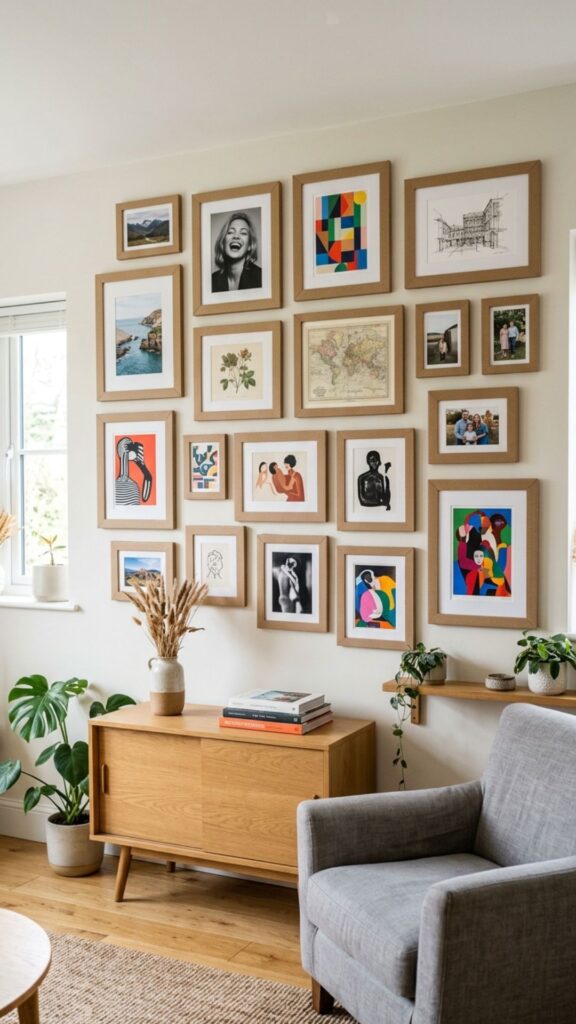
Tie a whole wall together with matching frames. Cut a set of cardboard frames in varying sizes, paint them in one unified color, then arrange them around your favorite prints and photos. Lay out the design on the floor first.
Keep equal spacing between frames for a clean, professional grid. This affordable approach lets you frame a dozen pieces for next to nothing. It’s the perfect finale to any wall décor cardboard project list.
Conclusion: Start Your First Cardboard Project Today
Empty walls don’t need an empty wallet. With nothing more than spare boxes, a craft knife, and a little paint, you can build art that looks custom and costs almost nothing. Each of these 20 ideas turns a throwaway material into something you’ll be proud to display.
Pick one project that fits your space and skill level, then gather your supplies this weekend. Start small with a frame or letter set, then work your way up to layered panels and sculptures. The more you build, the better your results get.
Your walls are waiting. Grab a box, choose your favorite idea, and start crafting today. Then share your finished piece and inspire someone else to do the same.
What kind of cardboard works best for wall décor?
Corrugated cardboard from shipping boxes works best for most projects. It’s thick, sturdy, and easy to cut. For finer details like quilling or thin frames, use chipboard or cereal-box cardboard. Always pick clean, dry pieces without dents or water damage.
How do I make cardboard wall art look professional?
Three things make the difference: clean cuts, smooth paint, and a protective finish. Use a sharp craft knife and a ruler for crisp edges. Apply two thin coats of paint instead of one thick coat. Finish with a clear matte or satin spray to seal the surface and hide the cardboard texture.
How do I hang cardboard wall décor without damaging walls?
Use removable adhesive strips or hooks for lightweight pieces. They hold well and peel off cleanly, which makes them perfect for renters. For heavier items, add a sawtooth hanger or a cardboard tab on the back and use a small nail. Keep displayed objects light to avoid sagging.
Is cardboard wall art durable enough to last?
Yes, when sealed properly. A clear protective spray guards against moisture, dust, and minor scuffs. Keep your pieces away from direct sunlight and humid areas like bathrooms. With basic care, a well-made cardboard piece can last for years.
Can I make these projects with kids?
Absolutely. Many ideas here, like the cloud and star set or 3D letters, are kid-friendly. Let children handle the painting and decorating while an adult does the cutting. It’s a fun, affordable way to craft together and decorate their rooms.