Small backyard? Tight budget? You can still build a stunning cooking space you’ll actually use. Cinder blocks (also called concrete masonry units, or CMUs) are one of the cheapest, toughest building materials out there.
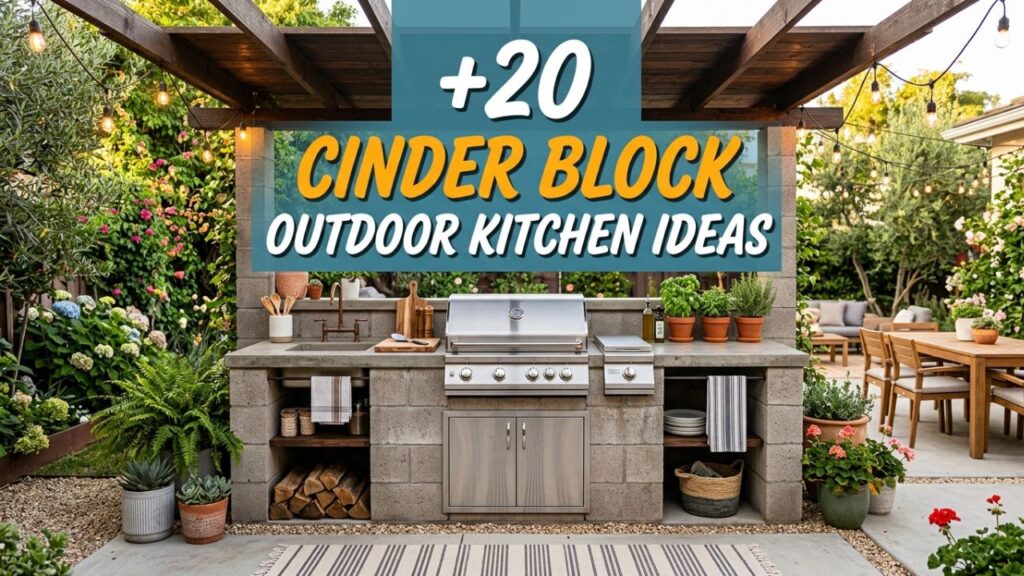
I’ve helped friends and family put together weekend cook stations with nothing more than a pallet of blocks, some adhesive, and a bit of patience.
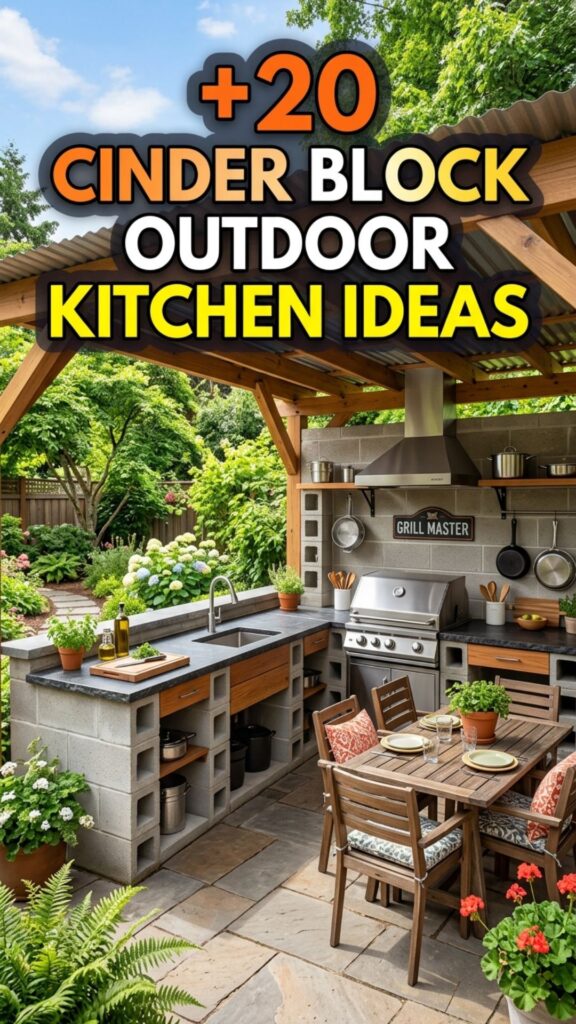
In this guide, you’ll find 20 outdoor kitchen ideas cinder block projects can bring to life, even when square footage is short. Each idea includes real details on layout, cost-saving tricks, and finishing touches. Whether you want a simple grill surround or a full cooking corner with counters and storage, there’s something here you can build.
1. Start With a Simple U-Shaped Grill Surround
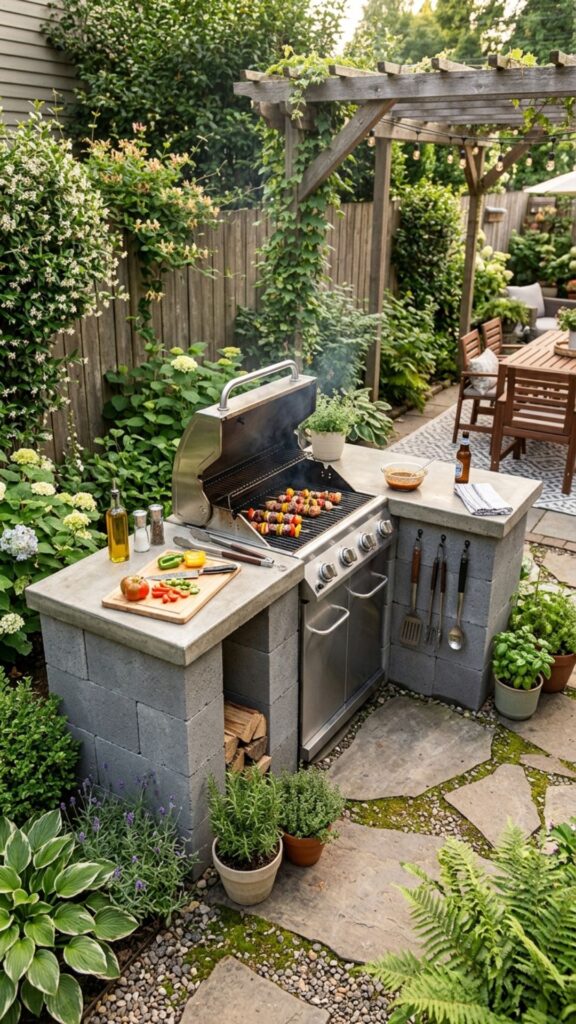
A U-shaped surround wraps three sides of your grill with stacked blocks, giving you instant counter space on both sides. This layout works beautifully in a corner, since it uses your fence or wall as a natural backdrop. Dry-stack the blocks first to test the fit before you commit to adhesive.
For a small yard, keep the “U” tight, around 6 to 7 feet total width. Cap the tops with paver stones or a poured concrete slab for a flat, heat-safe surface. You’ll gain prep room on either side of the grill without eating up your whole patio.
2. Build a Single-Wall Cooking Station
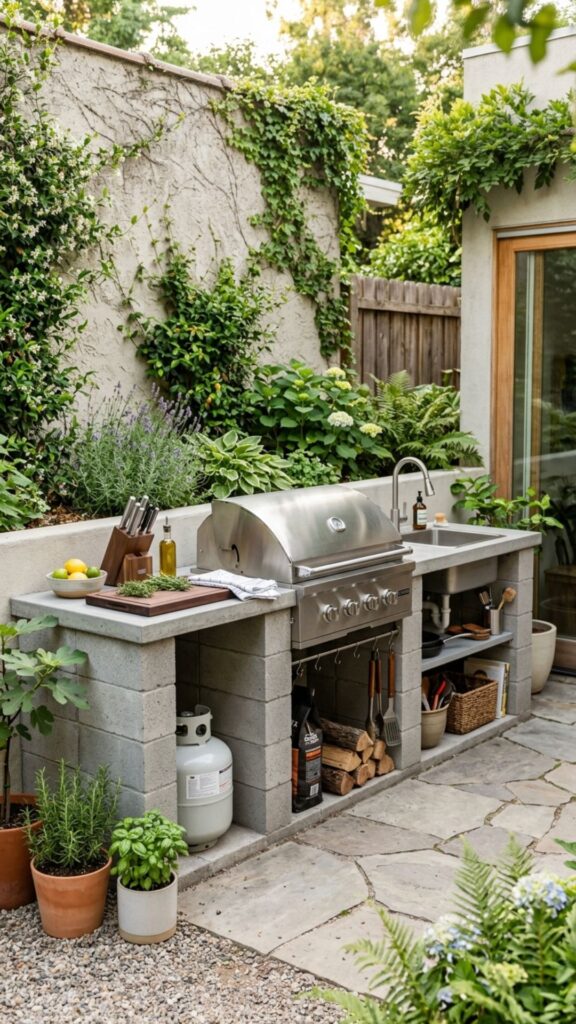
If space is really limited, a single straight wall of blocks does the job. Line up your grill, a counter section, and maybe a small sink along one flat run against a boundary wall. This keeps foot traffic clear and leaves the rest of your yard open.
Aim for a total length of about 8 feet, which fits a grill plus two feet of counter on each side. Because everything sits along one line, running a gas or water line is simpler and cheaper. It’s the most beginner-friendly of all the cinder block layouts.
3. Create an L-Shaped Corner Kitchen
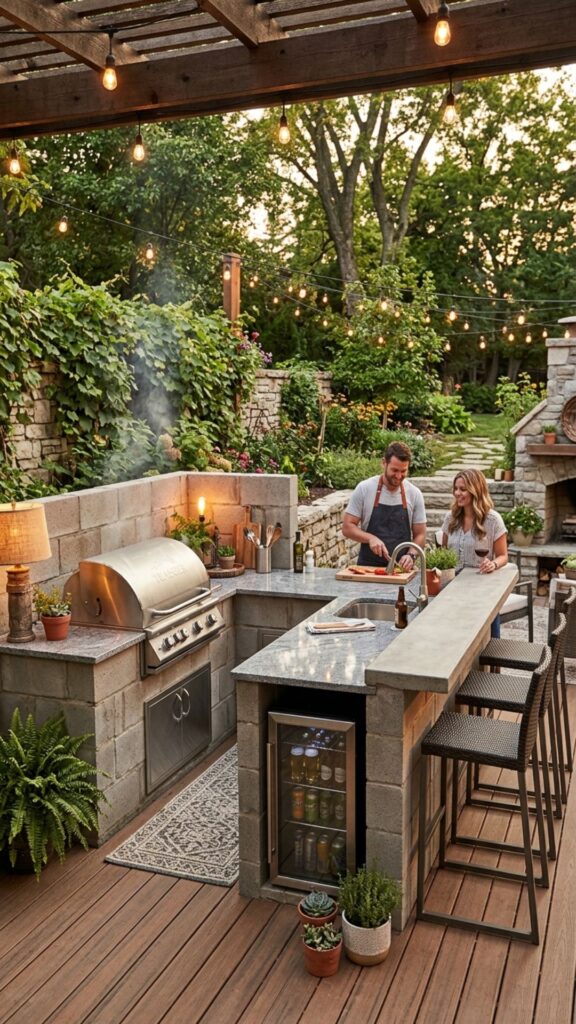
An L-shape tucks neatly into a backyard corner and gives you two working zones: one for cooking, one for prep. This design feels bigger than it is because it uses space most people ignore. It’s my go-to recommendation for square patios under 200 square feet.
Stack the short leg for your grill and the long leg for counters or a mini fridge nook. Add a couple of stools at the outer edge, and suddenly you’ve got a spot for guests to hang out while you cook. The corner does double duty as both kitchen and gathering space.
4. Add a Built-In Concrete Countertop
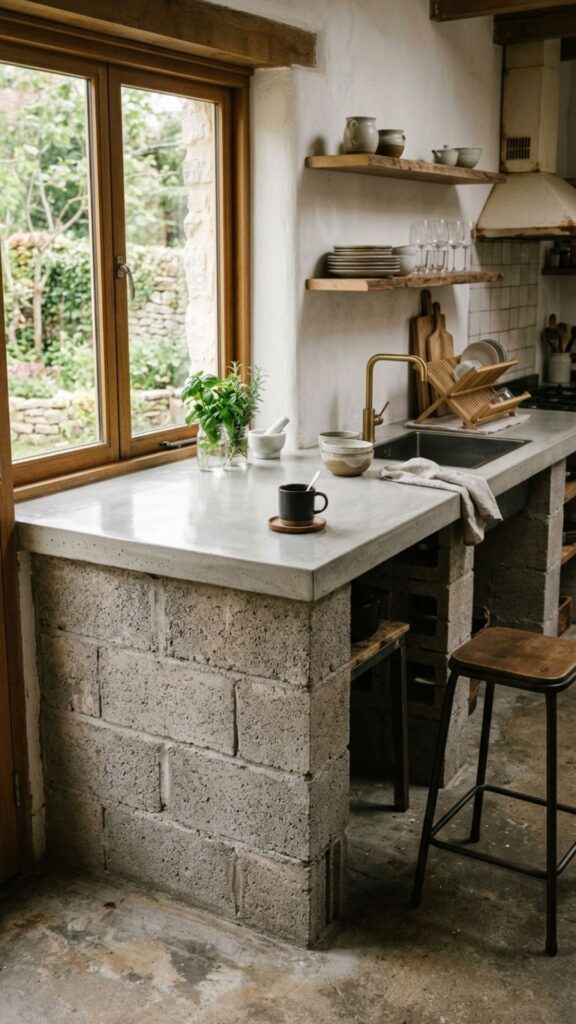
Skip pricey stone and pour your own concrete counter right on top of the block base. A poured slab is heat-resistant, weatherproof, and costs a fraction of granite. Build a simple plywood form, add rebar for strength, and pour a two-inch top.
Once it cures, sand the edges and seal it with a food-safe concrete sealer. You can even tint the mix or press decorative aggregate into the surface for a custom look. This one upgrade makes a rough block build look intentional and finished.
5. Install a Recessed Charcoal Grill Bay
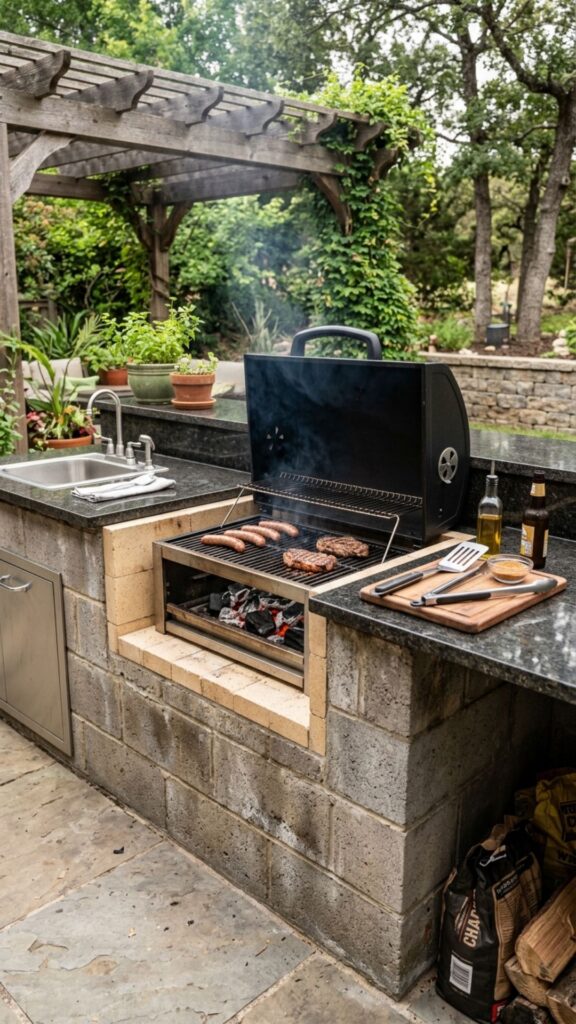
Leave an open cavity in your block wall sized to drop a charcoal grill or kamado inside. The blocks shield the flame from wind and hold heat nicely. Line the interior with fire brick to protect the CMUs from cracking over time.
Measure your grill before you stack so the opening fits with a little breathing room on all sides. A recessed bay looks sleek and keeps the grill from wobbling. It’s a smart choice if you love the flavor of live-fire cooking.
6. Design a Two-Tier Bar and Prep Combo
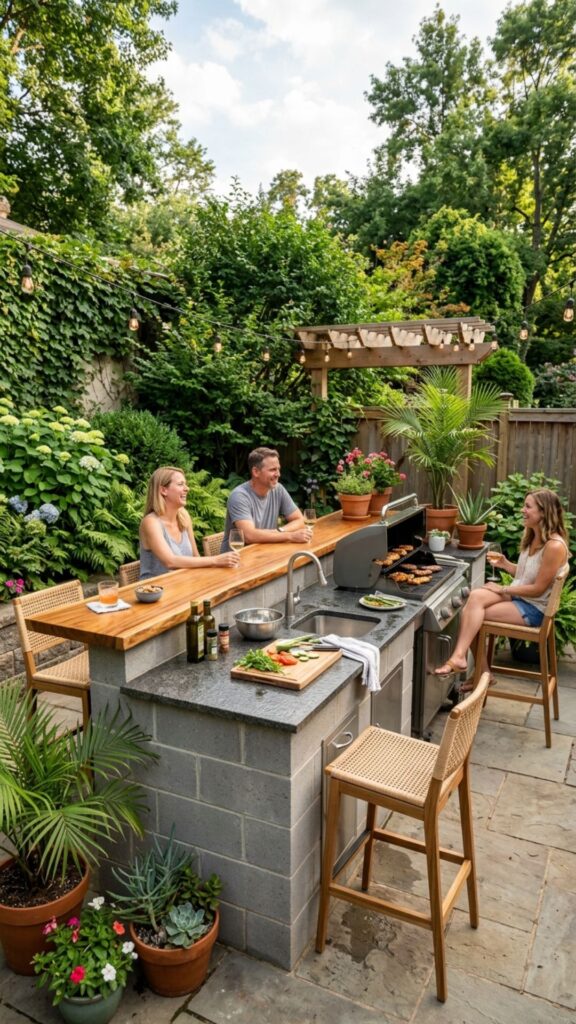
Build your counter at standard prep height, then add a raised second tier along the back at bar height. The higher shelf hides your prep mess from guests seated on the other side. It also gives friends a place to set drinks and lean in for conversation.
Use half-height blocks or simply stack an extra row for the raised section. Cap the bar top with a contrasting material, like reclaimed wood or a darker paver, for visual interest. This split-level trick adds function without stealing floor space.
7. Include a Cinder Block Pizza Oven Base
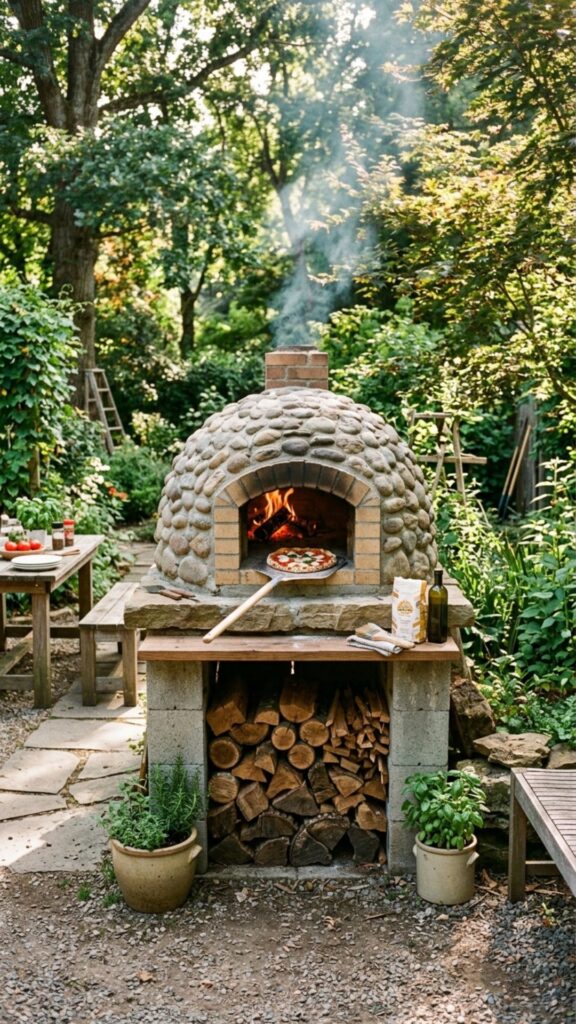
A block base makes the perfect sturdy stand for a wood-fired pizza oven. Stack a solid, waist-high platform, then set your oven or dome kit right on top. The mass of the blocks absorbs heat and keeps the structure rock-steady.
Fill the top hollow cells with concrete or gravel to add stability before mounting the oven. Leave a shelf below for storing firewood so everything stays in one spot. Fresh pizza in a tiny backyard becomes totally doable.
8. Carve Out Open Shelf Storage
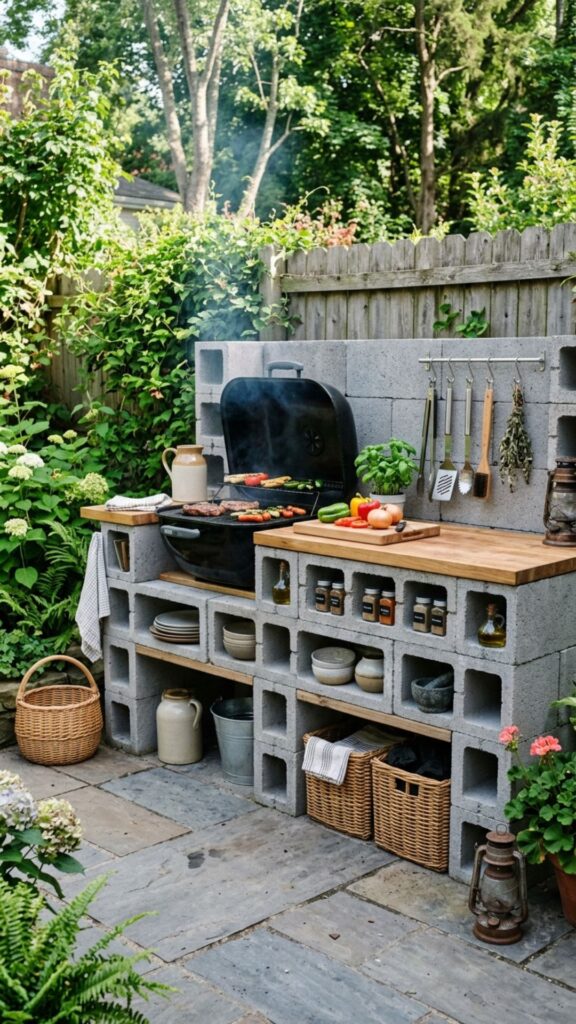
The hollow cores of cinder blocks are free storage waiting to happen. Turn a few blocks sideways so the openings face out, then use them as cubbies for plates, spices, or grill tools. It’s clever, cheap, and needs zero extra materials.
Slide in small wooden inserts or baskets to keep items from sliding around. Position these cubbies near your prep zone so everything stays within arm’s reach. Guests always comment on this simple, built-in touch.
9. Frame a Compact Bar Seating Area
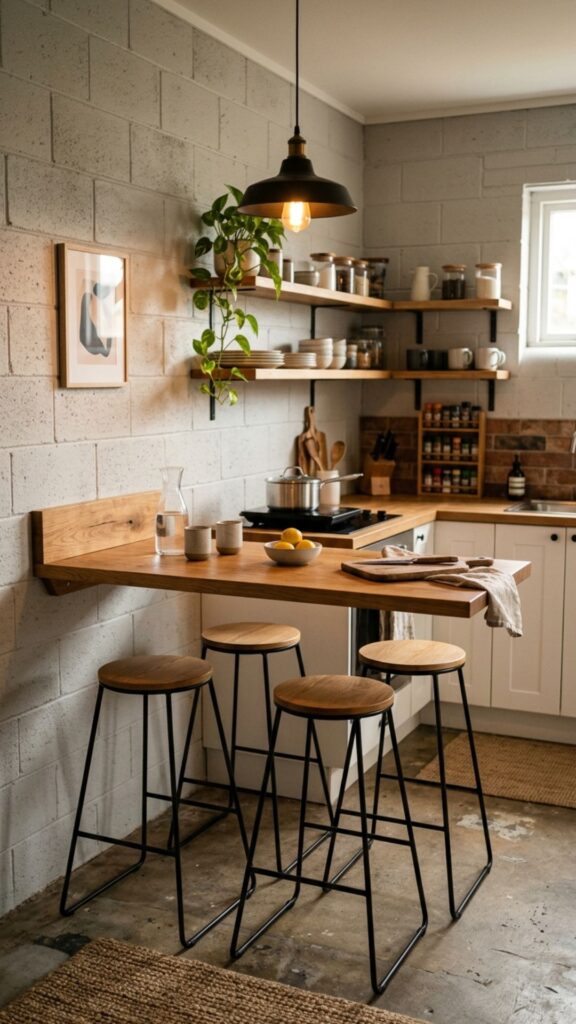
Extend one counter run outward by a foot to create a bar overhang. Tuck two or three stools underneath, and you’ve built a breakfast bar into your kitchen wall. This works great when you don’t have room for a separate patio table.
Support the overhang with a couple of hidden steel brackets so it can handle elbows and plates. Choose weatherproof stools that stack or slide fully under the counter when not in use. It keeps the footprint tight while adding real seating.
10. Match Blocks With a Wood Slat Facade
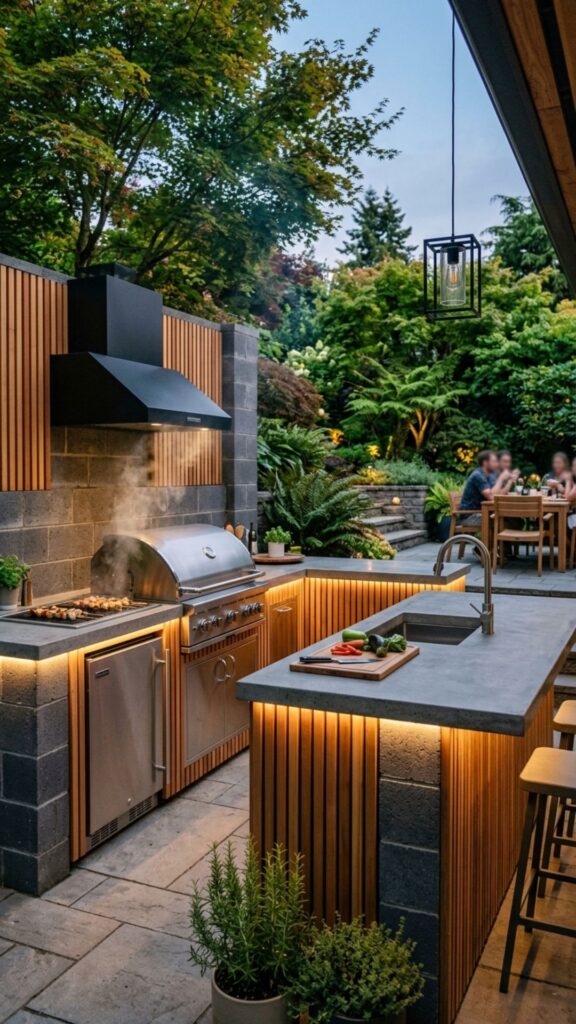
Raw cinder block reads industrial, which some folks love. If you want warmer vibes, screw a wood slat facade onto the front face. Cedar or treated pine attached to furring strips softens the whole look instantly.
Leave small gaps between slats for a modern, airy feel and easy airflow. Seal the wood against moisture so it lasts through the seasons. This blend of block and timber gives you a designer look on a DIY budget.
11. Build a Fire Pit and Kitchen Combo
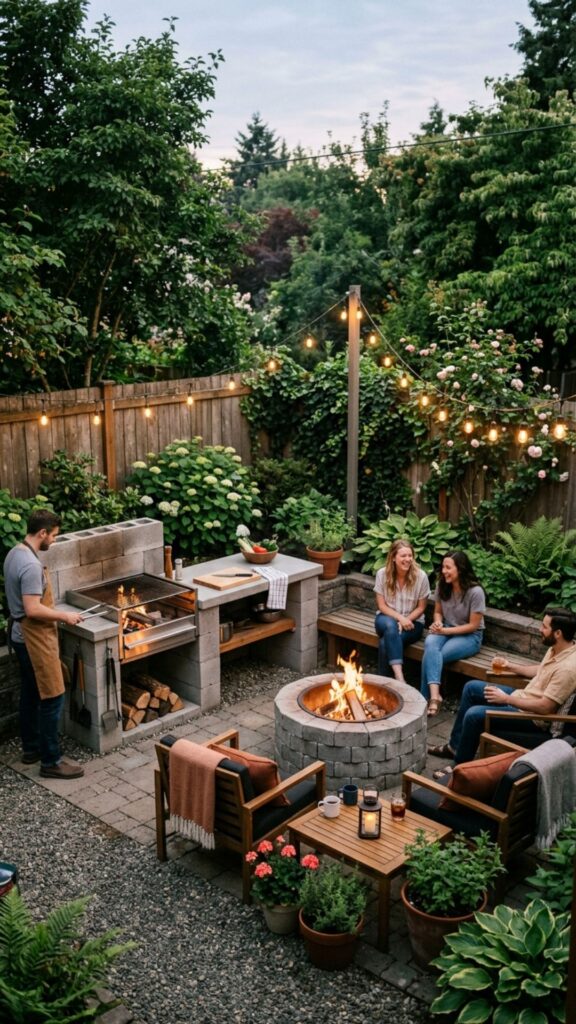
Pair your cooking station with a small round fire pit built from the same blocks. Placing them a few feet apart creates two zones that share one style. Cook dinner, then move to the fire for dessert and drinks.
Use trapezoid blocks for a smoother circle, or dry-stack rectangular ones for a rustic edge. Line the pit interior with fire brick and add a metal ring for safety. Matching materials tie the whole backyard together.
12. Add a Sink Station With Simple Plumbing
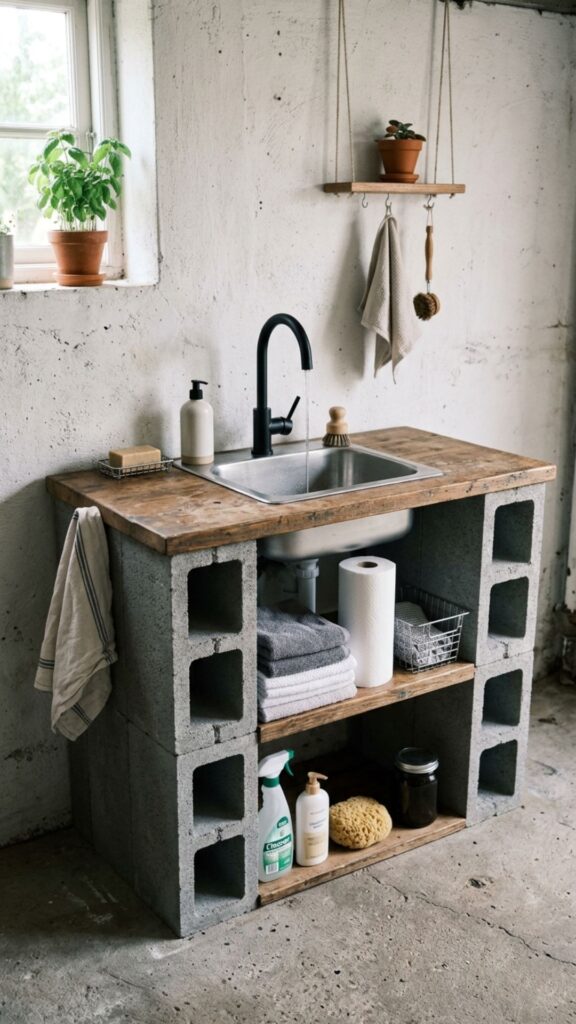
A small sink saves endless trips inside for washing hands and rinsing veggies. Leave a gap in your counter for a drop-in basin, then connect a garden hose for water. Drain into a bucket or a simple gray-water line.
Keep the plumbing basic to avoid permits and pro fees, a cold-water hose bib is usually enough. Store dish soap and towels in a nearby block cubby. This small addition makes outdoor cooking feel like a real kitchen.
13. Design a Narrow Galley Layout
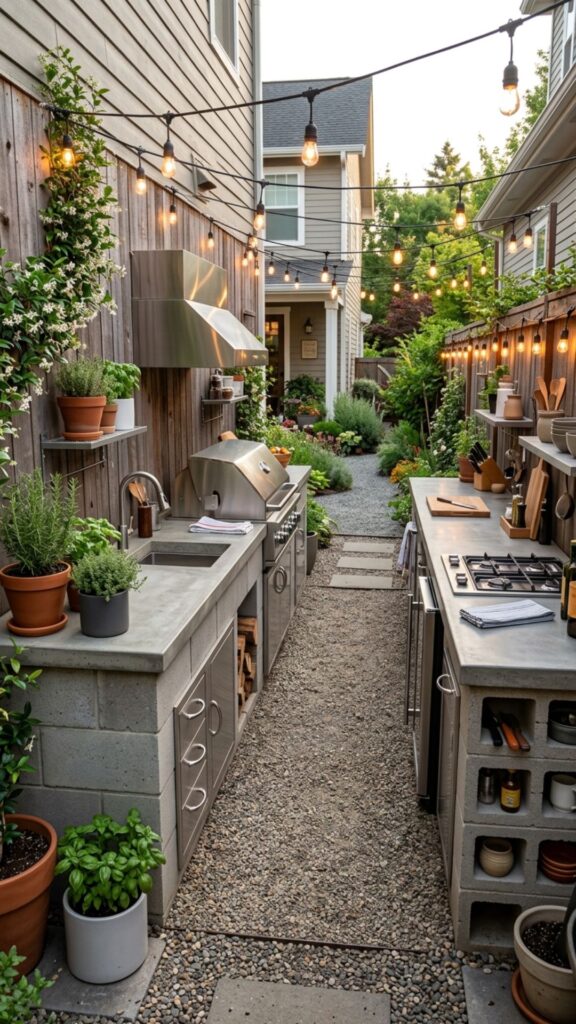
Two parallel block counters facing each other create a galley kitchen, ideal for long, skinny yards. One side holds the grill and cooking gear; the other handles prep and storage. Keep the walkway between them at least three feet wide.
This layout keeps everything within a single step or turn. It’s efficient for solo cooks who want tools close at hand. In a narrow side yard, a galley makes use of space that would otherwise sit empty.
14. Stucco Over the Blocks for a Clean Finish
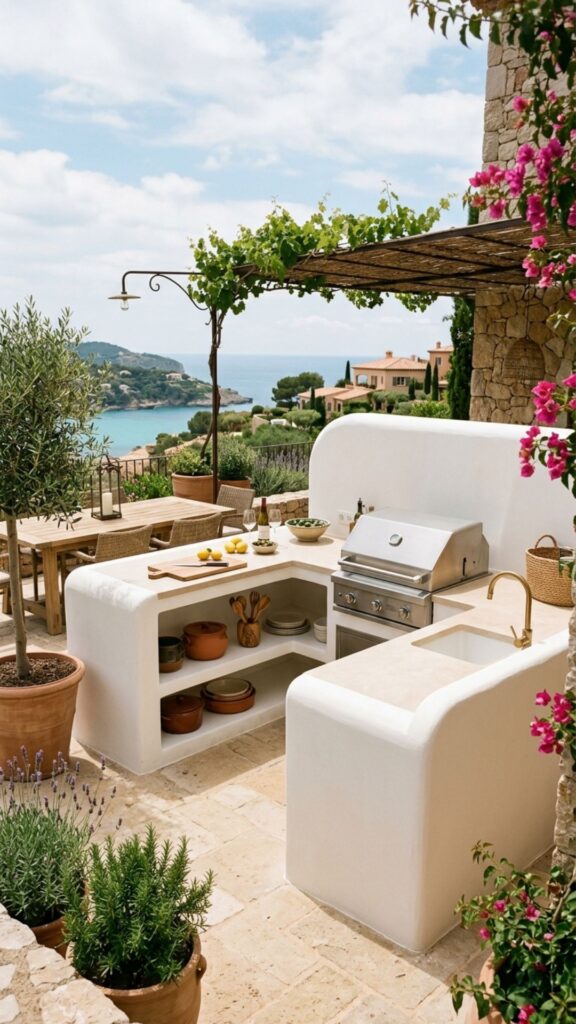
A skim coat of stucco transforms rough blocks into smooth, upscale walls. Trowel it on in thin layers, then paint it any color you like. White or warm tan gives a Mediterranean feel that hides the block texture completely.
Stucco also seals gaps and adds a bit of weather protection. Round the corners slightly while it’s wet for a hand-crafted look. It’s an affordable finish that makes the whole build look professionally done.
15. Add Built-In Planters for Fresh Herbs
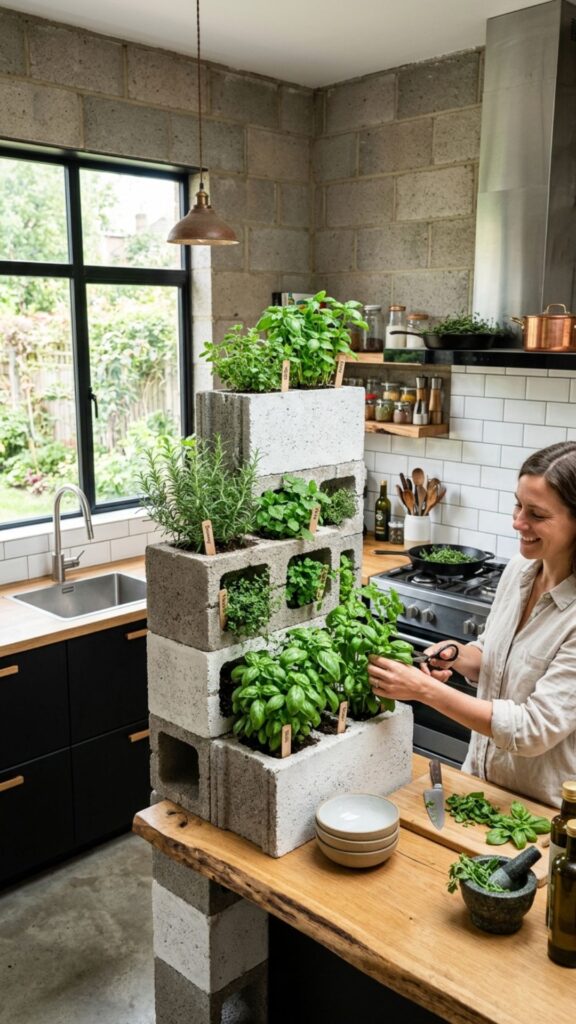
Use a row of open-topped blocks as planters for basil, rosemary, and mint. Set them along the counter edge so fresh herbs are right where you cook. Fill each cell with soil and drop in your favorite seedlings.
Line the cavities with landscape fabric to hold soil and improve drainage. Position them where they’ll catch morning sun for the healthiest growth. Cooking with herbs you snipped seconds ago feels like a small luxury.
16. Create a Mobile Cinder Block Cart
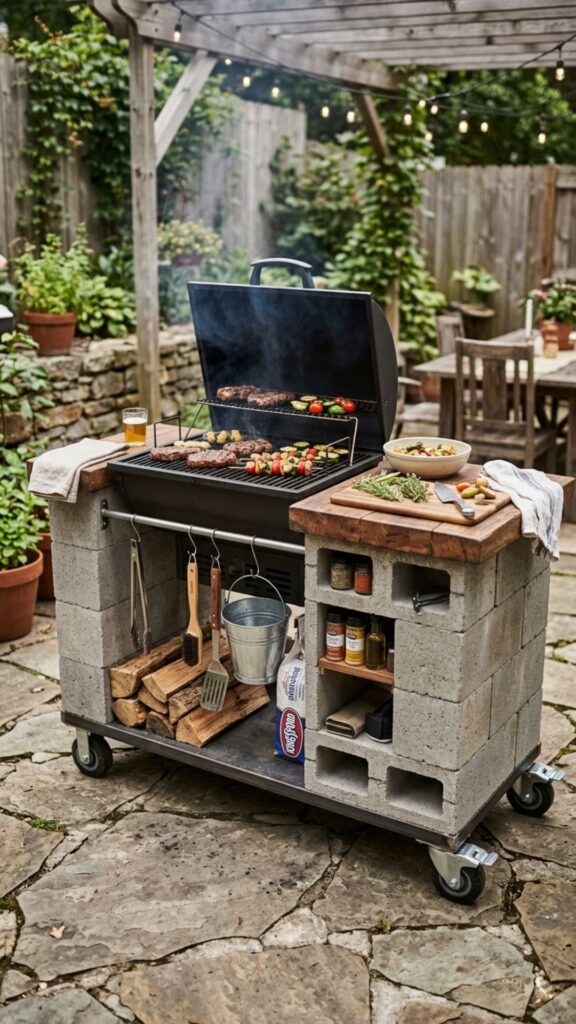
Build a compact block station on a reinforced base with heavy-duty casters underneath. This lets you roll the whole unit around your patio or tuck it against the wall. It’s perfect for renters or anyone who wants flexibility.
Keep the build small and light, one grill bay plus a short counter is plenty. Test the wheels on your surface first, since blocks are heavy. When the season ends, roll it into the shed for storage.
17. Incorporate Under-Counter Grill Storage
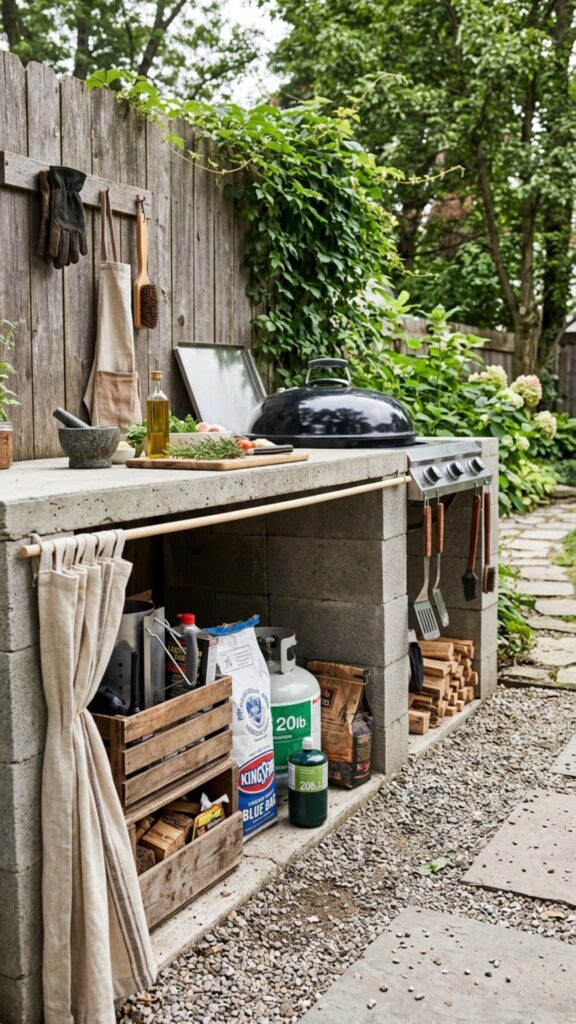
Leave the space beneath your counter open for a rolling cart or wooden crates. Store propane tanks, charcoal bags, and tools out of the rain but easy to grab. Hanging a simple curtain or door panel hides the clutter.
Measure your propane tank height before setting the counter so it fits cleanly. Good storage keeps your work surface clear and your yard tidy. Smart use of the space below doubles your kitchen’s usefulness.
18. Build a Weekend Beginner Kit Layout
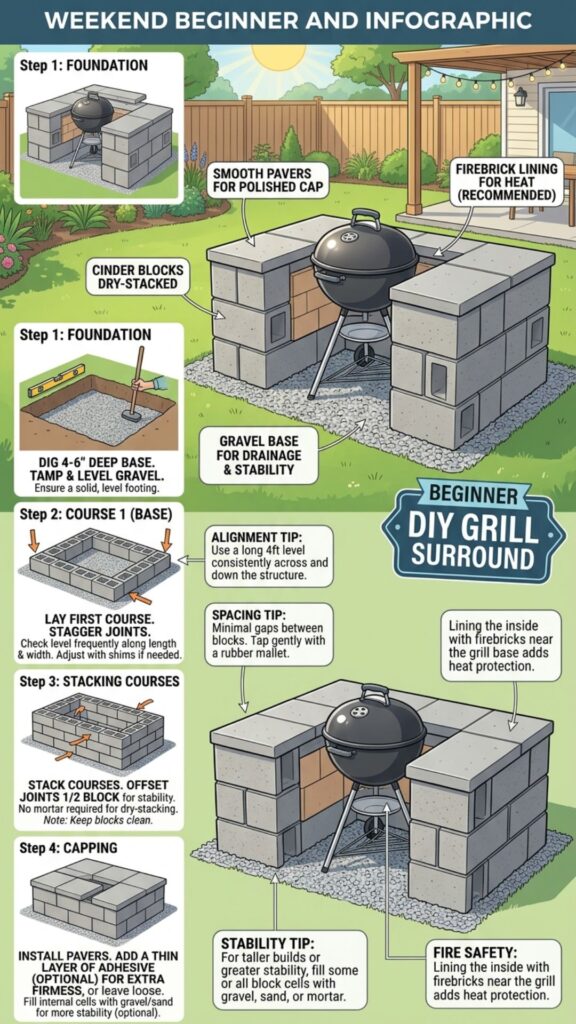
If you’ve never laid a block in your life, start with a no-mortar dry-stack design. Stack blocks with construction adhesive between rows, cap with pavers, and set your grill on top. You can finish this in a single weekend.
Keep it to about 12 to 16 blocks for a simple grill surround. Skip plumbing and gas lines to keep things easy and permit-free. It’s the lowest-risk way to test whether outdoor cooking fits your lifestyle.
19. Add Task Lighting for Night Cooking
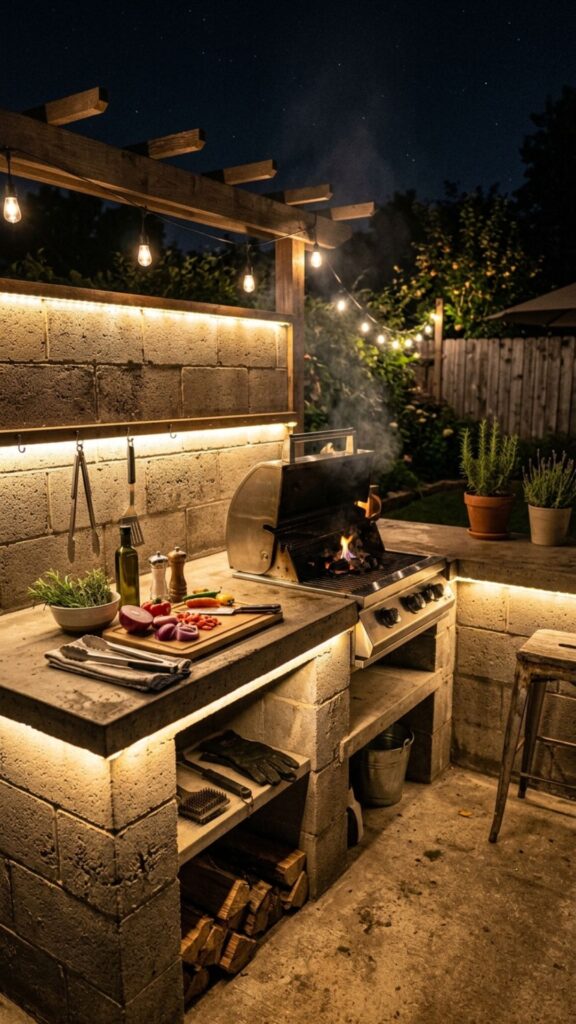
Mount solar or low-voltage LED strips under your counter overhang and along the backsplash. Good light means you can grill safely well after sunset. It also sets a cozy mood for evening gatherings.
Choose weatherproof fixtures rated for outdoor use and warm white tones for comfort. Solar options need zero wiring, which keeps installation simple. A little light turns a daytime spot into an all-hours hangout.
20. Finish With Weatherproof Paint and Sealant
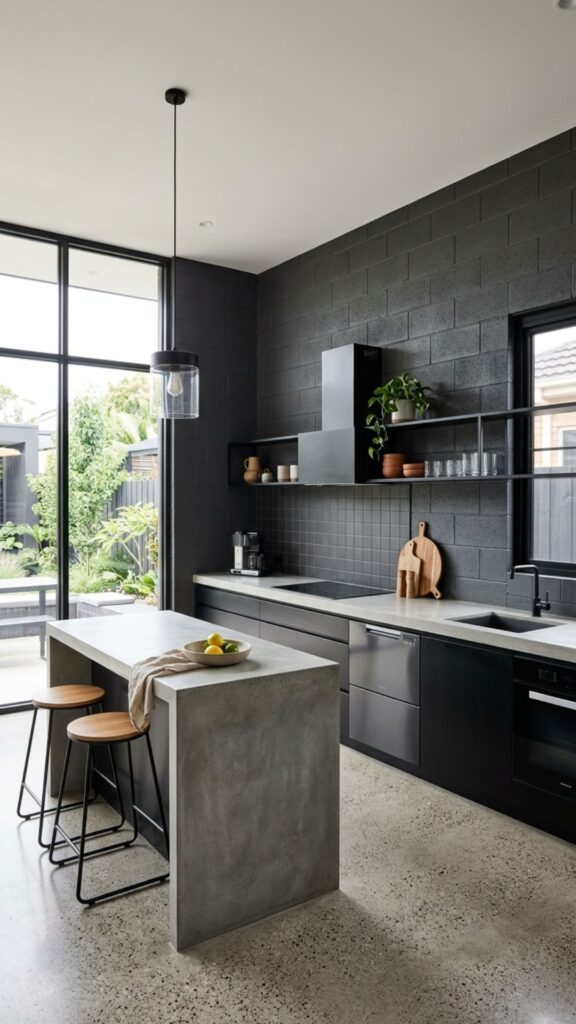
Seal your finished blocks with a masonry sealer to block moisture and stop cracking. Then add a coat of exterior paint to match your home or fence. This final step protects your work and boosts curb appeal.
Pick colors that hide soot near the grill, darker greys and charcoals work well. Reapply sealant every couple of years to keep everything sturdy. A sealed, painted build looks polished and lasts for many seasons.
Conclusion
Building an outdoor kitchen in a small backyard doesn’t require deep pockets or pro-level skills. With cinder blocks, some smart planning, and a free weekend, you can create a durable cooking space that fits your yard and your budget. From simple grill surrounds to full stations with sinks, planters, and lighting, these 20 ideas prove that tight space is no barrier to great food and good company.
Ready to get started? Pick the layout that matches your yard, sketch a quick plan, and price out a pallet of blocks at your local hardware store. Grab your gloves and start stacking this weekend, your backyard cooking upgrade is closer than you think.
Are cinder blocks safe to use for an outdoor kitchen?
Yes, cinder blocks are safe for outdoor kitchens as long as you protect them from direct flame. Line any area near open fire with fire brick, since raw CMUs can crack under intense, prolonged heat. For grill surrounds and counters, standard blocks work perfectly.
How much does a cinder block outdoor kitchen cost?
A basic cinder block outdoor kitchen typically costs between $300 and $800 for a simple grill surround, depending on size and finishes. Blocks run roughly $1 to $3 each, and most small builds use 30 to 60 blocks. Adding a poured concrete counter, sink, or lighting raises the total.
Do I need mortar to build with cinder blocks?
No, you don’t always need mortar. Many small outdoor kitchens use a dry-stack method with construction adhesive between rows, which is faster and beginner-friendly. Mortar adds extra strength and is worth it for taller or permanent structures.
How long does it take to build a cinder block outdoor kitchen?
A simple grill surround takes one weekend for most beginners. Larger builds with concrete counters, plumbing, or a pizza oven can take one to two weeks, mostly waiting for concrete to cure. Dry-stack designs go the fastest.
What can I use to cover cinder block for a nicer look?
Popular finishes include stucco, exterior paint, wood slat facades, or stacked stone veneer. Stucco and paint are the cheapest and hide the block texture completely. Wood slats add warmth, while stone veneer gives a high-end look at a higher cost.