There’s something special about cooking outside. The smoke, the sizzle, the way everyone gathers around the grill when dinner’s almost ready. If you’ve spent a summer wrestling with a lonely charcoal grill on a cramped patio, you already know the dream: a real outdoor kitchen built for the way you cook and entertain.
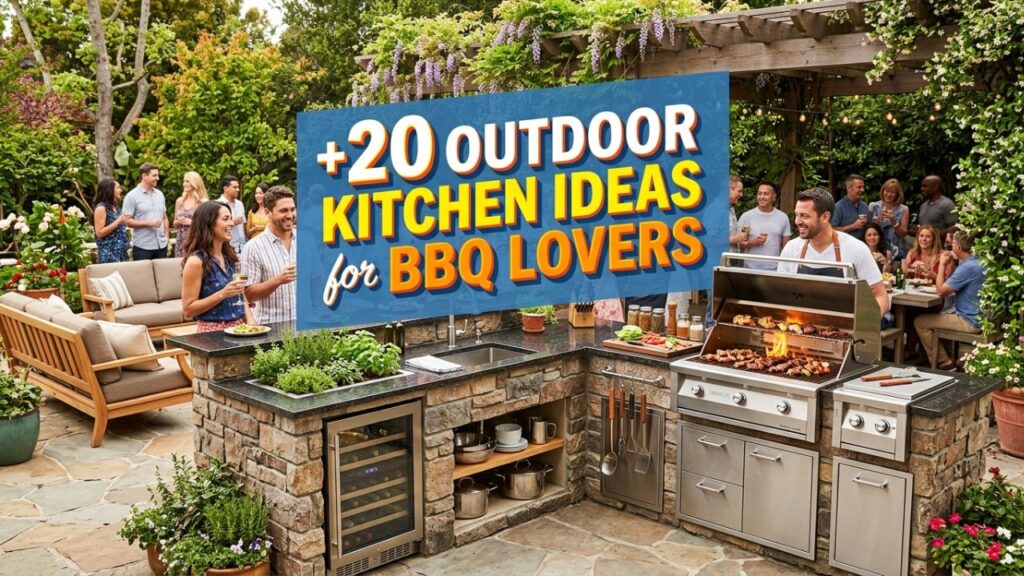
Good news. You don’t need a mansion or a bottomless budget to pull it off. Whether you’re working with a small balcony or a sprawling backyard, the right outdoor kitchen ideas BBQ lovers swear by can turn any space into the heart of your home.
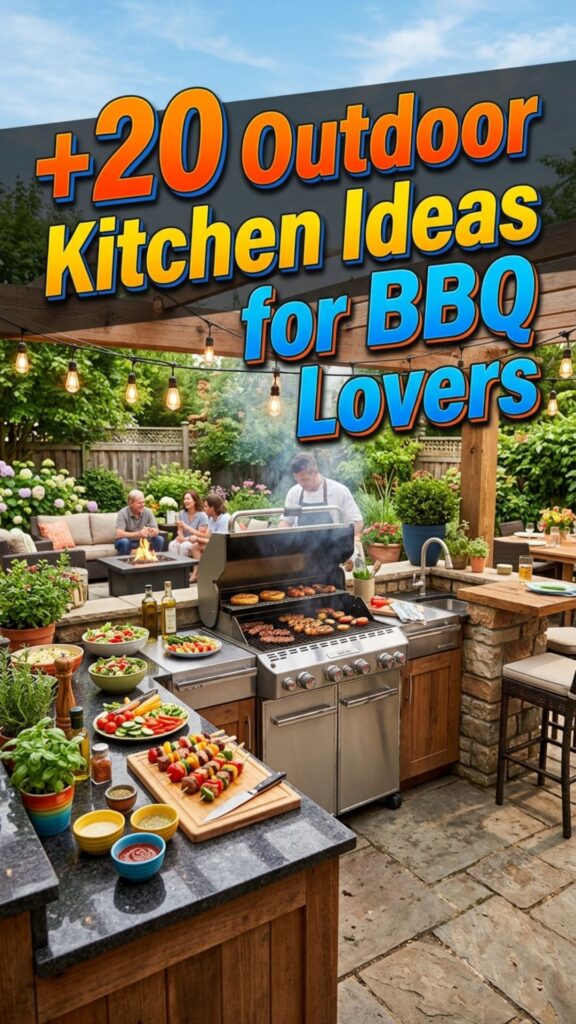
Below, we’ve gathered 20 setups worth copying, complete with the practical details that make them actually work. Let’s fire things up.
1. Build a Dedicated Grill Island
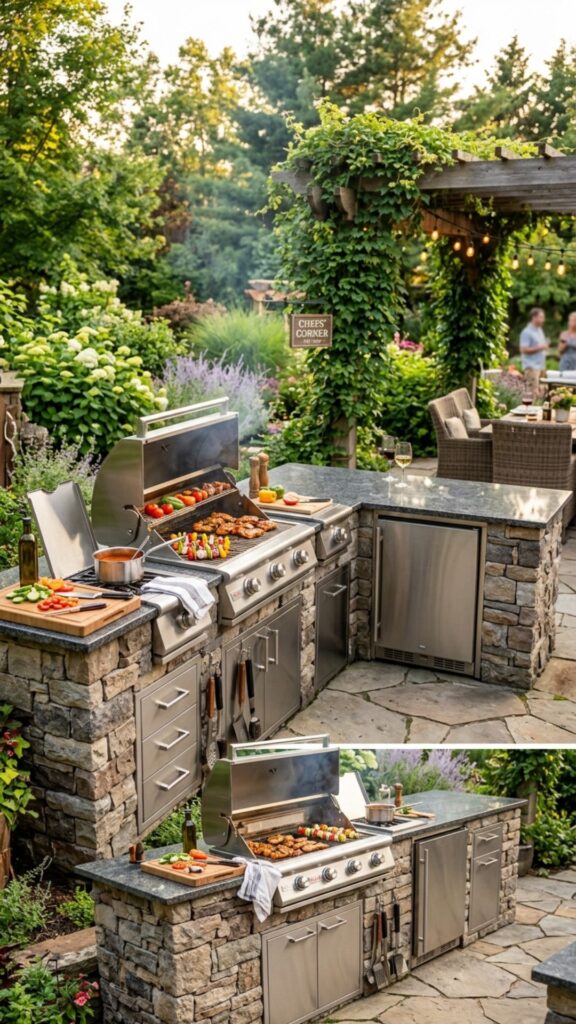
A grill island is the backbone of most great outdoor kitchens. It surrounds your BBQ with counter space, storage, and a landing zone for plates and tools. No more balancing a tray of raw burgers on the arm of a lawn chair.
Most islands are built from concrete block, then finished with stone veneer or stucco. Leave at least 24 inches of counter on each side of the grill. That gives you room to prep on one side and rest cooked food on the other. It’s a small detail that saves you a hundred trips back to the kitchen.
2. Add a Built-In Gas Grill for Everyday Use
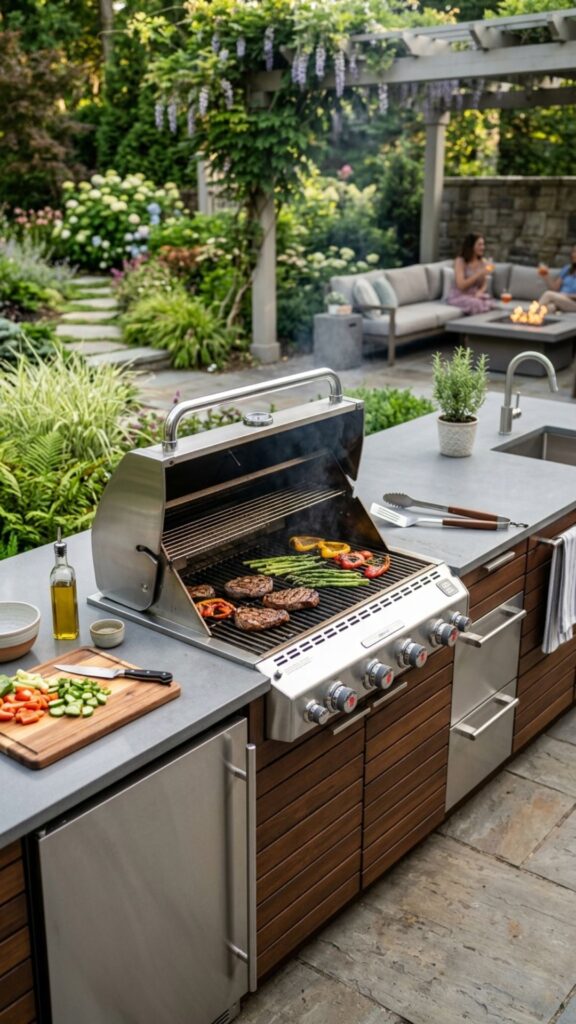
A built-in gas grill sits flush inside your island and looks clean, sturdy, and permanent. Gas heats fast, holds a steady temperature, and cleans up in minutes. For weeknight cooking, it’s hard to beat.
Look for a grill with cast stainless steel burners and a warming rack. When you install it, run the gas line professionally and keep at least a few inches of clearance from combustible materials. Safety here isn’t optional, and a licensed pro will save you headaches down the road.
3. Install a Charcoal Zone for Smoky Flavor
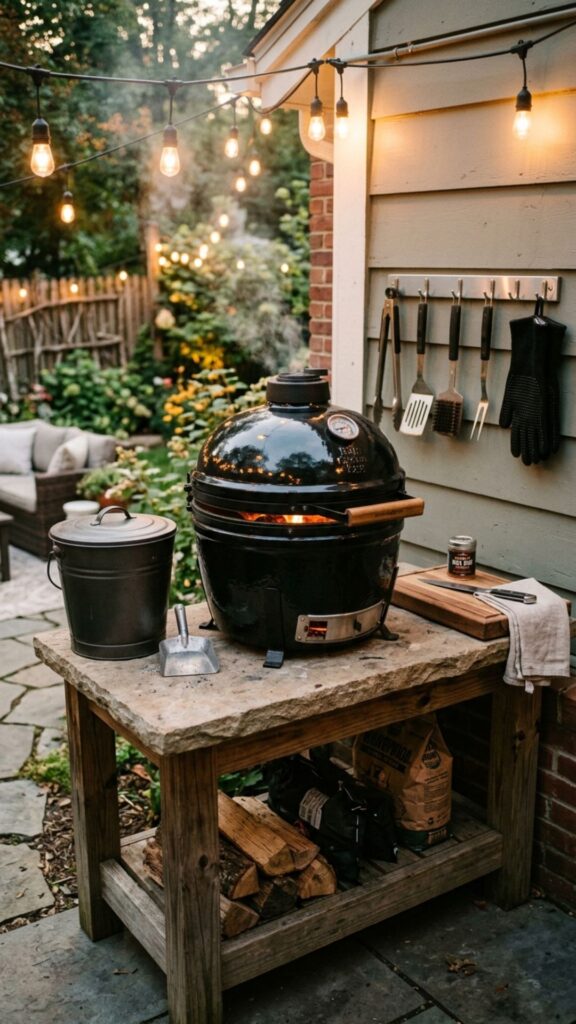
Gas is convenient, but charcoal brings that deep, smoky taste purists chase. Many serious backyard cooks build a dedicated charcoal spot right next to the gas grill so they get the best of both.
A ceramic kamado or a classic kettle both fit nicely into a built-in design. Give the charcoal area good airflow and a heat-safe surface underneath. Keep a metal ash bucket close by so cleanup stays quick and mess-free.
4. Include a Smoker for Low-and-Slow Cooking
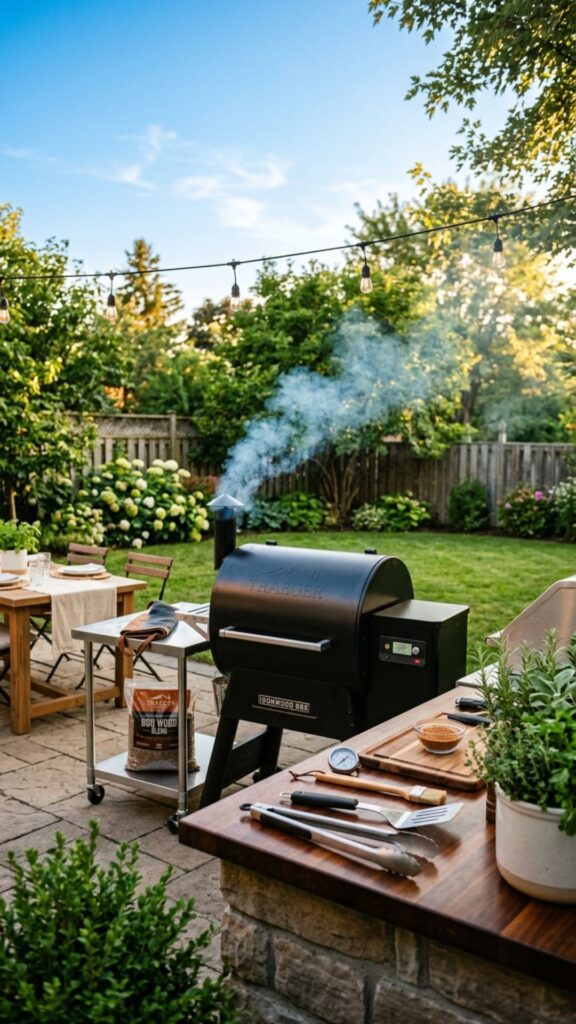
If you love brisket, ribs, or pulled pork, a smoker earns its keep. Low-and-slow cooking transforms tough cuts into tender, flavorful meals that make you the neighborhood hero on weekends.
Offset smokers, pellet smokers, and drum smokers all work well outdoors. Pellet models are the easiest for beginners because they hold temperature automatically. Place your smoker where the airflow won’t push smoke toward seating, and store your wood pellets in a dry, sealed container.
5. Set Up a Pizza Oven for Crowd-Pleasing Nights
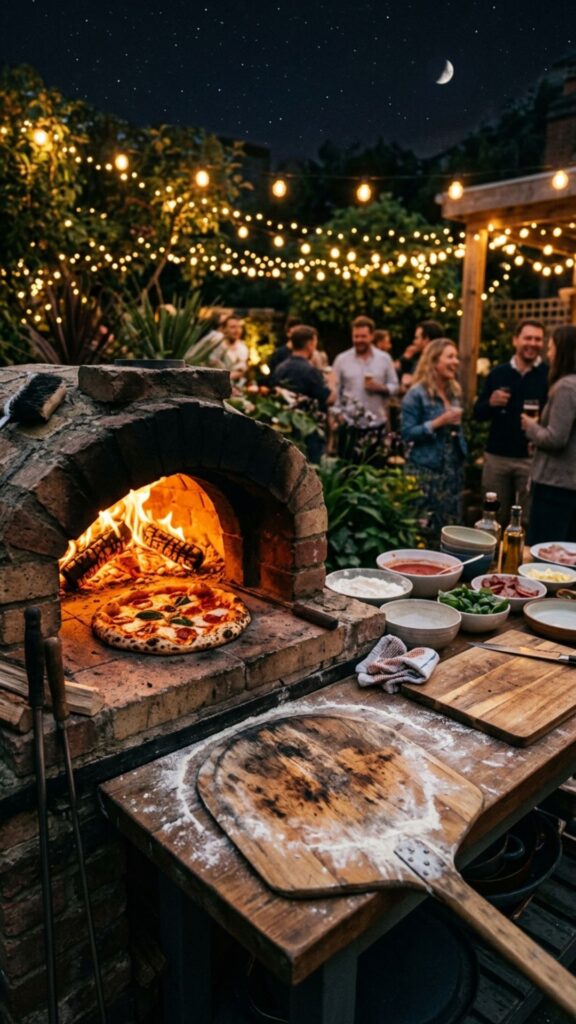
A wood-fired pizza oven turns dinner into an event. Guests love watching a pie go from raw dough to bubbling crust in under two minutes. It’s a conversation starter and a meal all at once.
Countertop models cost far less than built-in versions and heat up in 20 minutes or so. If you go built-in, plan for the weight, since a masonry oven needs a solid, reinforced base. Either way, keep a stack of hardwood nearby and a peel for sliding pizzas in and out.
6. Create Generous Counter Space for Prepping
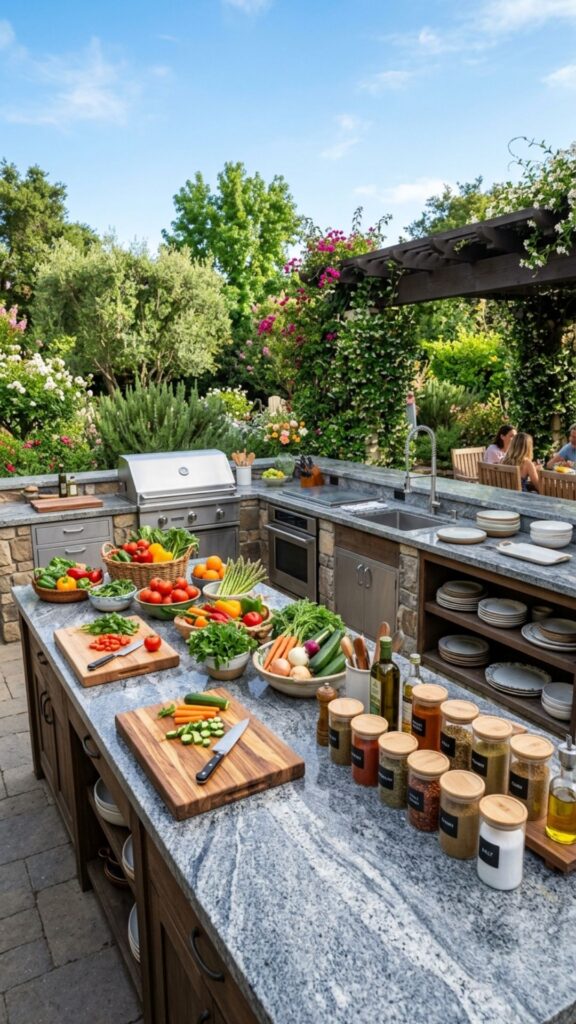
Counter space is the thing people wish they’d added more of. You need room to chop vegetables, season meat, plate food, and set down drinks. Skimp here and your kitchen feels cramped fast.
Granite and stainless steel both handle heat and weather well. We recommend at least six feet of total counter surface for a comfortable setup. Round the corners if kids run around your yard, and pick a light color so you can spot spills easily.
7. Add a Weatherproof Sink and Faucet
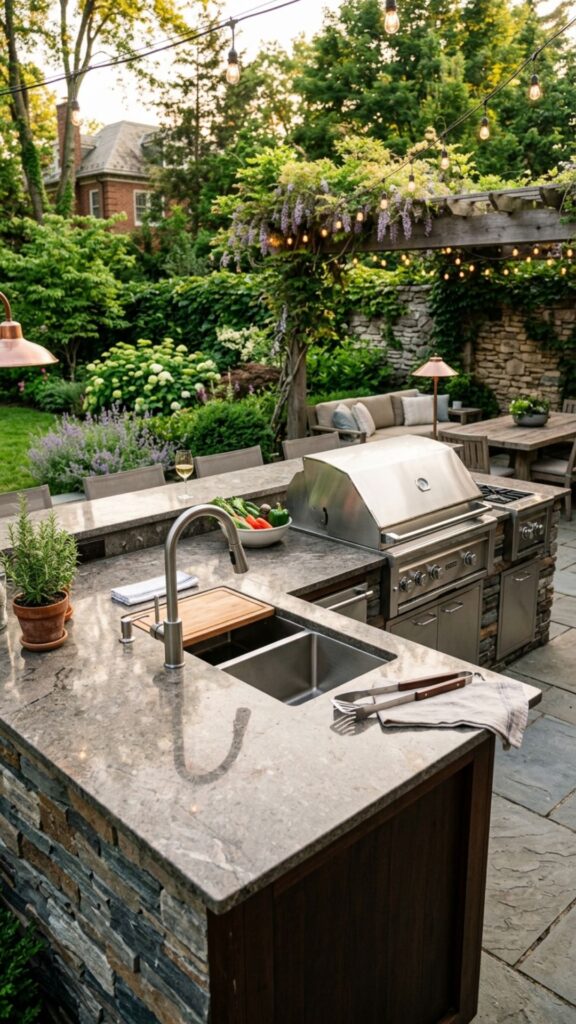
A sink might seem like a luxury until you’ve washed your hands with a garden hose for the tenth time. Rinsing produce, filling pots, and cleaning up all get easier with running water right where you cook.
Choose a stainless steel sink and an outdoor-rated faucet that won’t rust. You’ll need a water line and proper drainage, so loop in a plumber during planning. In colder climates, install a shutoff valve so you can drain the pipes before winter hits.
8. Build in a Beverage Fridge or Cooler
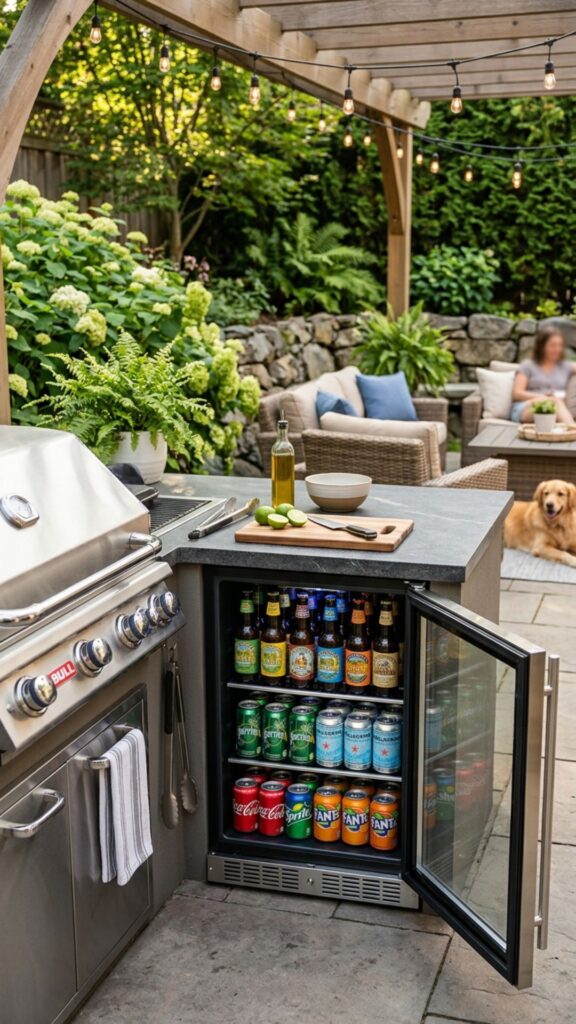
Nobody wants to run indoors every time someone asks for a cold drink. An outdoor fridge keeps sodas, waters, and marinades within arm’s reach while you tend the grill.
Buy a unit rated specifically for outdoor use, since indoor fridges struggle in heat and humidity. For a cheaper option, build a stone-lined ice bin right into your counter. It’s rustic, functional, and works perfectly for weekend parties.
9. Design a Comfortable Bar Seating Area
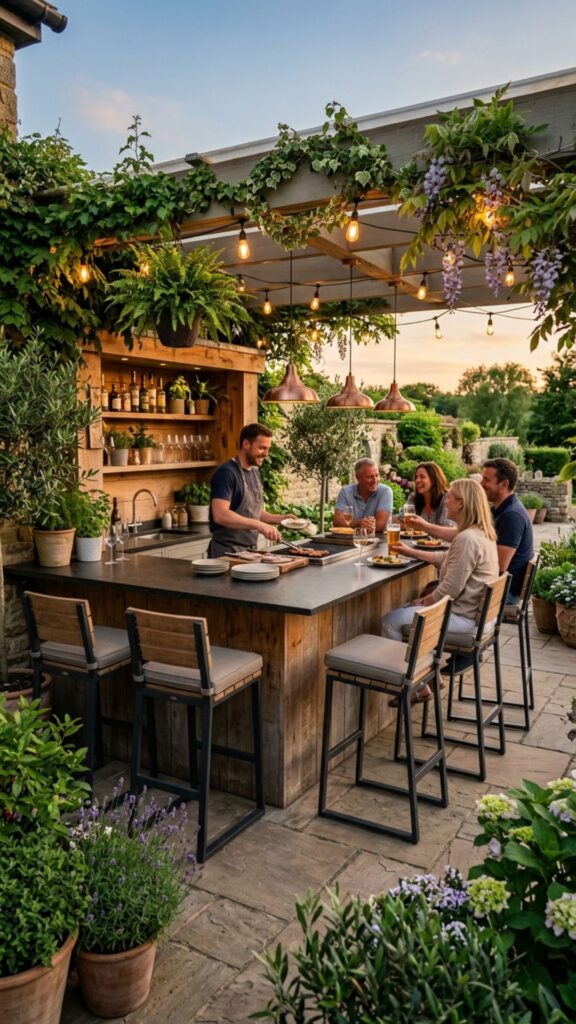
Bar seating keeps guests close while you cook. There’s a reason everyone crowds the kitchen at parties, and an outdoor bar gives them a proper place to perch.
Raise one side of your island to bar height, around 42 inches, and add weather-resistant stools. Leave a foot of legroom underneath so nobody bumps their knees. Aim for one stool per two feet of counter, and you’ll have a spot where friends linger long after the food’s gone.
10. Add Overhead Lighting for Evening Cooking
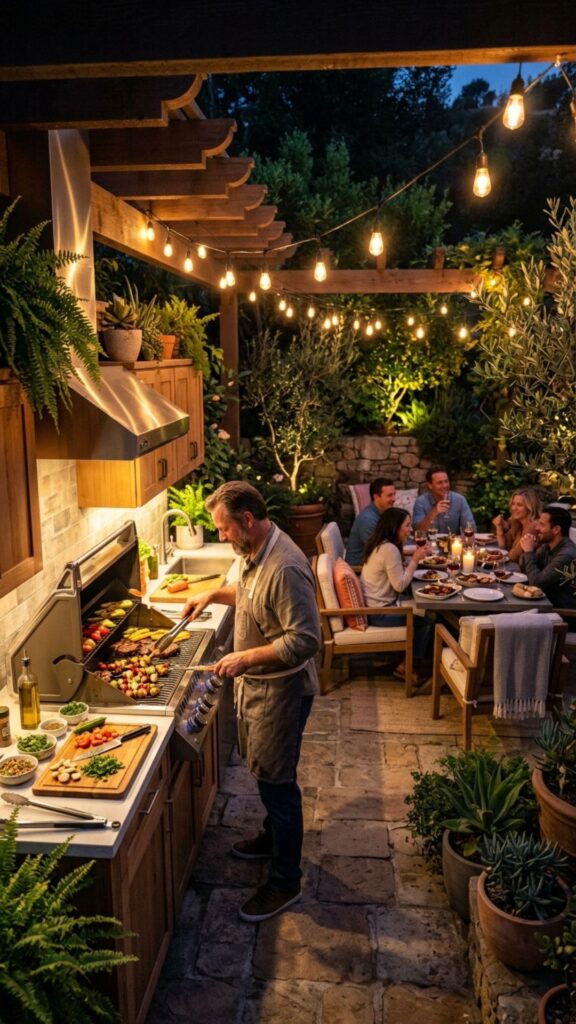
Grilling in the dark is no fun, and squinting at a steak to check doneness leads to overcooked dinners. Good lighting extends your cooking hours well past sunset.
Mix task lighting over the grill with softer ambient lights around the seating area. LED strips, string lights, and low-voltage fixtures all handle the outdoors nicely. Put the lights on a dimmer so you can switch from bright prep mode to a relaxed glow after dinner.
11. Install a Pergola or Roof for Shade and Shelter
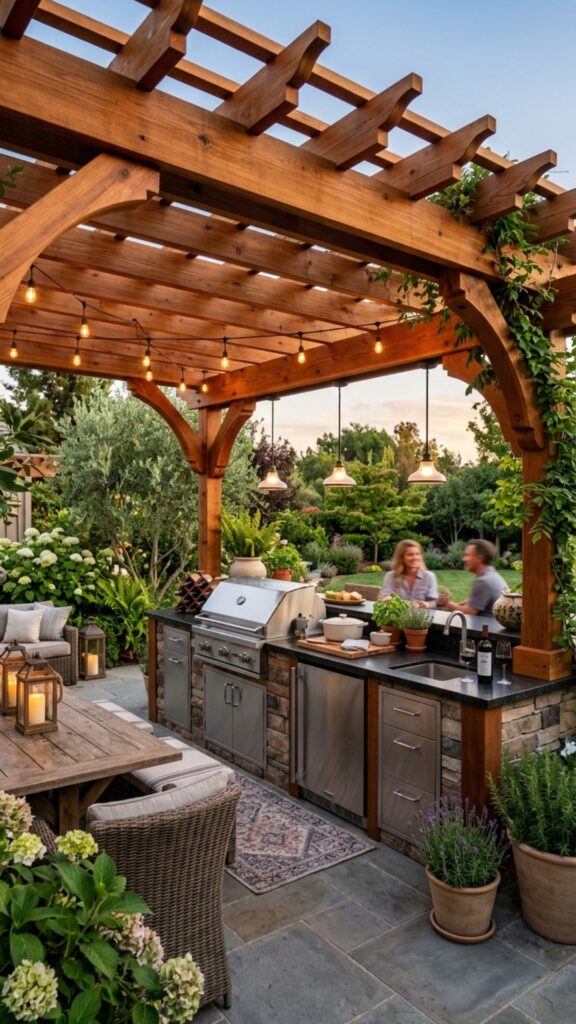
A roof over your outdoor kitchen means you cook rain or shine. It also shields you from the midday sun, which matters a lot in hot climates.
Pergolas offer partial shade and a place to hang lights or grow vines. A solid roof gives full protection but needs proper venting so grill smoke escapes. Whatever you build, keep an open path for heat and smoke to rise safely away from anyone sitting below.
12. Use Durable, Weatherproof Materials Throughout
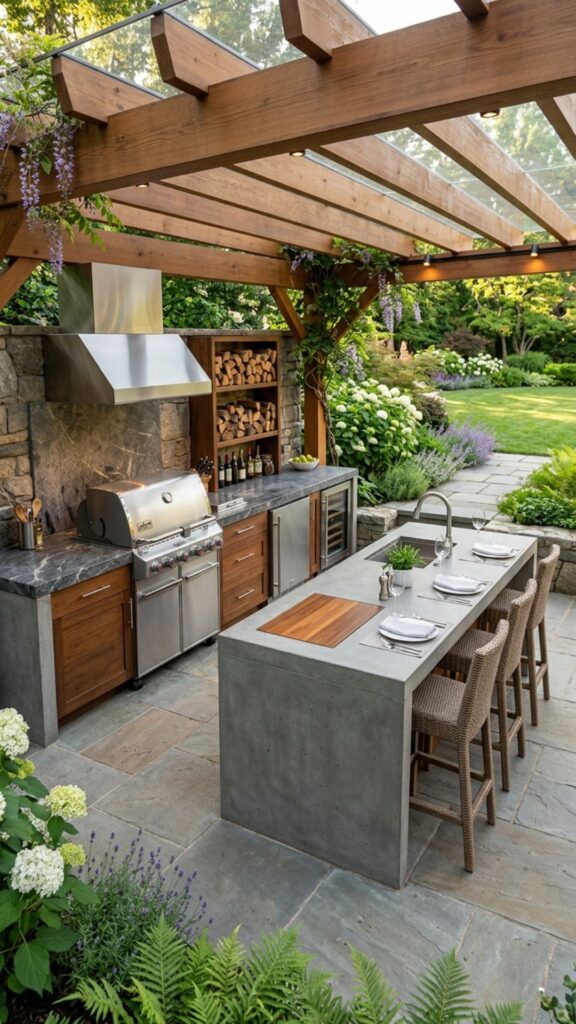
Your outdoor kitchen faces sun, rain, and temperature swings all year. Materials that look great indoors can crack, fade, or rust outside within a season.
Stick with stainless steel, natural stone, concrete, and treated hardwood. These stand up to weather and clean up easily. Spending a bit more on quality materials now saves you from costly repairs later, and it keeps your space looking sharp for years.
13. Add Storage for Tools, Fuel, and Utensils
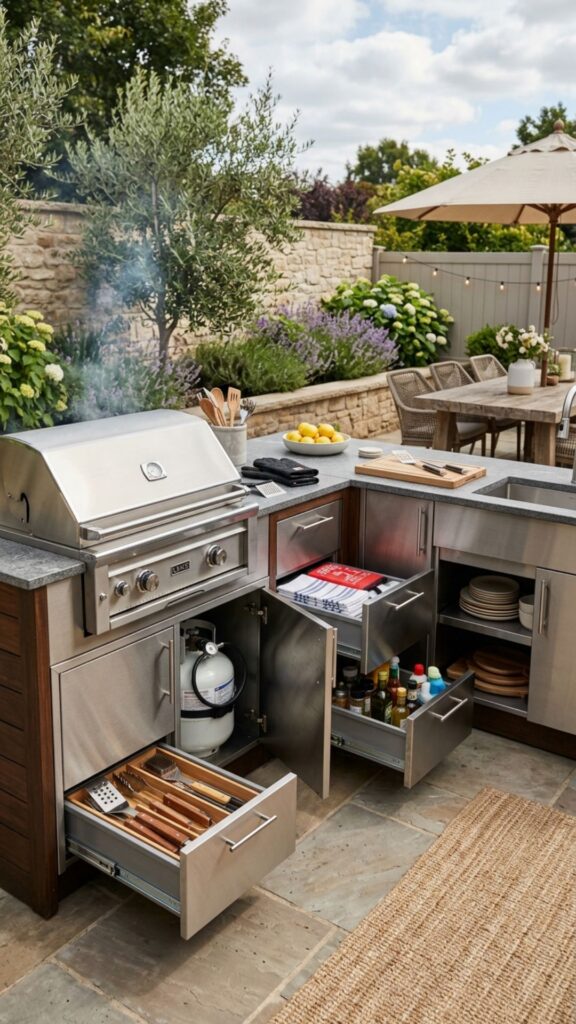
Tongs, spatulas, propane tanks, and cleaning supplies all need a home. Without storage, they end up scattered across your patio or crammed in the garage.
Build weatherproof drawers and cabinets into your island. Dedicate a ventilated spot for propane tanks and keep tools in a drawer near the grill. Add hooks for spatulas and a paper towel holder, and everything stays exactly where you need it.
14. Include a Side Burner for Sauces and Sides
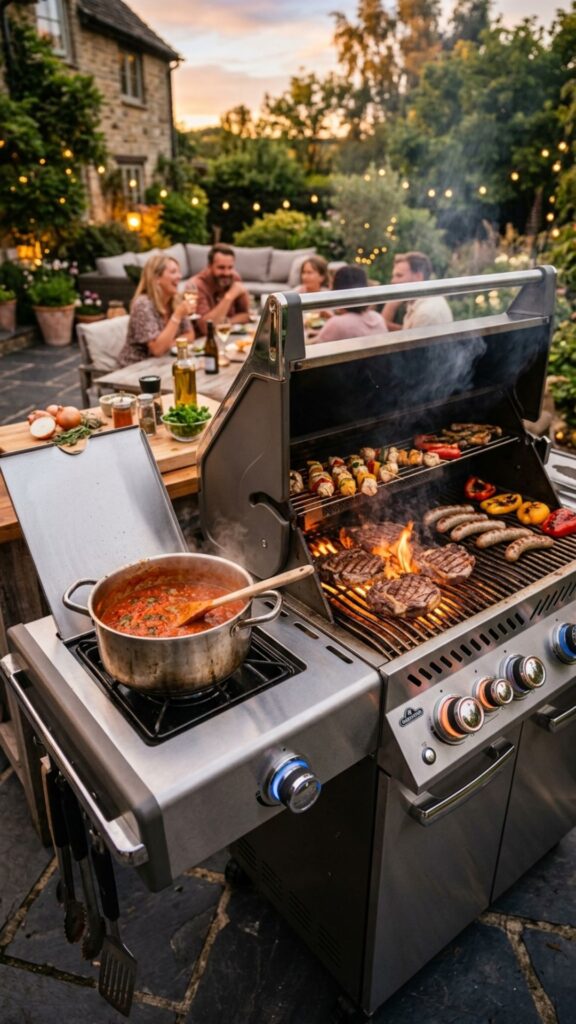
A grill handles the main event, but a side burner lets you cook everything else at once. Simmer barbecue sauce, boil corn, or fry up onions without stepping inside.
Most built-in side burners run on the same gas line as your grill. Place it on the counter beside the grill for easy reach. It’s a small addition that lets you serve a full meal from one spot instead of juggling the indoor stove.
15. Set Up a Dedicated Dining Space
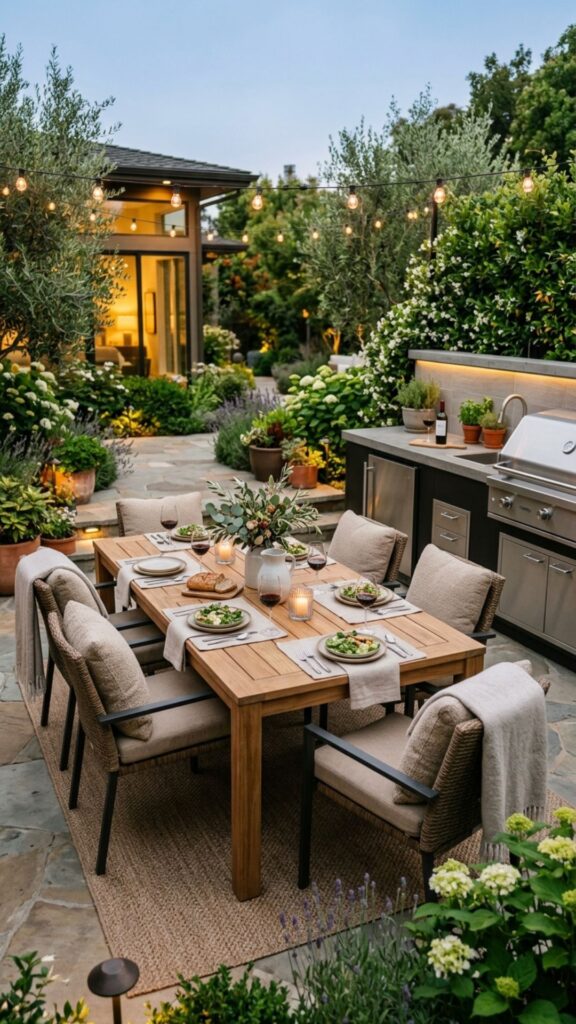
Cooking outside deserves a proper table to eat at. A dining area turns your BBQ into a real meal instead of a plate-on-your-lap affair.
Choose a table that seats your usual crowd, plus a couple extra chairs for surprise guests. Weather-resistant materials like teak or powder-coated aluminum hold up well. Position the table close to the kitchen but far enough that grill smoke drifts away from diners.
16. Add a Fire Pit for After-Dinner Gathering
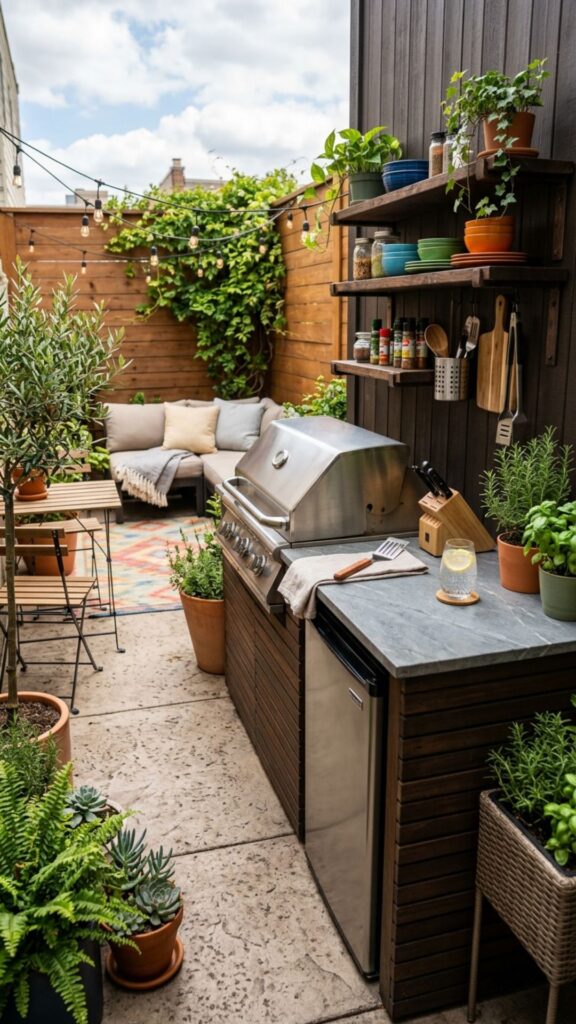
When the food’s finished, a fire pit keeps everyone hanging around. It draws people together, takes the chill off cool evenings, and gives kids a spot to roast marshmallows.
Gas fire pits light instantly and produce no smoke, while wood-burning versions offer that classic crackle. Surround yours with comfortable seating and keep it a safe distance from your cooking area. It’s the finishing touch that turns dinner into a whole evening.
17. Design for Small Spaces with a Compact Layout
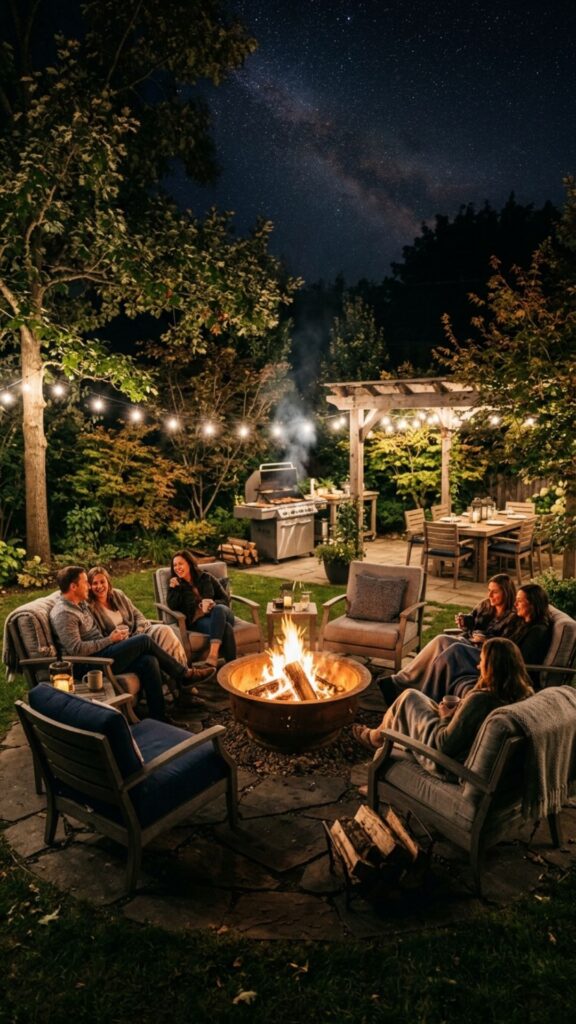
You don’t need a huge yard to build a great outdoor kitchen. Small spaces just call for smart, vertical thinking and gear that pulls double duty.
A slim island with a built-in grill, a bit of counter, and a small fridge fits on many balconies and patios. Use wall-mounted shelves and fold-down surfaces to free up floor space. Even a compact setup beats hauling everything out from indoors each time.
18. Add a Green or Living Element
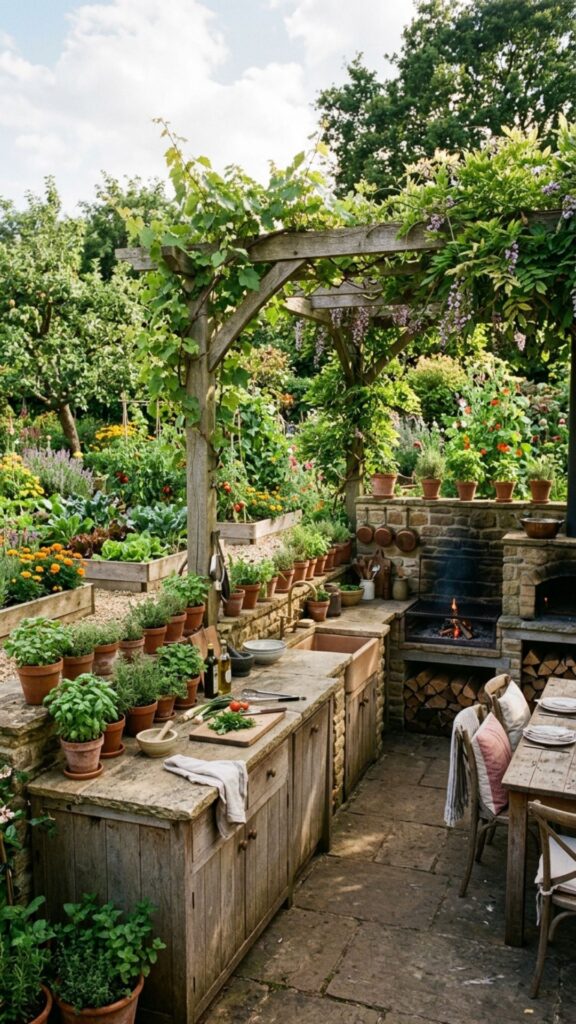
Plants soften the hard edges of stone and steel and make your kitchen feel like part of the garden. Fresh herbs also give your cooking a boost right where you need them.
Plant basil, rosemary, and thyme in a raised bed or pots near the prep area. Add climbing vines on a pergola for natural shade. It’s a small touch that makes the space feel alive and keeps fresh flavor within arm’s reach.
19. Choose a Layout That Matches How You Cook
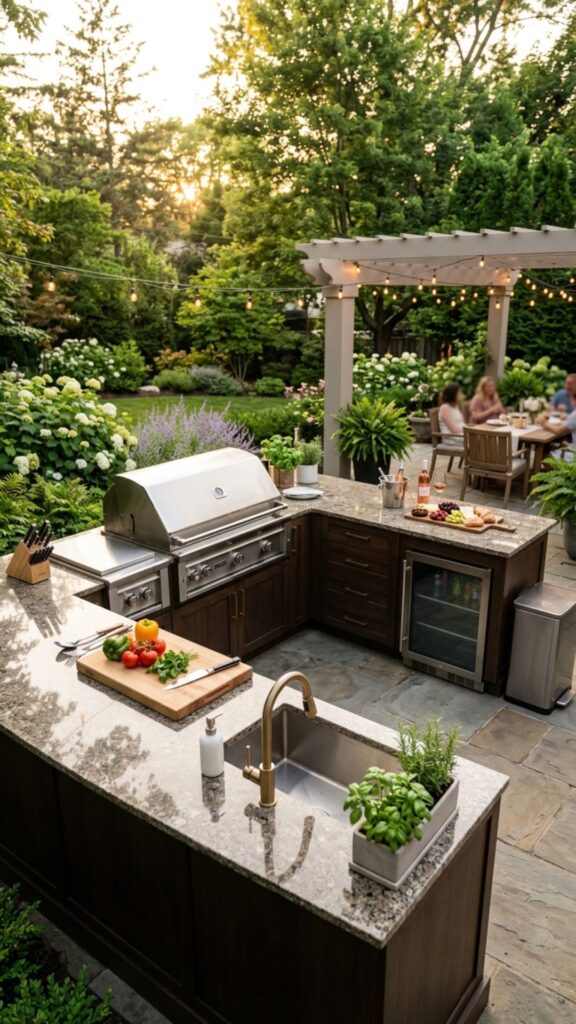
The best outdoor kitchen ideas BBQ fans use all start with one question: how do you actually cook? A straight-line layout suits small spaces, an L-shape separates prep from serving, and a U-shape wraps everything around you.
Think about your workflow before you build. Keep the grill, prep counter, and sink close together so you’re not walking laps. A layout built around your habits feels natural from day one and saves you from expensive regrets.
20. Plan Your Budget and Build in Phases
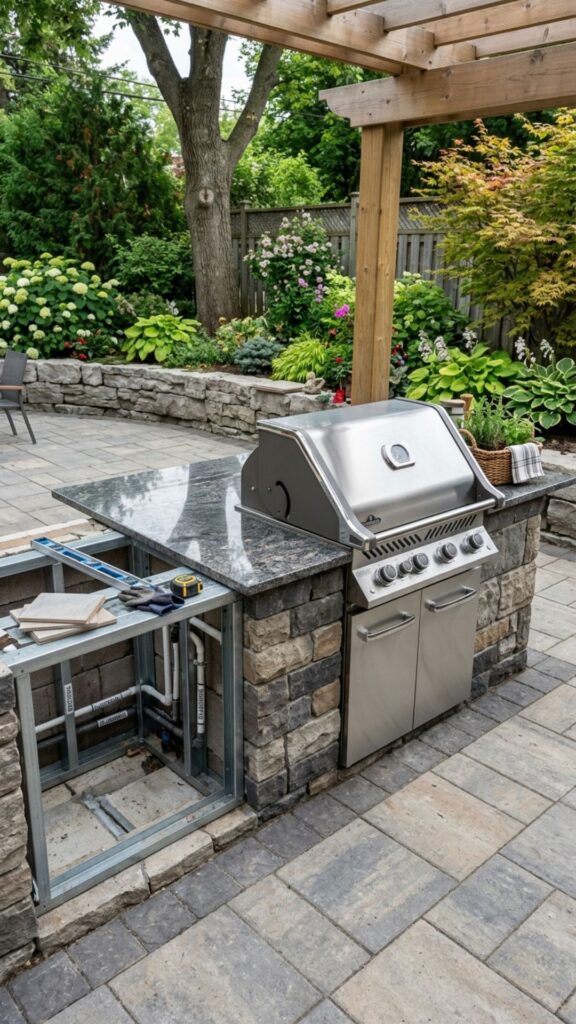
A full outdoor kitchen can cost a little or a lot, depending on your choices. The smart move is to plan the whole space first, then build it in stages you can afford.
Start with the essentials, like the grill and counter, then add the fridge, sink, and pizza oven over time. Rough in the gas, water, and electrical lines during the first phase so future upgrades stay simple. This way you spread the cost, avoid debt, and end up with a kitchen built exactly right.
Bringing It All Together
Your outdoor kitchen should fit your life, your space, and the way you love to cook. You don’t have to copy all 20 of these ideas. Pick the ones that excite you, start with a solid grill island, and grow from there. The best backyard kitchens come together one smart choice at a time.
Ready to start building? Grab a notepad, sketch your space, and list the top three ideas you want first. Then talk to a local contractor or grill specialist about your plan. Your dream BBQ setup is closer than you think, and every great cookout starts with that first step.
How much does an outdoor kitchen with a BBQ cost?
A basic outdoor kitchen with a built-in grill and counter typically runs $5,000 to $10,000. Mid-range setups with a fridge, sink, and storage land between $10,000 and $20,000. Fully loaded kitchens with pizza ovens, smokers, and premium finishes can exceed $30,000.
What is the best material for an outdoor kitchen countertop?
Granite and concrete are the top choices. Both resist heat, weather, and scratches while handling daily use with ease. Stainless steel is another strong option, especially for a modern look and simple cleaning.
Do I need a permit to build an outdoor kitchen?
Often, yes. Any project involving gas, water, or electrical lines usually requires a permit and inspection. Check with your local building department before you start, since rules vary by area and skipping this step can cause problems later.
How far should an outdoor grill be from the house?
Keep your grill at least 10 feet from your home, deck railings, and any overhanging branches. This spacing reduces fire risk and keeps smoke from drifting indoors. Always confirm the clearance your local fire code requires.
Can I build an outdoor kitchen in a small backyard?
Absolutely. A compact island with a built-in grill, some counter space, and a small fridge fits comfortably in tight areas. Use vertical storage and fold-down surfaces to make the most of every inch.