Cooking outside should feel easy, not cramped. If you own a Blackstone griddle, you already know how much fun it is to flip smash burgers, sizzle fajitas, and cook breakfast for a crowd. The trick is building a space around it that actually works.
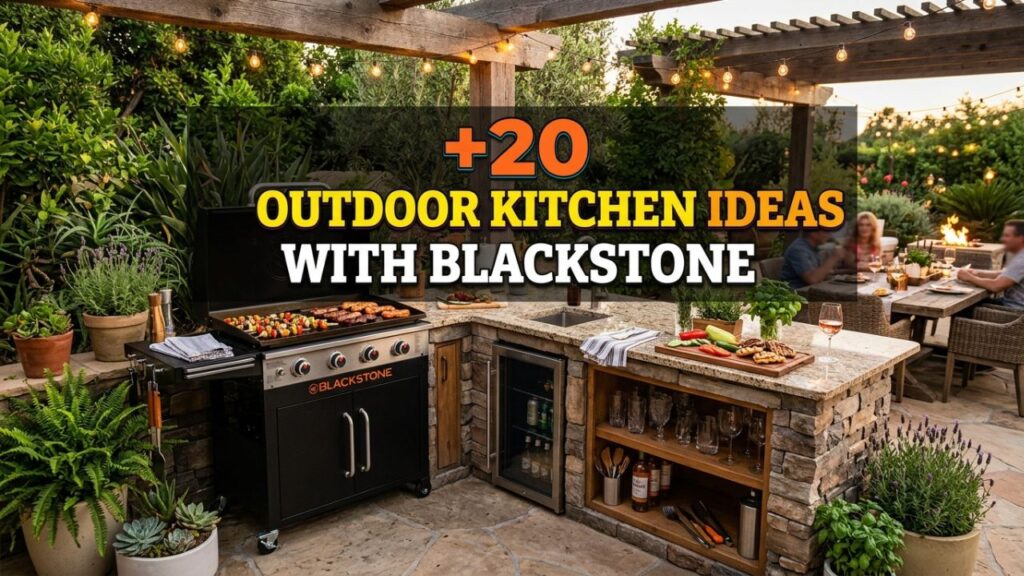
That’s where smart planning comes in. In this guide, you’ll find 20 outdoor kitchen ideas built around Blackstone griddles and grill combos.
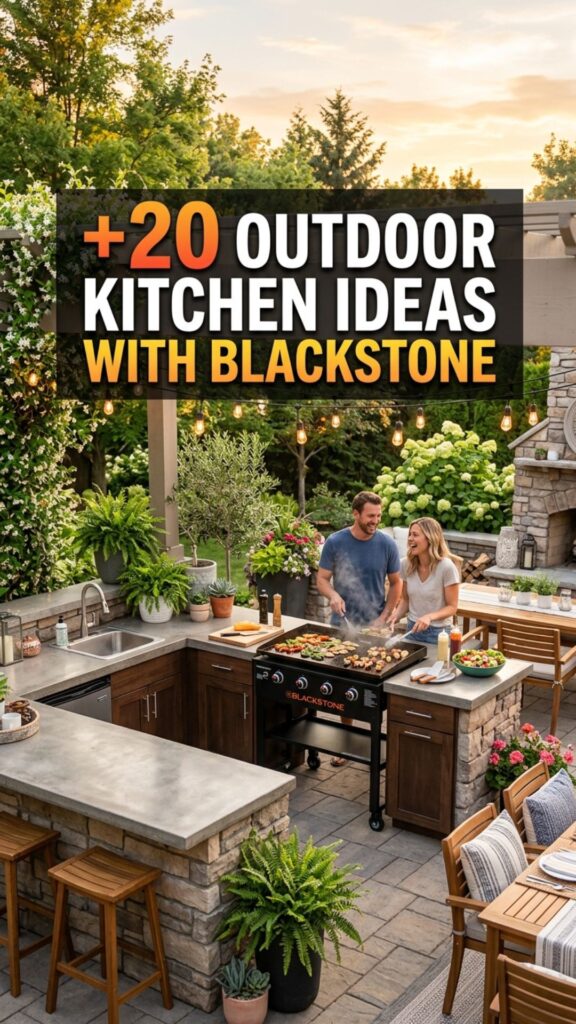
We’ll cover layouts, storage, materials, and small touches that make a big difference. Whether you have a tiny patio or a sprawling backyard, there’s an idea here for you.
1. Build a Simple L-Shaped Counter
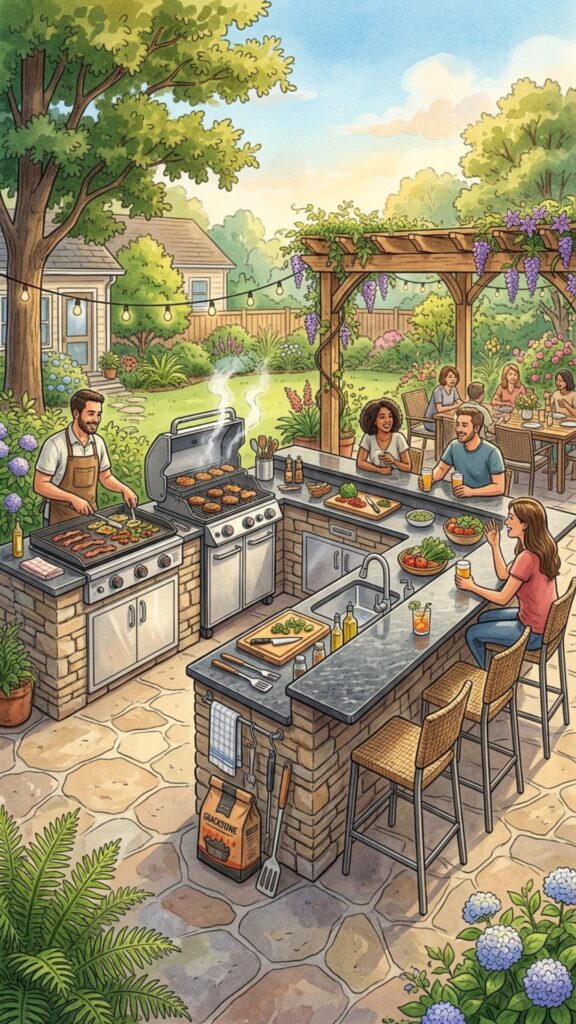
An L-shaped counter is one of the most practical outdoor kitchen ideas with Blackstone at the center. Place your griddle on one leg and your grill on the other. This gives you a natural workflow: prep on one side, cook on the other, and plate at the corner.
The shape also creates a little pocket of space that feels tucked away. You get a wind buffer, extra counter room, and a spot where guests can lean and chat while you cook. It fits most patios without eating up your whole yard.
2. Pair a Blackstone With a Charcoal Grill
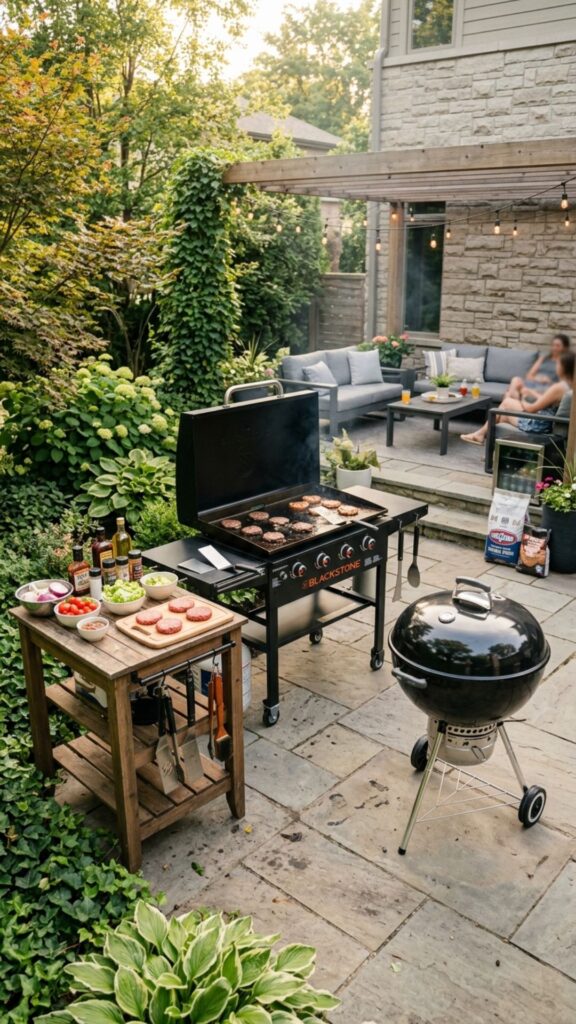
Some foods just taste better over charcoal. Steaks, ribs, and veggies pick up a smoky flavor a griddle can’t match. Set your Blackstone next to a charcoal grill and you cover both bases in one station.
This combo works great for weekend cookouts. Start burgers on the griddle for that crispy edge, then finish corn or chicken over the coals. Your guests get variety, and you never have to choose between two cooking styles.
3. Create a Compact Balcony Setup
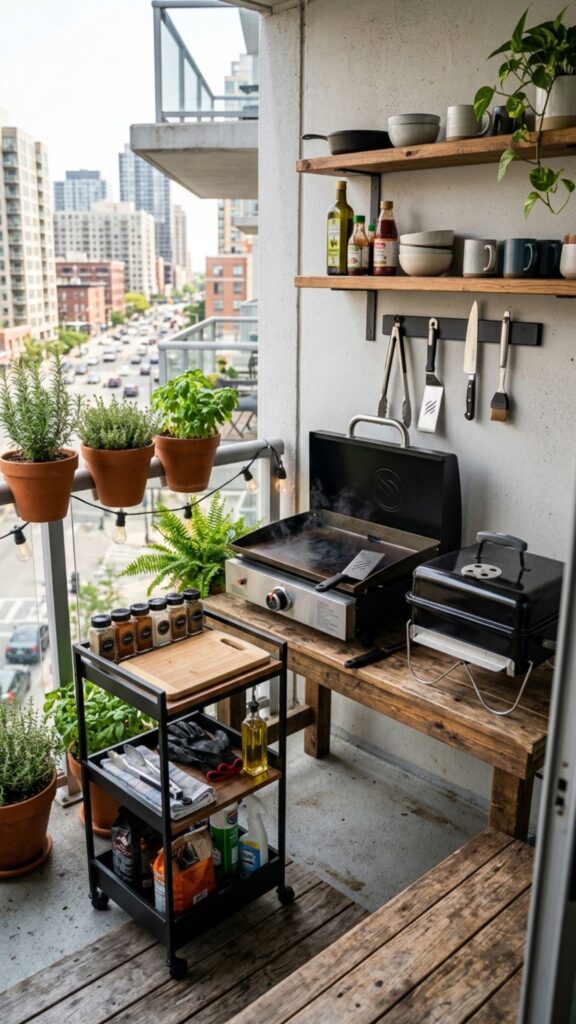
Small space? No problem. A tabletop Blackstone paired with a portable grill fits neatly on a balcony or narrow patio. Use a slim rolling cart to hold both, and you’ve got a full cooking station that takes up almost no room.
The key is going vertical. Add a small shelf above for spices and tools, and hang utensils on hooks. When you’re done, tuck everything against the wall. This proves that great outdoor cooking doesn’t need a huge footprint.
4. Add a Covered Cooking Station
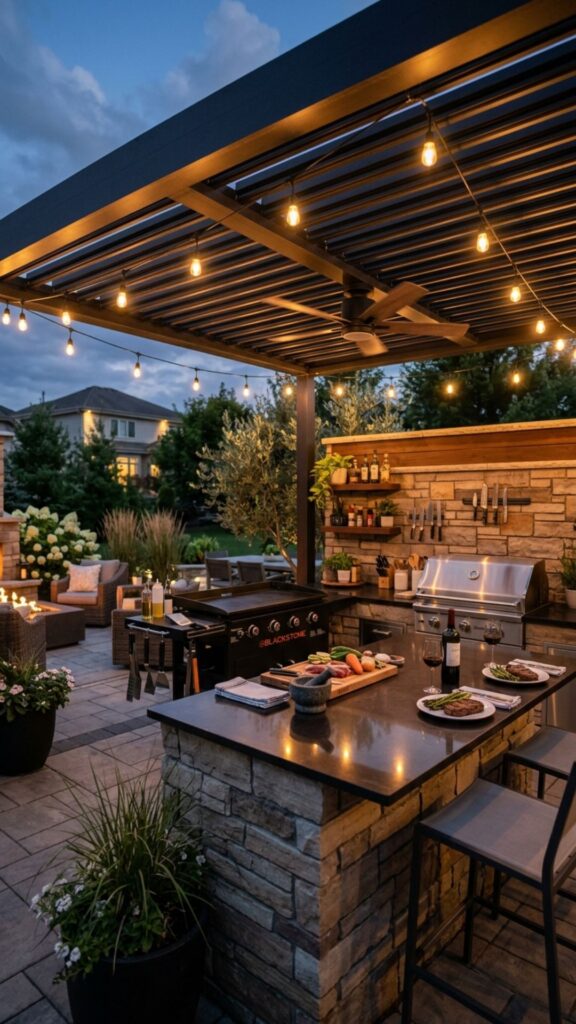
Weather ruins more cookouts than anything else. A simple pergola or roof over your griddle and grill keeps you cooking through light rain and blazing sun. It also protects your equipment from wear.
Choose a cover with an open side so smoke can escape. Add a ceiling fan or string lights, and you turn a plain corner into a spot people want to gather. A covered station means your outdoor kitchen gets used all year, not just on perfect days.
5. Install a Stone Veneer Base
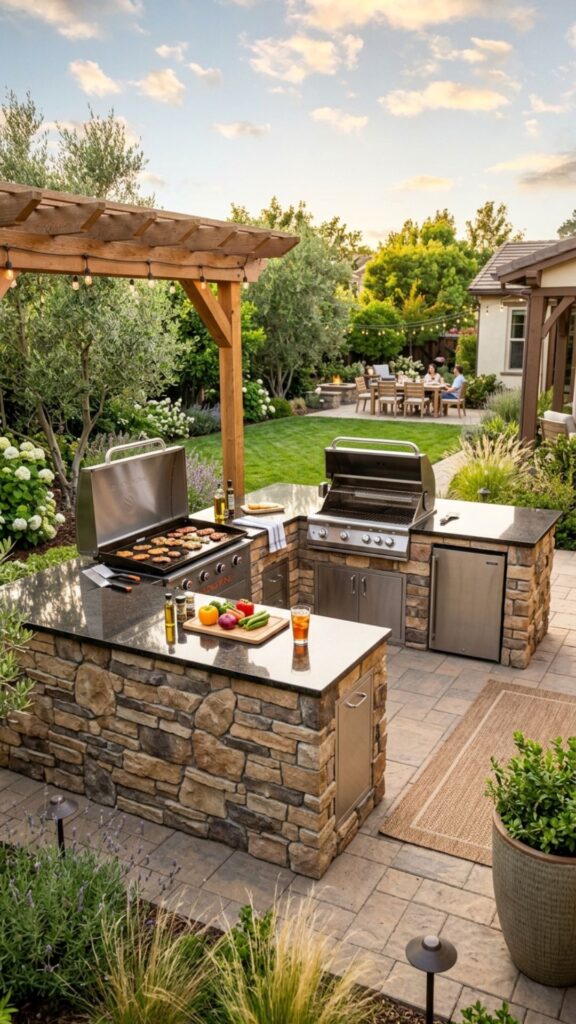
Stone veneer wraps your cooking island in a rugged, natural look. It hides ugly frames and stands up to heat and weather. Around a Blackstone and grill combo, it feels solid and built to last.
You don’t need real stacked stone to get the effect. Manufactured veneer panels cost less and install faster. Pick a color that matches your home’s exterior, and the whole setup looks like it belongs there.
6. Go Modular With Rolling Carts
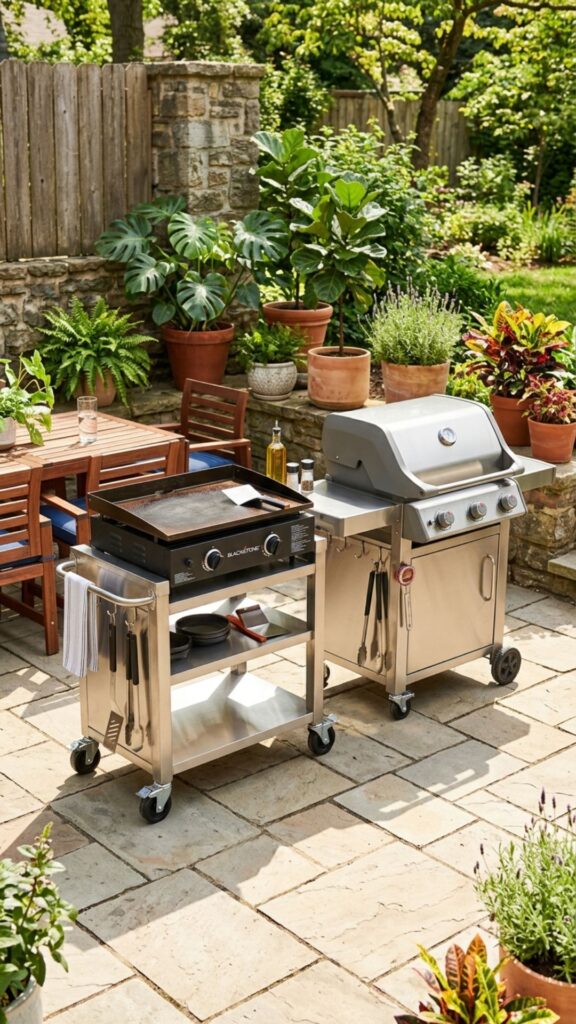
If you rent or like to rearrange, modular carts are your friend. Put your Blackstone on one cart and your grill on another. Roll them together for parties, then split them apart for storage.
This approach costs less than a permanent build. It also lets you test a layout before committing to anything fixed. Lock the wheels while cooking, and you get a stable surface that still moves when you need it to.
7. Match Your Griddle With a Pizza Oven
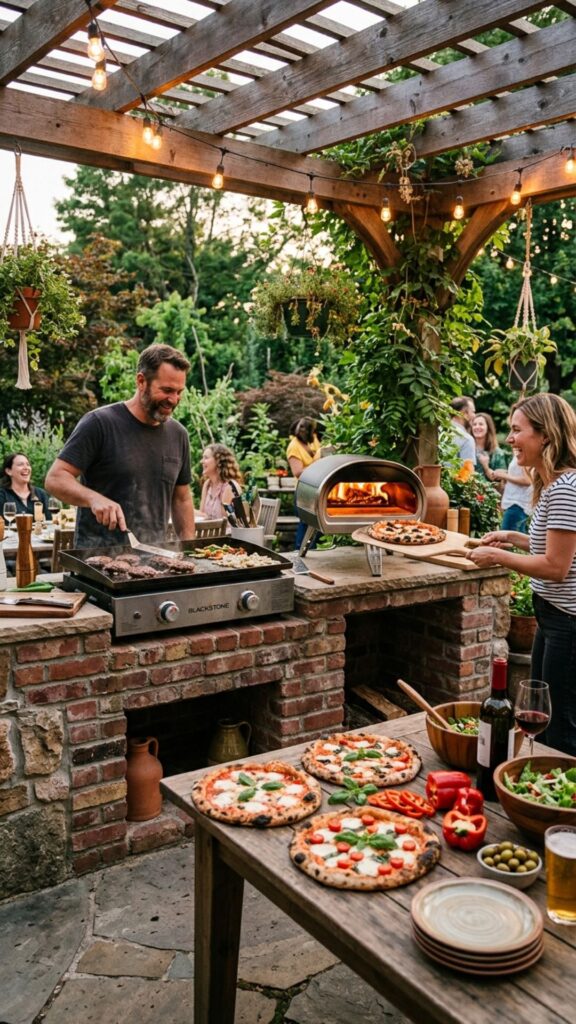
Griddle nights and pizza nights can live in the same space. Add a countertop or standalone pizza oven near your Blackstone, and you double your menu options. Kids love building their own pies while you grill.
The heat from both units also warms the whole area on cool evenings. Fire up the oven for appetizers, then move to the griddle for the main course. It’s a crowd-pleasing pairing that keeps everyone fed and happy.
8. Use a Concrete Countertop
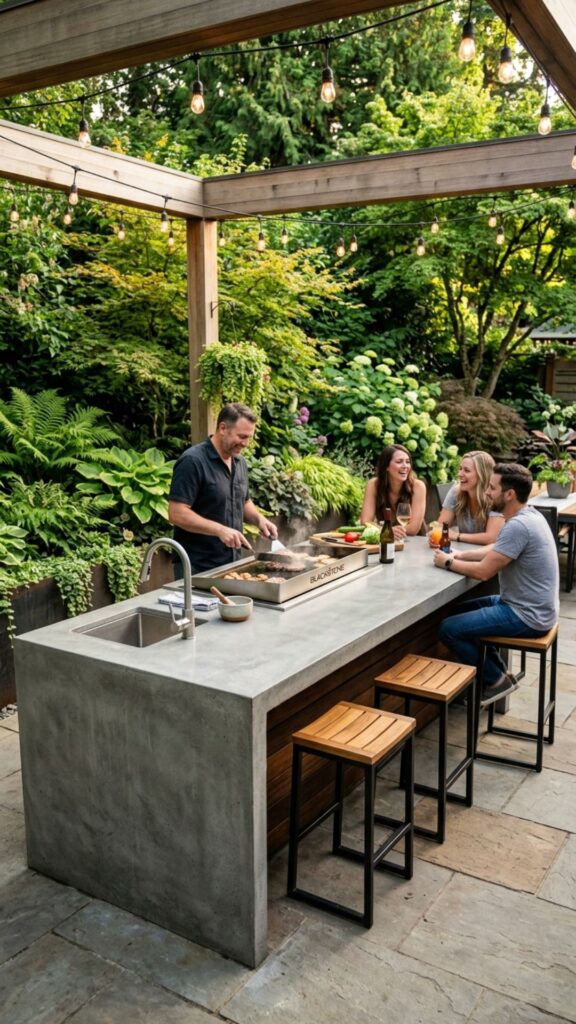
Concrete is tough, cheap, and heat-resistant. A poured or precast concrete counter gives your Blackstone a sturdy home that shrugs off spills and hot pans. It also has a clean, modern look.
You can stain or seal concrete in almost any shade. Add a slight overhang, and you create a spot for bar stools. This makes your cooking area double as a place to eat and hang out.
9. Frame Everything in Cedar
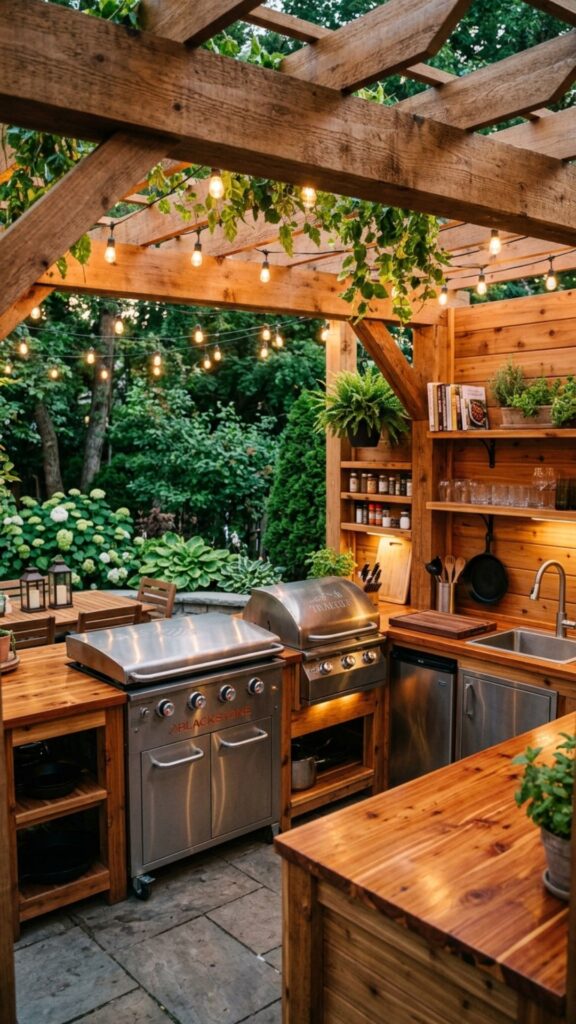
Cedar smells great, resists bugs, and ages into a soft gray if you let it. Build your outdoor kitchen frame from cedar for warmth and character. It pairs beautifully with the stainless steel of a Blackstone.
Seal the wood if you want to keep its rich color. Keep any flame source a safe distance from the wood, and use heat shields where needed. Done right, cedar gives your space a cozy, cabin-like feel.
10. Add a Dedicated Prep Sink
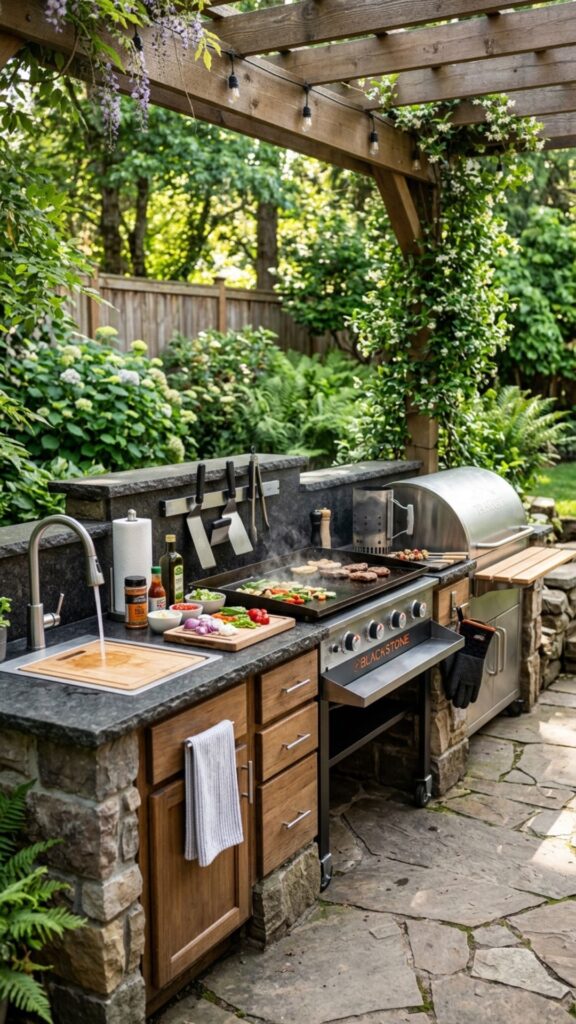
Running back and forth to the kitchen gets old fast. A small outdoor sink near your griddle saves steps and keeps your hands clean. Rinse veggies, fill pots, and wash up without leaving your station.
You can tap into an existing water line or use a simple hose hookup. Pair the sink with a trash pull-out below, and cleanup becomes almost effortless. It’s a small upgrade that makes cooking outside feel like a real kitchen.
11. Build In Under-Counter Storage
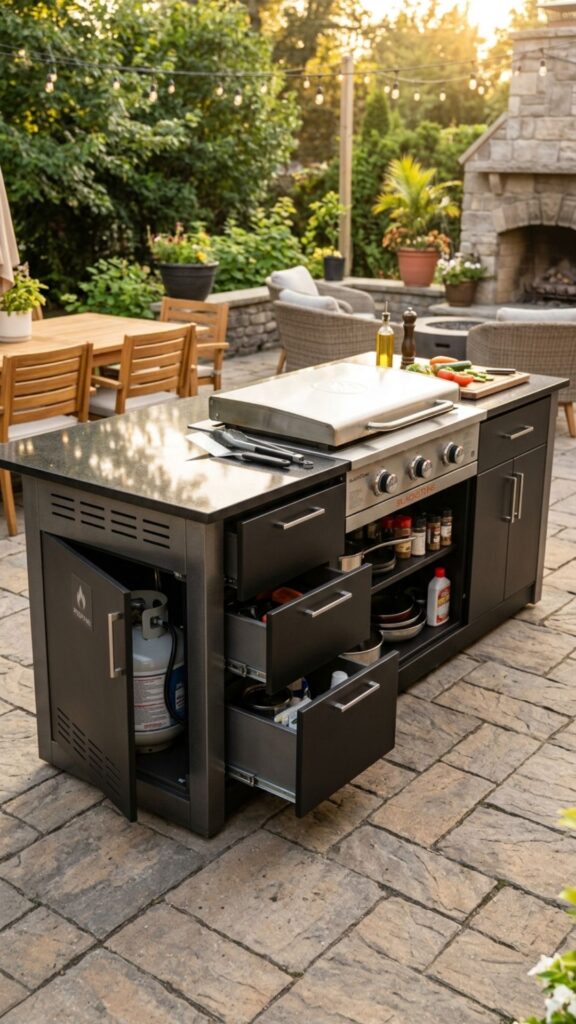
Tools, sauces, and propane all need a home. Under-counter cabinets and drawers keep your gear dry and out of sight. This keeps your counters clear for actual cooking.
Choose weatherproof doors made from stainless steel or marine-grade polymer. Add a dedicated slot for your propane tank so it stays hidden but easy to reach. Good storage is what separates a tidy setup from a cluttered mess.
12. Set Up a Griddle-and-Smoker Combo
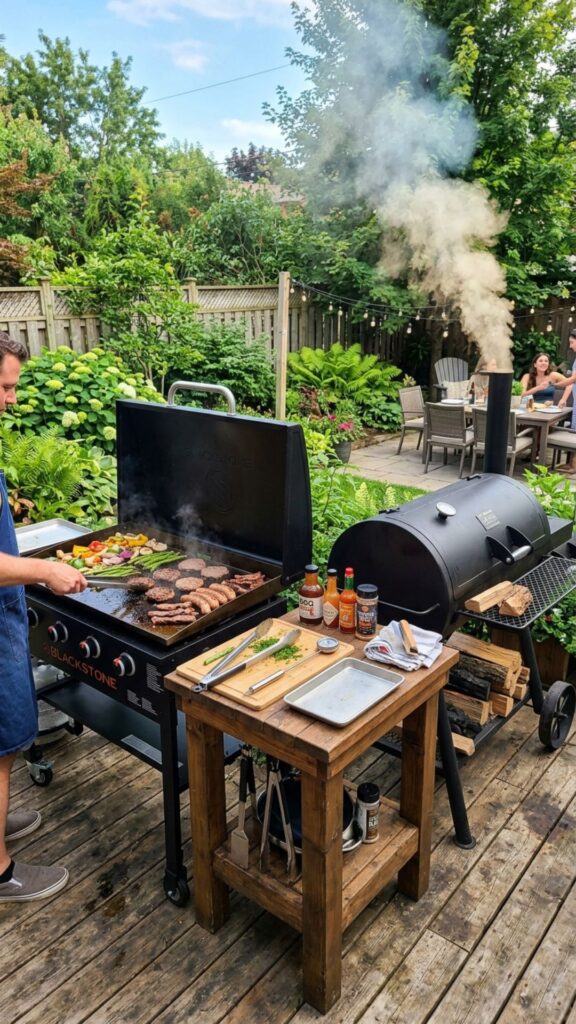
For low-and-slow fans, pair your Blackstone with a smoker. Smoke a brisket for hours, then use the griddle to whip up sides and sear extras. Together, they handle almost any recipe you can dream up.
This combo shines at big gatherings. The smoker does the heavy lifting on the main dish while the griddle keeps quick items moving. You get restaurant-style variety right in your backyard.
13. Design an Outdoor Breakfast Bar
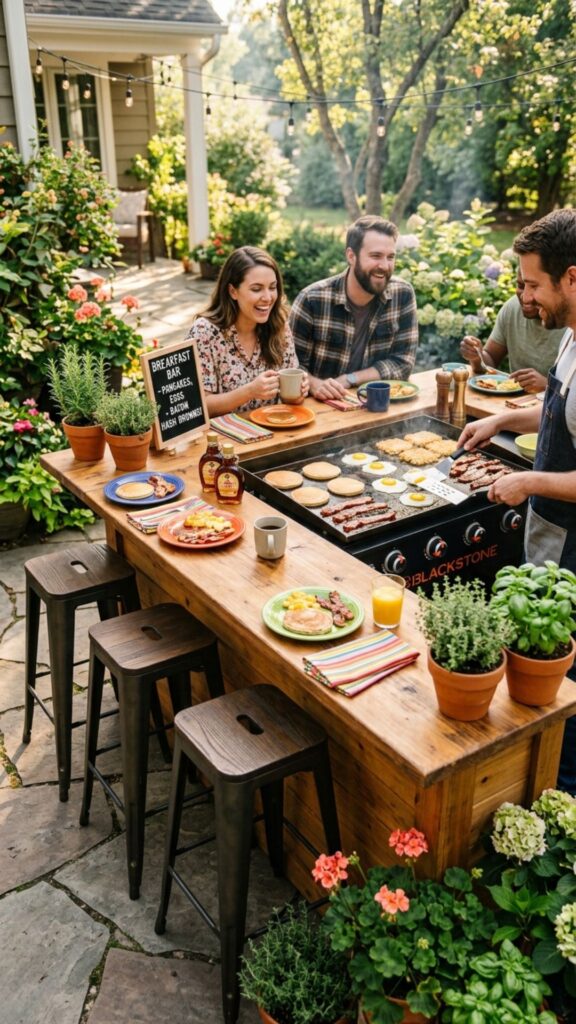
Blackstones are famous for breakfast. Bacon, eggs, hash browns, and pancakes all cook great on that flat top. Build a breakfast bar with stools facing the griddle so guests watch the show.
Add a coffee station nearby with an outlet for your machine. Morning cookouts become a whole event, not just a meal. It’s one of those outdoor kitchen ideas that turns everyday breakfast into something special.
14. Mix Stainless Steel and Tile
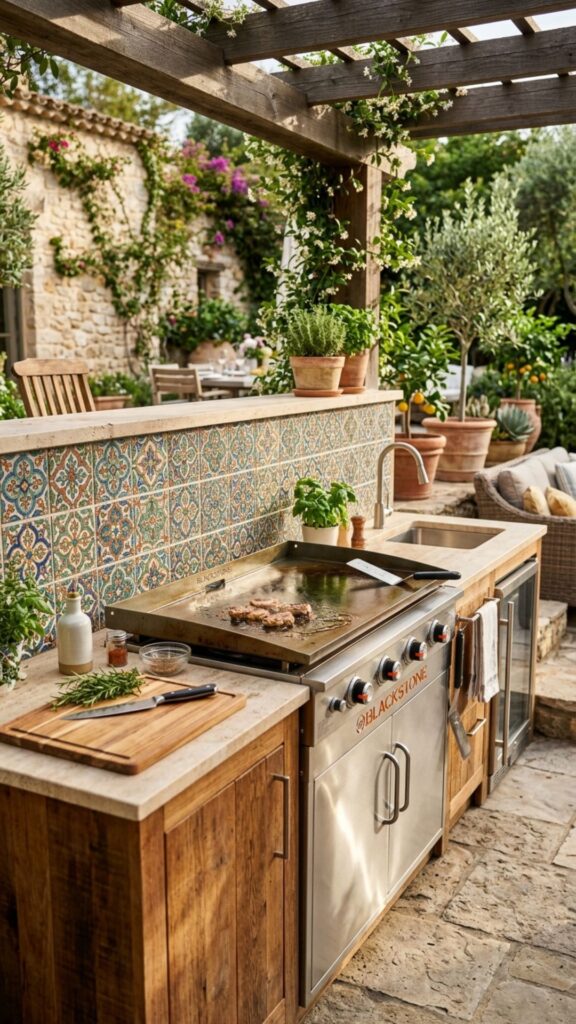
Stainless steel handles heat and wipes clean, while tile adds color and personality. Use steel around your cooking zones and tile for the backsplash or counter edges. The blend looks sharp and stays practical.
Pick tiles rated for outdoor use so they don’t crack in the cold. A bold backsplash behind your Blackstone catches the eye and hides splatter. This mix gives you both durability and style in one design.
15. Create a Poolside Cooking Zone
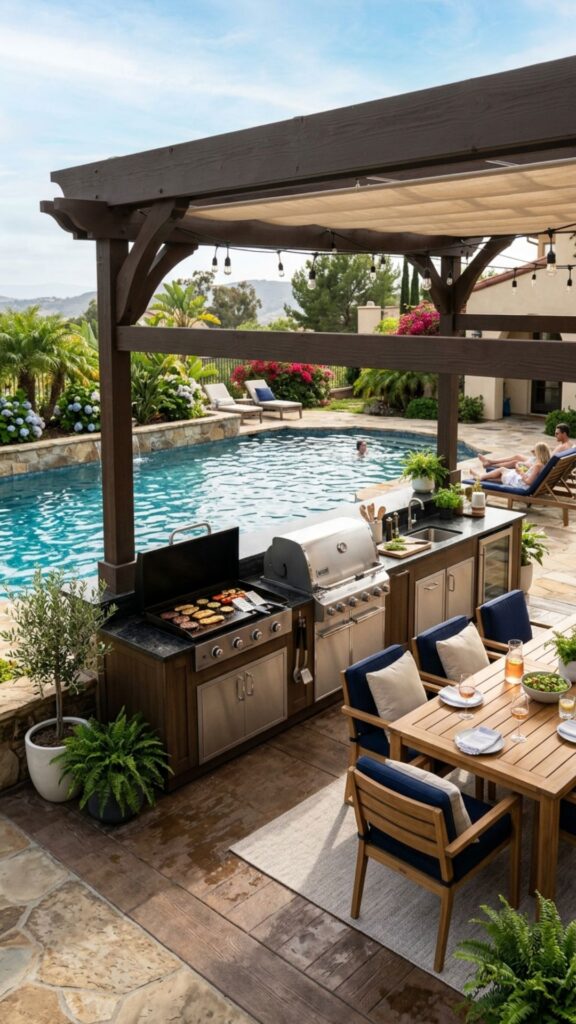
If you have a pool, put your kitchen close by. Swimmers can grab a burger without tracking water through the house. Your Blackstone and grill become the heart of every pool party.
Use slip-resistant flooring and keep electrical outlets covered and away from water. Add a shaded seating area so folks can dry off and eat. A poolside setup keeps the fun in one place all afternoon.
16. Add Task and Ambient Lighting
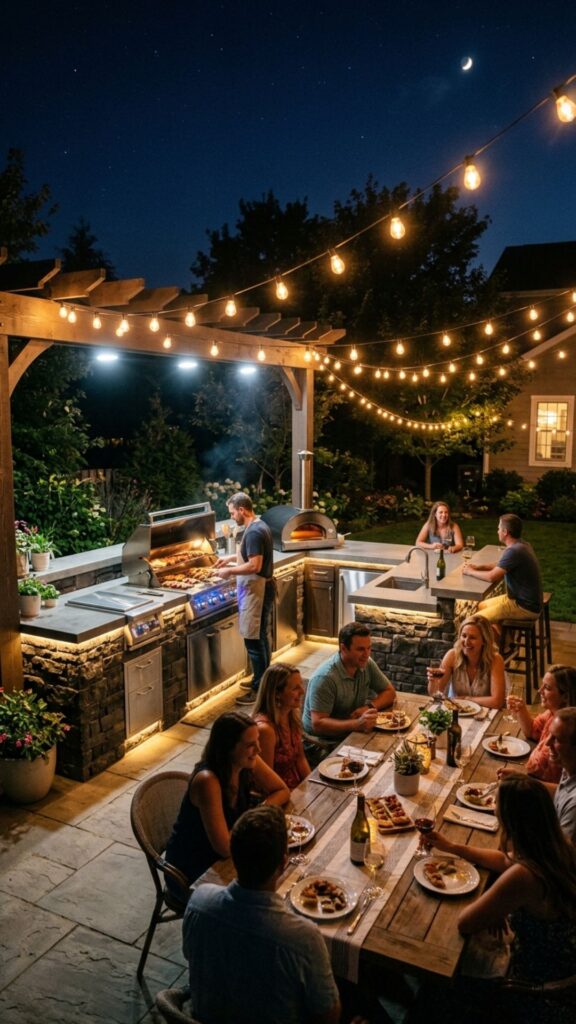
You can’t cook what you can’t see. Bright task lighting over your griddle keeps things safe after sunset. Softer ambient lights around the seating area set a relaxed mood.
Go with LED strips under counters and a couple of overhead fixtures. String lights add a warm glow without much cost. Good lighting stretches your cooking hours well past dark.
17. Include a Beverage Fridge
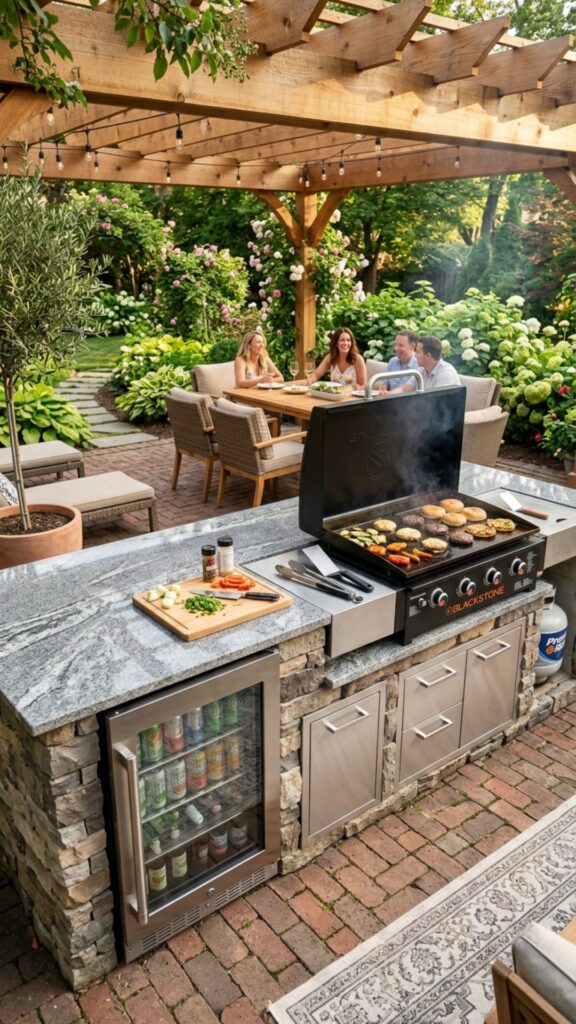
Nobody likes hiking indoors for cold drinks. A small outdoor fridge keeps sodas, water, and marinades within arm’s reach. It’s a comfort that guests notice right away.
Slide it into your counter base near the seating area. Look for a model rated for outdoor use so it handles heat and humidity. Once you have one, you’ll wonder how you ever cooked without it.
18. Build a Fire Pit Lounge Nearby
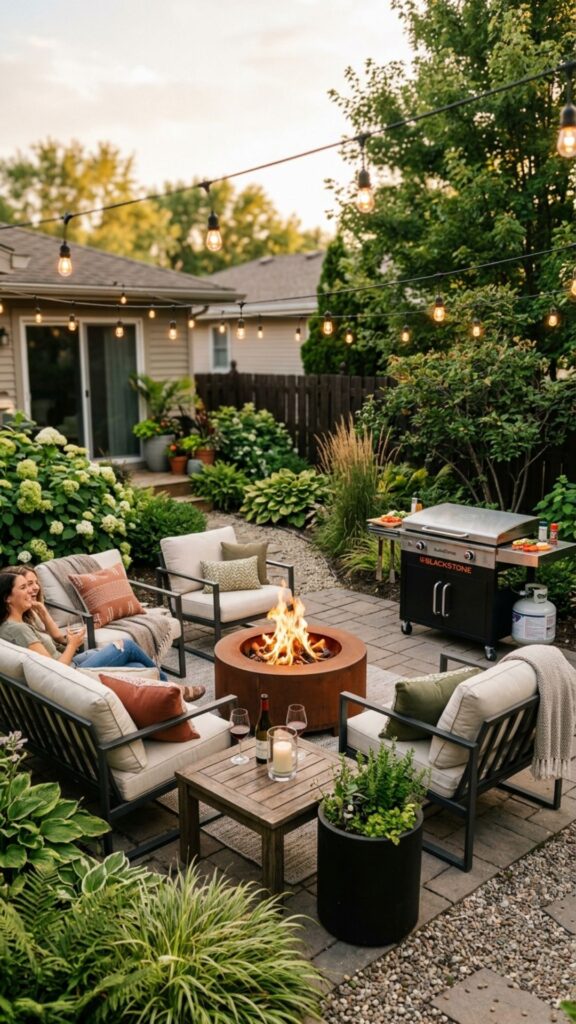
Cooking is only half the fun. A fire pit a few feet from your Blackstone gives guests a place to relax while you flip food. It keeps everyone close instead of scattered.
Ring the pit with comfy chairs and a low table for drinks and snacks. On cool nights, the fire keeps the party going. This pairing makes your backyard feel like a full outdoor living room.
19. Go Fully Off-Grid With Portable Power
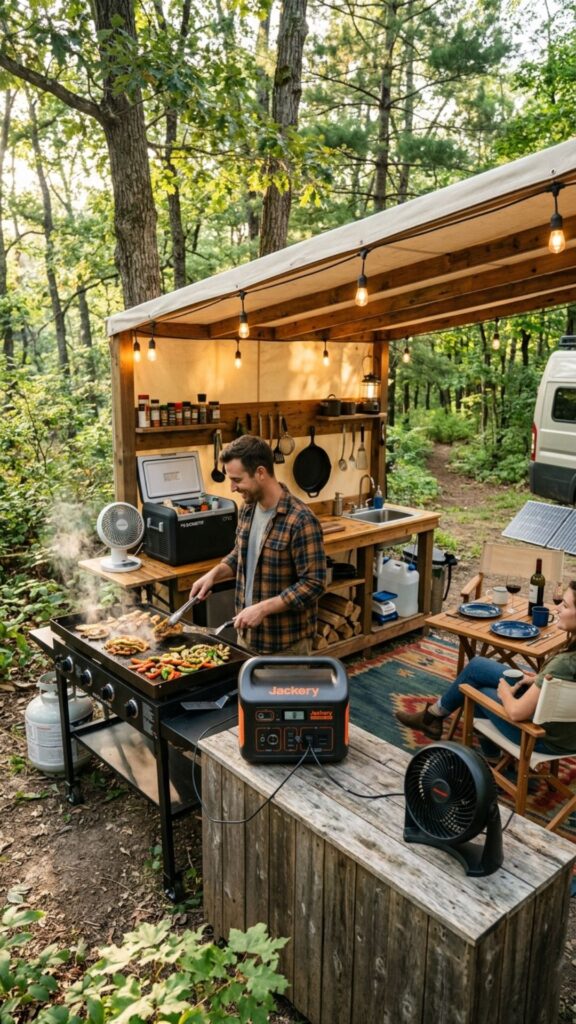
Not every yard has an outlet nearby. A solar generator or portable power station runs your lights, fridge, and fans without wiring. This frees you to place your kitchen wherever you want.
Blackstones run on propane, so they don’t need power to cook. Add a battery station for the extras, and you’ve got a flexible setup. It’s perfect for large yards, campsites, or homes still waiting on an electrician.
20. Personalize With Bold Accents
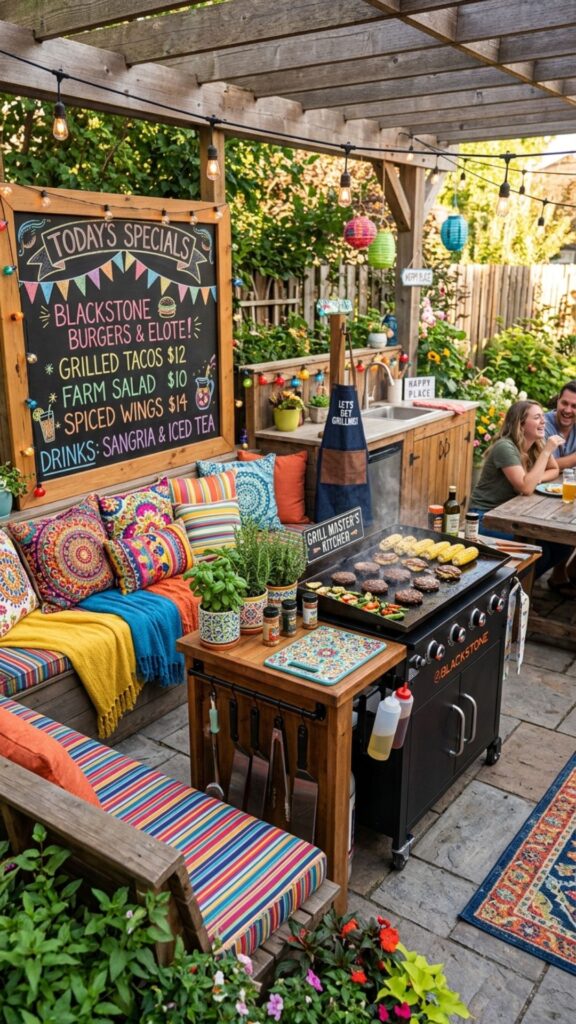
Your outdoor kitchen should feel like yours. Add color with painted cabinets, patterned cushions, or a favorite team’s banner. Small touches make the space feel welcoming and fun.
Hang a chalkboard menu, plant herbs in nearby pots, or mount a Bluetooth speaker. These details cost little but add a lot of personality. The best outdoor kitchen ideas with Blackstone reflect the people who cook and gather there.
Bringing Your Outdoor Kitchen to Life
Building a Blackstone and grill combo station is about more than cooking. It’s about creating a space where food tastes better, cleanup is simple, and people want to stay. Start with a layout that fits your yard, add storage and shade, then layer in the extras that match your style.
Pick two or three ideas from this list and sketch them out this weekend. You don’t have to build everything at once. Begin with a solid counter and your griddle, then grow from there. Your perfect outdoor kitchen is closer than you think, so grab a pencil and get planning today.
Can you build a Blackstone into an outdoor kitchen island?
Yes. Many people drop a Blackstone griddle into a custom cutout in their island counter. Just leave space around it for airflow, use heat-safe materials, and keep the propane tank in a ventilated spot below.
What's the best countertop material for a Blackstone outdoor kitchen?
Concrete, stainless steel, and outdoor-rated tile all work well. They resist heat, handle spills, and stand up to weather. Avoid wood directly next to the cooking surface unless you add a heat shield.
Do I need both a griddle and a grill outside?
It depends on how you cook. A Blackstone griddle handles breakfast, smash burgers, and stir-fries. A grill adds smoky flavor and grill marks. Having both gives you the most menu options for gatherings.
How much space does a Blackstone outdoor kitchen need?
A basic setup fits in about 6 to 8 feet of counter space. Add a grill, sink, or fridge, and you’ll want 10 feet or more. Even small balconies work with a tabletop model and a rolling cart.
Can a Blackstone stay outside year-round?
It can, but cover it to prevent rust and weather damage. A fitted cover or a spot under a roof keeps the griddle top in good shape. In wet climates, storing it in a shed during winter extends its life.