A big kitchen can feel surprisingly empty without the right centerpiece. That’s where a well-planned island earns its keep. In a busy family home, the island becomes the spot where kids do homework, dinner gets prepped, and everyone gravitates during a party.
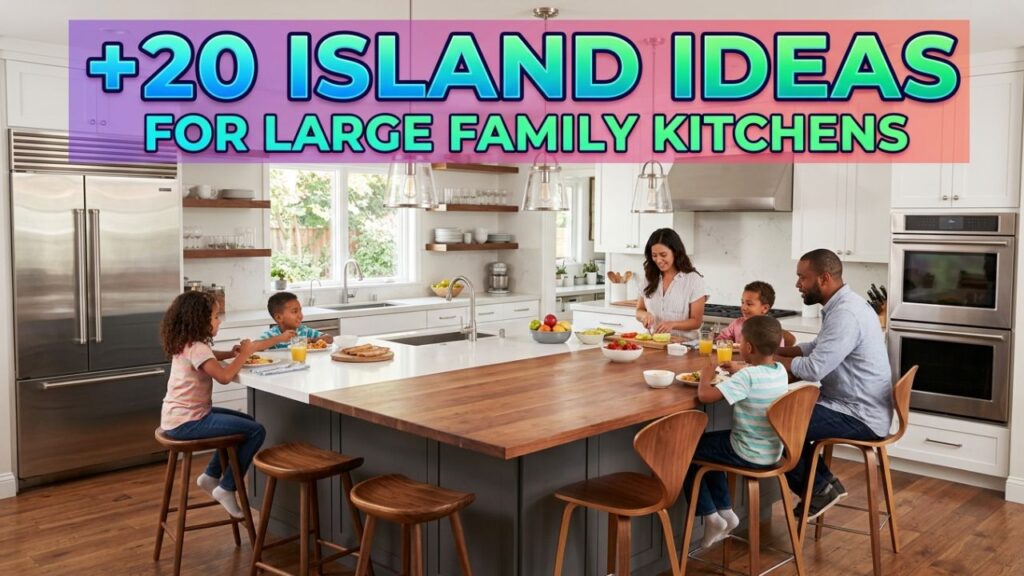
After years of helping families rethink how they use their kitchens, I’ve seen how the right island transforms a room from good to genuinely great.
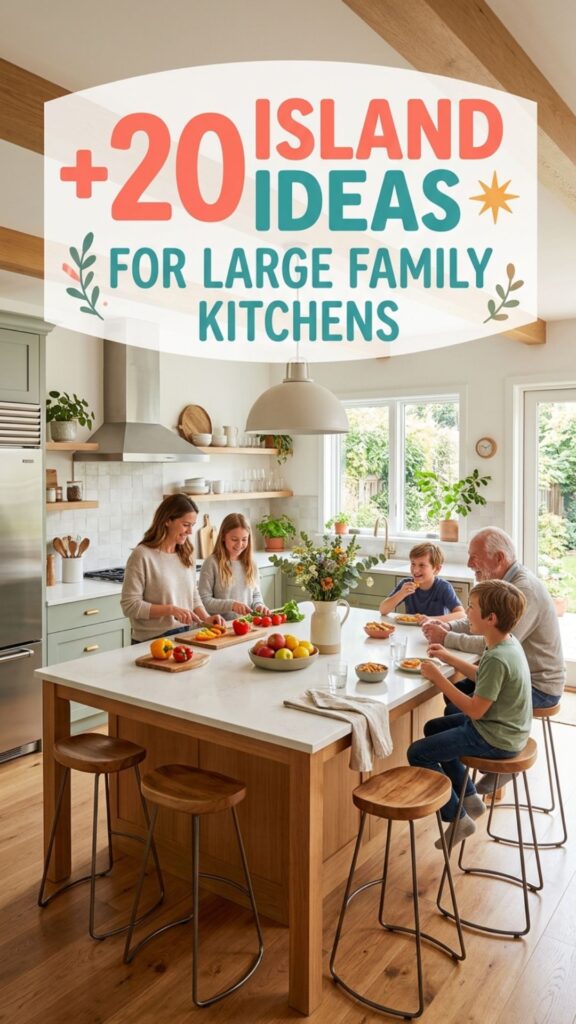
The best kitchen island ideas large kitchens can support aren’t just about size. They’re about smart function, comfortable seating, and storage that actually holds your gear. Below, you’ll find 20 practical ideas with real details you can act on, whether you’re building from scratch or upgrading what you already have.
1. Build a Double-Tier Island for Prep and Dining
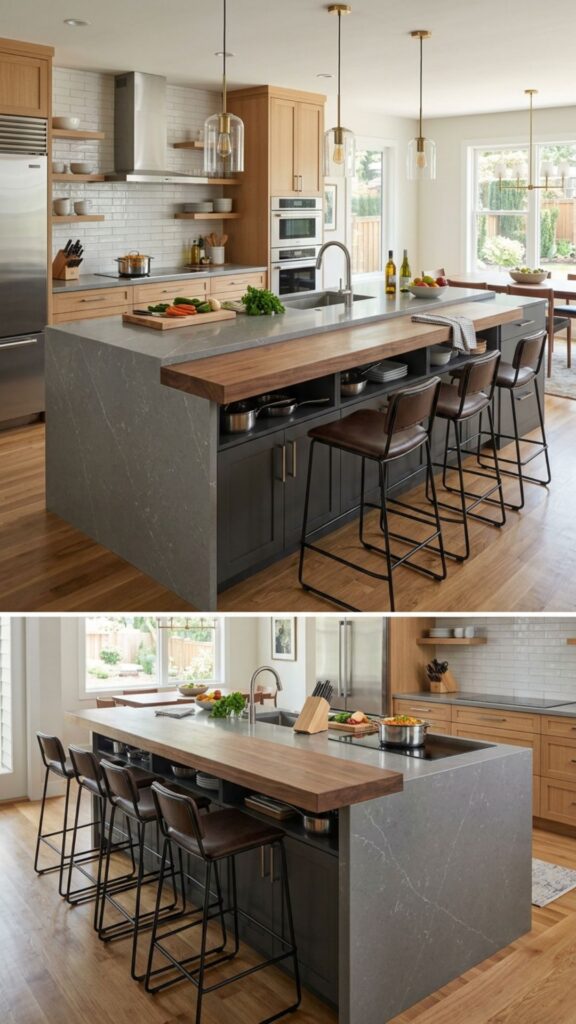
A two-level island keeps your cooking mess separate from where people eat. The lower tier works as your prep surface, while the raised section hides pots, cutting boards, and crumbs from view. This layout is a lifesaver when you’re plating dinner while guests sit just inches away.
Aim for the raised counter to sit around 42 inches high, with the working level at the standard 36 inches. Pair the top tier with three or four stools, and you’ve got a natural gathering spot that doesn’t showcase your dirty dishes. Families with young kids love that snacks stay on one side and messes stay on the other.
2. Add a Waterfall Countertop for a Modern Look
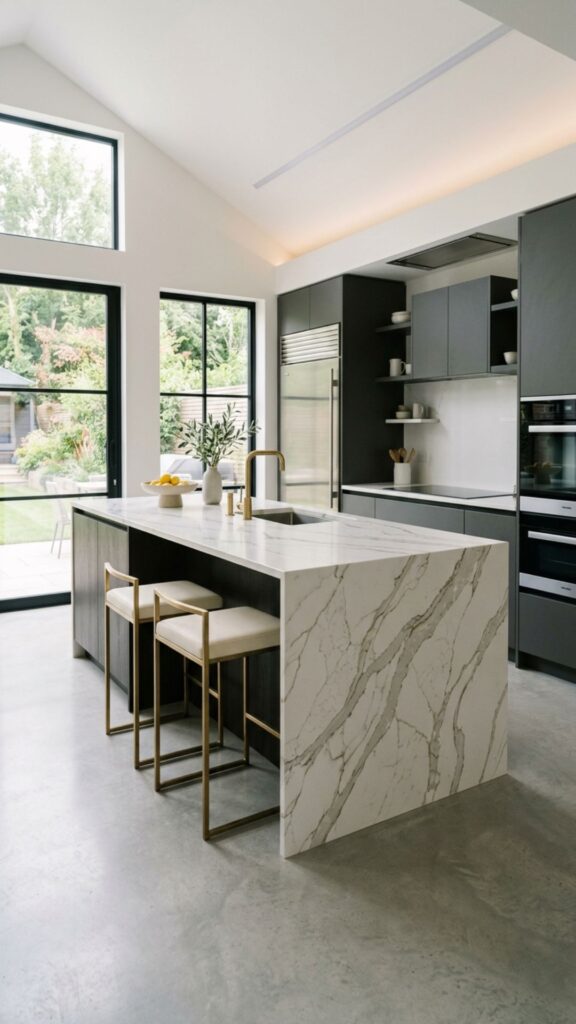
A waterfall edge lets the countertop material flow down the sides of the island to the floor. It creates a clean, seamless statement that anchors a large open-plan kitchen. Quartz and marble both work beautifully here, though quartz holds up better against sticky fingers and spilled juice.
Beyond looks, the extended stone protects the island’s sides from scuffs and knocks, which matters in a home full of backpacks and scooter traffic. Choose a subtle vein pattern if you want longevity, since bold designs can start to feel dated faster than you’d expect.
3. Install a Built-In Sink to Create a Prep Station
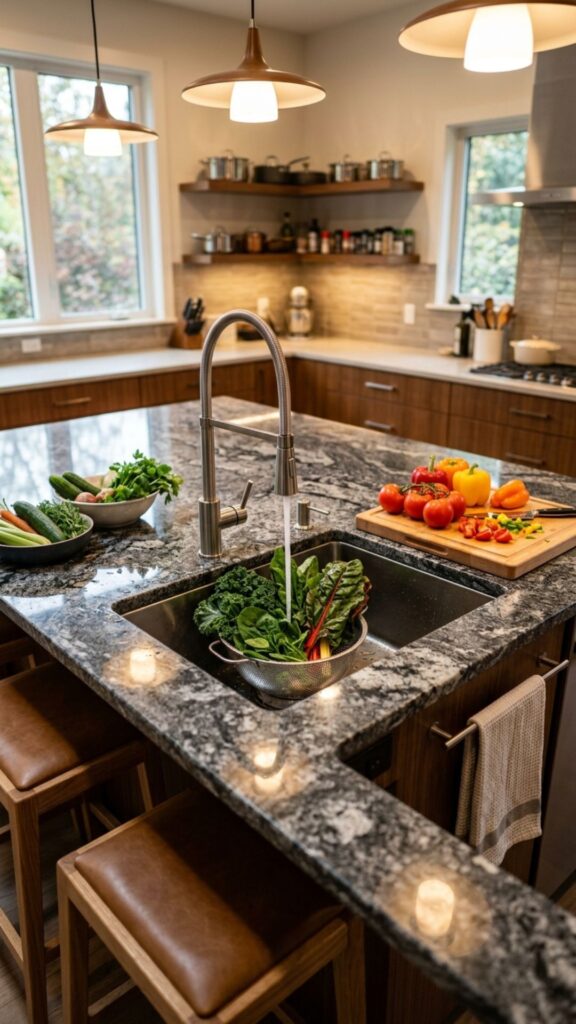
Putting a second sink in your island turns it into a true workstation. You can rinse vegetables, fill pots, and hand off dishes without crossing the whole kitchen. In a large family setup, this cuts down on that constant traffic jam near the main sink.
Choose a deep single basin so you can soak large trays and roasting pans. Add a pull-down faucet with a spray function, and you’ll wonder how you managed before. Just plan your plumbing early, since retrofitting a sink into an existing island is far pricier than building it in from the start.
4. Include a Wine Fridge or Beverage Center
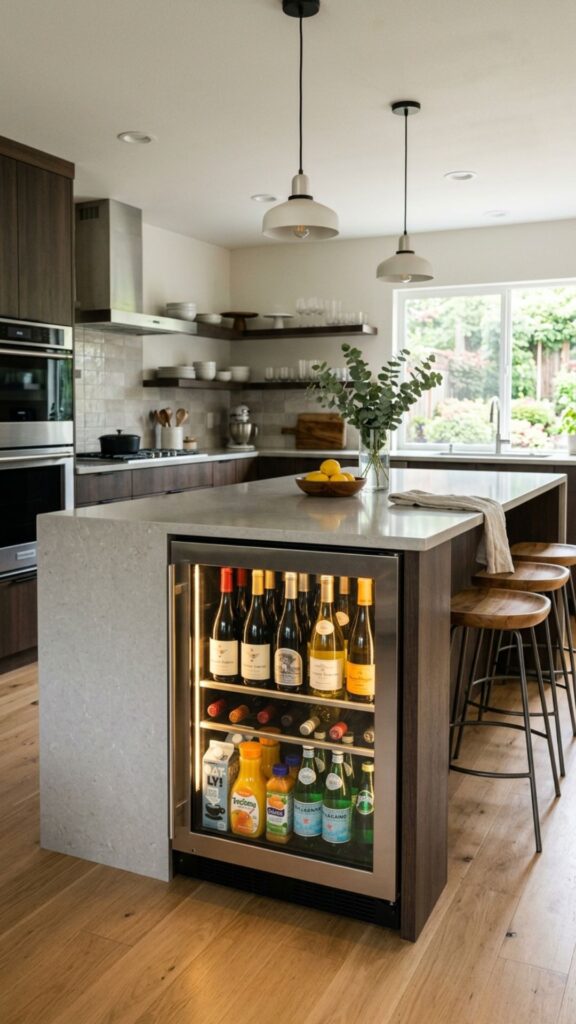
A dedicated beverage zone keeps drinks out of the main fridge, which frees up shelf space for actual food. Slot a wine cooler or a drawer-style beverage fridge into the island, and family members can grab a soda or sparkling water without opening the crowded main refrigerator every time.
This idea shines during gatherings. Guests serve themselves, and you stay out of the kitchen bottleneck. For families, a beverage drawer stocked with juice boxes and water at kid height teaches independence and saves you countless “can you get me a drink” requests.
5. Maximize Storage With Deep Drawers
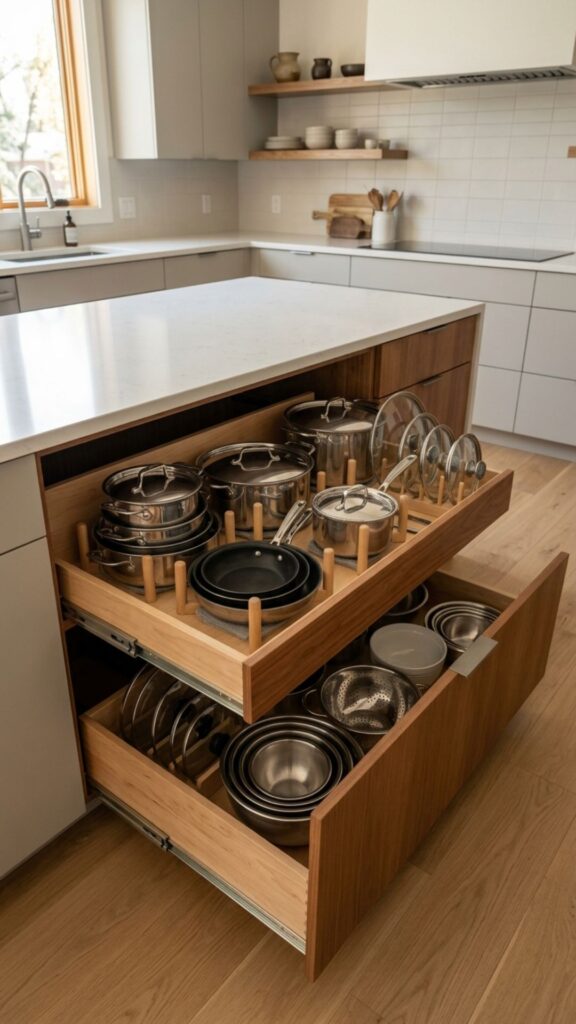
Large drawers beat cabinets for everyday use because you can see everything at a glance. Deep drawers swallow pots, pans, and mixing bowls, and you never have to crouch and dig into a dark cabinet again. In a big family kitchen, this kind of storage pays off daily.
Fit them with dividers to keep lids, utensils, and bakeware organized. Soft-close runners are worth every penny when kids slam things shut all day long. I usually recommend at least two banks of deep drawers on the working side of any large island.
6. Design a Seating Overhang for Casual Meals
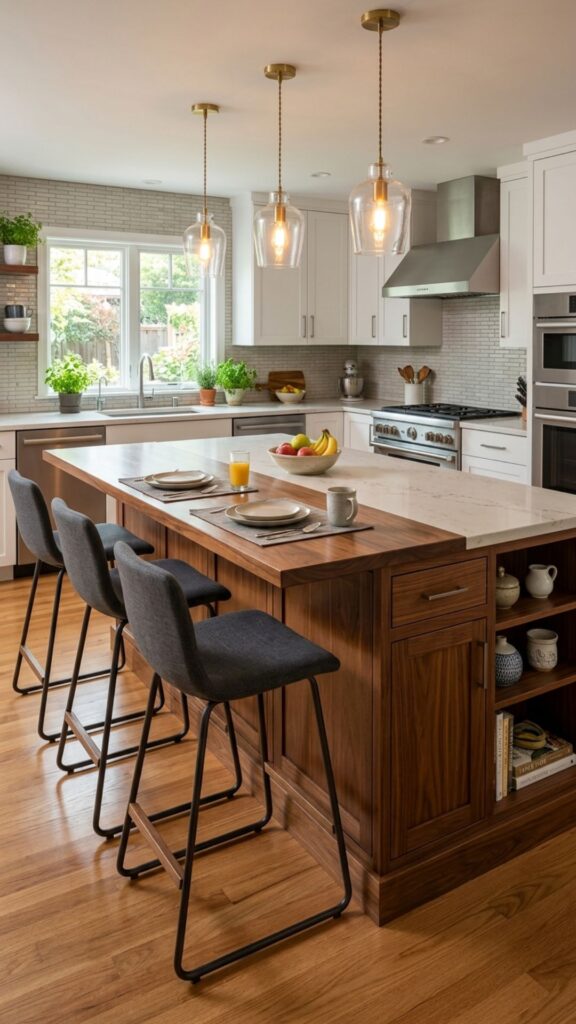
A countertop overhang creates instant seating without adding a separate table. Plan for at least 12 inches of overhang so knees fit comfortably underneath. For a family of five or more, extend it to seat four or six stools along one side.
This casual dining spot handles breakfast rushes, after-school snacks, and homework sessions with ease. Pick stools with wipeable surfaces and rounded edges for safety. Backless stools tuck fully under the counter, keeping walkways clear in a bustling kitchen.
7. Add a Second Oven or Microwave Drawer
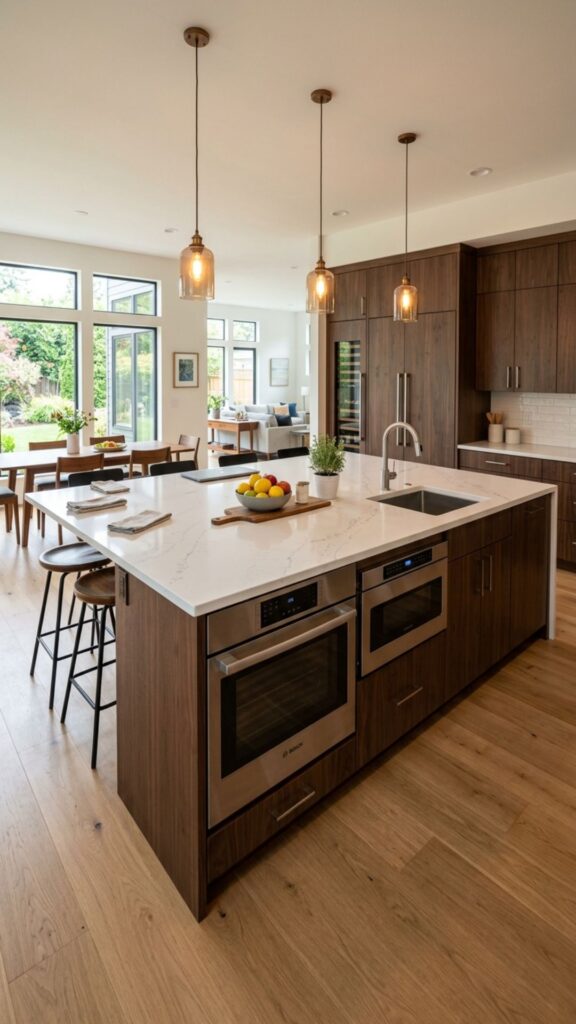
Cooking for a crowd means you always need more oven space. Building a wall oven or a microwave drawer into the island spreads out your appliances and speeds up meal prep. A microwave drawer sits at a safe, reachable height for kids too.
This works especially well during holidays, when your main oven runs full. Position appliances away from seating so hot surfaces stay clear of little hands. Ventilation matters here, so talk to your installer about clearances before committing.
8. Incorporate Open Shelving for Cookbooks and Decor
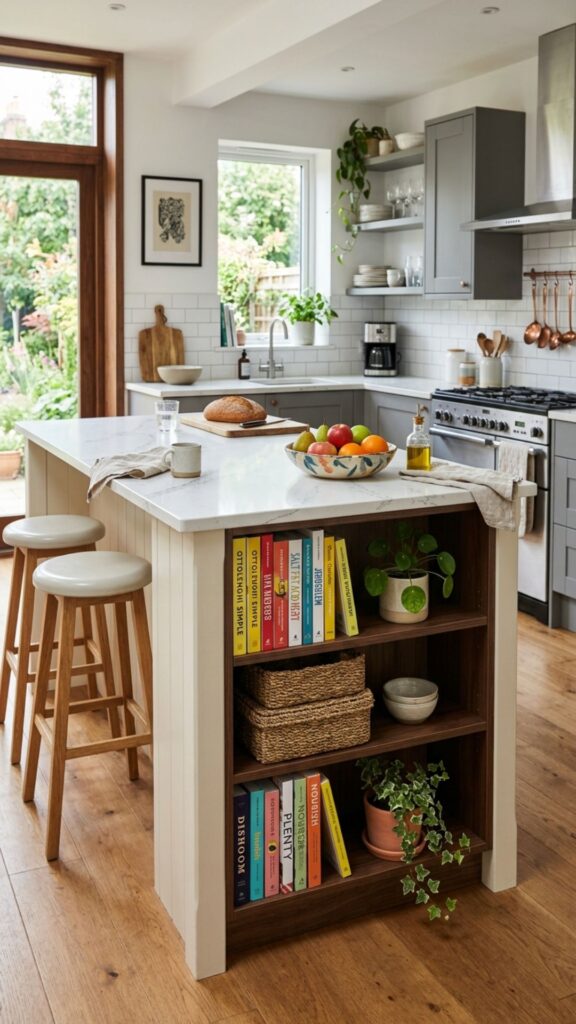
Open shelves on the end of an island soften its bulk and give you a spot for cookbooks, baskets, or a fruit bowl. This breaks up a large, boxy island and adds personality. It also keeps frequently used items within arm’s reach.
Use baskets to corral clutter and keep the look tidy. Families can stash coloring books, tablets, or reusable bags there. Just avoid overloading shelves, since too much stuff quickly turns charming into chaotic.
9. Choose a Large Butcher Block Top
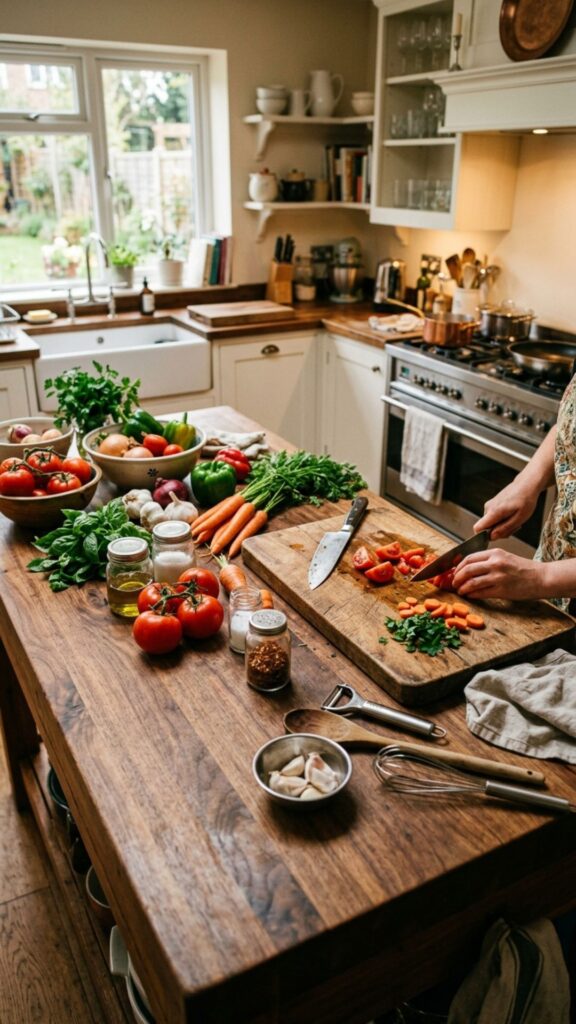
A butcher block surface brings warmth to a big kitchen and doubles as a giant cutting area. It’s forgiving on knives and easy to sand down if it gets scratched. For families who cook from scratch, that generous chopping space is a real treat.
Keep it sealed with food-safe oil every few weeks to protect against water and stains. Avoid placing it right next to a sink where constant splashing can cause warping. Used well, a butcher block island lasts for decades and only looks better with age.
10. Add Power Outlets for Appliances and Devices
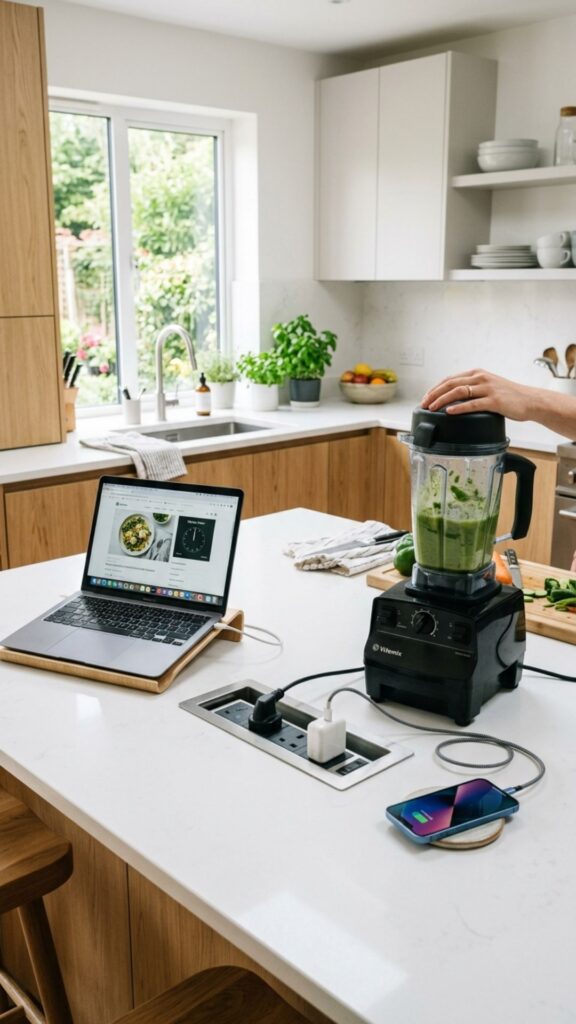
Nothing kills island functionality faster than nowhere to plug in. Built-in outlets let you run a blender, charge phones, or power a laptop right where you work. Pop-up outlets stay hidden until you need them, keeping the surface clean.
For families, a charging station on the island keeps devices out of bedrooms and in a shared space. Add USB ports so kids can top up tablets during homework time. Plan outlet placement with an electrician to meet local safety codes.
11. Create a Baking Zone With a Lower Counter
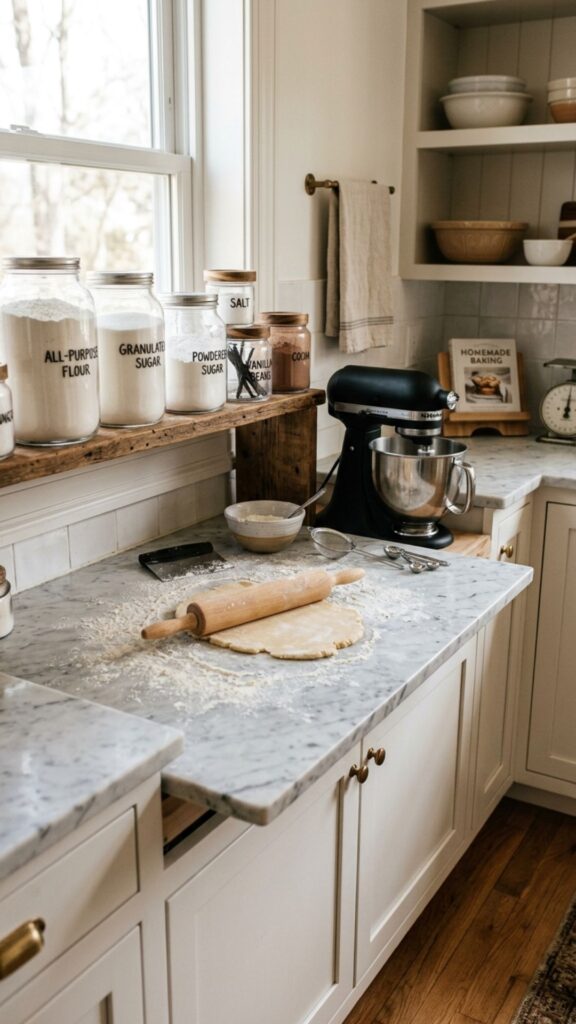
A slightly lower section, around 30 inches high, makes rolling dough and kneading far more comfortable. Bakers get better leverage, and kids can join in without a step stool. This dedicated zone turns baking from a chore into a family activity.
Pair it with a marble insert, which stays cool and is perfect for pastry work. Store your mixer, flour bins, and baking sheets in nearby drawers. This thoughtful touch makes weekend baking sessions something everyone looks forward to.
12. Use Contrasting Colors to Make It Pop
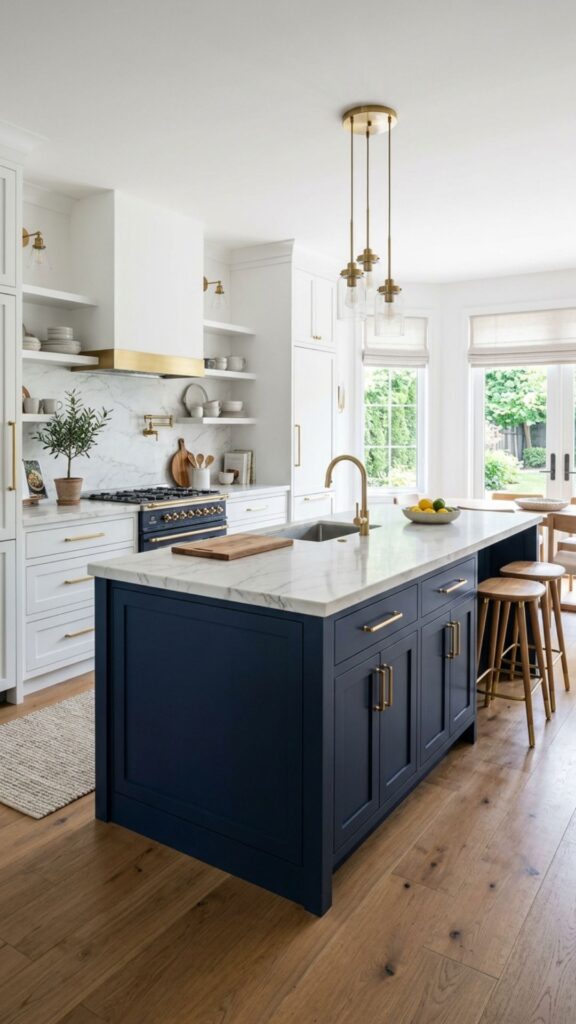
Painting your island a different color from the surrounding cabinets creates a striking focal point. Deep navy, forest green, or charcoal all pair well with lighter perimeter cabinets. This trick adds depth to a large kitchen that might otherwise feel flat.
Contrast also hides everyday wear better than an all-white scheme. A darker island shrugs off the smudges and fingerprints that come with family life. Tie the look together with hardware that echoes finishes elsewhere in the room.
13. Fit a Pull-Out Trash and Recycling Center
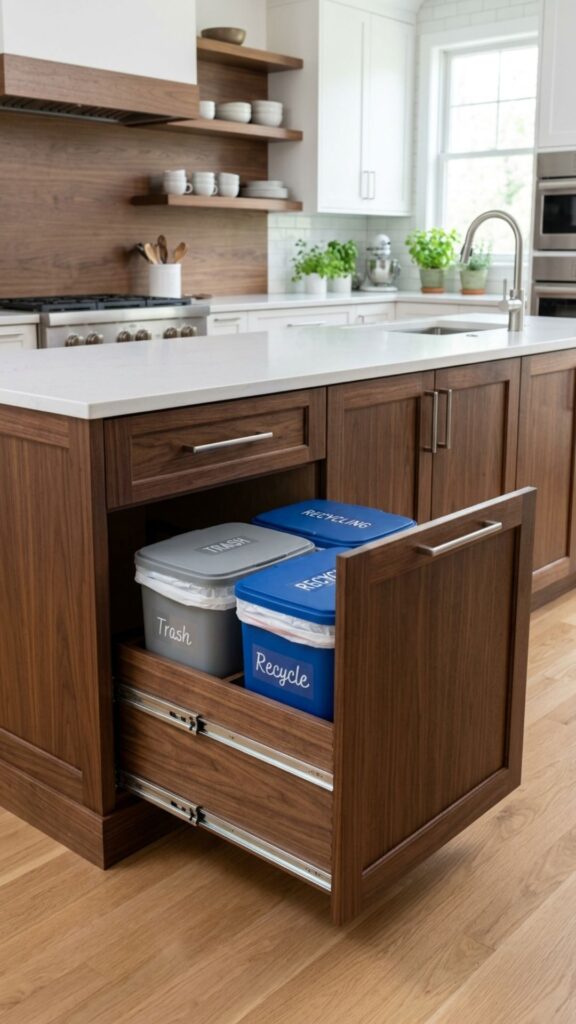
A hidden bin system inside the island keeps waste out of sight and cuts down on kitchen odors. Dual bins let you sort trash and recycling in one spot. For big households that generate plenty of both, this is genuinely game-changing.
Position it near the prep sink so scraps go straight in as you cook. Choose a soft-close pull-out that little hands can operate but that won’t slam. Line the compartment with a wipeable surface for easy cleaning after inevitable spills.
14. Add a Breakfast Bar on One End
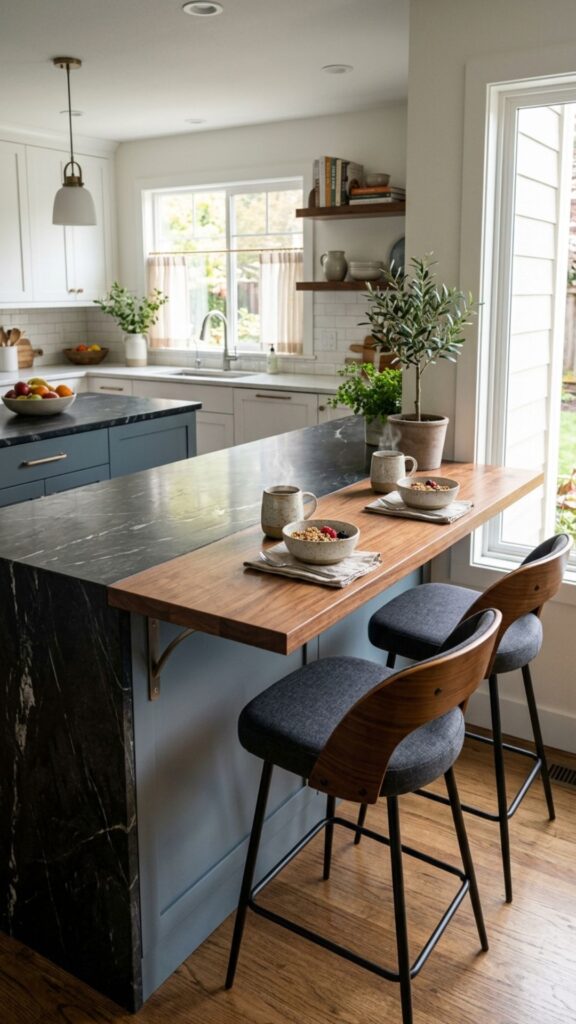
Extending one end of the island into a narrow bar gives quick-eaters a perch without needing the full seating side. It’s ideal for grabbing coffee, eating cereal, or sitting while you chat with whoever’s cooking.
This works well in kitchens where the main seating side stays busy. Keep the bar depth around 15 inches to fit plates and mugs. Two stools here handle the early-morning rush before everyone scatters for the day.
15. Install Statement Pendant Lighting
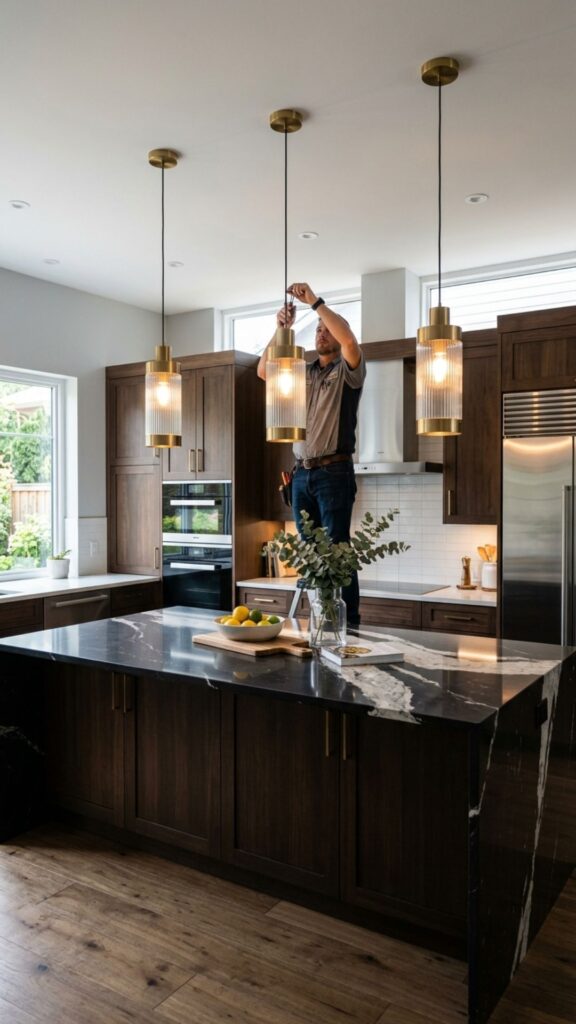
The right lights above a large island do double duty, brightening your work surface and adding style. Hang two or three pendants evenly spaced for balanced light. Position them about 30 to 36 inches above the countertop.
Dimmable fixtures let you shift from bright task lighting to a softer glow for evening meals. Choose easy-to-clean shades, since kitchen grease finds its way onto everything eventually. Good lighting genuinely changes how a big kitchen feels.
16. Build In a Spice Rack or Pull-Out Pantry
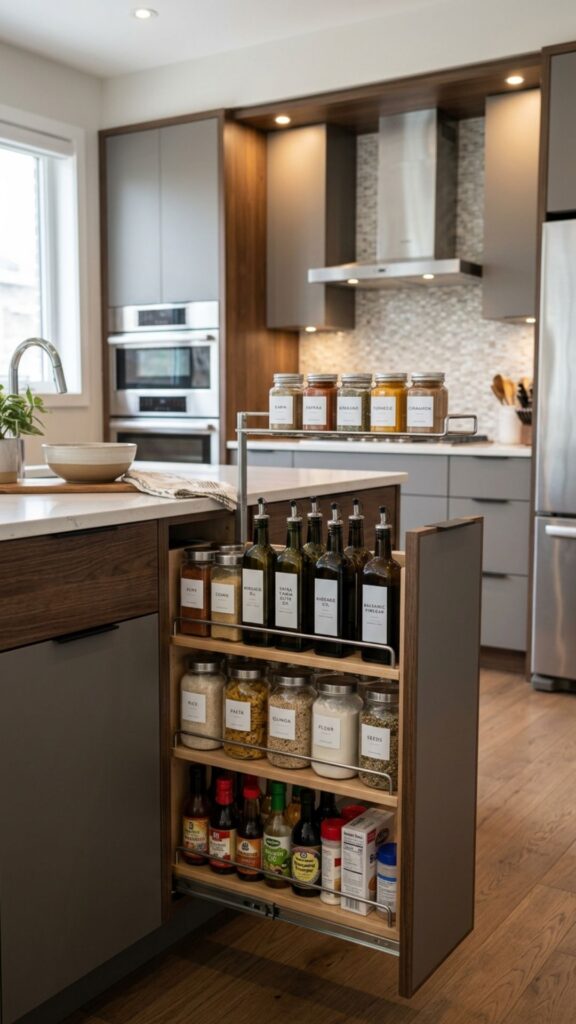
A narrow pull-out cabinet inside the island keeps spices and oils organized and visible. No more digging through a deep cabinet to find the cumin. These slim organizers use space that would otherwise go to waste.
For families, a pull-out pantry near the prep zone speeds up cooking on hectic weeknights. Keep the most-used items at eye level. Label everything so even the kids can help find ingredients when you’re mid-recipe.
17. Design a Curved Island for Better Flow
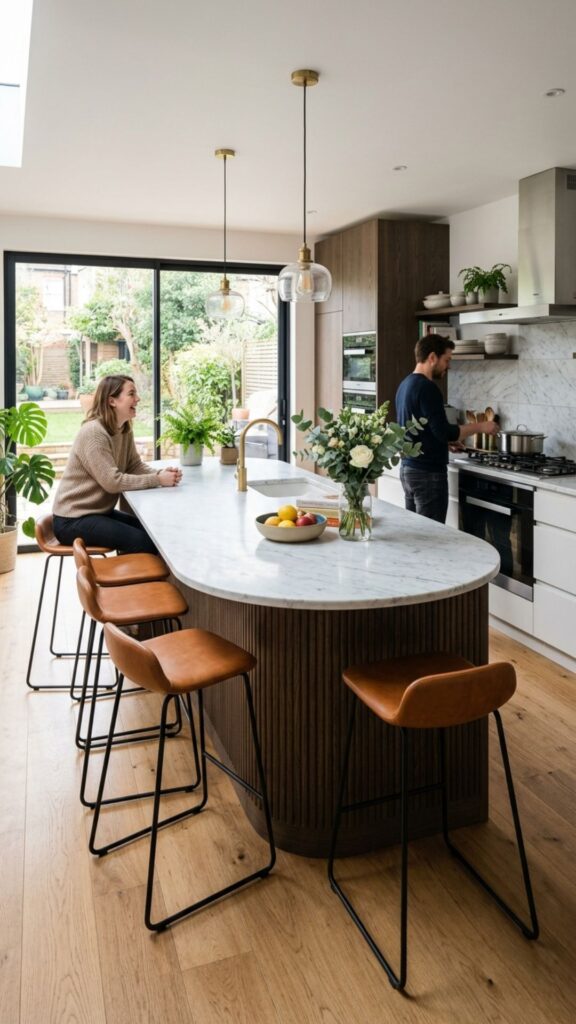
A curved or rounded island softens the room and improves traffic flow, which matters when several people move through the kitchen at once. Rounded corners also mean fewer bumps and bruises for running toddlers.
Curves cost more to fabricate, so budget accordingly. The payoff is a friendlier, more sociable shape that naturally invites people to gather around. In an open-plan home, a curved island feels less like a barrier and more like a hub.
18. Add Bookshelf Ends for a Cozy Feel
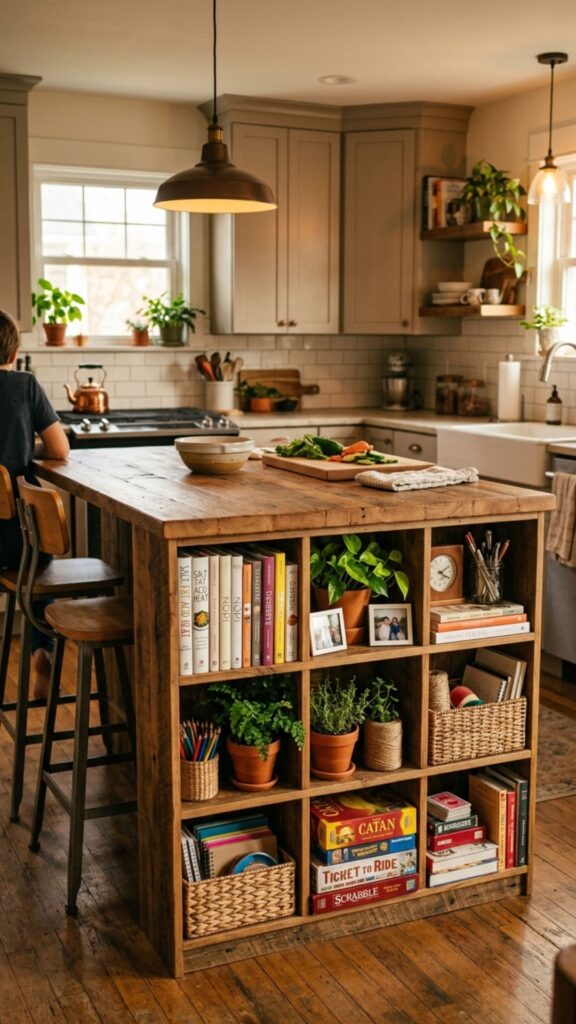
Turning the ends of your island into cubbies or bookshelves adds function and charm. Fill them with cookbooks, plants, or baskets of everyday odds and ends. This dresses up an otherwise plain side and makes the island feel considered.
For families, these cubbies hold kids’ art supplies, board games, or reusable shopping bags. Keep them shallow enough to stay tidy. It’s a simple way to add storage without expanding the island’s footprint.
19. Choose Durable, Kid-Friendly Materials
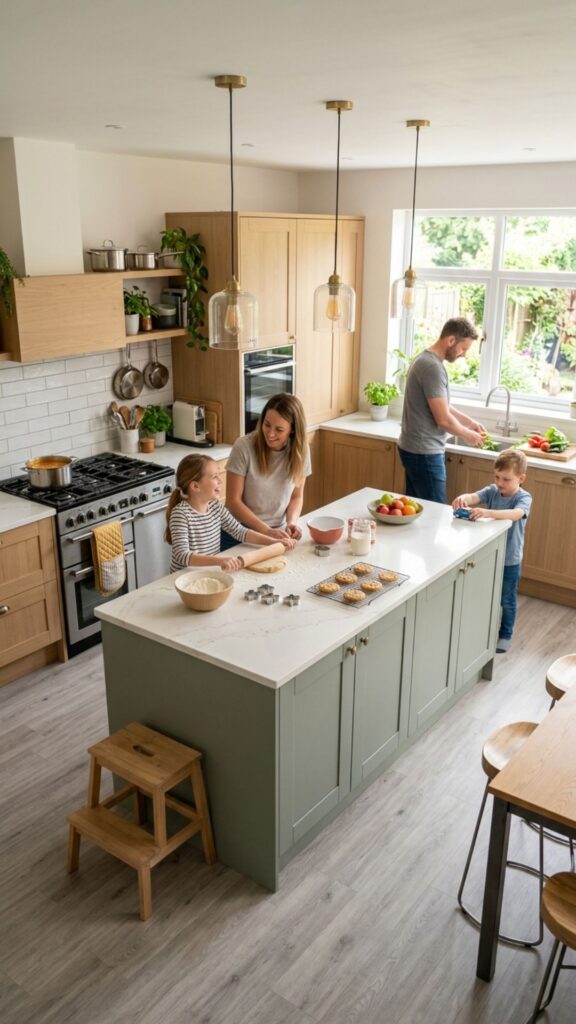
Family kitchens take a beating, so material choice matters more than in a quiet household. Quartz countertops resist stains and scratches, and they never need sealing. For flooring around the island, textured tile or luxury vinyl handles spills and dropped plates.
Skip high-maintenance surfaces that demand constant care. Fingerprint-resistant finishes on cabinets and hardware save you from endless wiping. Choosing tough materials up front means your island still looks great years down the line.
20. Include a Dedicated Homework or Craft Zone
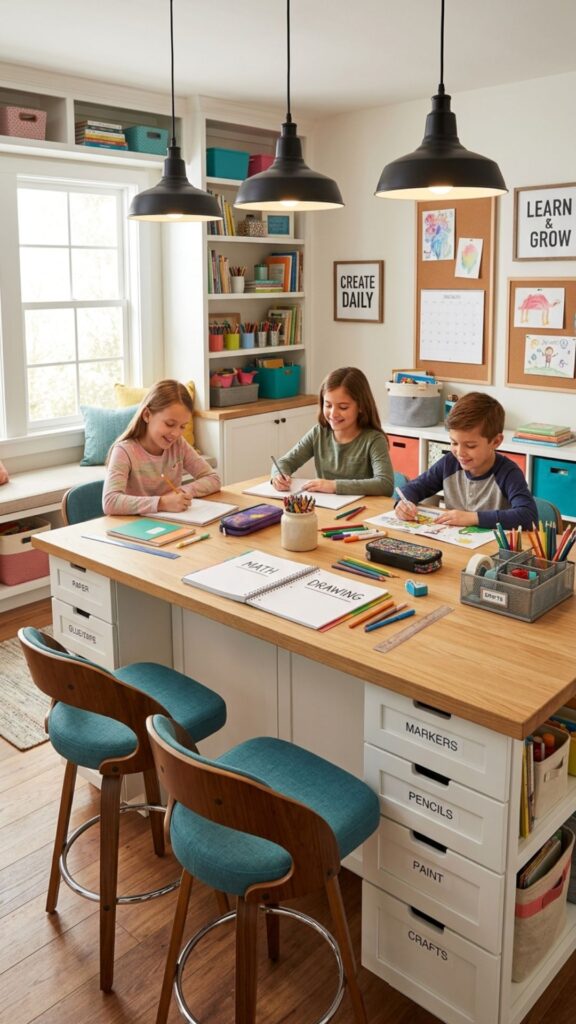
Setting aside part of your island for homework and crafts keeps kids close while you cook. A clear stretch of counter with nearby storage for pens, paper, and supplies makes it easy to shift from snack to study.
Add good task lighting and a couple of comfortable stools. Store supplies in labeled drawers so cleanup takes minutes. This idea keeps the family connected and turns your island into the true heart of the home.
Bringing Your Island Vision to Life
Your island should work as hard as your family does. Whether you’re drawn to a double-tier design, a baking zone, or a homework nook, the best kitchen island ideas large kitchens can hold all come down to matching function to how you actually live. Start with your daily routines, then build the features around them.
Ready to plan your dream island? Grab a notepad, list your top three must-have features from above, and sketch a rough layout. Then book a consultation with a local kitchen designer to turn those ideas into a space your whole family will love for years to come.
How big should a kitchen island be for a large family?
For a large family, aim for an island at least 4 feet wide and 7 feet long. This gives enough room for prep space, seating for four or more, and built-in storage without crowding the walkways.
How much clearance do I need around a large kitchen island?
Leave at least 42 to 48 inches of clearance on all sides. This lets multiple people move around, open drawers, and pass through comfortably, which is essential in a busy family kitchen.
Can I add seating and appliances to the same island?
Yes. The key is zoning. Place appliances and prep areas on one side and seating on the opposite side, keeping hot surfaces and sharp tools away from where people sit and eat.
What is the best countertop material for a family kitchen island?
Quartz is the top choice for families because it resists stains, scratches, and heat, and it never needs sealing. Butcher block works too if you want warmth and don’t mind occasional maintenance.
Do large islands need extra support?
Islands over 6 feet or those with heavy stone tops and waterfall edges often need reinforced cabinetry or added support brackets. Always confirm structural needs with your installer before finalizing the design.