Your kitchen island does a lot. It’s where you chop veggies, help kids with homework, charge your phone, and sometimes eat dinner standing up. But if it’s missing the right electrical setup, you’re probably running extension cords across the floor or unplugging the toaster to make coffee. Sound familiar?

The good news is that planning the right kitchen island ideas electrical features can turn that awkward slab of countertop into the hardest-working spot in your home. After years of working with homeowners on kitchen upgrades, I’ve seen how a few smart outlets and thoughtful wiring choices completely change how a space feels.
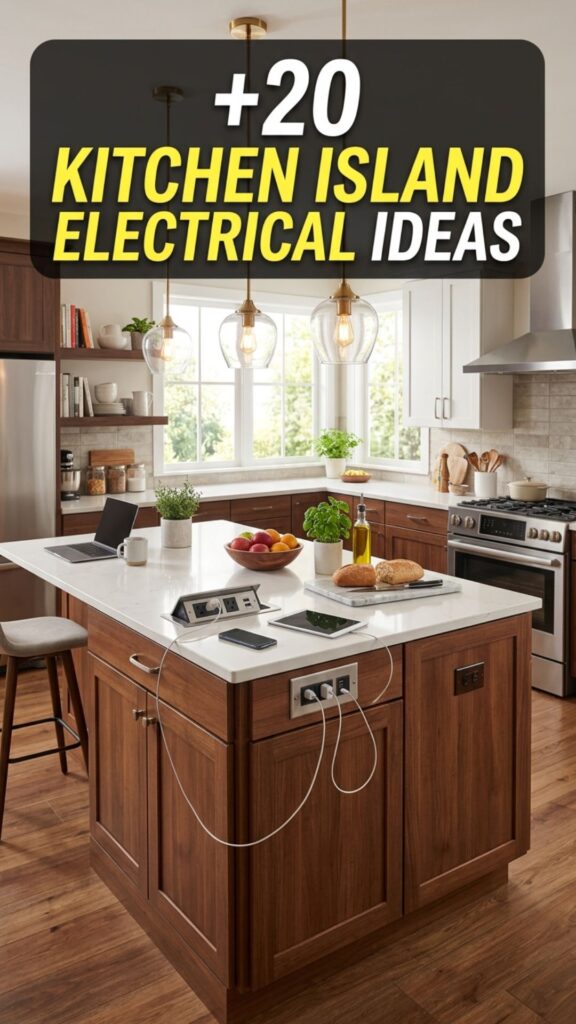
In this guide, you’ll learn 20 practical electrical ideas for your kitchen island. We’ll cover outlet placement, charging solutions, lighting, appliance-specific wiring, and the safety rules you can’t skip. By the end, you’ll know exactly what to ask your electrician for.
1. Add Standard Countertop Outlets
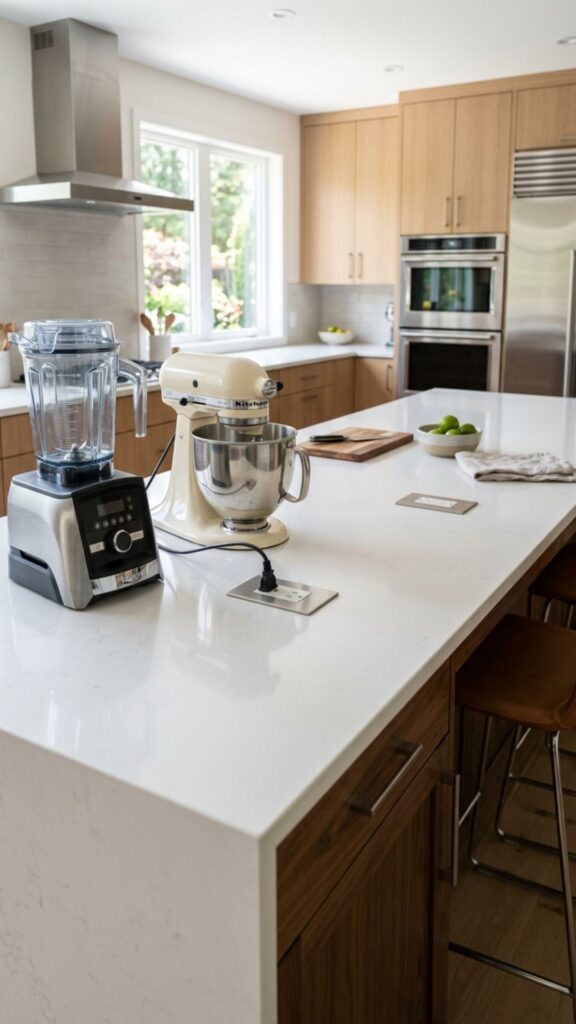
Most building codes require outlets on kitchen islands, and for good reason. You need somewhere to plug in a blender, mixer, or slow cooker without stretching a cord halfway across the room. Placing at least two outlets on the side of your island keeps daily tasks simple.
Position them where you actually work. If you knead dough on the left side, put an outlet there. Think about your habits before the electrician does the rough-in, because moving outlets later means opening up cabinetry and patching walls.
2. Install Pop-Up Outlets for a Clean Look
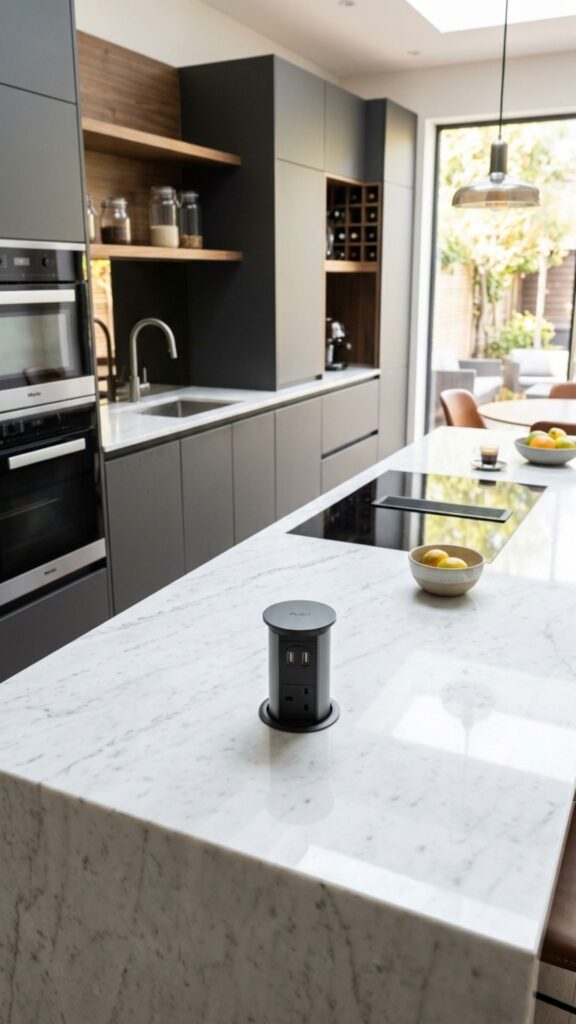
Pop-up outlets sit flush with the countertop until you press them, then rise up when you need power. They’re perfect if you hate the look of outlets breaking up your beautiful stone or butcher block. When you’re done, they tuck away completely.
I recommend these for islands that double as entertaining spaces. Guests can plug in a phone or a warming tray, then you press the unit back down for a seamless surface. Just make sure the model you choose is rated for kitchen use and easy to wipe clean.
3. Build in USB Charging Ports
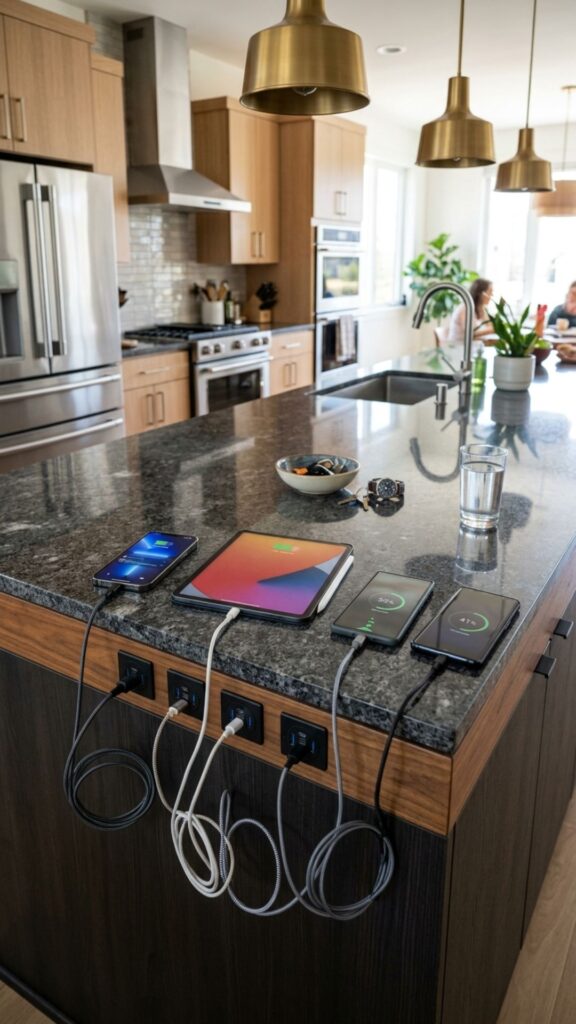
Phones, tablets, and smartwatches all need charging, and the kitchen island is where everyone tends to drop their devices. Adding built-in USB ports means no more hunting for wall adapters or tangled cables on the counter.
Look for combo outlets that offer both standard plugs and USB-A or USB-C ports. USB-C is worth the small extra cost since newer devices charge faster and the standard isn’t going away anytime soon. It’s a small upgrade that family members will use every single day.
4. Wire in a Charging Drawer
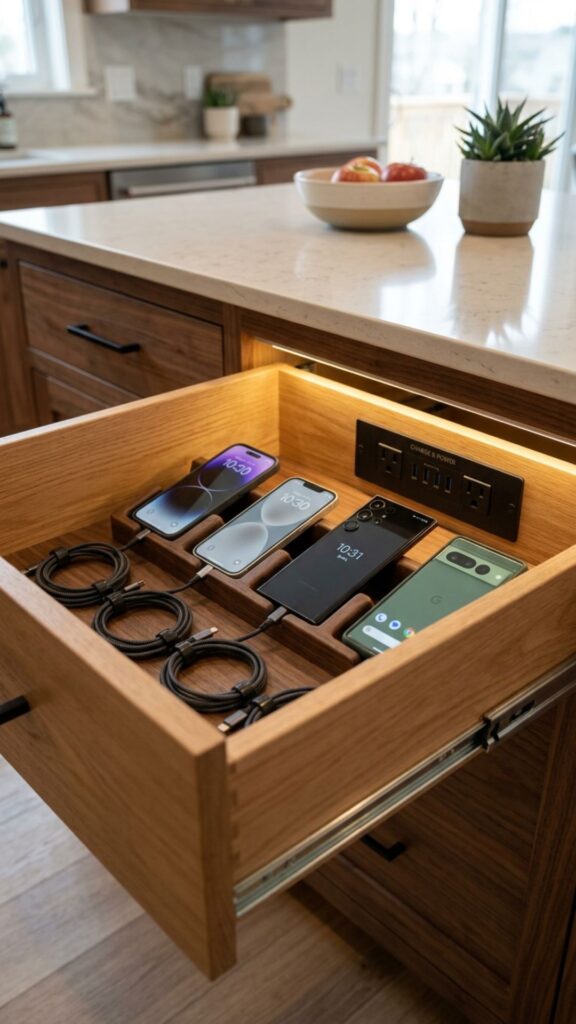
A charging drawer hides the mess entirely. You run power into a dedicated drawer, then charge devices inside it, out of sight. No cords on the counter, no clutter, and a tidy spot to keep phones during dinner.
This idea works beautifully for families who want a “device parking” zone. Line the drawer with a soft mat, add a couple of outlets and USB ports inside, and you’ve got a charging station nobody has to look at. It also keeps expensive electronics away from spills.
5. Add a Dedicated Circuit for Small Appliances
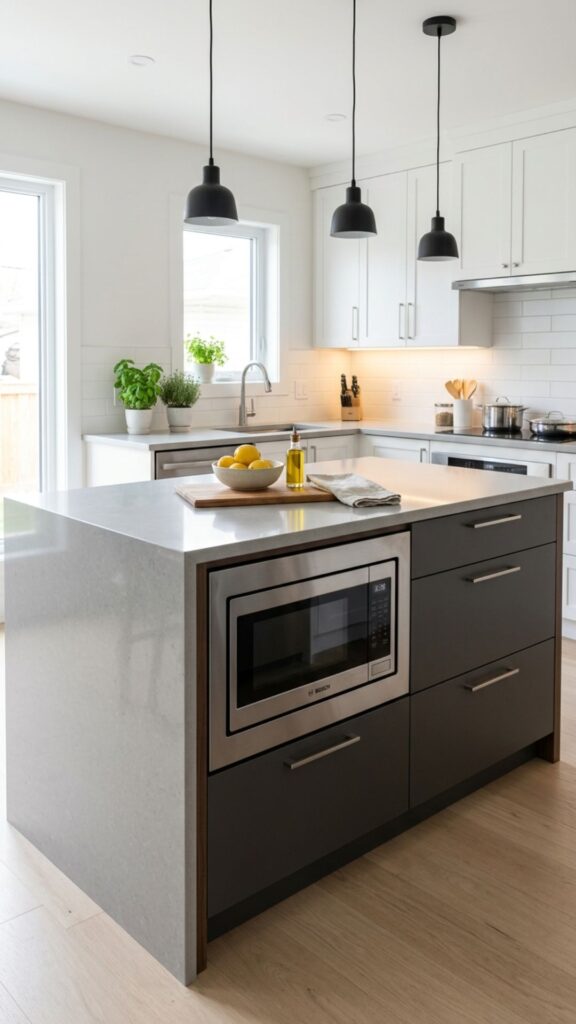
High-draw appliances like microwaves, mixers, and electric kettles can trip a breaker if they share a circuit with too much else. Giving your island its own dedicated circuit prevents those annoying power interruptions mid-recipe.
Talk to your electrician about how many circuits your island really needs. In many kitchens, code requires at least two small-appliance circuits, and an island often benefits from its own. It costs a little more upfront but saves plenty of frustration later.
6. Install a Built-In Microwave with Proper Wiring

Tucking a microwave into your island frees up counter and wall space while keeping it at a comfortable height. Kids can reach it safely, and it clears clutter from your main prep zones.
Because microwaves pull significant power, they usually need a dedicated 20-amp circuit. Plan this during construction so the wiring runs cleanly to the right spot. Retrofitting a microwave into an existing island is possible but far more disruptive.
7. Power a Beverage Fridge or Wine Cooler
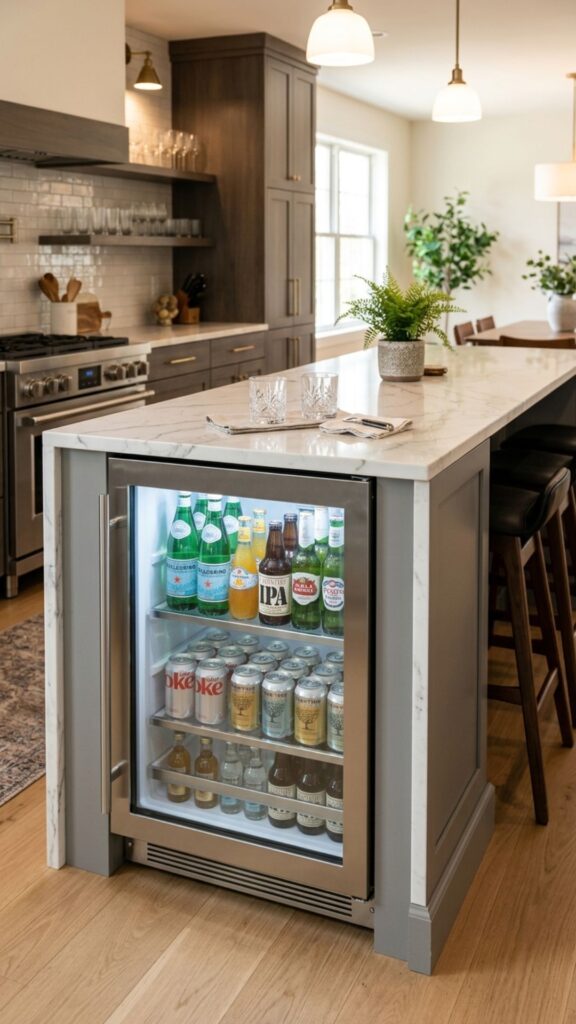
A compact fridge or wine cooler in your island keeps drinks close during gatherings. No more walking back and forth to the main refrigerator while you’re hosting or cooking.
These appliances run continuously, so they typically need their own outlet on a dedicated circuit. Measure the cutout carefully and confirm ventilation requirements, since built-in units need airflow to run efficiently and last longer.
8. Add an Induction Cooktop
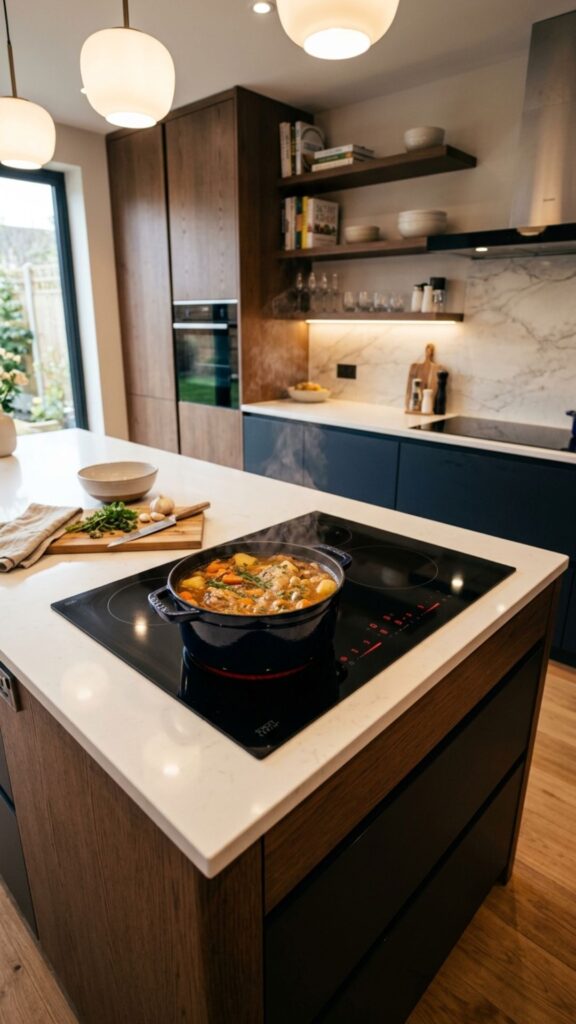
Moving your cooktop to the island creates a social cooking layout where you face the room instead of a wall. Induction models are safe, fast, and easy to wipe clean, which makes them a favorite for open-plan kitchens.
Induction cooktops demand serious power, often a 240-volt circuit with heavy-gauge wiring. This is not a weekend DIY job. A licensed electrician should size the circuit and breaker to match your specific unit’s requirements.
9. Include a Downdraft Ventilation System
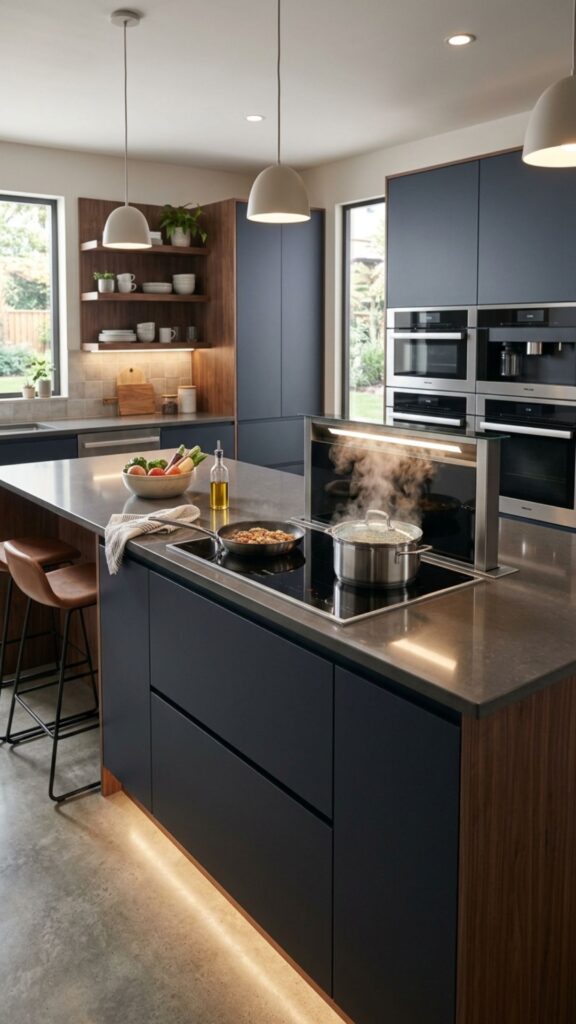
If you add a cooktop to your island, you’ll need ventilation. A downdraft system rises from behind the cooktop to pull smoke and steam away, then lowers when you’re finished. It keeps sightlines open without a bulky overhead hood.
These systems need both electrical power and, often, ductwork routed through the floor. Coordinate the wiring and duct path early with your contractor, since running these through a finished floor after the fact is costly and messy.
10. Light It Up with Under-Counter Lighting
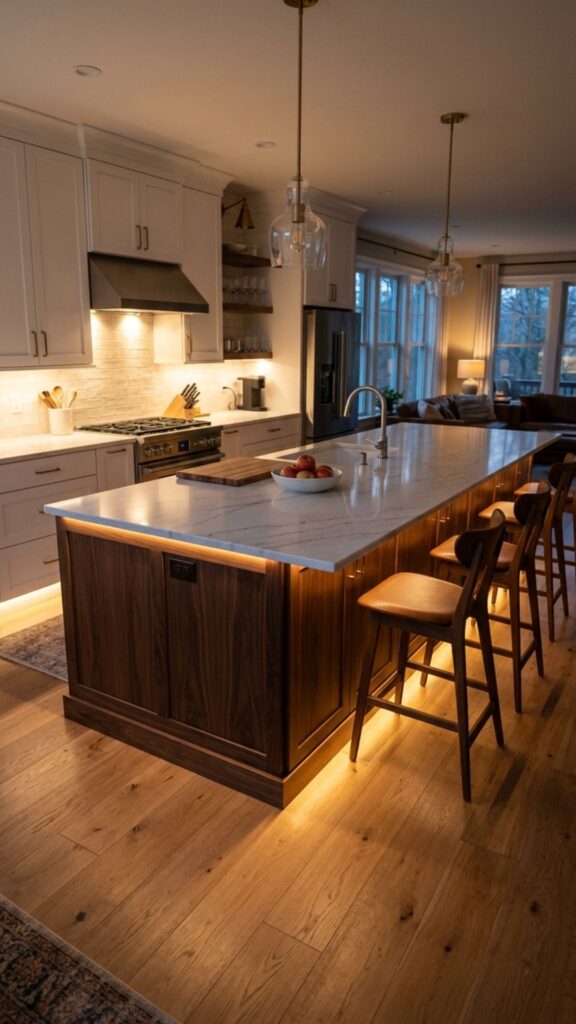
Under-counter or toe-kick lighting adds a soft glow that makes your island feel high-end. It’s also practical as a nightlight, guiding late-night snackers without flooding the room in harsh light.
LED strips are the easiest choice here because they run cool, sip power, and last for years. Wire them to a dimmer or motion sensor so you can control the mood and save energy at the same time.
11. Add Pendant Lighting Above the Island

Pendant lights are both functional and decorative. They brighten your work surface and act as a design statement that anchors the whole kitchen. The right fixtures pull the room together visually.
You’ll need ceiling wiring positioned to center over the island, so plan this before drywall goes up. A common rule is to hang pendants about 30 to 36 inches above the countertop, and to space multiple fixtures evenly for balance.
12. Install a Dimmer Switch

A dimmer gives you control over the entire mood of your kitchen. Bright light for chopping and cleaning, soft light for dinner or drinks. One switch handles both moods without any rewiring.
Modern dimmers work with LED bulbs, but you must match the dimmer to the bulb type to avoid flickering. Check the packaging for compatibility, or ask your electrician to confirm the pairing before installation.
13. Set Up Smart Outlets and Switches

Smart outlets let you control power from your phone or with a voice assistant. Forgot whether you left the coffee maker on? Check the app and shut it off from anywhere. It’s convenience and peace of mind in one.
These devices also let you schedule lighting or appliances. You might set your under-counter lights to turn on at dusk automatically. Just make sure your island wiring supports smart devices and that your home Wi-Fi reaches the kitchen reliably.
14. Add GFCI Protection
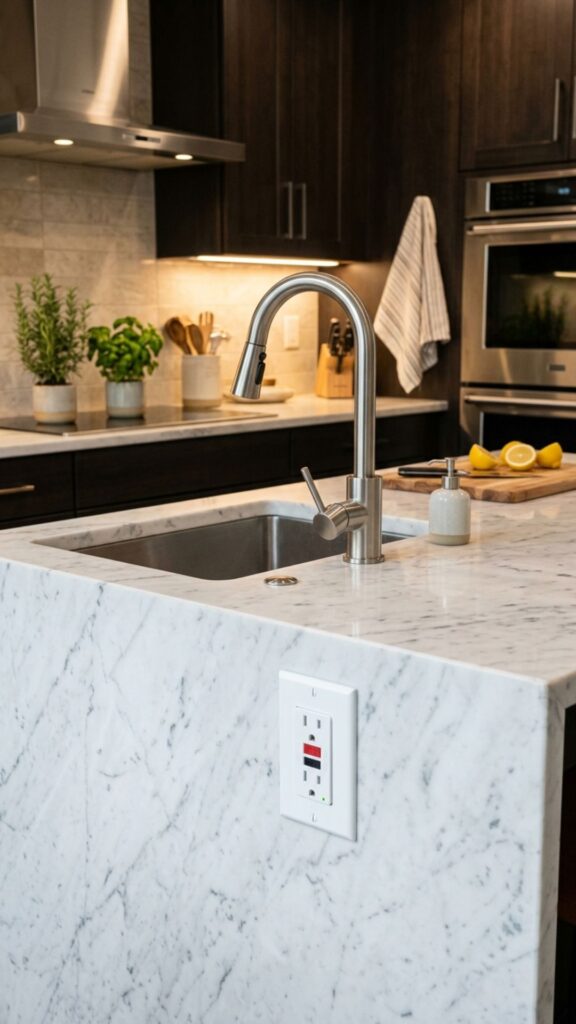
Ground fault circuit interrupter (GFCI) protection is a must near water, and code requires it for kitchen island outlets. A GFCI outlet shuts off power instantly if it detects a fault, protecting you from shock.
This isn’t optional, it’s a safety essential. Whether you use GFCI outlets themselves or a GFCI breaker, confirm every island receptacle is protected. It’s one of the most important electrical safeguards in any kitchen.
15. Create a Dedicated Coffee or Beverage Station

A coffee station built into your island keeps your morning routine in one tidy spot. Grinder, espresso machine, and kettle all get their own home, plugged in and ready to go.
Because coffee gear can draw a lot of power at once, plan enough outlets on a strong circuit. Add a nearby drawer for pods, filters, and mugs so everything you need lives within arm’s reach.
16. Install a Warming Drawer

A warming drawer keeps dishes at the perfect temperature until you’re ready to serve. It’s a game-changer when you’re juggling multiple courses or waiting on late arrivals.
Warming drawers need a dedicated outlet and, depending on the model, sometimes a heavier circuit. Confirm the specs before your electrician runs the wiring so the drawer performs exactly as intended.
17. Add Outlets for Bar Stool Seating

If your island doubles as a breakfast bar, the seating side needs power too. Kids do homework there, adults answer emails, and everyone charges devices while they sit.
Adding low-profile or recessed outlets on the seating side keeps laptops and tablets powered without cords draping over the edge. Position them where knees won’t bump and where cords won’t dangle into walkways.
18. Wire in a Trash Compactor or Disposal
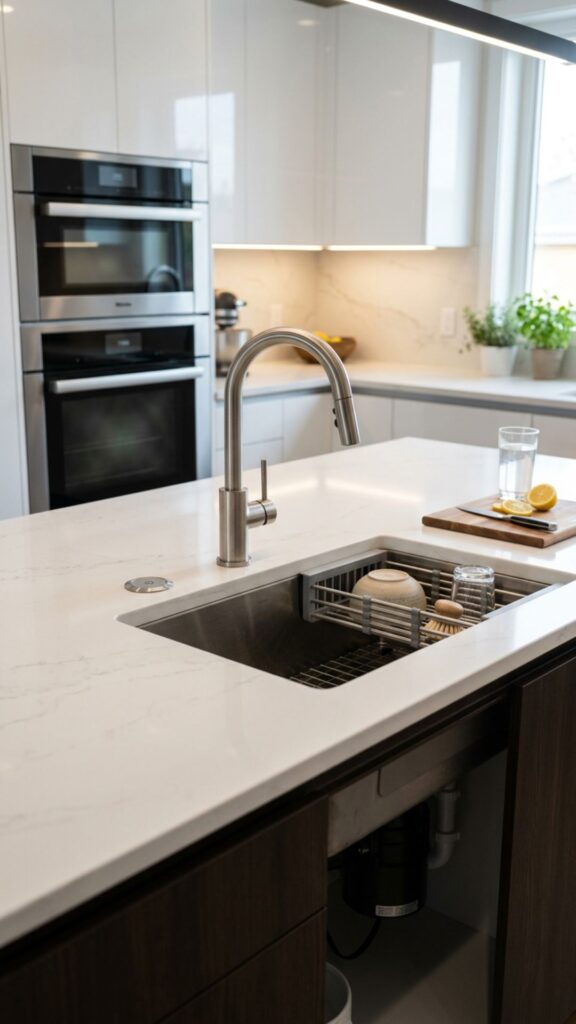
An island sink often pairs with a garbage disposal, and some kitchens add a trash compactor too. Both need proper electrical connections and, for the disposal, a switch within easy reach.
Plan the switch location carefully. An air-switch button on the countertop is a popular, sleek option that avoids drilling a switch into your cabinet face. Your electrician can wire this to work safely with the disposal motor.
19. Include a Prep Sink with Instant Hot Water

An instant hot water dispenser at a prep sink gives you boiling water on demand for tea, oatmeal, or blanching vegetables. It’s a small luxury that quickly feels like a necessity.
These units require an outlet under the sink to power the heating tank. Make sure the space is dry and ventilated, and confirm the outlet is GFCI-protected since it sits near plumbing.
20. Future-Proof with Extra Capacity
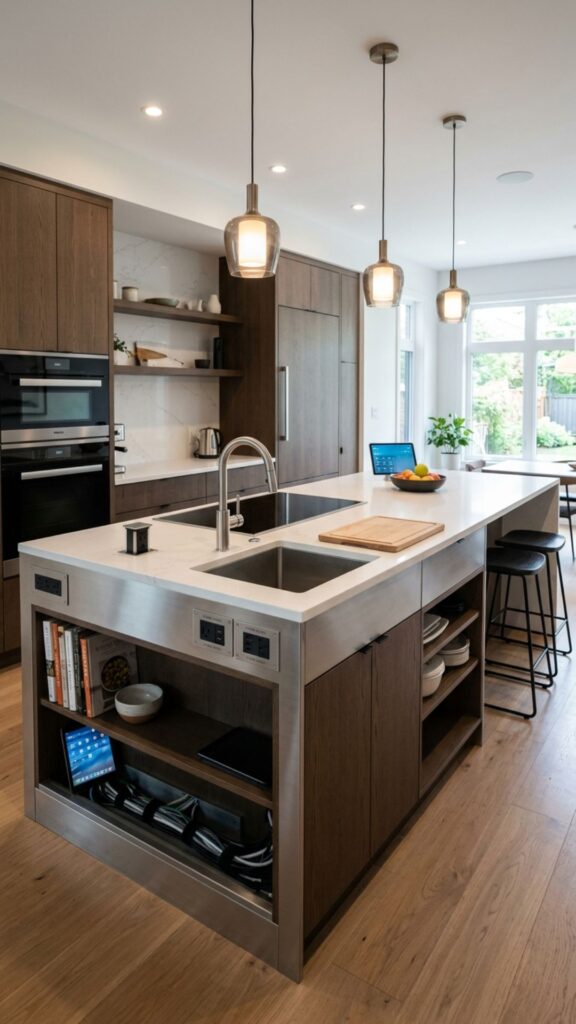
The single best kitchen island ideas electrical move is planning for more than you need today. Running an extra circuit or leaving conduit in place makes future upgrades far easier and cheaper.
Kitchens evolve as families grow and technology changes. Adding capacity now means you can drop in a new appliance or charging setup down the road without tearing into finished cabinetry. Think of it as insurance for your kitchen’s next chapter.
Conclusion
A functional kitchen island comes down to smart electrical planning. From simple countertop outlets and USB ports to bigger commitments like induction cooktops and warming drawers, each of these 20 kitchen island ideas electrical upgrades bring adds real value to how you cook, gather, and live. The key is matching the features to how you actually use your space, then leaving room to grow.
Ready to bring your ideas to life? Sketch out how you use your island, prioritize the features that matter most, and book a consultation with a licensed electrician. They’ll confirm your circuits, meet code, and make sure every outlet lands exactly where you need it. Your dream island is closer than you think.
Does a kitchen island need an electrical outlet?
Yes. In most areas, electrical code requires at least one outlet on a kitchen island if the countertop is a certain size. Outlets must also be GFCI-protected for safety near water. Always check your local code, since requirements vary by region.
How many outlets should a kitchen island have?
Most islands benefit from at least two outlets, but the ideal number depends on your habits. If you use many small appliances or charge multiple devices, plan for more. Spacing them on both the work and seating sides adds the most convenience.
Can I install kitchen island outlets myself?
Simple outlet swaps may be within reach for experienced DIYers, but running new circuits, adding dedicated appliance wiring, or installing 240-volt cooktops should be handled by a licensed electrician. This ensures the work meets code and passes inspection safely.
What is the best way to hide cords on a kitchen island?
Pop-up outlets, charging drawers, and recessed receptacles all keep cords out of sight. A charging drawer is especially effective because it hides both the outlet and the cables completely, leaving your countertop clean and clutter-free.
Do I need a dedicated circuit for kitchen island appliances?
Yes, for high-draw appliances like microwaves, induction cooktops, and beverage fridges. A dedicated circuit prevents tripped breakers and keeps your appliances running reliably. Your electrician can size each circuit to match the equipment you plan to install.