Not every kitchen has room for a big freestanding island floating in the center of the space. And honestly? A lot of us don’t want one. Connecting your island to a wall solves a handful of everyday problems at once. You get extra counter space, hidden storage, and a natural spot to run plumbing or electrical without tearing up your floor.
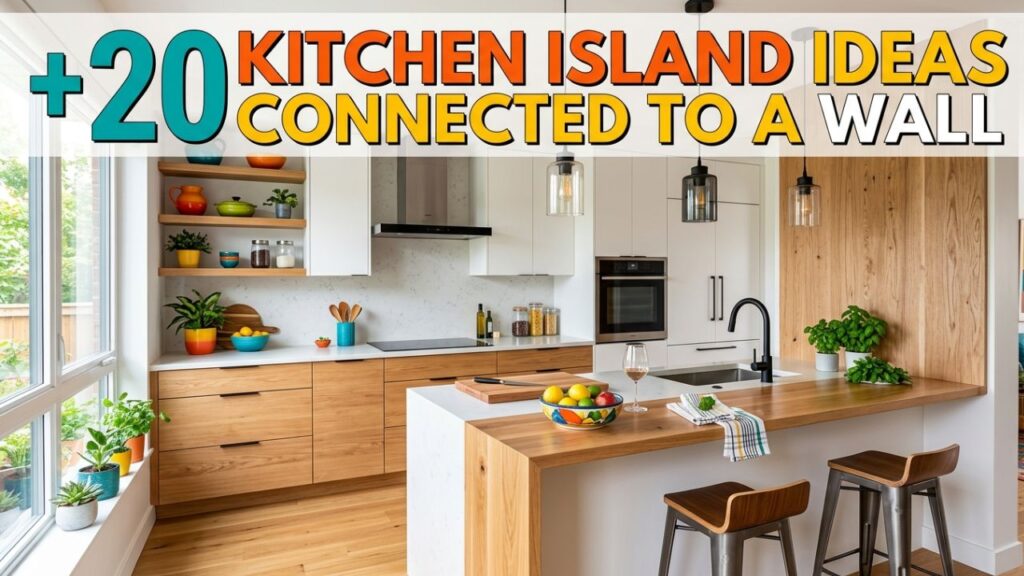
Over the years of planning kitchen remodels and talking with homeowners about what actually works, one pattern keeps showing up: a wall-connected island often beats the standalone version in small to mid-sized rooms. It anchors the layout, reduces wasted walkways, and gives your kitchen a more finished, built-in look.
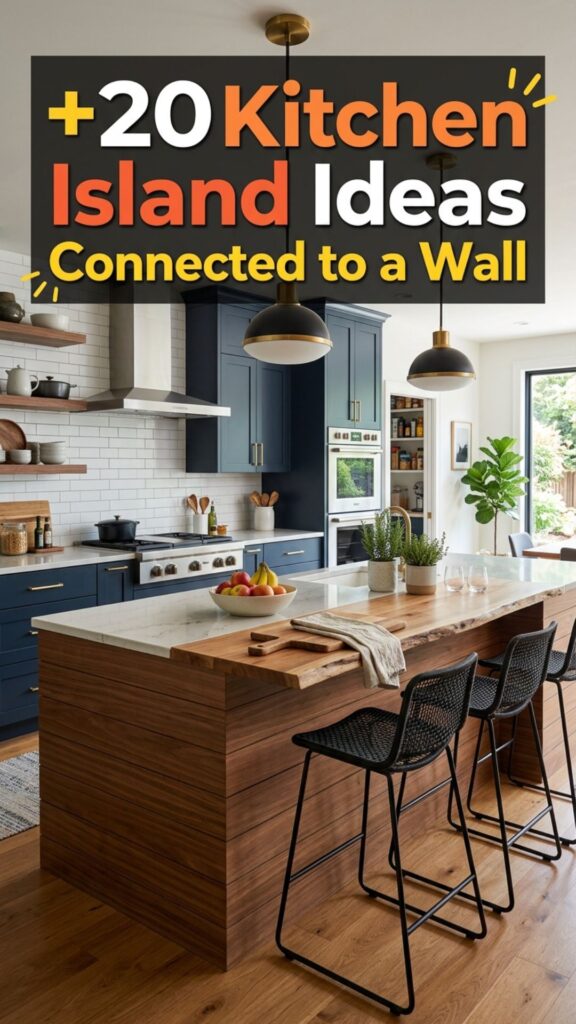
In this guide, you’ll find 20 kitchen island ideas connected to a wall, each with practical details you can borrow. Whether you’re working with a galley kitchen, an open-plan space, or something in between, there’s a layout here that’ll fit.
1. The Peninsula Island That Doubles as a Room Divider
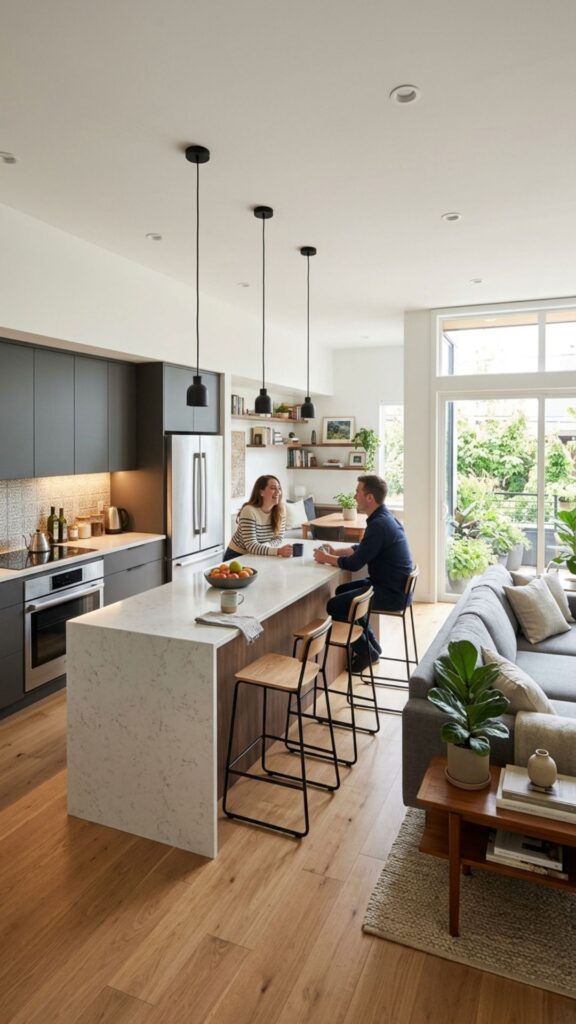
A peninsula is the classic wall-connected island. One end attaches to your existing counter run or a wall, and the other end juts out into the room. This shape naturally separates your cooking zone from the living or dining area without building a full wall.
Use the open end as a breakfast bar with two or three stools. The connected side keeps everything sturdy, so you don’t need extra bracing. It’s a smart pick for open-plan homes where you want some division but still crave that airy, connected feel.
2. A Prep Station Attached to the Backsplash Wall
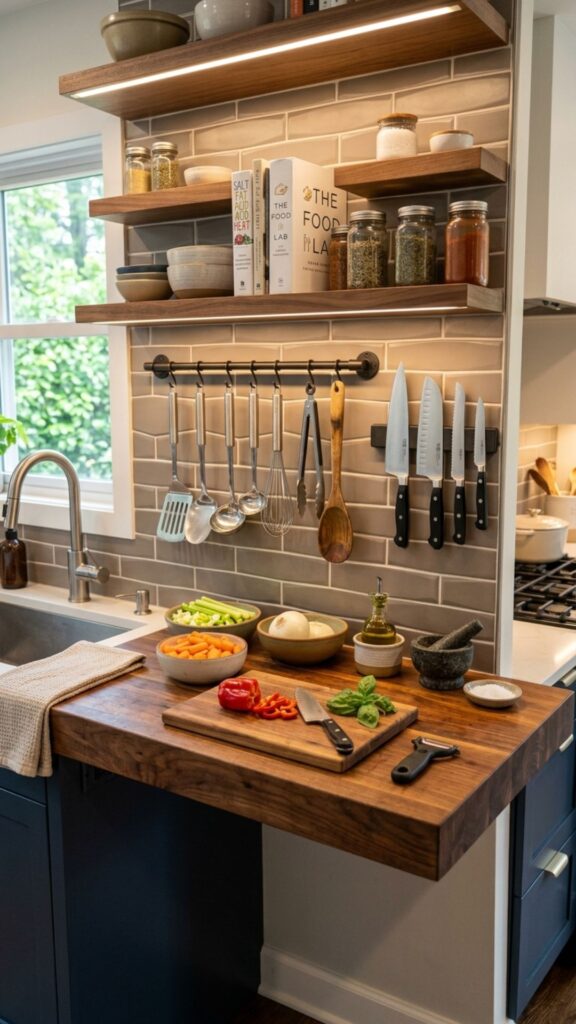
If your main goal is more workspace, run the island straight off the wall behind your stove or sink. This puts your prep zone within arm’s reach of everything you use most. No walking laps around a center island just to grab a knife.
Add a butcher block top on this section for chopping and a stone counter elsewhere for hot pans. The wall connection also means you can install a slim shelf or hanging rail above it for utensils, keeping your tools visible and off the counter.
3. Waterfall Countertop Meeting the Wall
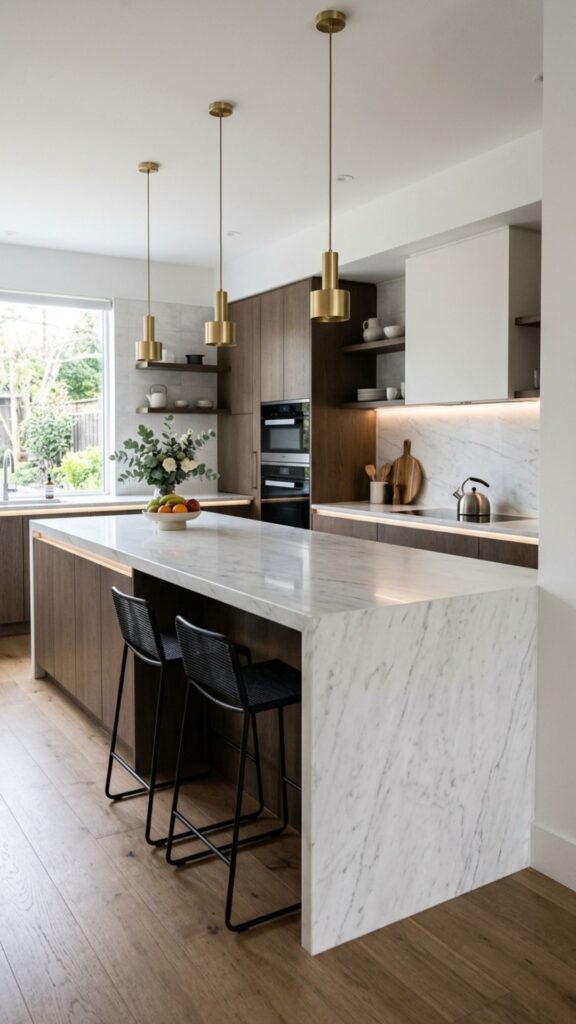
A waterfall edge, where the countertop material flows down the side to the floor, looks stunning when it terminates against a wall. The stone appears to grow right out of the structure, creating a clean, high-end finish.
This works beautifully with quartz or marble. Because one side ties into the wall, you save material compared to a full four-sided waterfall island. It’s a designer look on a slightly friendlier budget, and the connection point hides the seam neatly.
4. Island With a Built-In Bookshelf on the Wall Side
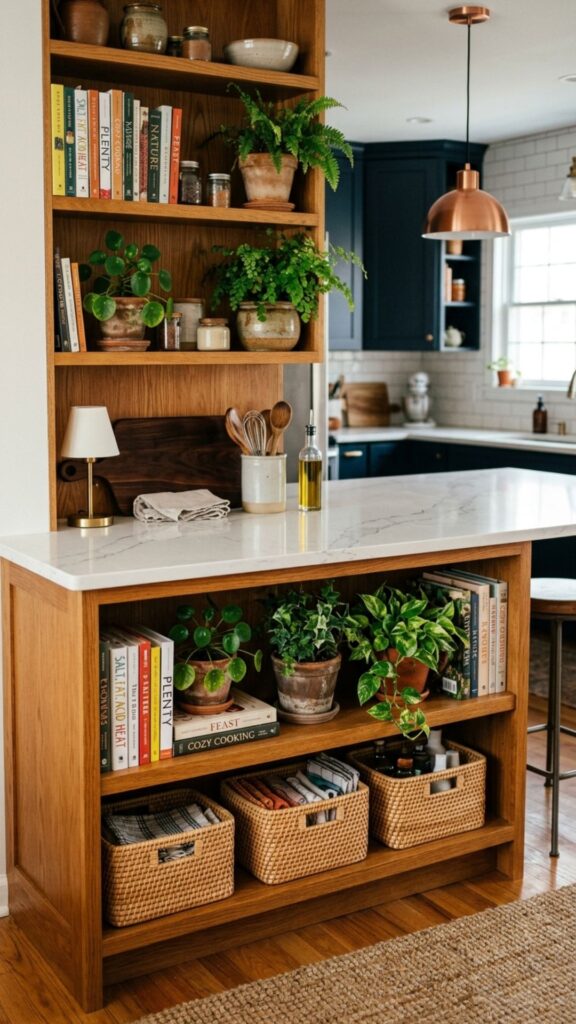
Turn the wall-facing end of your island into a cozy display. Instead of a blank panel, add open cubbies or a small bookshelf. Cookbooks, plants, or baskets fill the space and soften the hard lines of the kitchen.
This idea shines in kitchens that flow into a family room. The shelving faces the seating area, so it reads more like furniture than cabinetry. It’s a subtle way to blend your cooking space into the rest of your home.
5. The L-Shaped Wall Connection for Corner Kitchens
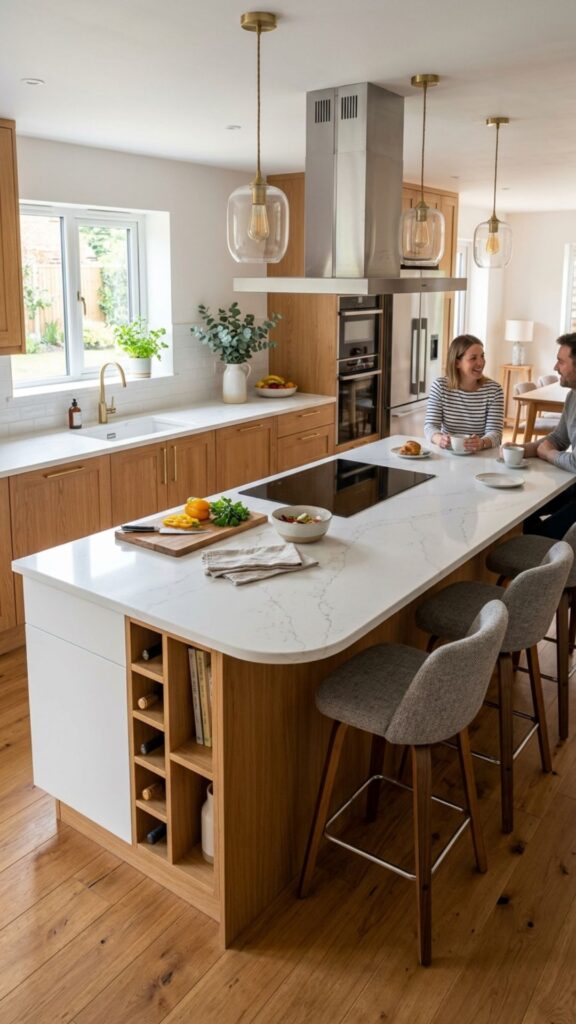
When your kitchen sits in a corner, an L-shaped island connected along one wall maximizes every inch. The long leg follows the wall, and the short leg opens toward the room, wrapping around your work triangle.
This layout keeps the sink, stove, and fridge close together while adding a generous run of counter. Homeowners with tight corners often tell me this shape “found” storage they didn’t know they had underneath.
6. A Slim Galley Island Bridging Two Walls
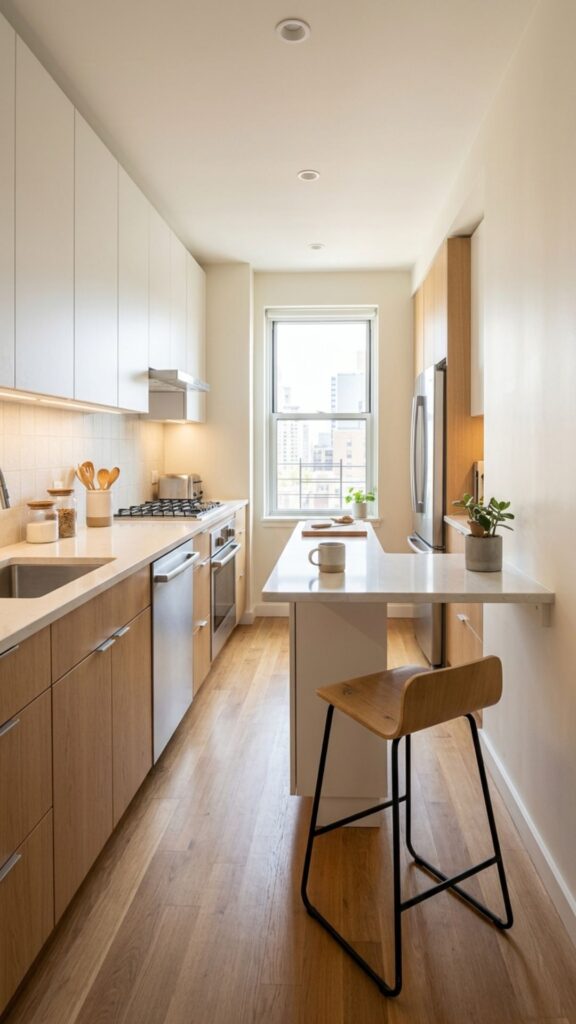
Galley kitchens feel narrow, but you can still add an island by attaching a slim counter to one end wall. Keep it 18 to 24 inches deep so walkways stay clear. Even a narrow strip gives you landing space beside the oven.
Because it connects at one end, the island stays stable without eating into your path. Add a single stool at the open tip for quick meals. It’s proof that even the tightest kitchens have room for a smart island.
7. Island Merging Into a Dining Table Extension
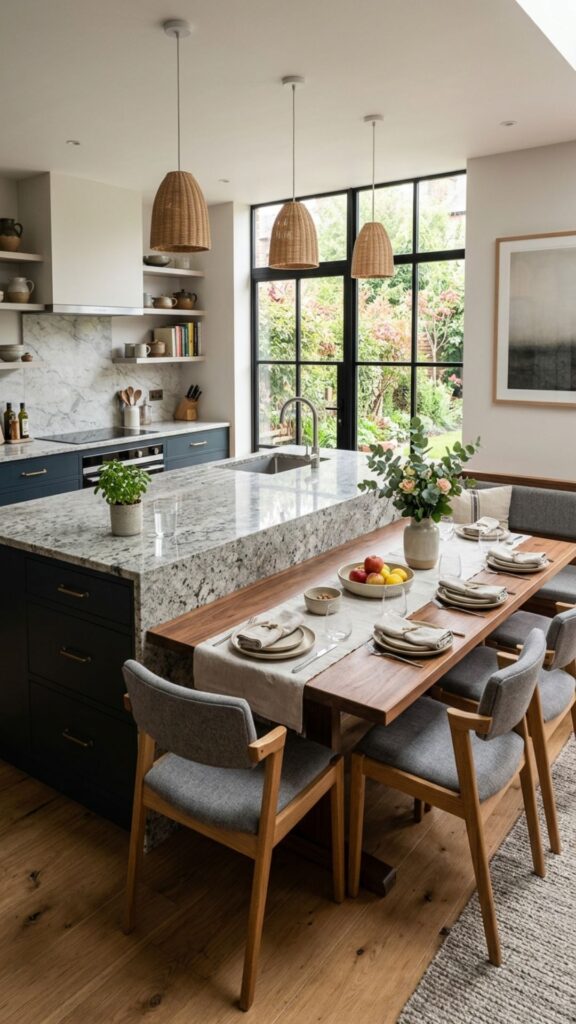
Attach a lower dining table to the end of your island so it stretches toward a wall or window. The counter handles prep, and the table height section seats your family for meals. This split-level design is comfortable and practical.
The connection point gives the table its support, so you skip extra legs that get in the way of chairs. It’s ideal for households that eat most meals in the kitchen and don’t have a separate dining room.
8. Wall-Connected Island With a Hidden Appliance Garage
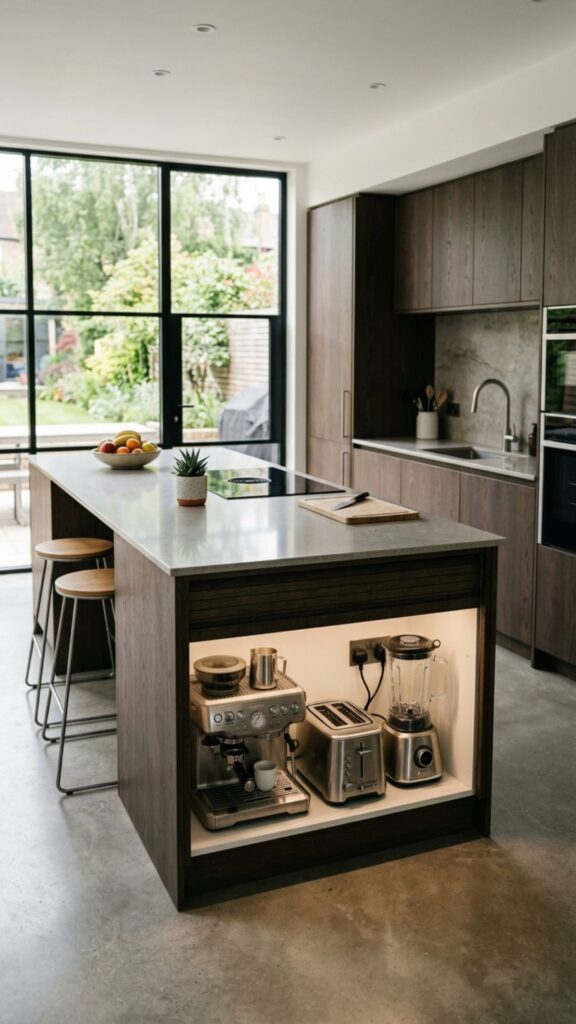
Run your island off the wall and tuck an appliance garage into the connection point. This is a cabinet with a roll-up or lift door that hides your toaster, blender, and coffee maker. Your counters stay clear, and gadgets stay plugged in.
Because the island meets the wall, you can wire outlets right into that junction. Pop the door open in the morning, brew your coffee, and close it up when guests arrive. Clean counters, zero clutter.
9. A Two-Tier Island Anchored to the Backsplash
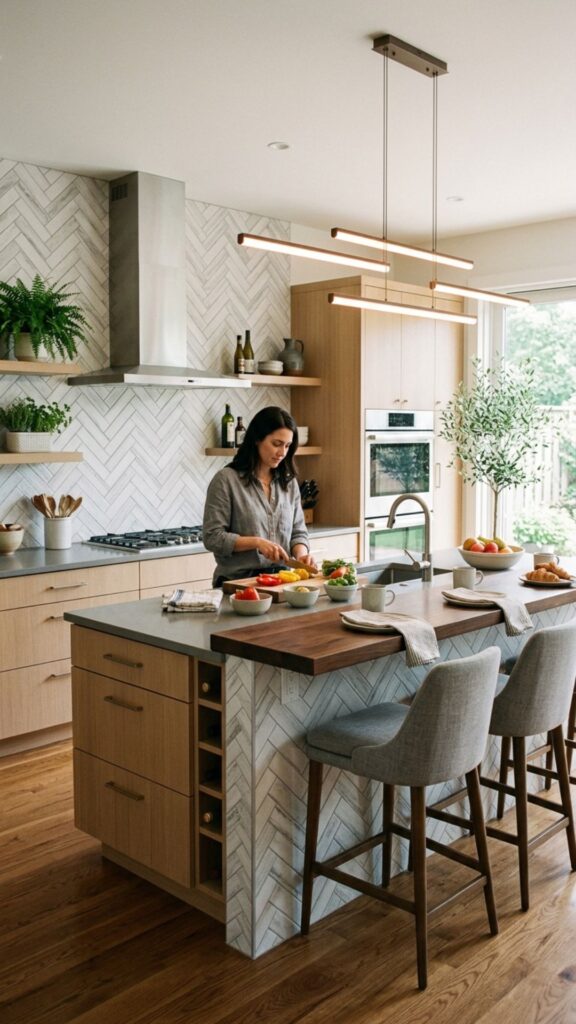
Two-tier islands feature a raised bar on one level and a lower prep surface on the other. Anchoring the whole unit to the wall behind it adds stability to that raised section, which can otherwise feel top-heavy.
The higher tier hides messy prep from anyone sitting at the bar. Meanwhile, the wall connection lets you run a full-height backsplash up behind it, protecting the paint and tying the design together.
10. Island Doubling as a Coffee and Beverage Bar
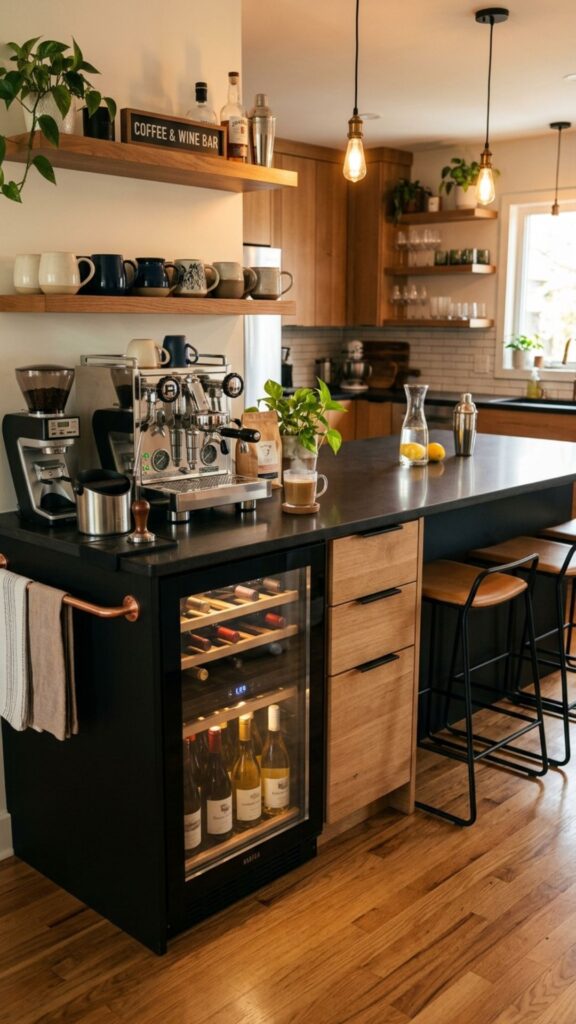
Dedicate the wall-connected end to a beverage station. Add a small wine fridge, open shelving for mugs, and a run of counter for your espresso setup. Plumbing and power run neatly through the wall behind it.
This keeps your morning traffic in one spot instead of spread across the kitchen. Guests grab a drink without wandering into your cooking zone. It’s a small luxury that earns its space every single day.
11. Farmhouse Island With Exposed Wood Bracket Support
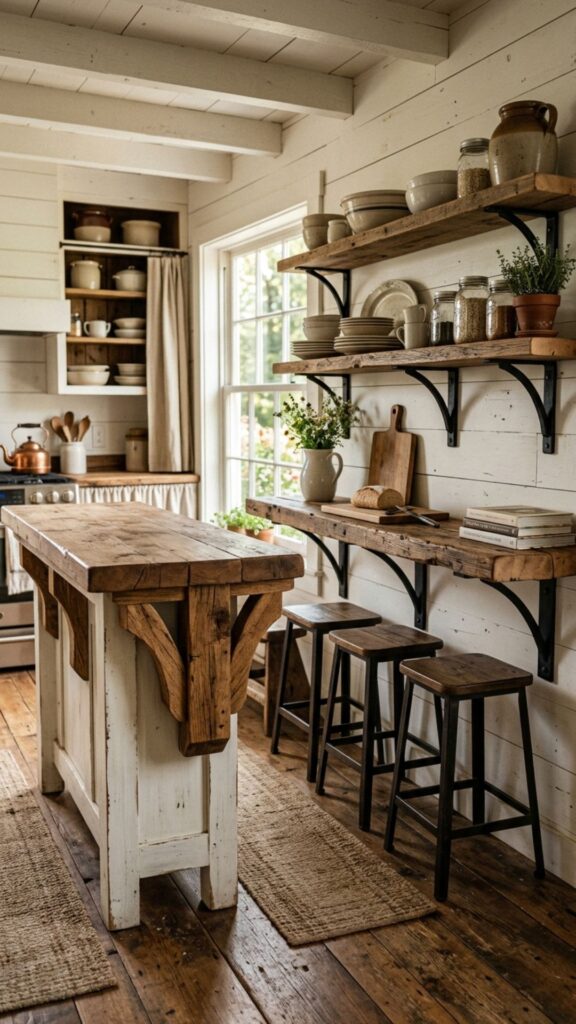
For a farmhouse look, attach a chunky wood countertop to the wall using visible iron brackets. The brackets carry the weight and become part of the design. No bulky cabinet base needed underneath.
This opens up floor space and gives the kitchen a lighter, airier feel. Tuck stools underneath and store baskets on a lower open shelf. It’s warm, casual, and surprisingly budget-friendly.
12. Sink-Focused Island Plumbed Through the Wall
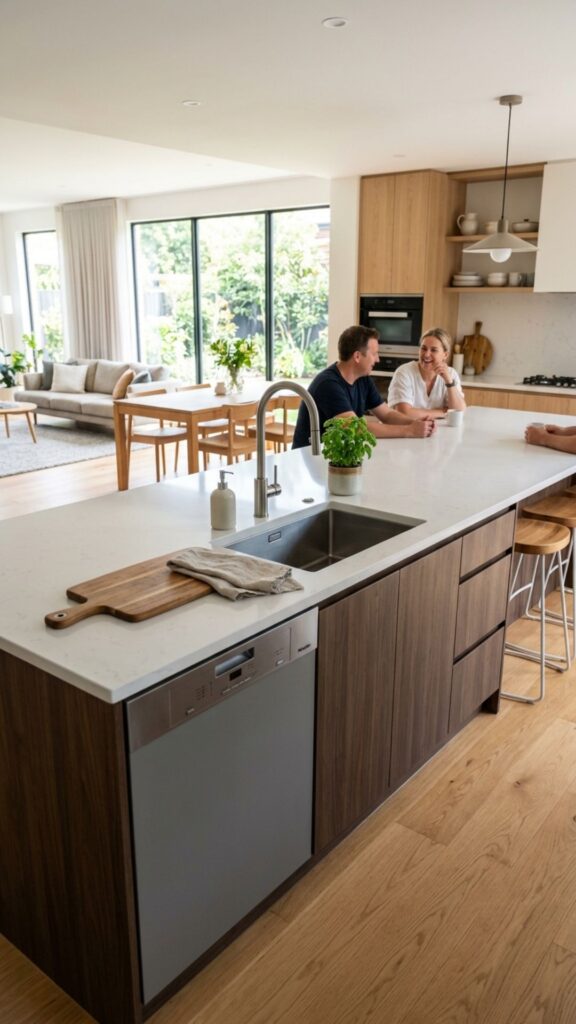
Placing your sink in the island usually means running plumbing under the floor. But if you connect the island to a wall that already has water lines, you can plumb straight through it instead. That saves labor and cost.
You get a sink with a view of the room while you wash up, plus dishwasher space right beside it. This is one of the most practical kitchen island ideas connected to wall setups for anyone renovating on a timeline.
13. Compact Island for Apartment and Studio Kitchens
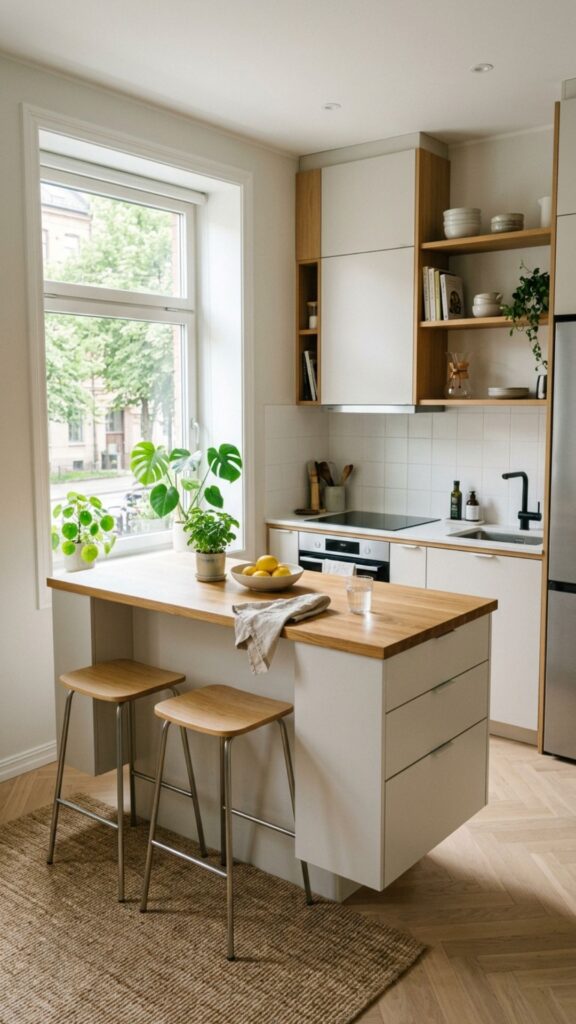
Small-space living calls for smart design. A compact island attached to one wall gives renters and apartment dwellers a real work surface without crowding the room. Even a 30-inch counter makes a difference.
Choose a base with wheels-off stability but plenty of drawers. The wall anchor means it won’t wobble when you’re kneading dough or chopping fast. Big function, tiny footprint.
14. Island With Integrated Seating Nook Against the Wall
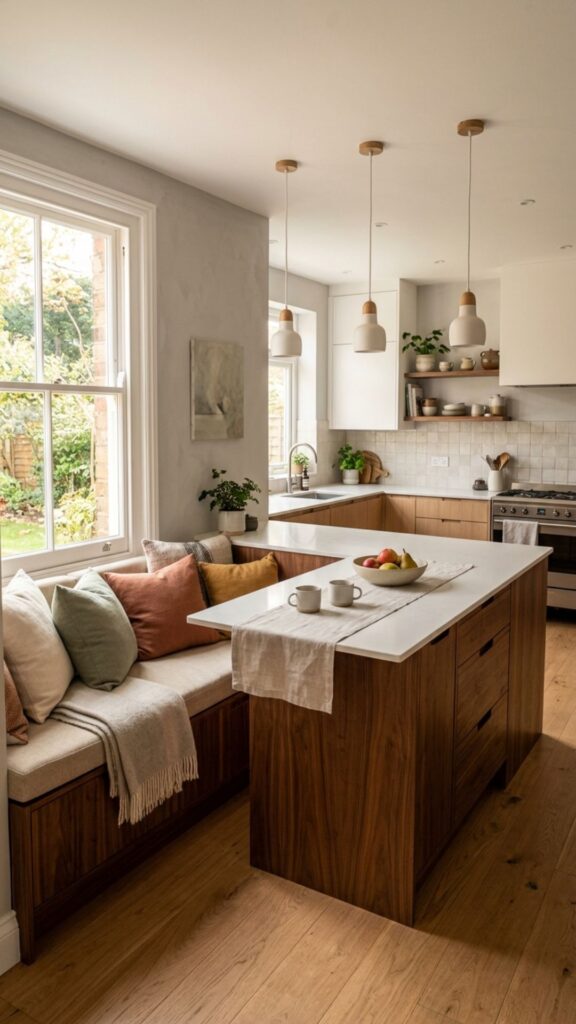
Build a small bench seat where the island meets the wall, creating a cozy nook. Add a cushion and a couple of throw pillows, and you’ve got a spot for morning coffee or homework supervision.
The wall connection supports the bench, so you avoid extra framing. This design blurs the line between kitchen and breakfast room, making the whole space feel more livable and welcoming.
15. Waterfront Window Island Along an Exterior Wall
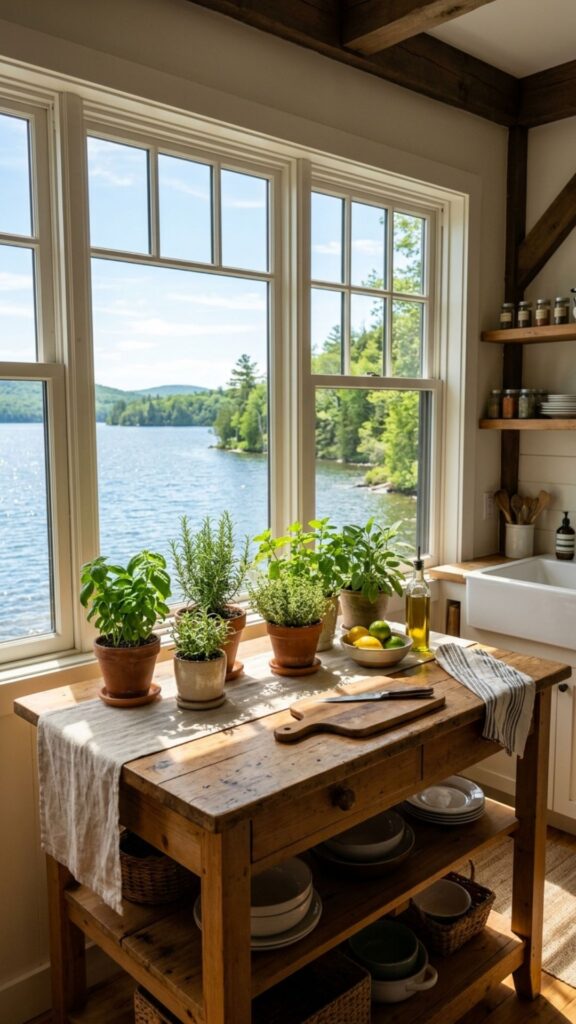
If your kitchen has a window on an exterior wall, run your island beneath it. You get natural light over your prep zone and a pleasant view while you work. Keep the counter depth modest so it fits under the sill.
This layout turns a plain wall into the heart of the kitchen. Add a couple of potted herbs on the windowsill for fresh flavor within reach. Light, function, and a little greenery all in one spot.
16. Modern Floating Island With a Cantilevered Wall Mount
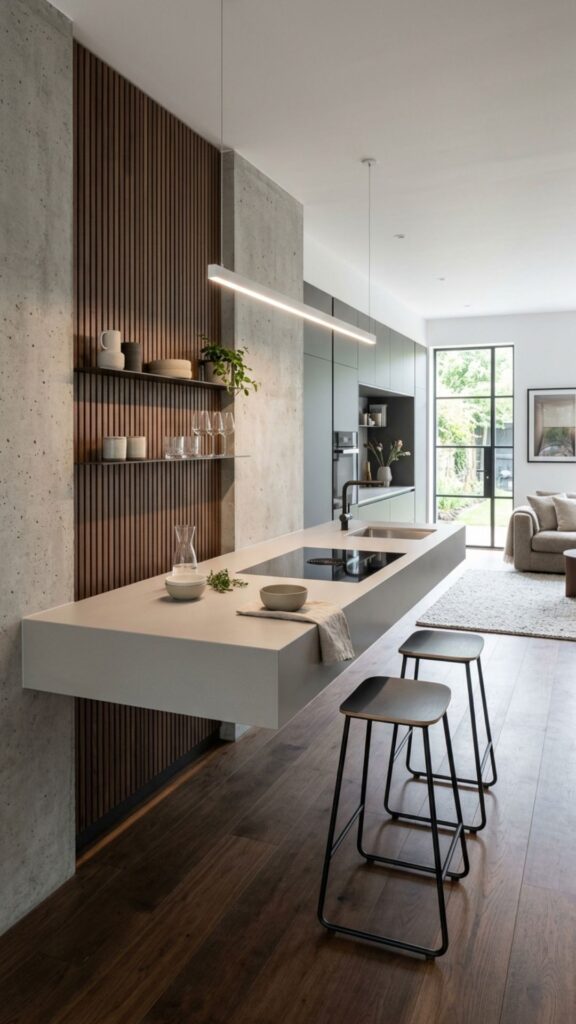
For a sleek, contemporary vibe, mount a cantilevered counter that appears to float off the wall. Hidden steel supports inside the wall carry the load, so no legs or base cabinets interrupt the clean line.
This look works in minimalist kitchens where less clutter is the goal. Just plan the structural support during framing, since it needs solid backing. The result feels light, modern, and genuinely impressive.
17. Island With Wall-Side Pantry Storage
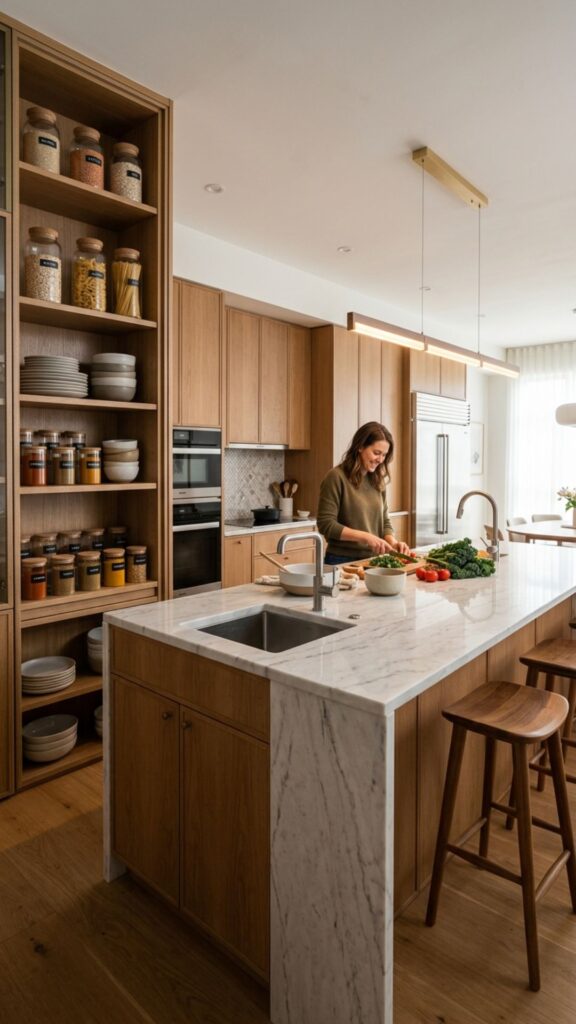
Use the wall connection to blend your island into a floor-to-ceiling pantry. The island handles prep, and the attached pantry stores everything from dry goods to small appliances. It reads as one cohesive unit.
This is a lifesaver in kitchens short on cabinet space. You keep bulk items hidden but close, and the transition from island to pantry looks intentional rather than tacked on.
18. Butcher Block Island Tied to a Brick Feature Wall
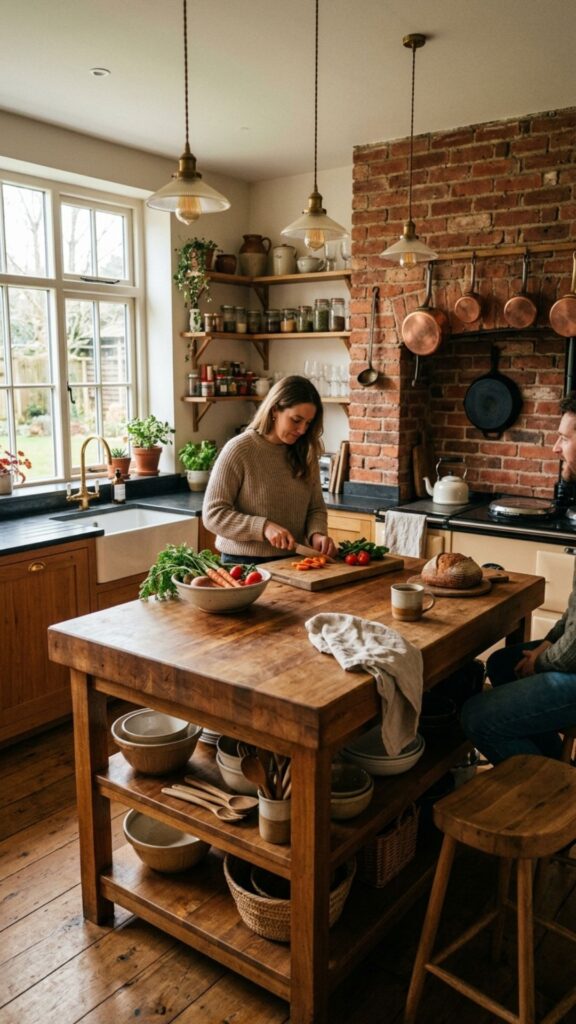
Pair a warm butcher block counter with an exposed brick or stone wall for a rich, textured look. Connecting the island to that feature wall lets the materials play off each other beautifully.
The wall becomes a natural backsplash, and the wood top adds warmth. This combination suits industrial, rustic, and transitional kitchens alike. It feels grounded and full of character.
19. Island With Built-In Cooktop and Wall-Mounted Hood
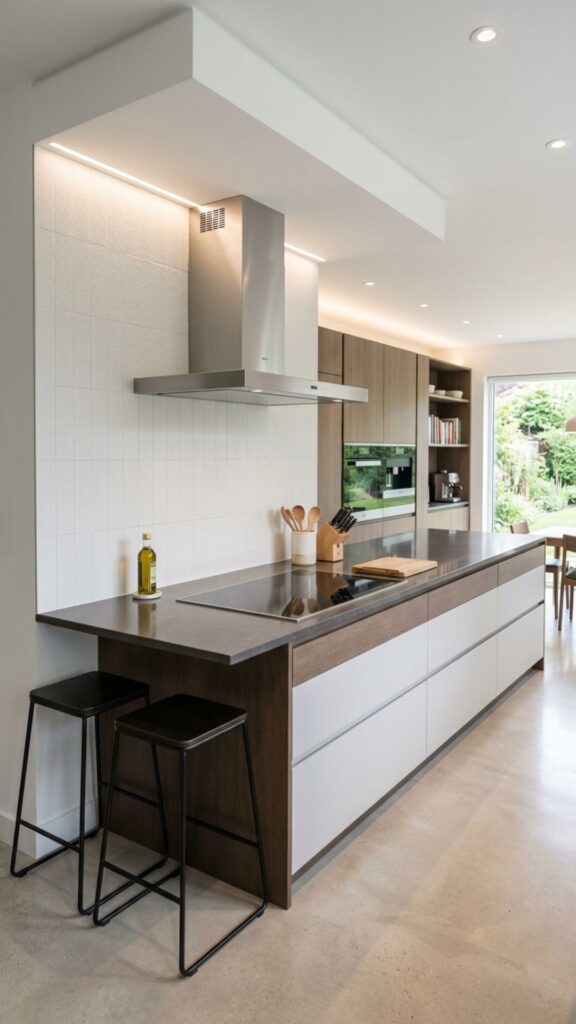
Put your cooktop in a wall-connected island and mount the range hood on the wall above it. This keeps the ventilation simple and avoids a big overhead hood dropping from the ceiling.
You cook facing the room, which is great for hosting. The wall handles the exhaust ducting, so installation stays cleaner. It’s a functional centerpiece that keeps you part of the conversation.
20. Multi-Purpose Island Connecting Kitchen and Home Office
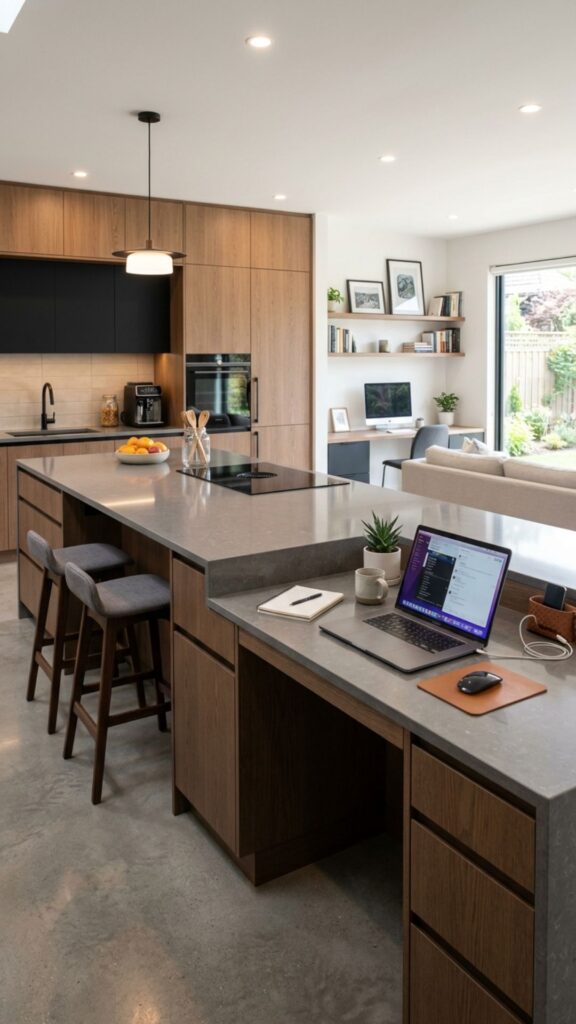
More people work from home now, and the kitchen island can pull double duty. Attach one end to a wall and extend a desk-height surface for a laptop, charging station, and a drawer for supplies.
When work wraps up, the same surface handles snacks or homework. The wall connection hides the cords and outlets you need for a tidy setup. One piece of furniture, two full jobs.
Bringing It All Together
Connecting your island to a wall isn’t a compromise. It’s often the smarter move. You gain storage, simplify plumbing and electrical, and create a layout that feels built-in rather than bolted on. From peninsulas that divide open spaces to floating counters that suit modern homes, these kitchen island ideas connected to wall designs prove there’s a fit for nearly every kitchen.
The best next step? Grab a tape measure and sketch your current layout. Mark where your water and power lines run, note your walkways, and pick two or three ideas from this list that match your space. Then take those notes to a designer or contractor for a quote. A little planning now saves headaches later, and you’ll end up with a kitchen that works as hard as you do.
Is a wall-connected island cheaper than a freestanding one?
Often, yes. Connecting to a wall lets you run plumbing and electrical through existing lines instead of trenching under the floor. You may also use fewer materials on the connected side. Costs still vary by materials and size, but the labor savings are real.
How much space do I need for a kitchen island connected to a wall?
Aim for at least 36 to 42 inches of clear walkway around the open sides. The island itself can be as narrow as 18 inches for a slim prep counter or wider if space allows. Always measure your walkways before committing to a size.
Can I add a sink or cooktop to a wall-connected island?
Absolutely. In fact, connecting to a wall makes it easier. You can route plumbing and ventilation through the wall rather than the floor or ceiling, which usually cuts installation costs and complexity.
Does connecting an island to a wall reduce the open feel of my kitchen?
Not necessarily. Peninsulas and floating counters can still keep sightlines open. Choosing open shelving, lighter counters, or a two-tier design helps the space feel airy while gaining the benefits of a wall connection.
What's the best wall-connected island idea for a small kitchen?
A slim peninsula or a compact prep station works best. Keep the depth around 18 to 24 inches, add one or two stools at the open end, and use the base for drawers. You’ll gain function without crowding the room.