Your kitchen island does more than hold groceries and hungry elbows. When you style it well, it becomes the heart of the room—the first thing guests notice and the spot everyone gathers around.
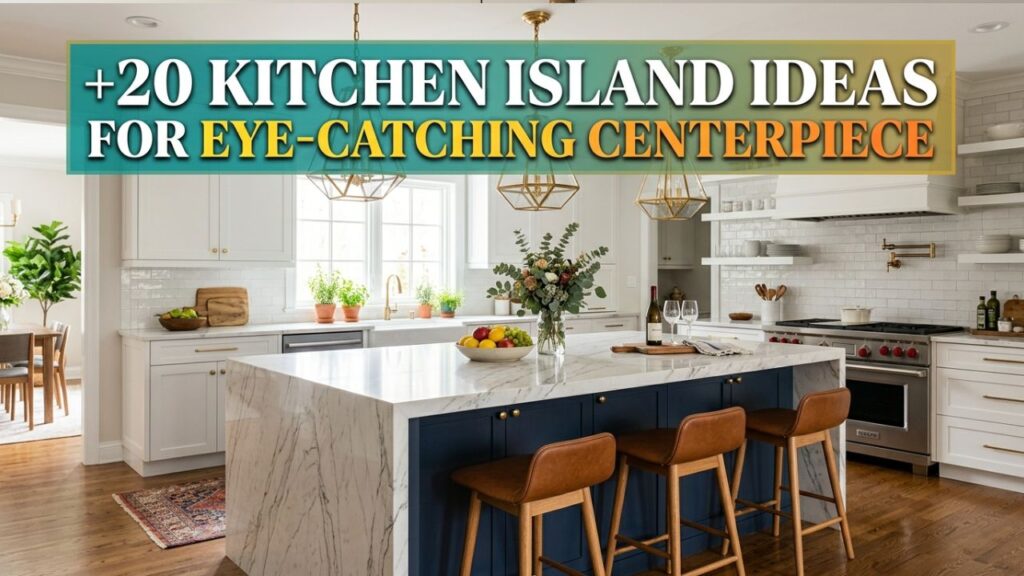
After years of helping homeowners rethink their kitchens, I’ve learned that the right island can transform a plain cooking space into something people actually talk about.
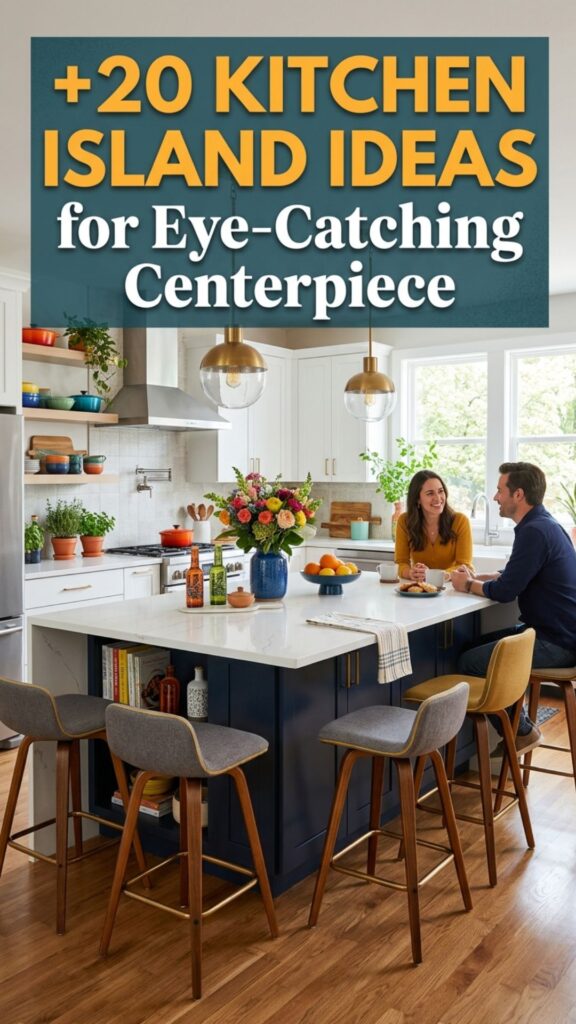
The good news? You don’t need a full remodel to make it happen. Below, you’ll find 20 practical kitchen island ideas for building a centerpiece that turns heads. Some tips cost almost nothing, while others are worth saving for. Either way, you’ll walk away with clear steps to make your island shine.
1. Choose a Bold Contrasting Color
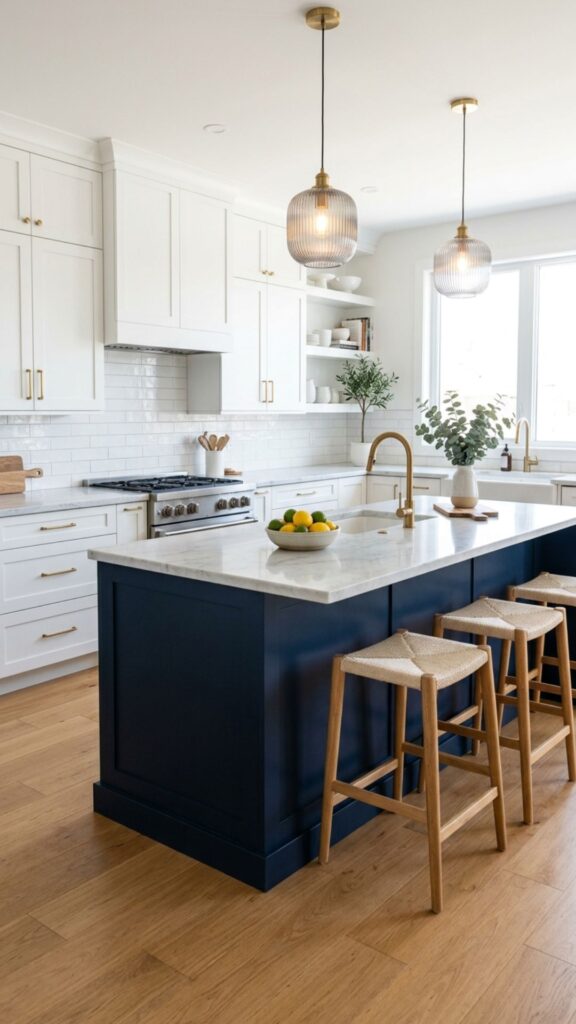
Painting your island a shade that differs from your surrounding cabinets is one of the fastest ways to create a focal point. A deep navy or forest green island against white cabinetry instantly draws the eye and adds depth to the room. This trick works in kitchens of any size and costs far less than replacing cabinets.
If you’re nervous about going dark, test the color on a sample board first and live with it for a few days. I’ve seen plenty of clients hesitate, then fall in love once the paint dried. Pair the bold base with a lighter countertop to keep the look balanced and fresh.
2. Install a Statement Pendant Light
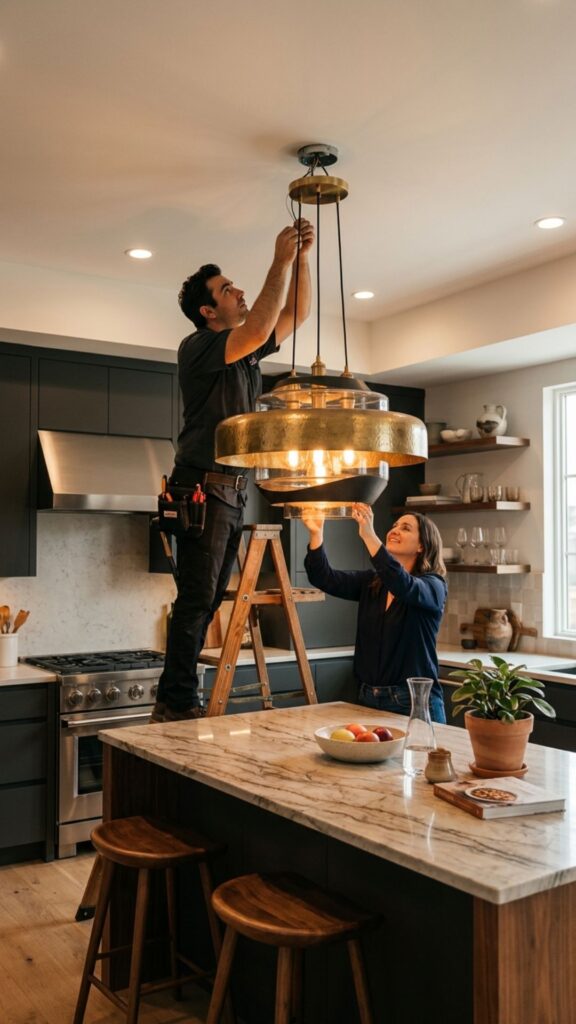
Lighting sets the mood, and a pair of oversized pendants can turn an ordinary island into a design highlight. Hang them roughly 30 to 36 inches above the counter so they light the surface without blocking sightlines. Two or three matching fixtures usually look best over a standard island.
Think about the finish that ties into your hardware—brass, matte black, or brushed nickel all bring different personalities. A woven rattan pendant softens a modern space, while a sleek glass globe adds a clean, contemporary edge.
3. Add Waterfall Countertop Edges
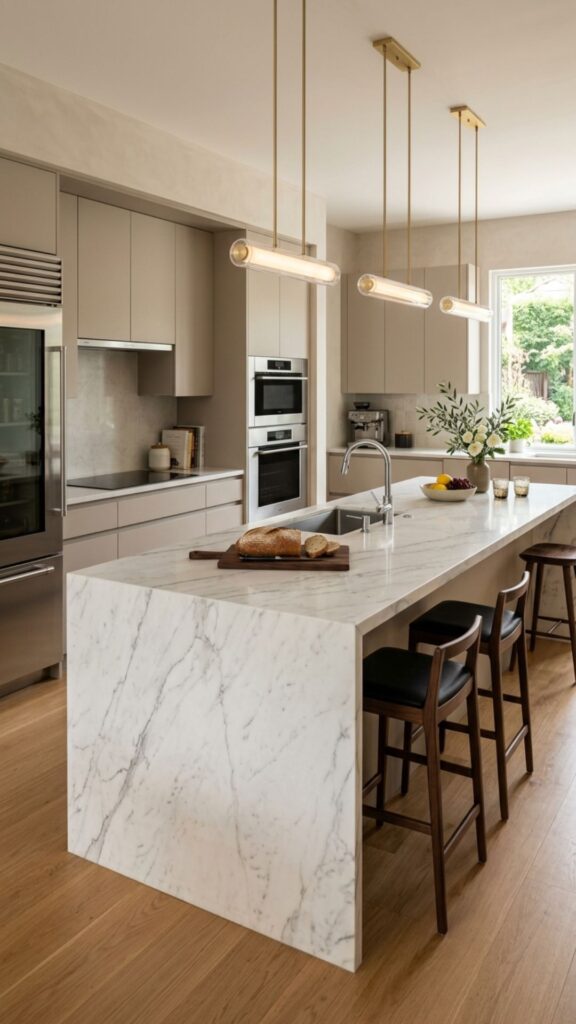
A waterfall edge, where the countertop material flows down the sides to the floor, creates a seamless, sculptural look. It’s a favorite among designers because it makes even a simple island feel high-end. Quartz and marble are popular choices thanks to their striking veining.
This idea leans toward the pricier side since it uses more slab material, but the payoff is dramatic. If your budget allows, a waterfall edge signals quality and craftsmanship the moment someone walks in.
4. Mix Materials for Texture
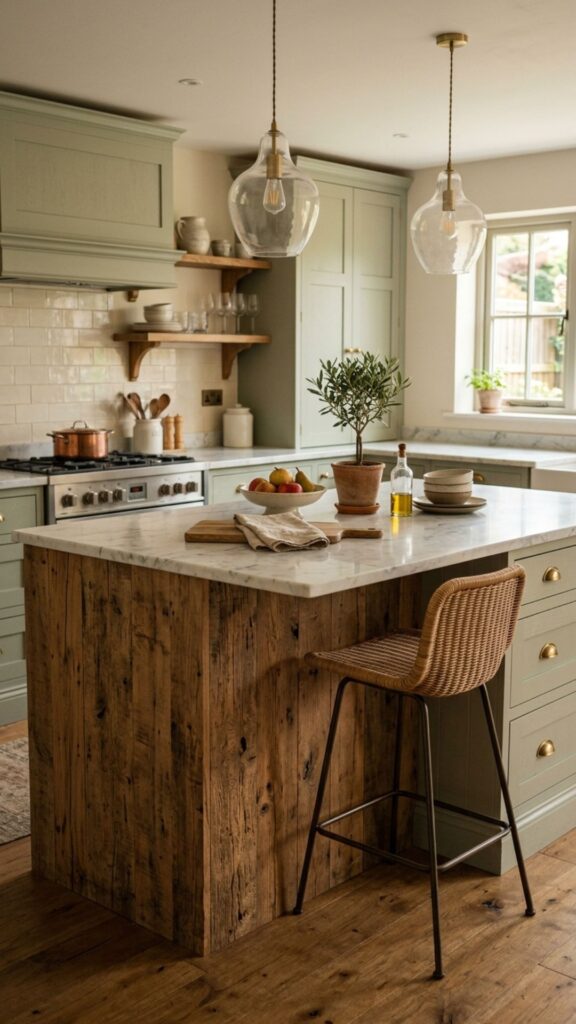
Combining two or more materials keeps your island from feeling flat. Try pairing a wood countertop for the seating area with a stone surface for prep work. The contrast is both practical and beautiful.
Texture matters just as much as color. A reclaimed wood base next to a smooth marble top gives your eye something interesting to explore. This approach also lets you weave in warmth without overwhelming the space.
5. Build In Open Shelving
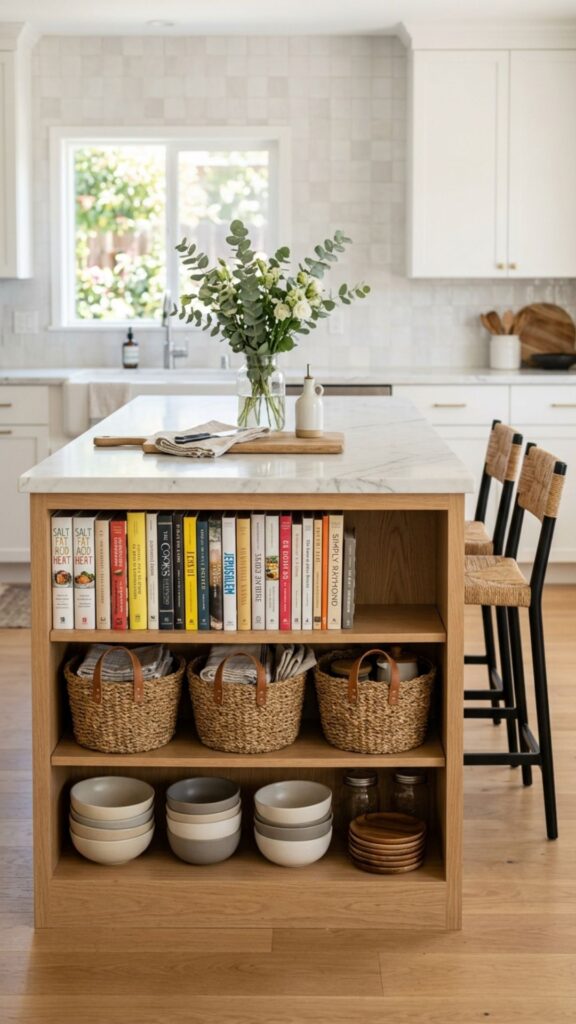
Open shelves along the sides of your island offer storage and a chance to show off. Line them with cookbooks, woven baskets, or a few ceramic bowls to add character. This works especially well on the end that faces your living or dining area.
Keep it tidy, though. Open shelving looks best when it’s styled with intention rather than crammed full. Rotate a few seasonal pieces to keep the display feeling fresh throughout the year.
6. Create a Two-Tier Design
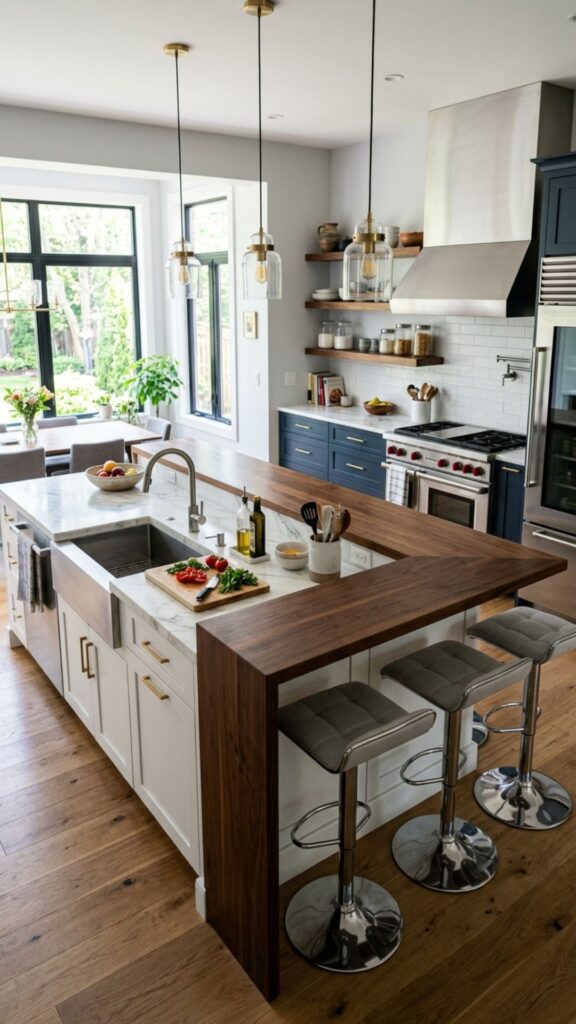
A two-level island gives you a lower prep surface and a raised bar for casual seating. The height difference adds visual interest while hiding any cooking mess from guests seated on the other side. Families with kids especially appreciate this layout.
The raised section also creates a natural spot for barstools. Choose stools that complement your island color, and leave about 24 inches of width per seat so everyone has room to relax.
7. Feature a Built-In Sink
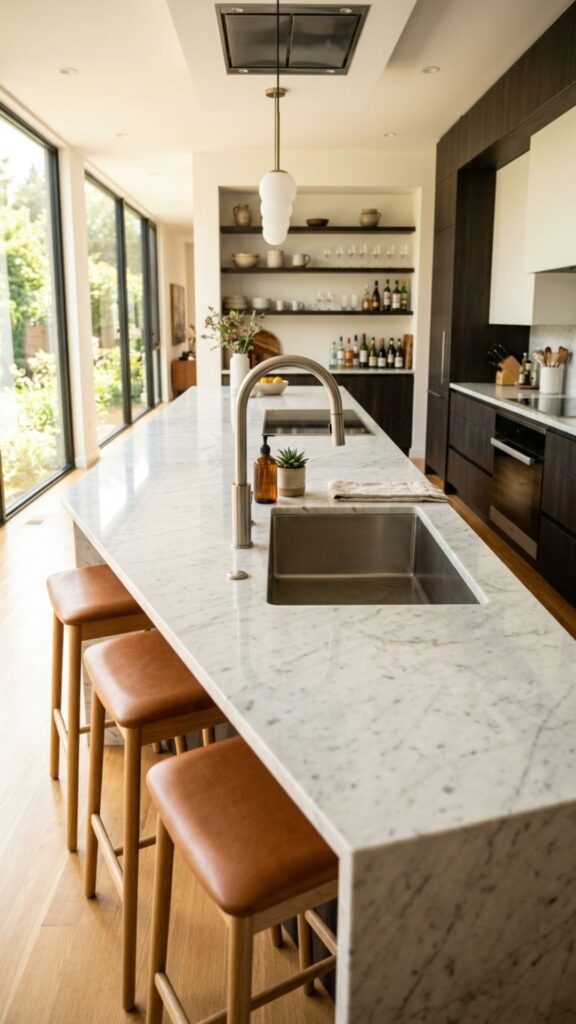
Placing the sink in your island turns a workhorse feature into a design element. It keeps you facing the room while you clean up, which makes hosting far more social. Pair it with a striking faucet to complete the look.
Consider a farmhouse-style apron sink for a cozy feel or an undermount for a clean, modern line. Either way, a well-chosen sink becomes a functional centerpiece you’ll use every single day.
8. Use Decorative Corbels
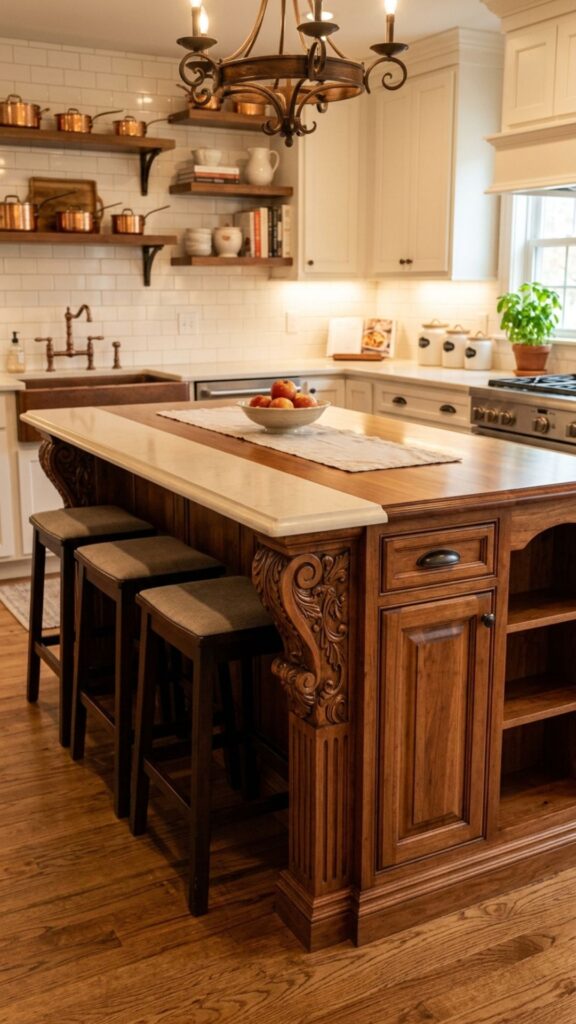
Corbels—those carved brackets that support a countertop overhang—add architectural charm. They give your island a custom, furniture-like quality that mass-produced kitchens often lack. Wood corbels suit farmhouse and traditional styles beautifully.
You can find pre-made corbels at most home improvement stores and attach them fairly easily. It’s a small detail, but it delivers a big impact on the overall character of the space.
9. Go Big with a Butcher Block Top
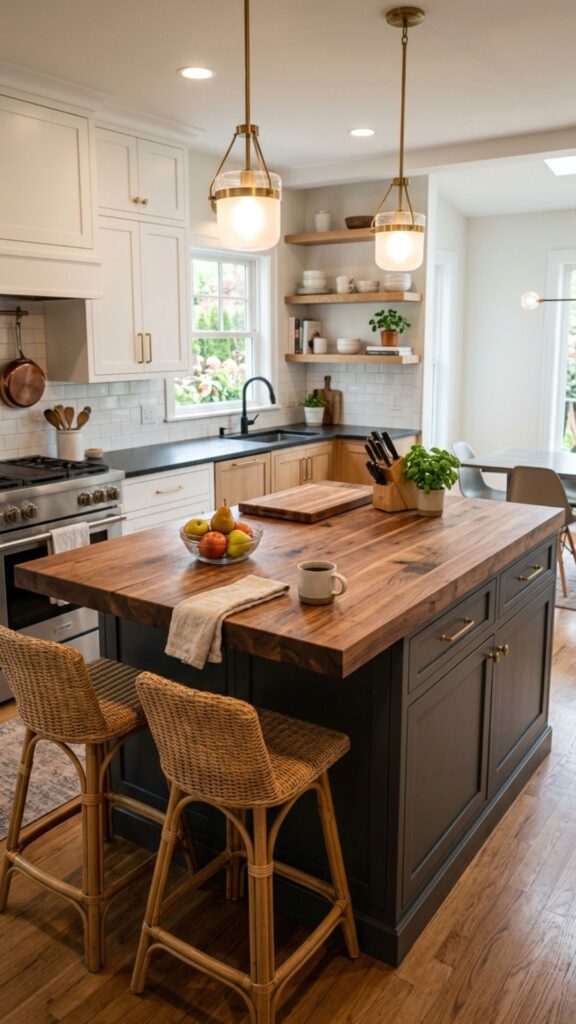
A thick butcher block countertop brings instant warmth and invites hands-on cooking. It’s ideal for chopping, kneading, and gathering. The natural grain becomes a centerpiece on its own, especially against painted cabinetry.
Butcher block does need regular oiling to stay in top shape, but many people love the lived-in patina it develops. If you want an island that feels welcoming and practical, this is a solid choice.
10. Style It with Fresh Greenery
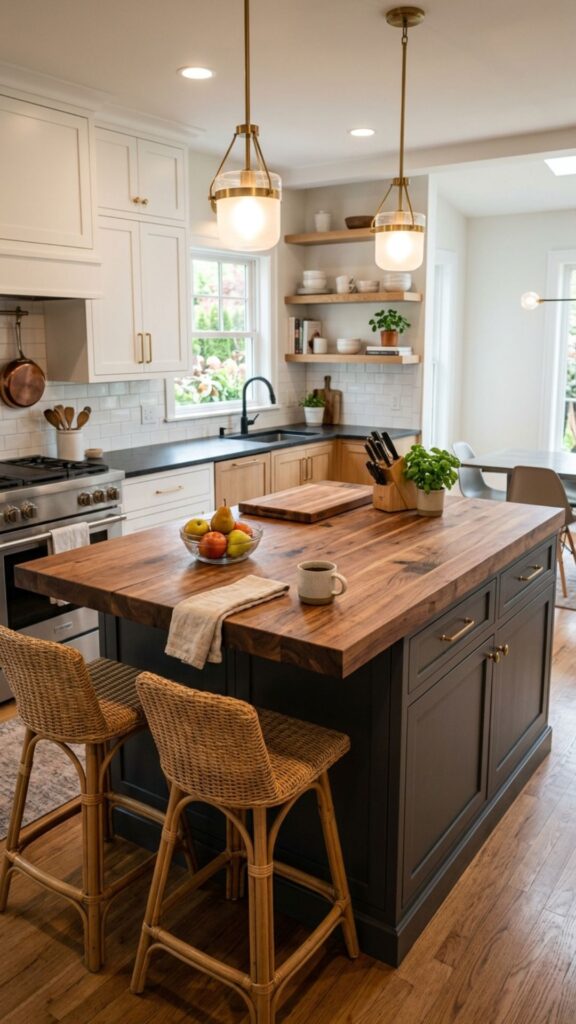
Never underestimate the power of plants. A trailing pothos in a pretty pot or a bowl of fresh lemons adds life and color to your island. Greenery softens hard surfaces and makes the space feel cared for.
This is the easiest and cheapest idea on the list. Swap in a vase of flowers when guests come over, or keep a small herb garden nearby for both beauty and function.
11. Add a Wine Rack or Beverage Fridge
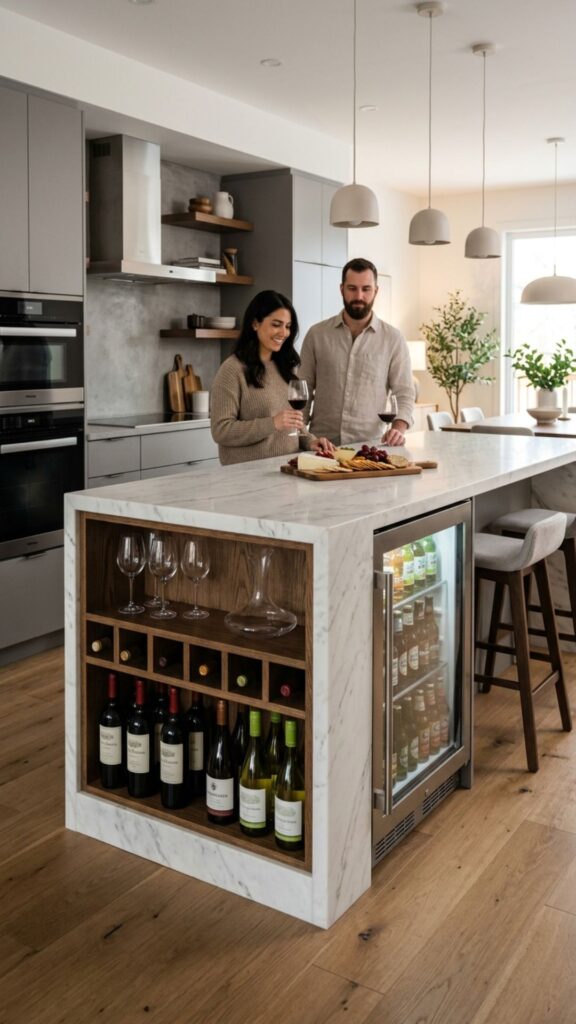
Building storage for drinks turns your island into an entertainer’s dream. A built-in wine rack or under-counter beverage fridge keeps everything within reach during gatherings. It also frees up space in your main refrigerator.
Position it on the side away from the cooking zone so guests can grab a drink without getting in your way. This small addition makes hosting smoother and adds a touch of luxury.
12. Try a Round or Curved Island
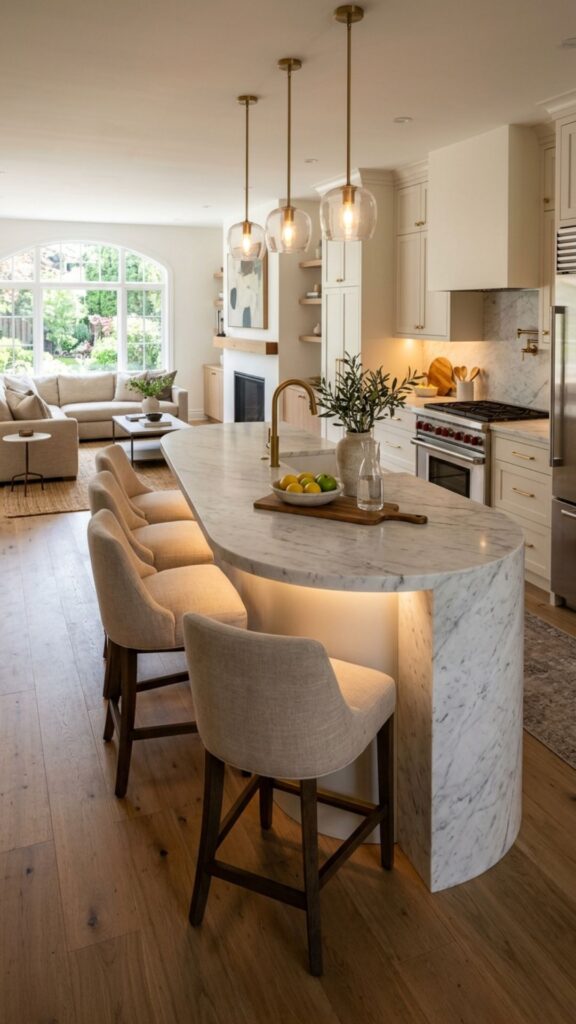
Most islands are rectangular, so a round or curved shape immediately stands out. The soft edges improve flow in busy kitchens and feel more inviting for casual seating. Curves also work well in open floor plans.
This idea usually requires custom work, but the uniqueness is worth it for many homeowners. A curved island becomes a natural conversation piece the moment someone enters.
13. Highlight with Under-Cabinet Lighting
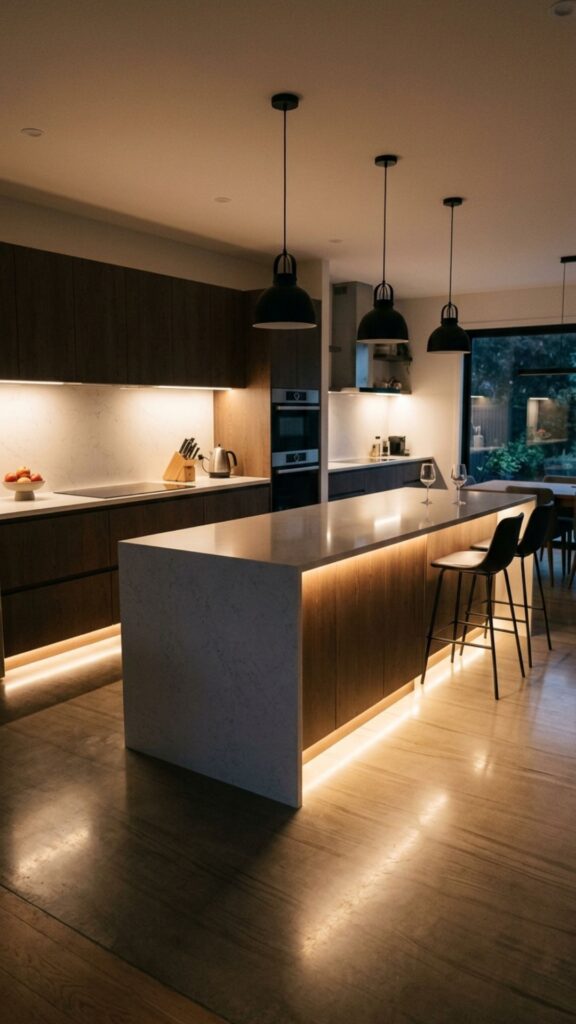
Adding LED strip lighting beneath the countertop overhang creates a warm glow that makes your island appear to float. It’s a subtle touch that reads as thoughtful and modern. The effect is especially lovely in the evening.
These lights are affordable and simple to install, with many options that plug in or run on batteries. Choose a warm white tone for a cozy feel that flatters both food and faces.
14. Install a Statement Range Hood Above
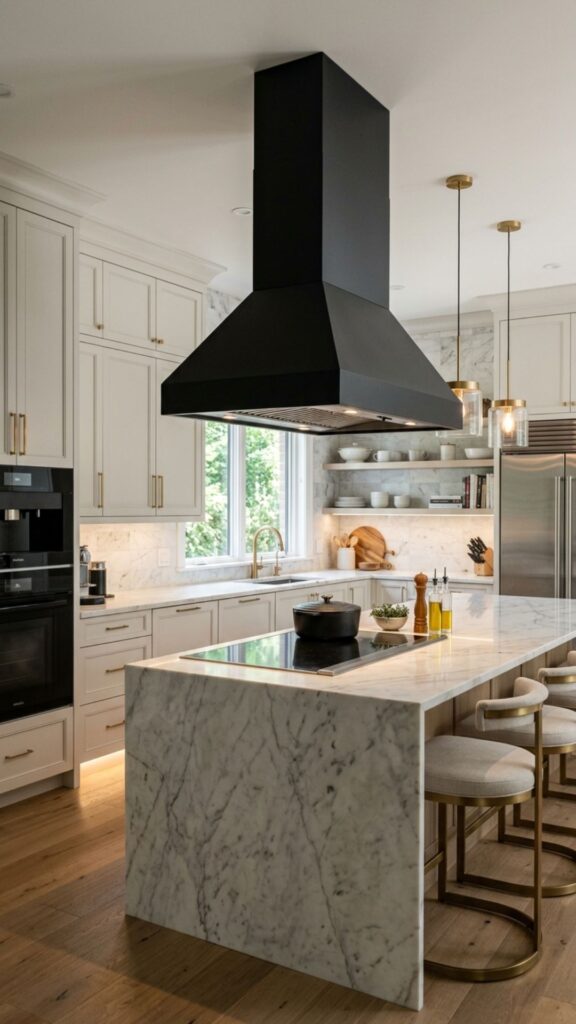
If your island includes a cooktop, the range hood above it becomes part of the display. A bold hood in copper, plaster, or matte black anchors the whole space and draws the eye upward. It balances the visual weight of the island below.
Match the hood’s finish to your other metal accents for a cohesive look. This pairing of island and hood often becomes the defining feature of the entire kitchen.
15. Incorporate Patterned Tile
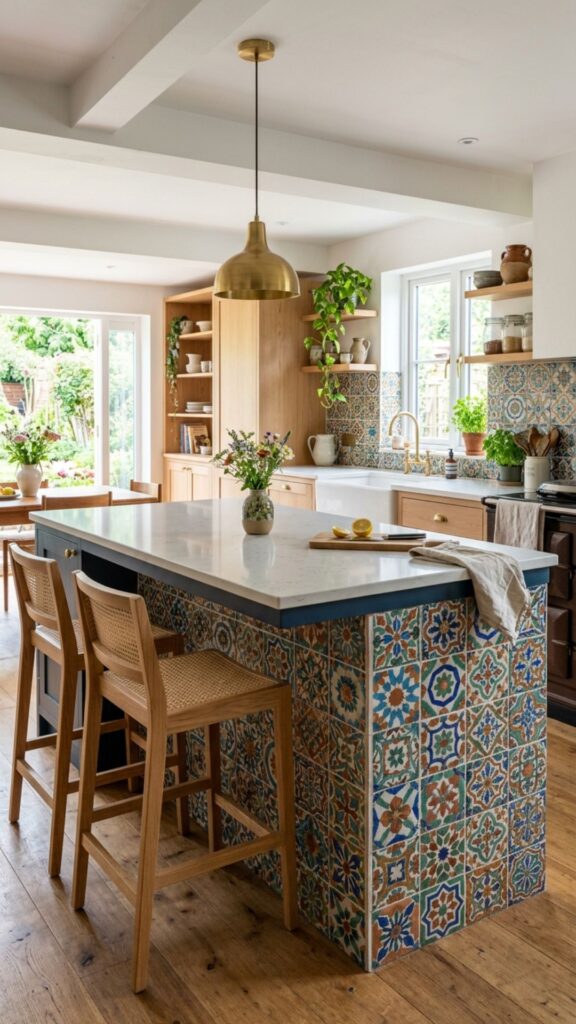
Tiling the sides or base of your island introduces pattern and personality. Handmade zellige tiles or a classic mosaic can turn a plain surface into a work of art. It’s a great way to add color without committing to bold cabinets.
Choose a pattern that echoes another element in the room, like your backsplash or floor. This repetition ties the space together and makes the design feel intentional.
16. Add Furniture-Style Legs
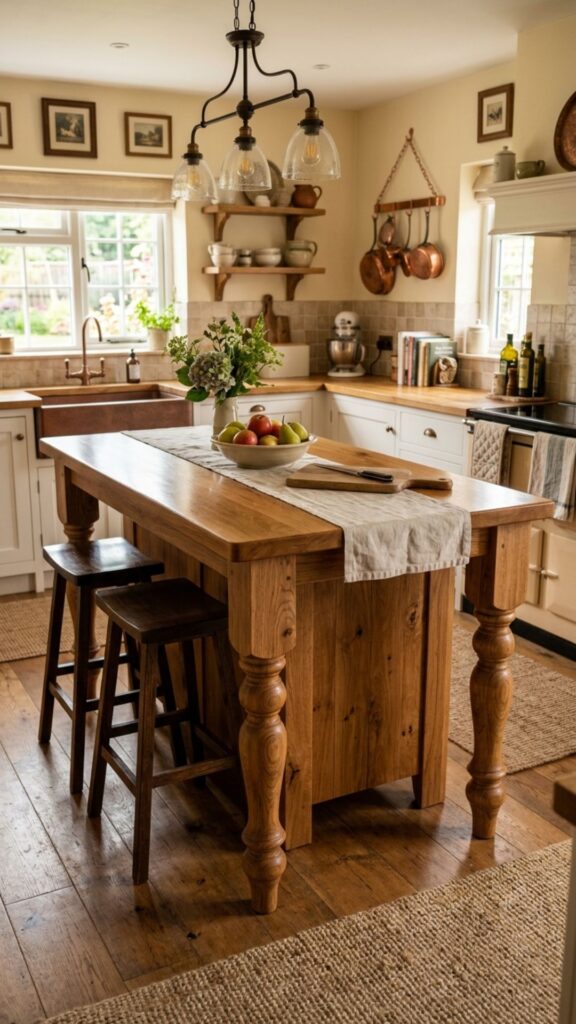
Swapping standard cabinet bases for turned wooden legs gives your island the look of a freestanding table. This furniture-inspired style feels warm and collected, as if the piece has always belonged there. It suits farmhouse, cottage, and eclectic kitchens.
You can find leg kits designed for this purpose, making it a manageable upgrade. The result softens the built-in feel and adds a charming, homey quality.
17. Use a Bold Countertop Slab
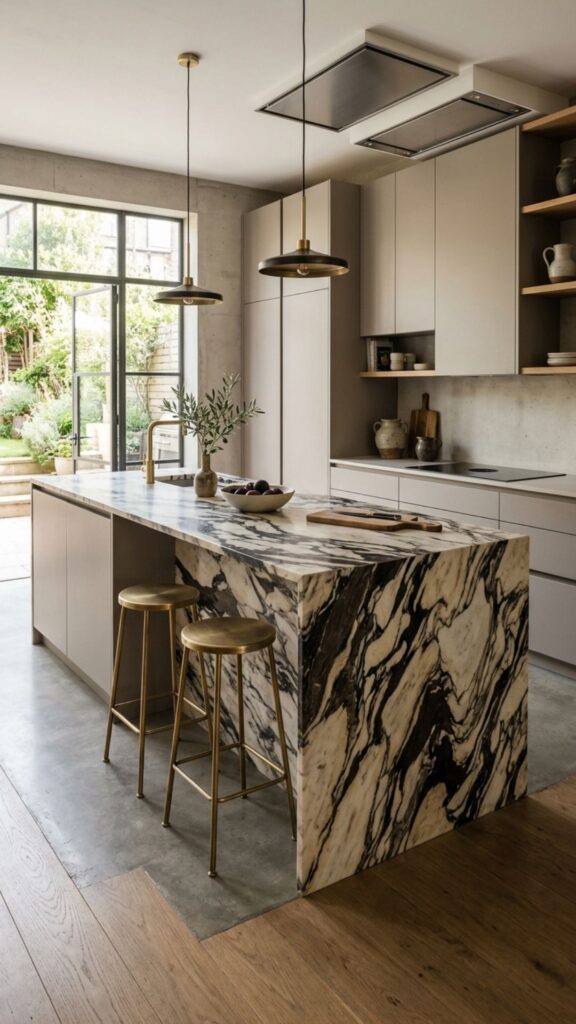
Let the countertop itself be the star. A slab with dramatic veining, like Calacatta marble or a striking quartzite, needs little else to shine. The natural pattern draws attention all on its own.
Keep the surrounding cabinets simple so the countertop stays the focus. When you invest in one standout slab, you create a centerpiece that feels timeless and elegant.
18. Add Seating with Character
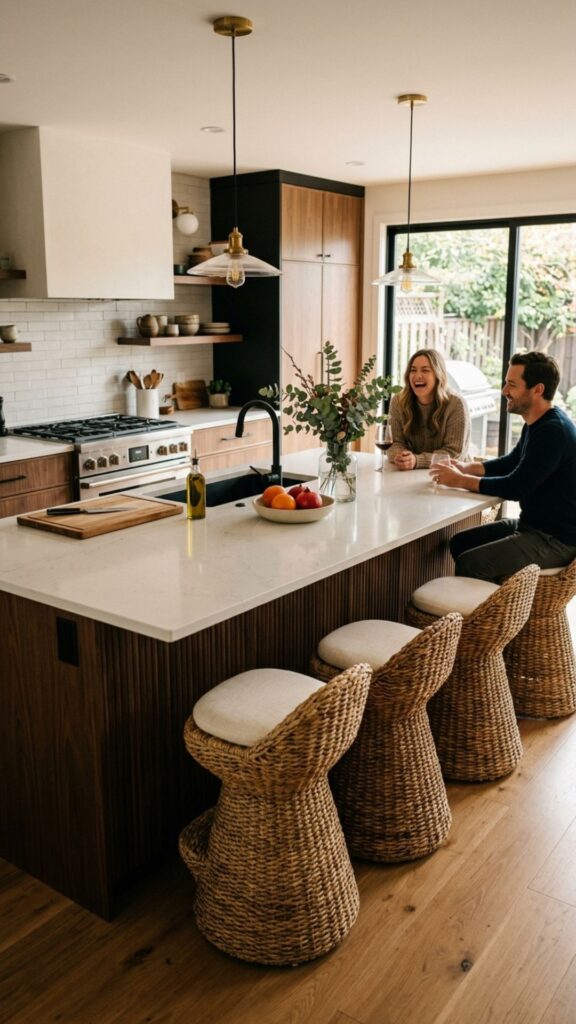
The stools you choose can make or break your island’s look. Instead of plain seats, pick chairs with texture, color, or an interesting silhouette. Woven, leather, or upholstered options all add flair.
Make sure the seat height fits your counter—counter-height stools sit around 24 to 26 inches, while bar-height run 28 to 32 inches. Comfortable, stylish seating invites people to linger and chat.
19. Create a Coffee or Baking Station
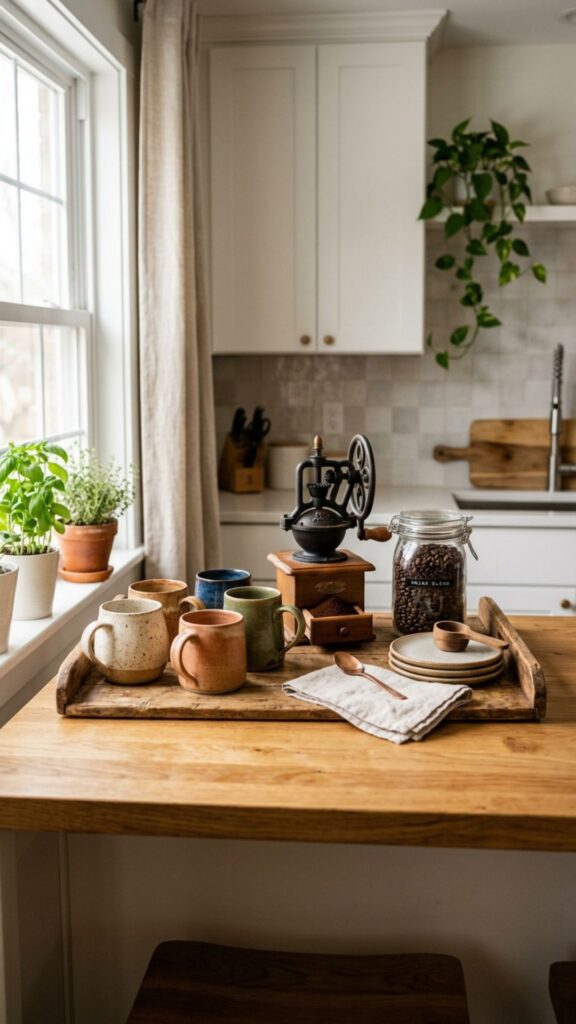
Dedicating one end of your island to a specific task adds both function and charm. A coffee station with a grinder, mugs, and a small tray feels like a little café at home. A baking zone works just as well for avid bakers.
Style the area with a few beautiful, everyday tools you’re happy to leave out. This kind of purposeful design makes your island feel personal and lived-in rather than staged.
20. Layer in Metallic Accents
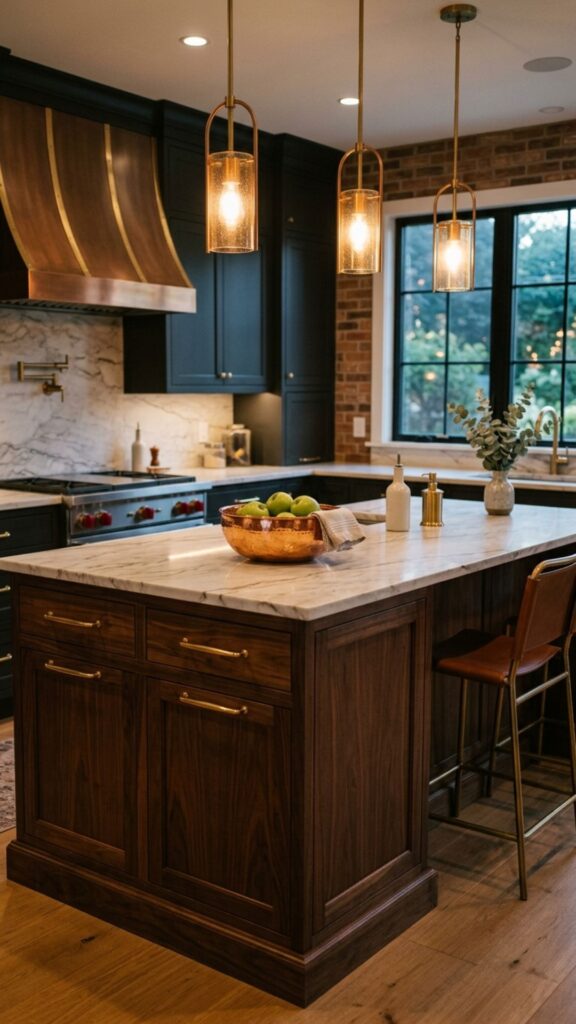
A touch of metal adds polish to any island. Think brass drawer pulls, a copper bowl, or a metallic pendant that catches the light. These details bring a subtle shine that elevates the whole design.
Stick to one or two metal finishes so the look stays cohesive rather than busy. Even small metallic touches can make your island feel finished and thoughtfully styled.
Conclusion
Your kitchen island holds real potential to become the standout feature of your home. Whether you paint it a bold color, top it with a dramatic slab, or simply add fresh greenery and great lighting, small changes add up to a big transformation. The best part is that you can mix and match these kitchen island ideas to suit your budget and style.
Ready to give your island the spotlight it deserves? Pick two or three ideas from this list and start planning your refresh this weekend. Snap a before photo, gather your materials, and enjoy watching your kitchen come to life. Your new centerpiece is closer than you think.
How do I make my kitchen island a focal point?
Make your island a focal point by using a contrasting color, adding statement pendant lights, and styling the surface with greenery or a bold decorative piece. Choosing a standout countertop or unique base also draws the eye and anchors the room.
What is the best countertop for a kitchen island centerpiece?
Quartz and marble are top choices for a centerpiece island because of their striking veining and durability. Butcher block offers warmth for a cozy look, while quartzite delivers dramatic natural patterns that require little extra decoration.
How much space should I leave around a kitchen island?
Leave at least 36 to 42 inches of clearance on all sides of your island for comfortable movement. In busy kitchens with multiple cooks, aim for 42 to 48 inches so people can pass and open cabinets without bumping into each other.
How many pendant lights should I hang over an island?
Most standard islands look best with two or three pendant lights spaced evenly. As a general rule, use one pendant for every two feet of island length, and hang them 30 to 36 inches above the counter.
Can I update my kitchen island on a budget?
Yes. Painting the base, swapping in stylish stools, adding fresh greenery, and installing under-cabinet LED lighting all create a big impact for very little money. These simple updates can refresh your island in a single weekend.