Not every kitchen has room for a big freestanding island parked in the middle. If you’ve been eyeing that empty stretch of wall and wondering how to make it work harder, you’re in the right place. A wall-attached island gives you extra counter space, storage, and seating without eating up the whole room.
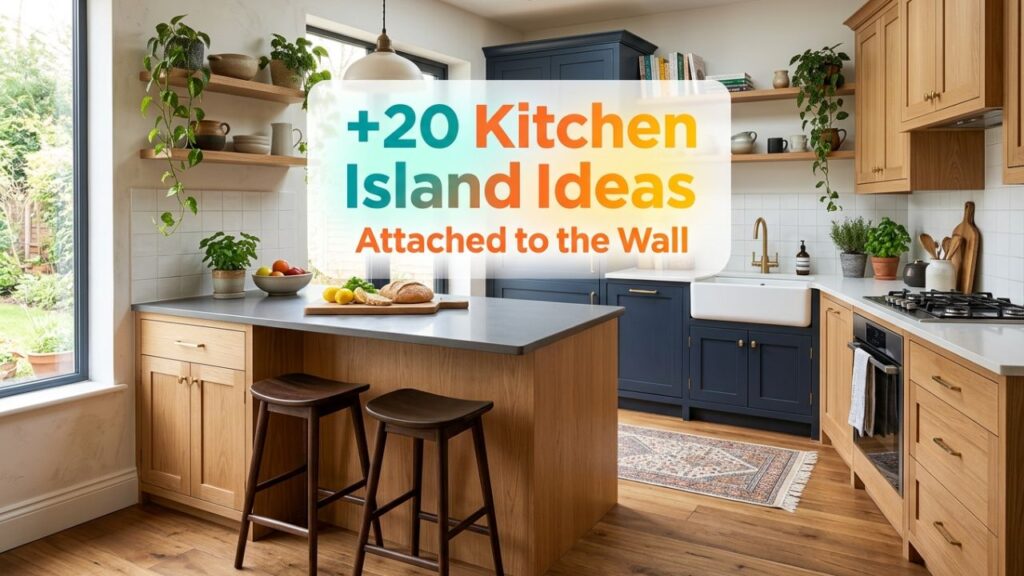
I’ve spent years helping homeowners rethink cramped kitchens, and the same lesson comes up again and again: the wall is your best friend.
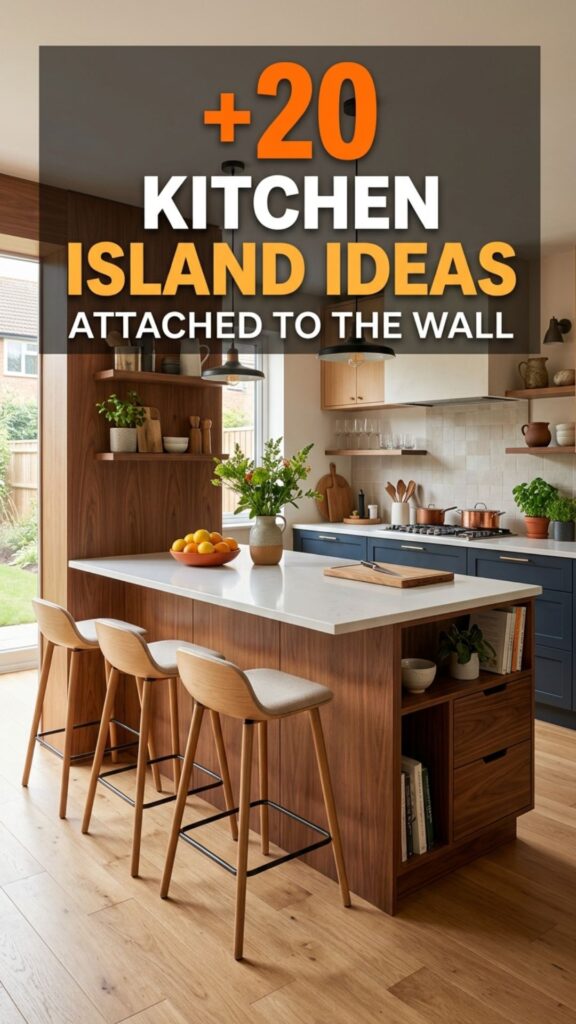
Below, you’ll find 20 kitchen island ideas attached to the wall, each one packed with practical tips you can actually use. Whether you’re renovating a tiny galley or just want a smarter layout, there’s something here for you.
1. The Classic Peninsula Island
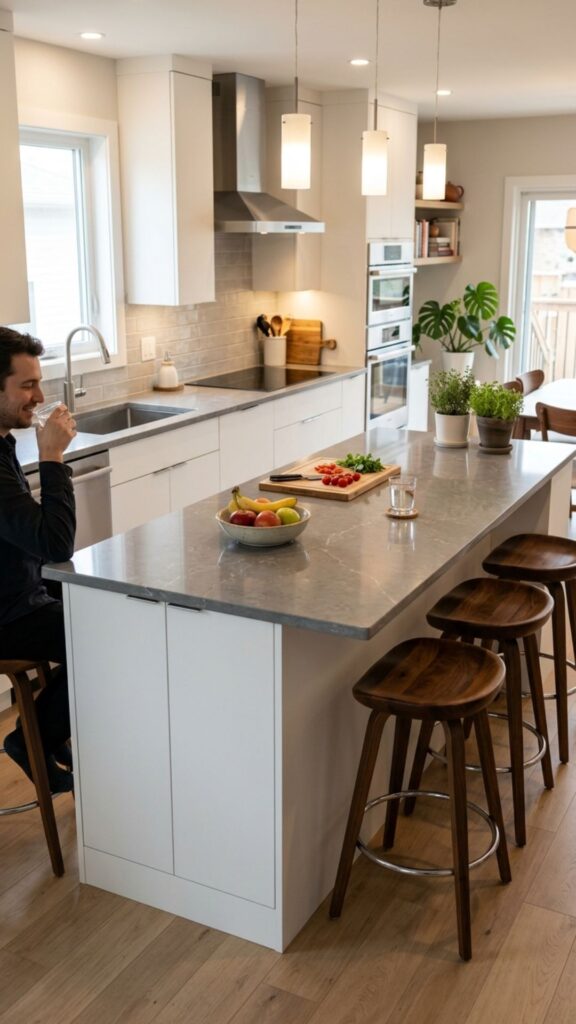
A peninsula is the simplest wall-attached island out there. It connects to one wall or a run of cabinets, then juts out into the room like a small pier. This gives you three usable sides instead of one, which is a big win in a tight space.
The beauty of a peninsula is flexibility. You can add bar stools on the open end for casual meals, tuck cabinets underneath for storage, and keep your work triangle nice and tight. It’s the go-to choice for open-plan kitchens where you want a gentle divider between cooking and living zones.
2. Fold-Down Wall-Mounted Island
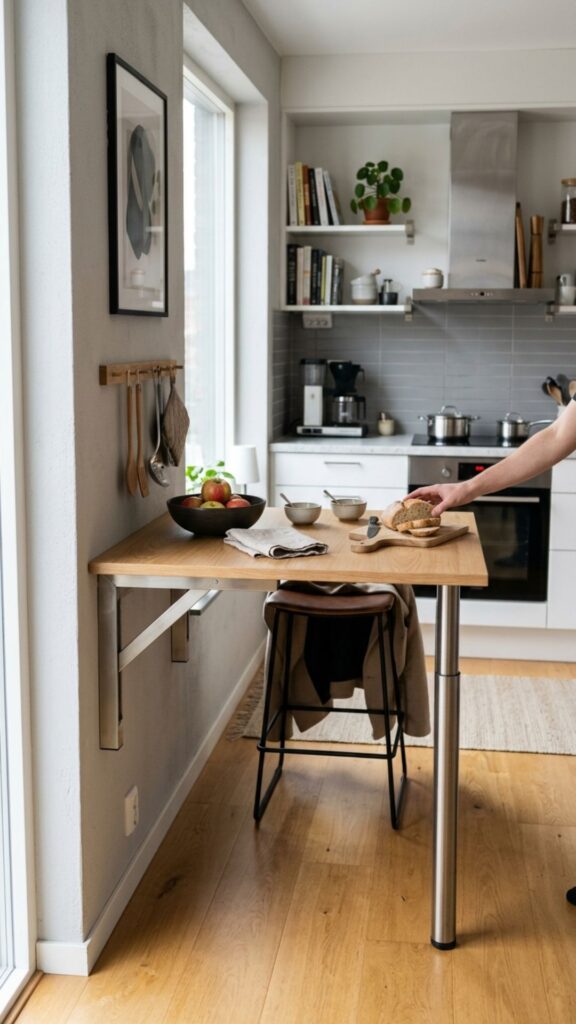
If floor space is at a premium, a fold-down island is a lifesaver. It attaches directly to the wall with a hinged bracket and drops down when you need it, then folds flat when you’re done. Think of it as a Murphy bed for your kitchen.
These work brilliantly in studio apartments or narrow kitchens. When folded up, the island nearly disappears, leaving you room to move around freely. When you need prep space or a spot to eat, just lift it into place. It’s one of the smartest ways to get island function without permanent bulk.
3. Slim Breakfast Bar Along the Wall
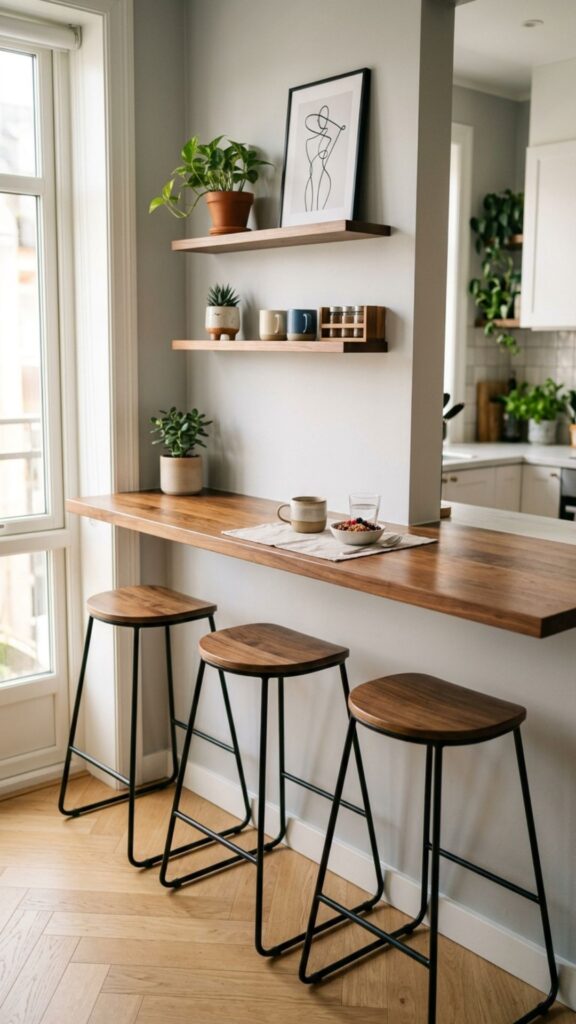
A slim breakfast bar runs parallel to your wall and offers a narrow ledge for quick meals and coffee. At just 10 to 12 inches deep, it barely intrudes into the room while still giving you a place to perch.
This idea shines in homes where a full table won’t fit. Pair it with a few backless stools that slide completely underneath, and you’ve got a dining spot that vanishes when not in use. It’s perfect for singles, couples, or anyone who eats on the go.
4. L-Shaped Island Anchored to a Corner
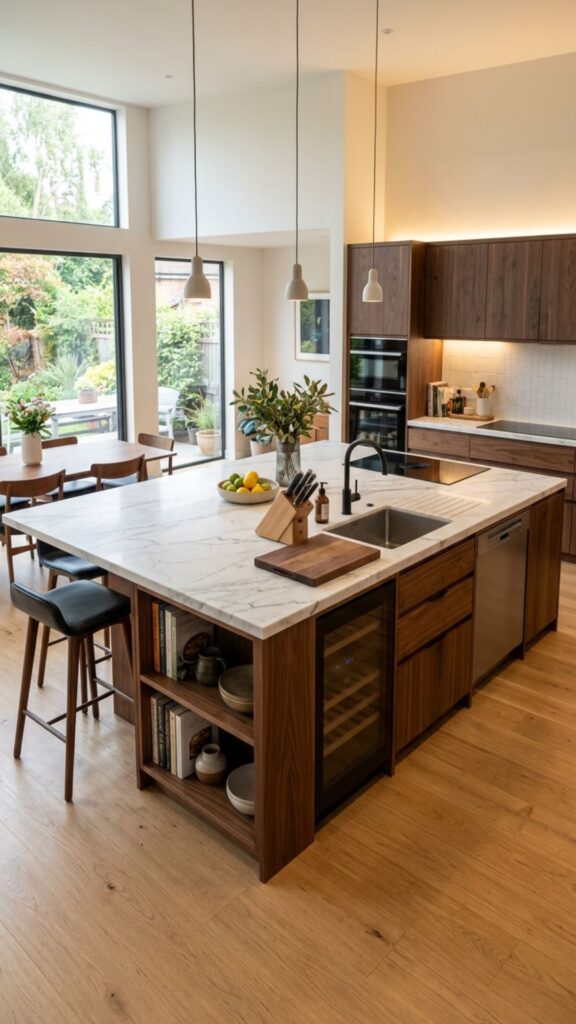
An L-shaped island hugs a corner and uses two walls for support. This turns an awkward, often-wasted corner into a hardworking hub for prep, storage, and seating.
The corner anchor makes the whole structure feel built-in and sturdy. You get a generous countertop that wraps around, plus deep cabinets in the corner for pots and small appliances. If your kitchen has an odd nook, this design turns a weakness into a strength.
5. Floating Wall Island with Open Shelving
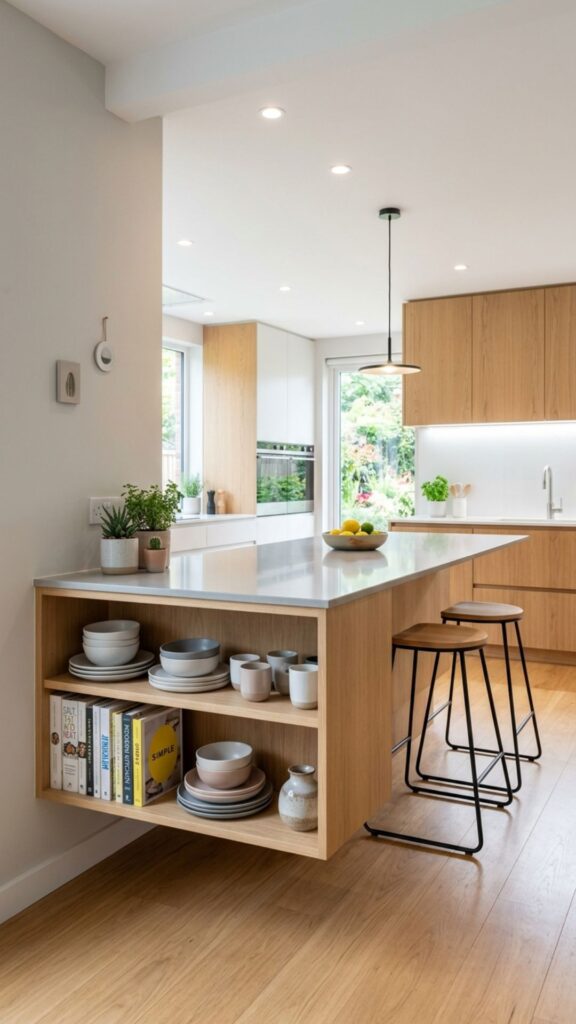
A floating island appears to hover, mounted to the wall with hidden brackets and no legs touching the floor beneath. Add open shelving below, and you get storage that feels light and airy.
This look works well in modern and minimalist kitchens. The open space underneath makes the room feel bigger, while the shelves keep your everyday dishes and cookbooks within reach. Just keep the styling tidy, since everything on open shelves is on display.
6. Built-In Island with Wall Cabinetry
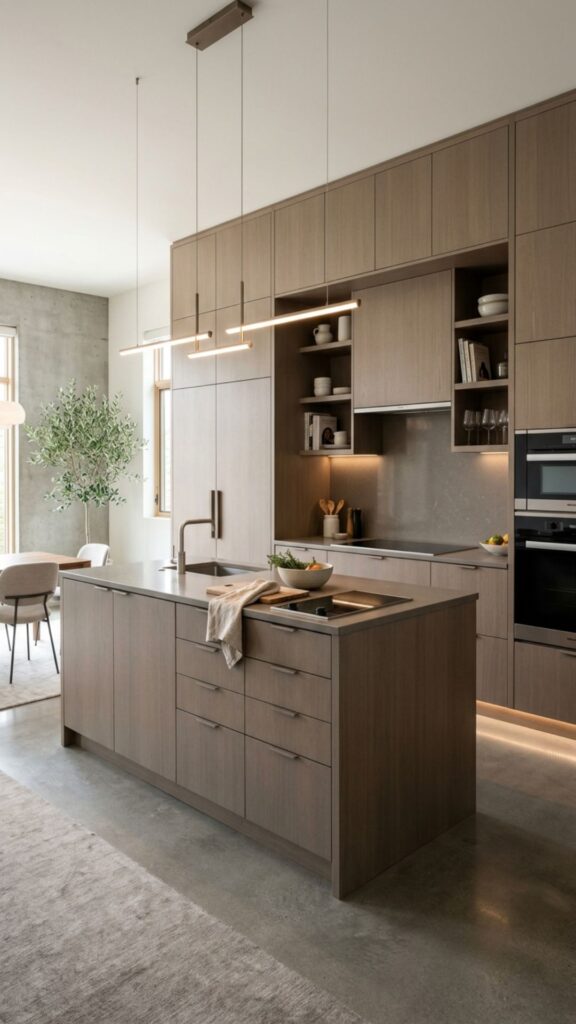
For a seamless look, extend your wall cabinetry right into the island. When the island matches your existing cabinets, the whole kitchen feels intentional and custom, even on a modest budget.
This approach gives you maximum storage. You can run drawers, cabinets, and even a built-in trash pullout along the wall-connected base. Homeowners love how it hides clutter while keeping everything organized and close to where it’s used.
7. Waterfall Countertop Peninsula
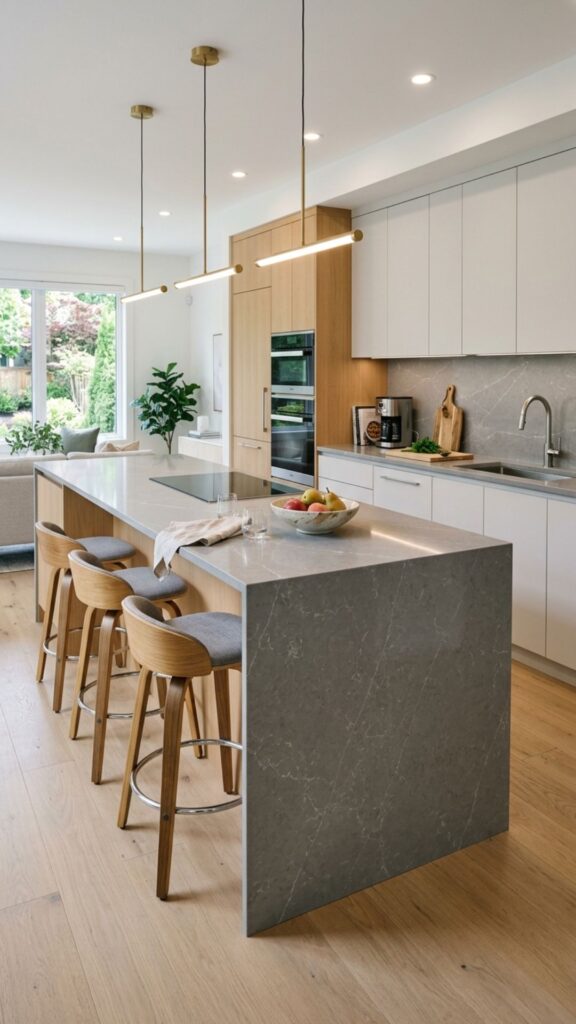
A waterfall peninsula features a countertop that flows down one side to the floor, creating a bold, continuous surface. Attached to the wall on the other end, it makes a striking centerpiece.
Beyond looks, the waterfall edge protects the cabinet side from bumps and stains. Stone options like quartz or granite make this design durable and easy to clean. It’s a favorite for anyone who wants a designer touch without a full remodel.
8. Compact Island for Galley Kitchens
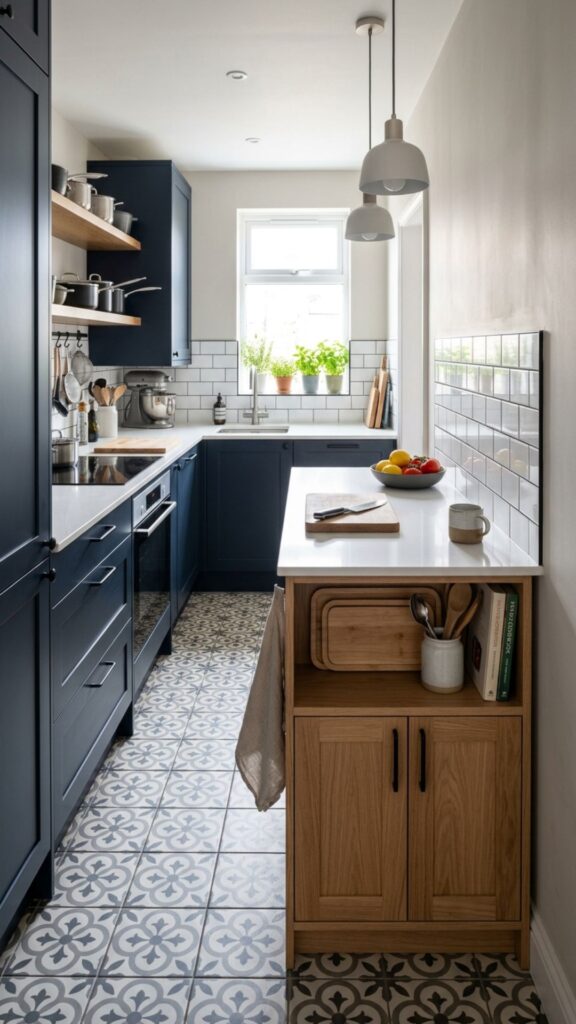
Galley kitchens are notoriously tight, but a compact wall-attached island can still fit at the end of the run. Even a small unit adds prep space and a landing spot for groceries.
Keep the depth modest so you don’t block the walkway. A 16 to 20 inch counter with a single cabinet below often does the trick. This little addition can make a narrow galley feel far more functional without crowding the space.
9. Island with Built-In Seating Nook
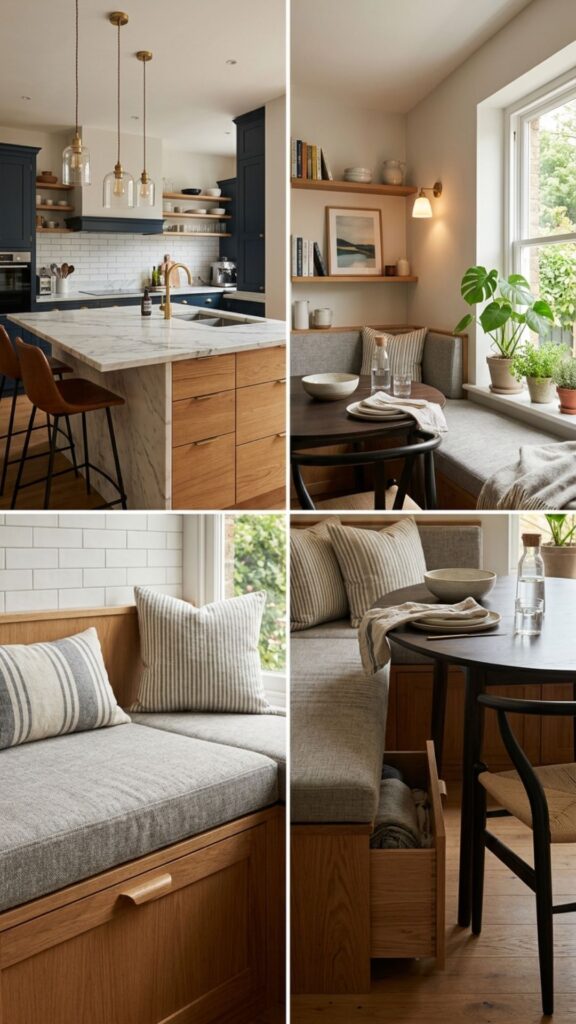
Combine your island with a banquette or bench seat along the wall for a cozy dining nook. The wall supports both the island and the seating, saving you from bulky chairs.
This is a smart move for families. The bench can hide storage underneath for linens or seasonal items, and kids love the built-in seating. It creates a warm gathering spot that feels rooted and permanent.
10. Rolling Island with a Wall Dock
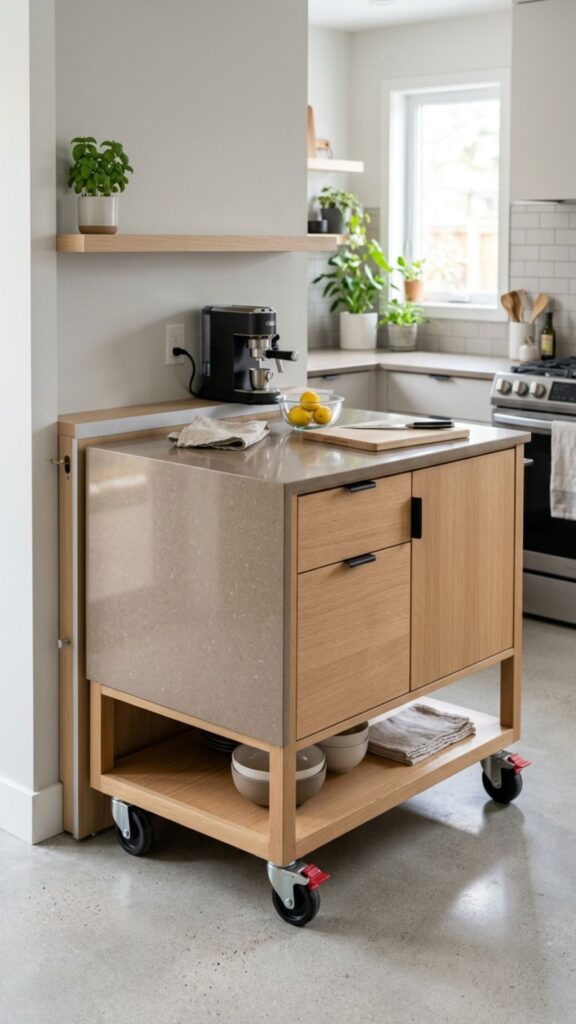
A rolling island on casters gives you mobility, and a simple wall dock keeps it secure when parked. Roll it out for big cooking sessions, then tuck it back against the wall.
This flexible setup suits renters and anyone who likes to rearrange. Look for locking wheels so the island stays put while you work. When docked, it reads like a fixed piece, but you keep the freedom to move it anytime.
11. Narrow Prep Station Under a Window
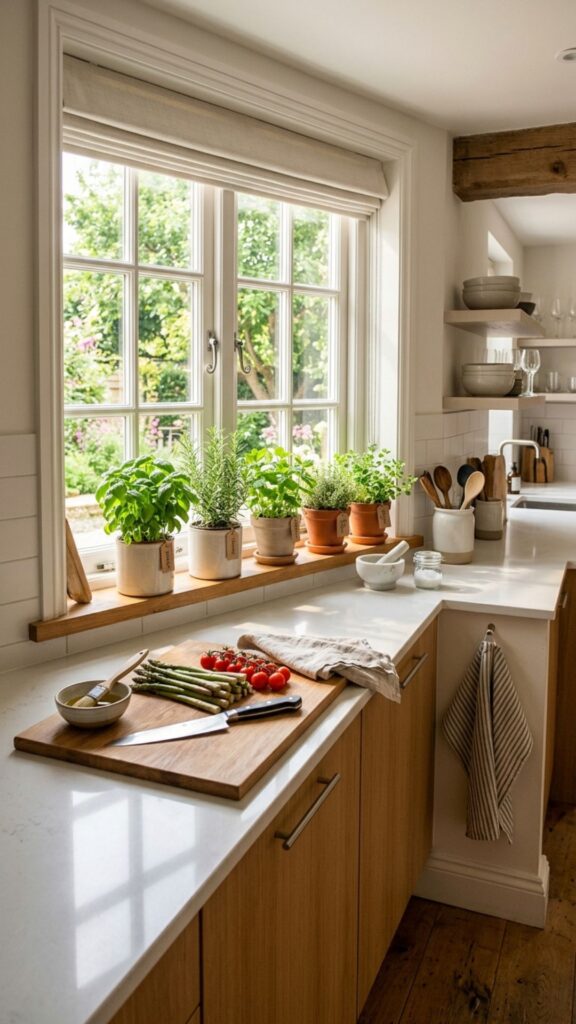
Position a slim island beneath a wall window for a bright, cheerful prep zone. Natural light makes chopping and cooking more pleasant, and the wall anchors the counter firmly.
The window backdrop opens up the space visually, so the island never feels heavy. Add a small herb garden on the sill for fresh flavor within arm’s reach. It’s a lovely way to combine function with a bit of greenery.
12. Two-Tier Island Attached to the Wall
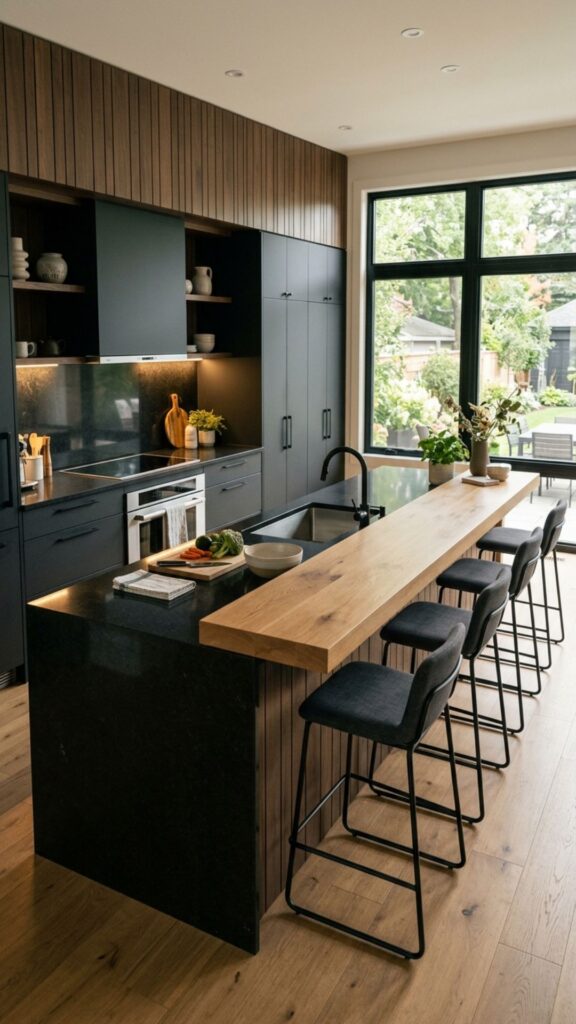
A two-tier design offers a lower prep surface and a raised bar top on the wall-connected side. This separates messy cooking from clean eating and seating areas.
The raised tier also hides prep clutter from guests, which is great for entertaining. You can seat people at the higher counter while you work below without them seeing every crumb. It’s a practical layout that looks polished, too.
13. Butcher Block Island Against the Wall
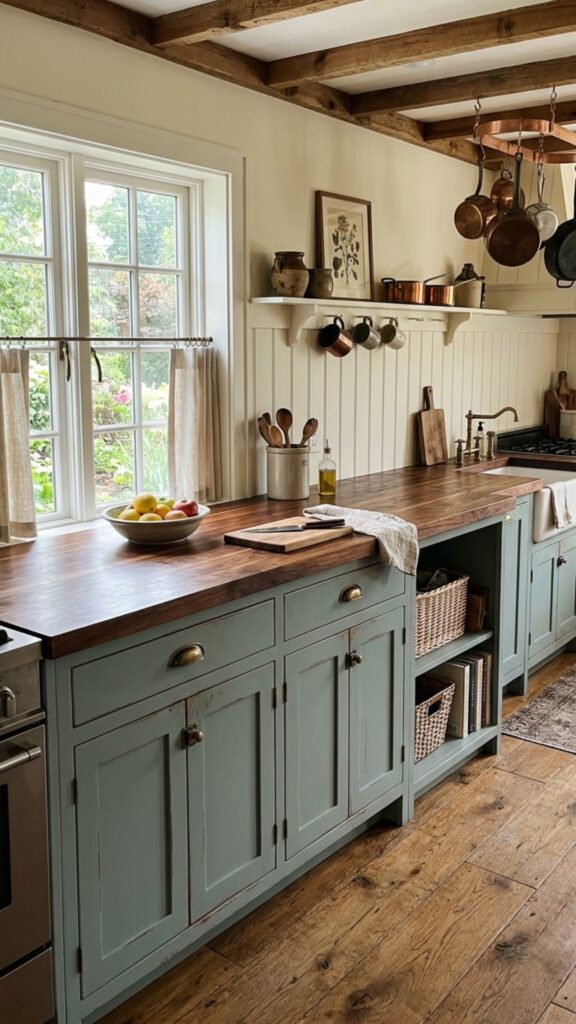
A butcher block top brings warmth and a natural feel to any kitchen. Mounted along the wall, it gives you a sturdy chopping surface that’s kind to your knives.
Wood tops need a little care, like regular oiling, but they age beautifully. Pair the butcher block with painted cabinets below for a fresh, farmhouse-inspired look. It’s a timeless choice that feels both functional and inviting.
14. Minimalist Ledge Island
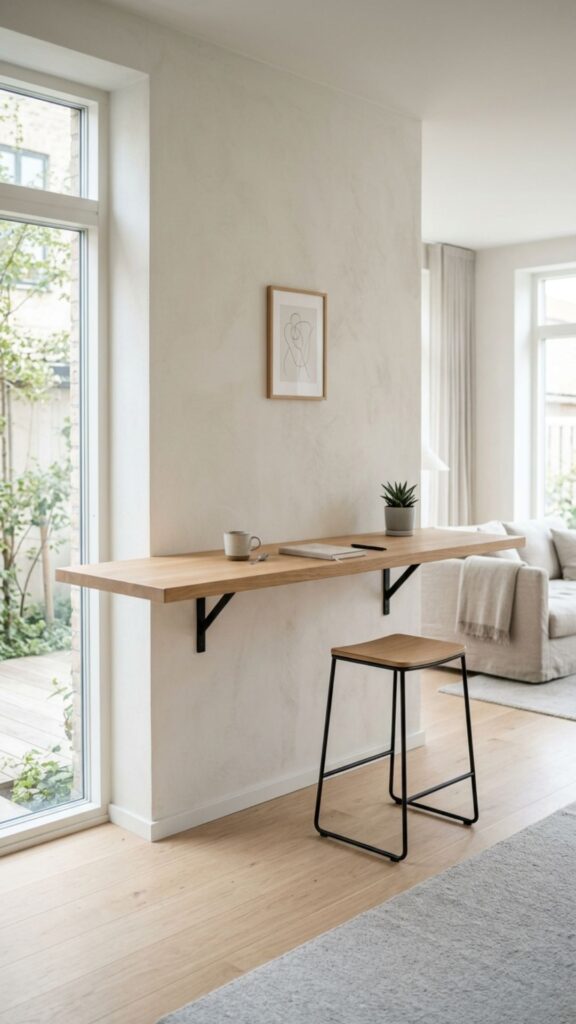
Sometimes less really is more. A minimalist ledge island is just a thin countertop mounted to the wall with sleek supports, offering a spot to stand and work.
This barely-there design keeps small kitchens feeling open. Use it for morning coffee, a laptop workstation, or quick meal prep. When you want clean lines and zero bulk, this stripped-back option delivers.
15. Island with Integrated Wall Sink

Adding a sink to your wall-attached island puts plumbing close to the wall, which keeps installation costs down. It also creates a dedicated cleanup zone right where you need it.
Because the sink sits near the wall, running water lines is simpler than plumbing a freestanding island. Add a small drainboard and cabinet below for dish soap and cleaning supplies. This makes daily cleanup smooth and keeps your main counters clear.
16. Storage-Packed Island with Wall Pantry
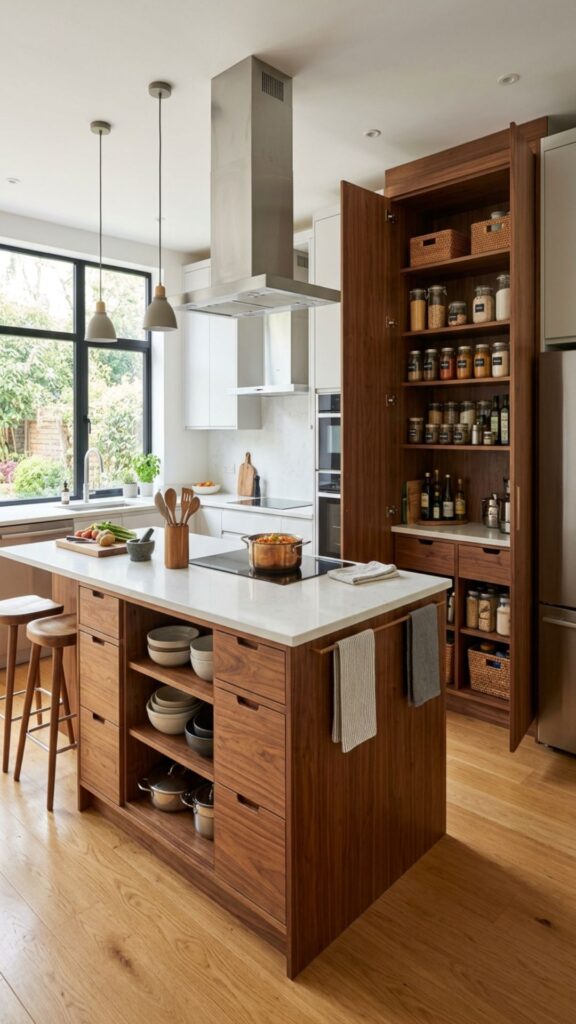
Line your wall-attached island against a tall pantry cabinet for a storage powerhouse. Together, they hold groceries, gadgets, and cookware in one tidy zone.
This pairing keeps everything you need in one place, cutting down on trips across the kitchen. The pantry handles bulk items while the island stores tools and dishes. It’s ideal for busy households that cook often and hate clutter.
17. Bar-Height Island for Entertaining
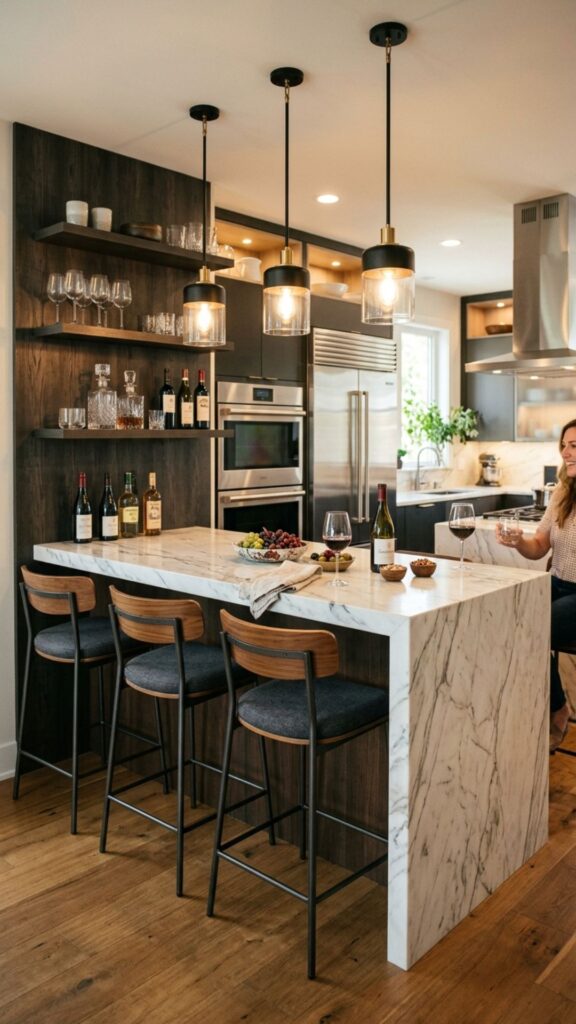
A bar-height island sits taller than standard counters and makes a natural gathering spot. Attached to the wall, it feels stable enough for guests to lean on and linger.
Set out a few tall stools and you’ve created an instant social hub. Guests can chat and sip drinks while you finish cooking. This layout keeps everyone connected without crowding your prep area.
18. Industrial Metal-and-Wood Island
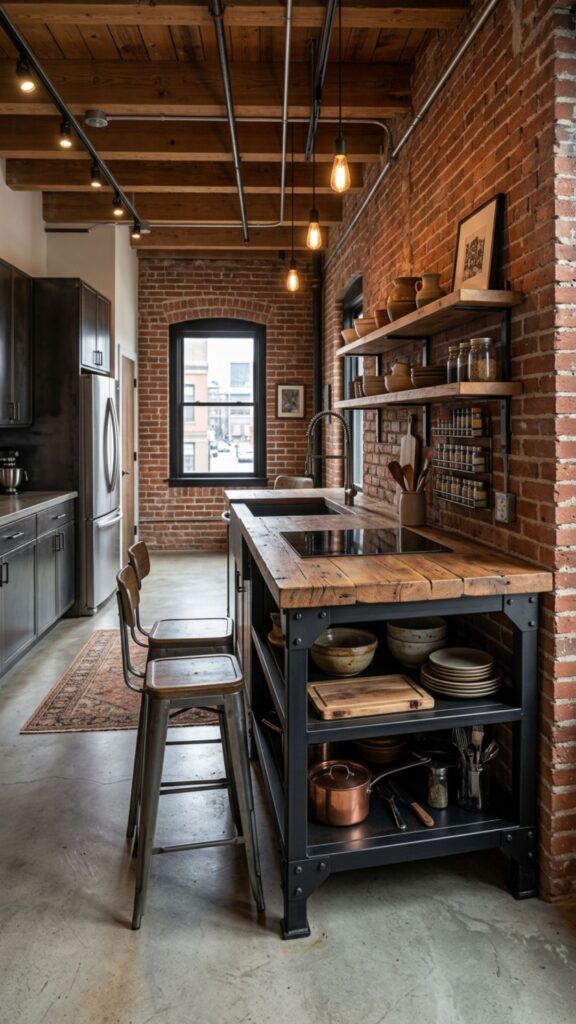
Mix metal legs with a wood top for an industrial vibe that feels rugged yet warm. A wall connection adds the stability that open metal frames sometimes lack.
The open base keeps the design airy, while sturdy materials handle heavy daily use. This style suits lofts and modern homes but works surprisingly well in cottages, too. It’s durable, distinctive, and easy to keep clean.
19. Island with Built-In Charging Station
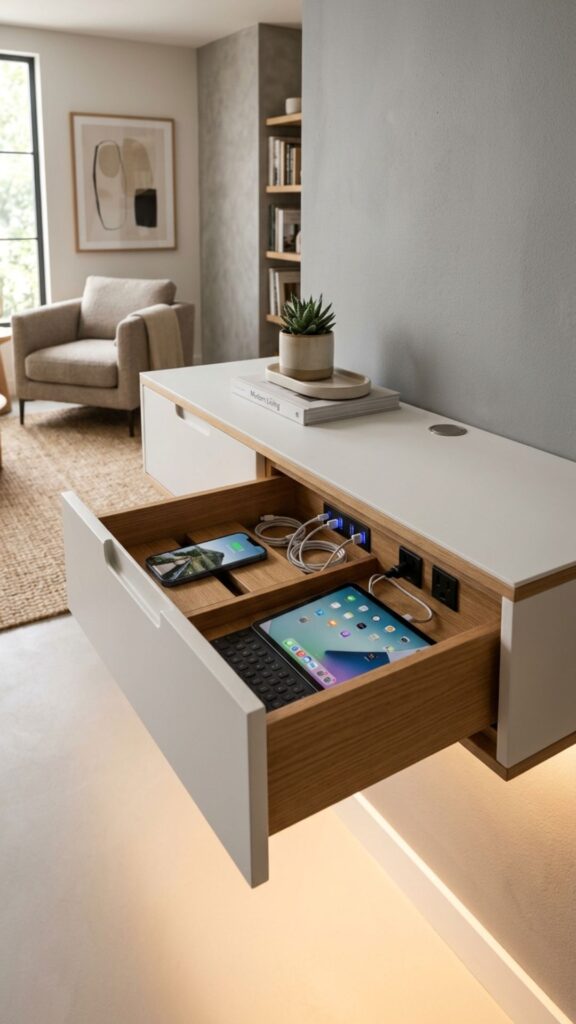
Modern kitchens double as command centers, so build a charging station into your wall island. Running power along the wall is straightforward, and you’ll always have a spot to juice up devices.
Add a shallow drawer with outlets to hide cords and clutter. This keeps phones and tablets charged and off your counters. For families managing schedules and screens, it’s a small upgrade that makes a big difference.
20. Convertible Desk-to-Dining Island
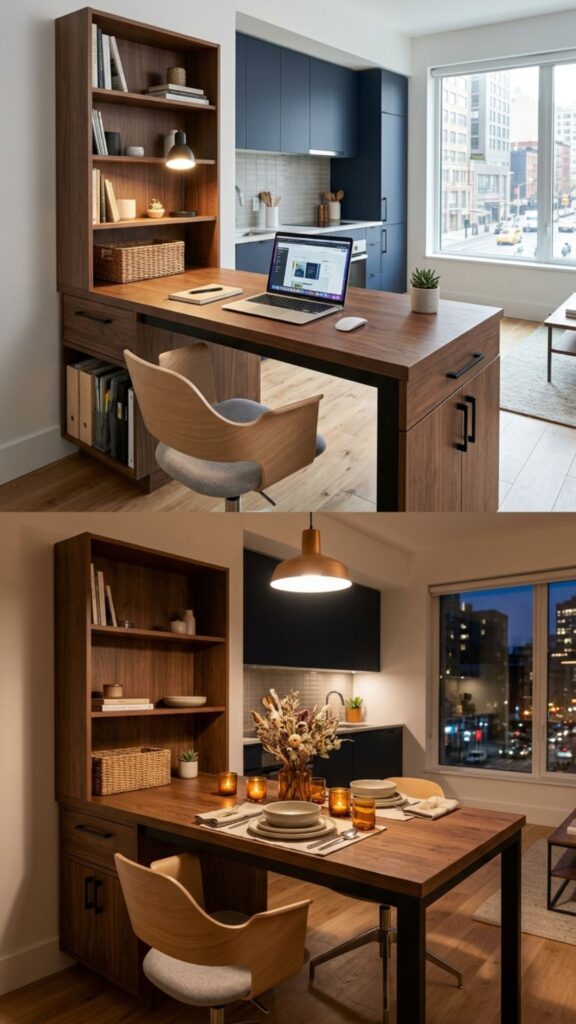
A convertible island works as a home office by day and a dining spot by night. Attached to the wall, it stays sturdy no matter how you use it.
This dual-purpose design is a dream for small homes where every square foot counts. Store laptops and paperwork in the drawers, then clear the top for meals. One piece, two jobs, and a whole lot of value.
Conclusion
A wall-attached island proves you don’t need a huge kitchen to enjoy extra counter space, smart storage, and a spot to gather. From fold-down surfaces to built-in dining nooks, these 20 kitchen island ideas attached to the wall show just how flexible your layout can be. The right choice depends on your space, your habits, and how you like to cook and entertain.
Ready to give your kitchen a smarter layout? Pick the idea that fits your space best, sketch out your measurements, and talk to a local designer or contractor to bring it to life. Your dream island might be closer than you think, so start planning today.
Can a kitchen island be attached to the wall?
Yes, a kitchen island can absolutely be attached to the wall. Wall-attached islands, often called peninsulas, connect to one wall or a run of cabinets for support. This design saves space and works especially well in small or narrow kitchens.
How much space do you need for a wall-attached kitchen island?
You should leave at least 36 to 42 inches of clearance around a wall-attached island for comfortable movement. In smaller kitchens, a slim island 12 to 20 inches deep can still add function without blocking the walkway.
Are wall-attached islands cheaper than freestanding ones?
Often, yes. Wall-attached islands can cost less because they use fewer materials and share support with existing walls or cabinets. Plumbing and electrical work are also usually simpler when the island sits near a wall.
What is the best countertop for a wall-attached island?
Quartz and granite are popular for durability and easy cleaning, while butcher block adds warmth and a natural look. Choose a material that matches your budget, style, and how heavily you use your kitchen.
Can I add seating to a wall-attached island?
Yes. Leave about 24 inches of width per person and 12 to 15 inches of knee space under the overhang. Backless stools that slide underneath are a great pick for keeping walkways clear in tight kitchens.